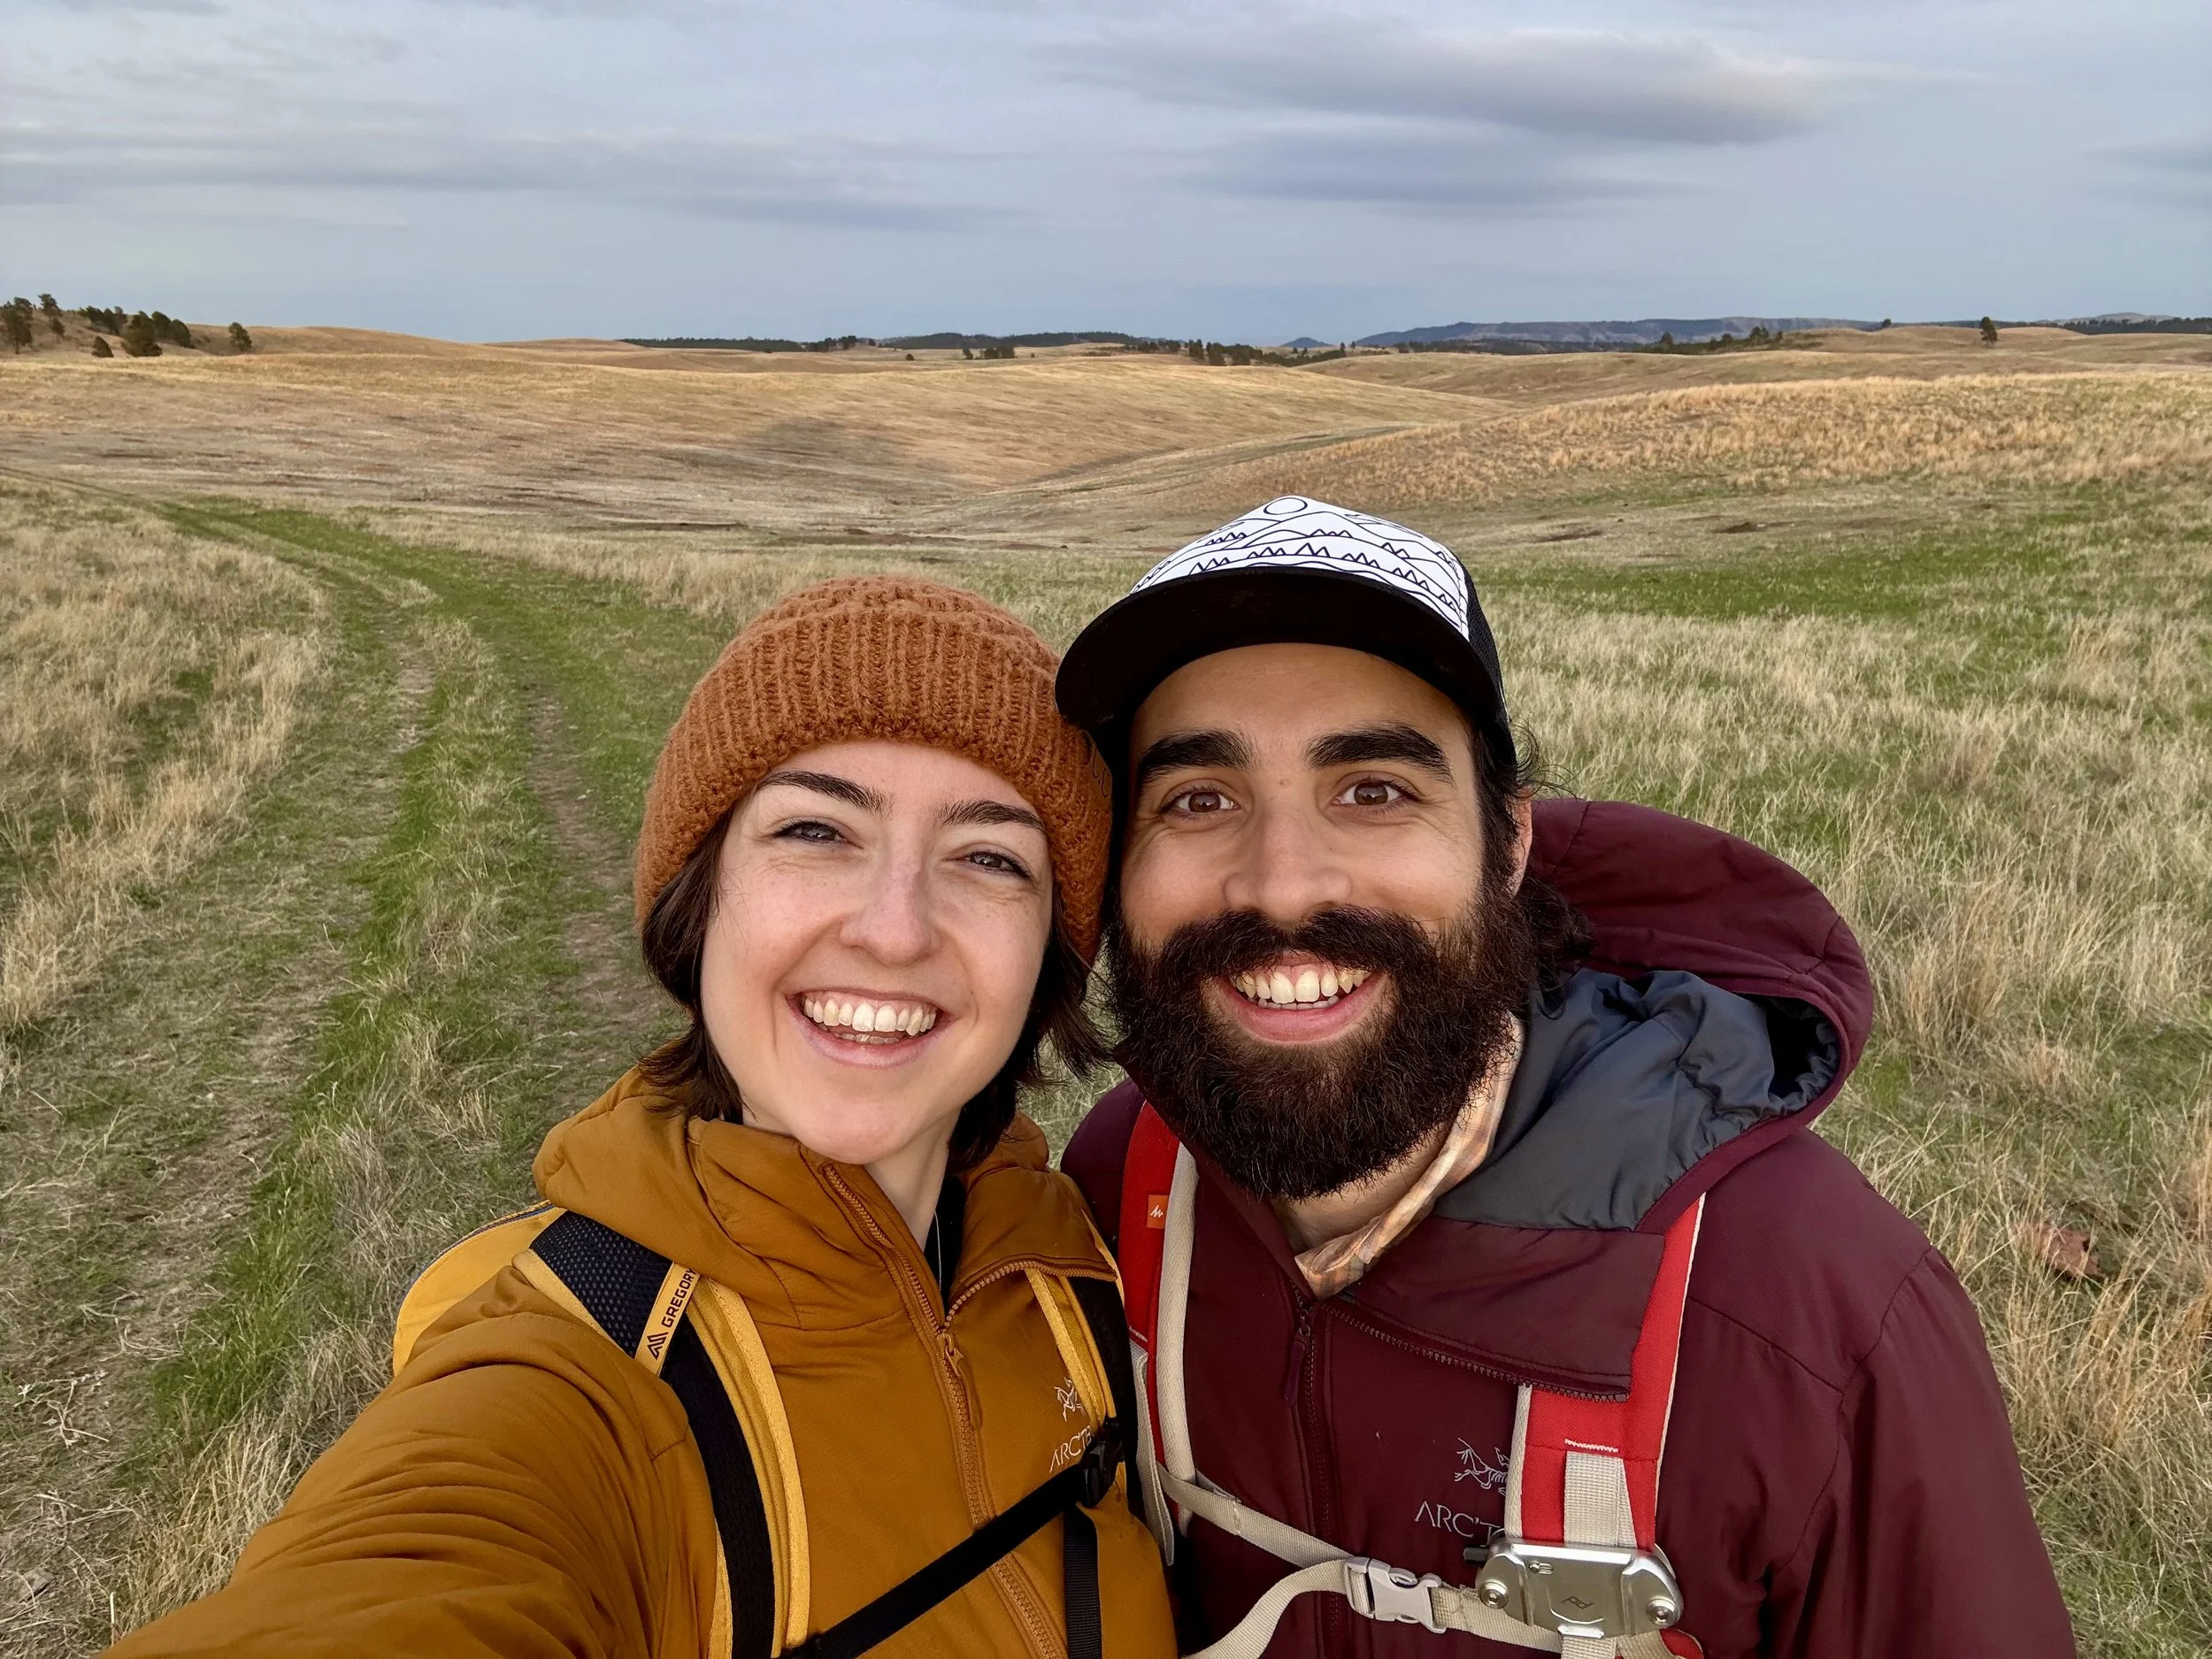
South Dakota Parks: 8 Day Road Trip Itinerary

Overview
Time of year visited: Spring, early-May
Number of days on the road: 8 days
Impressions: Underrated, wildlife galore, variety
Highlights
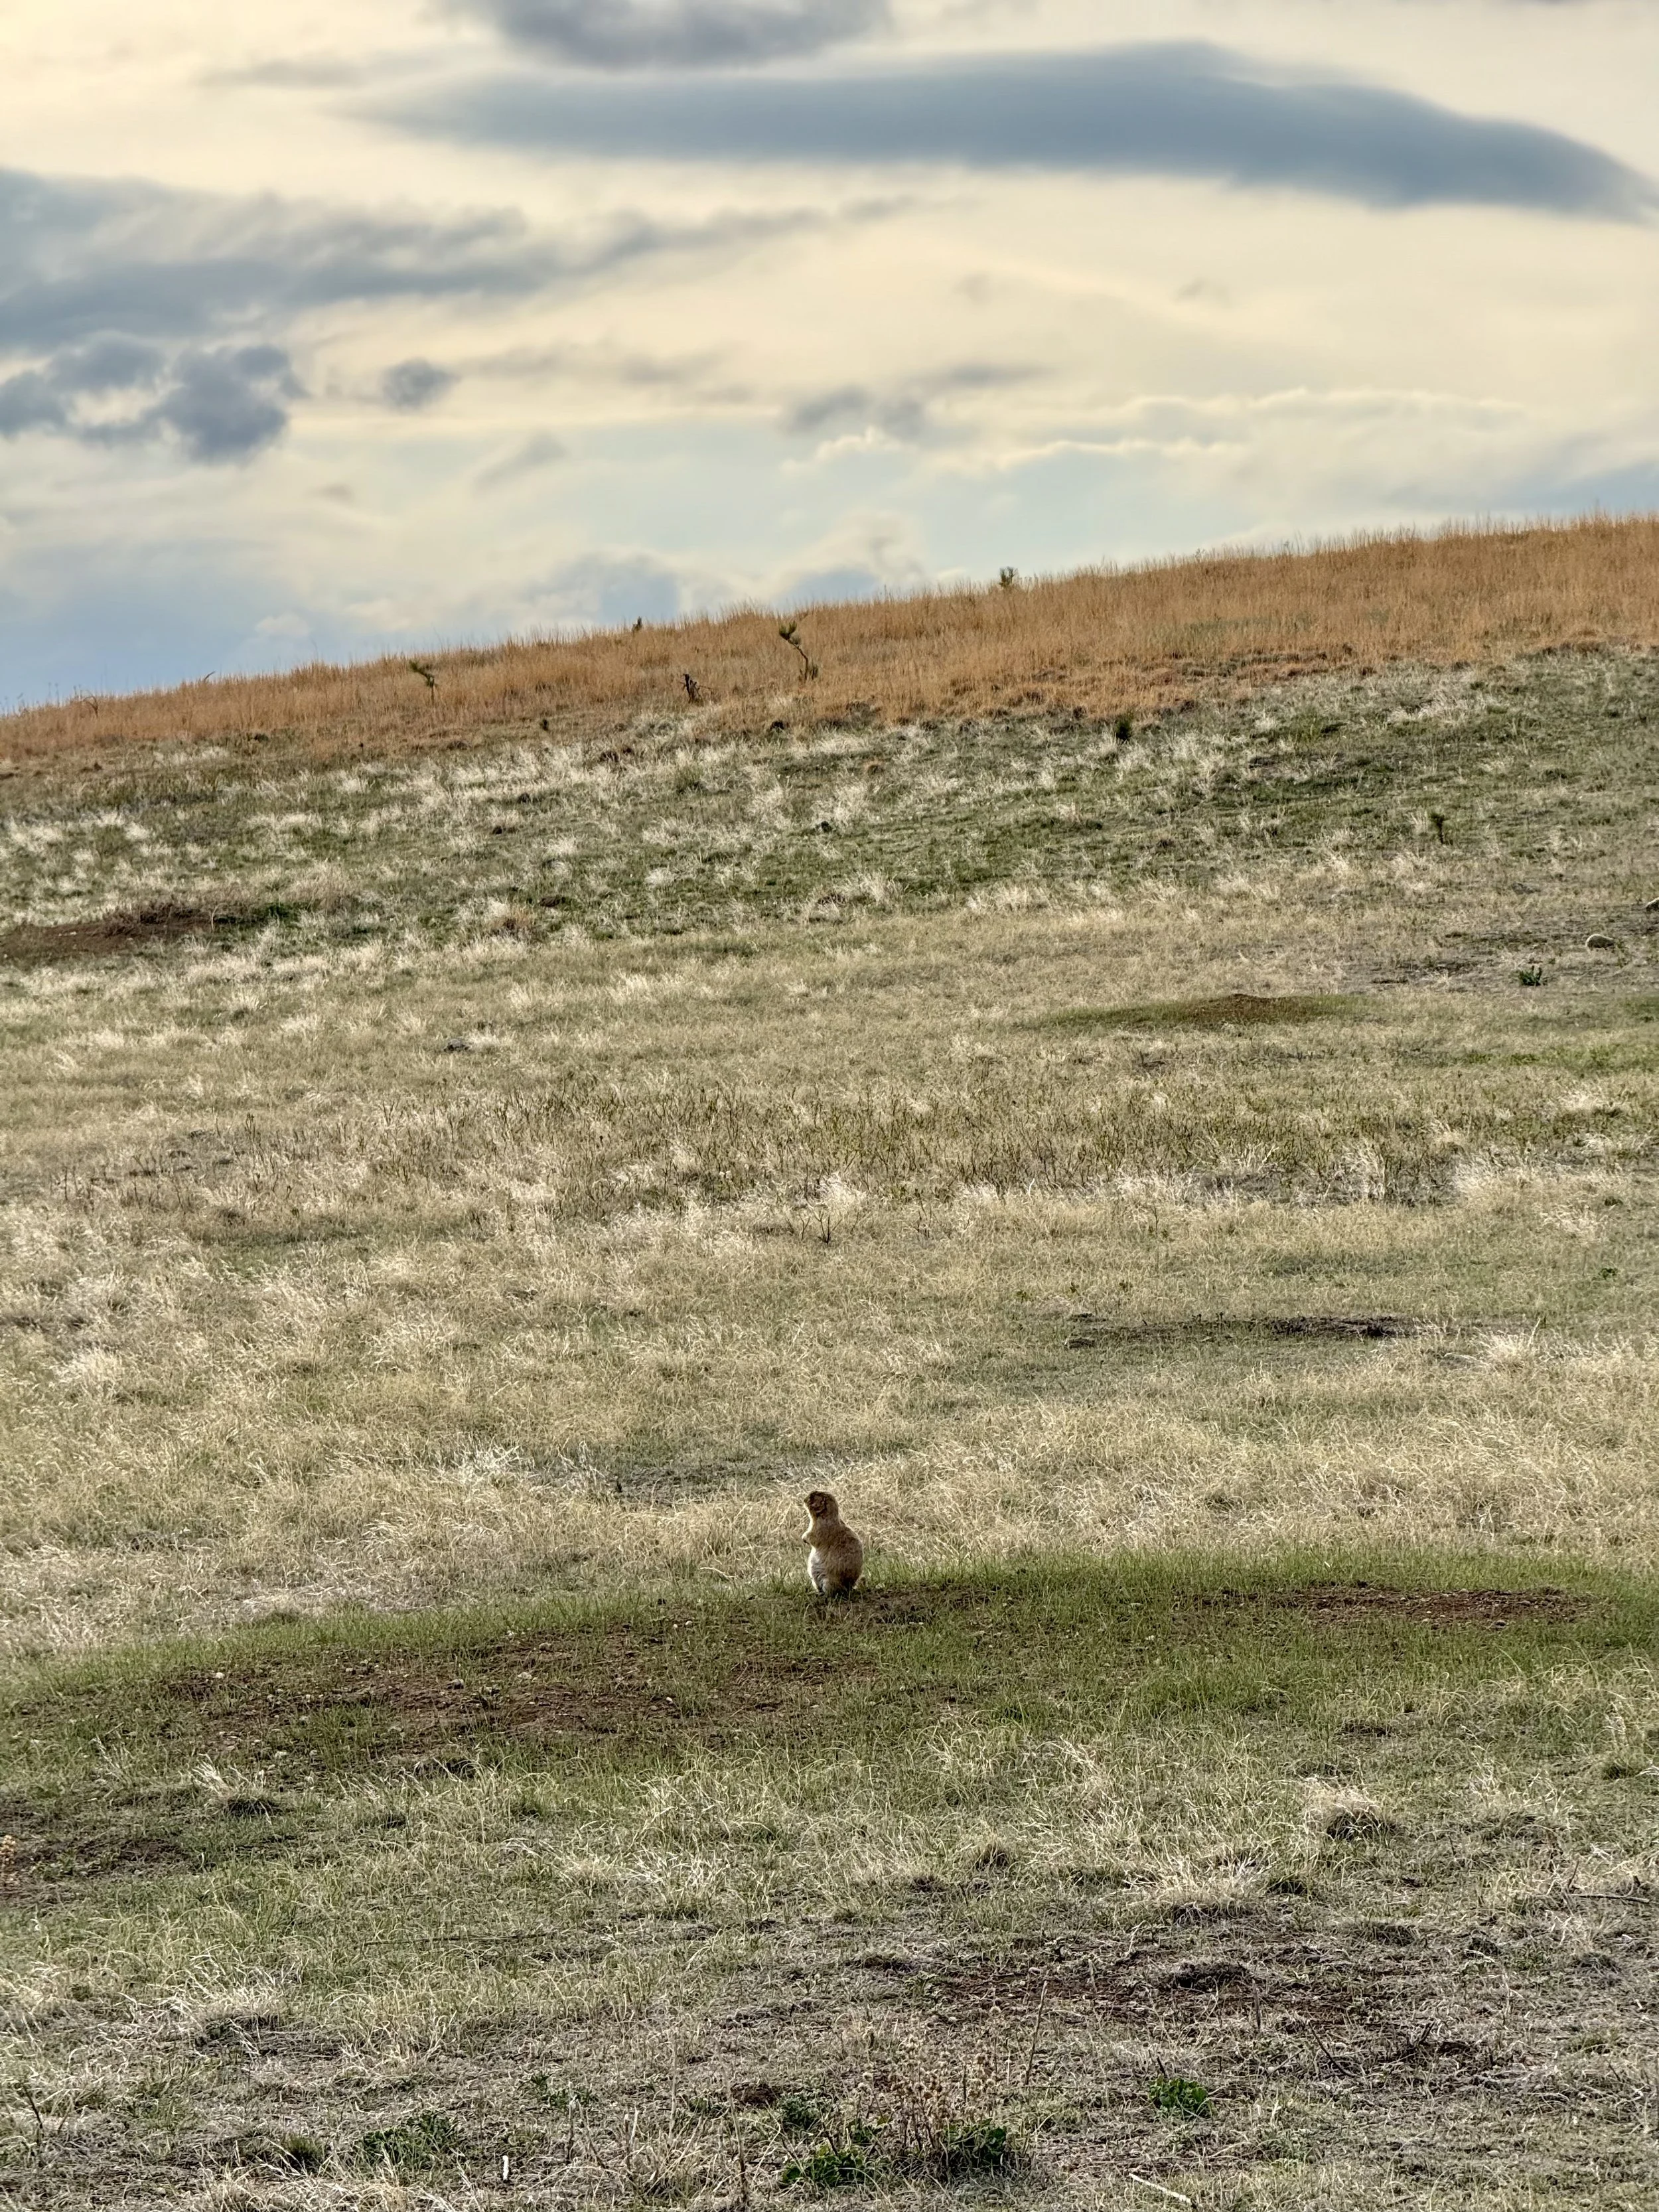
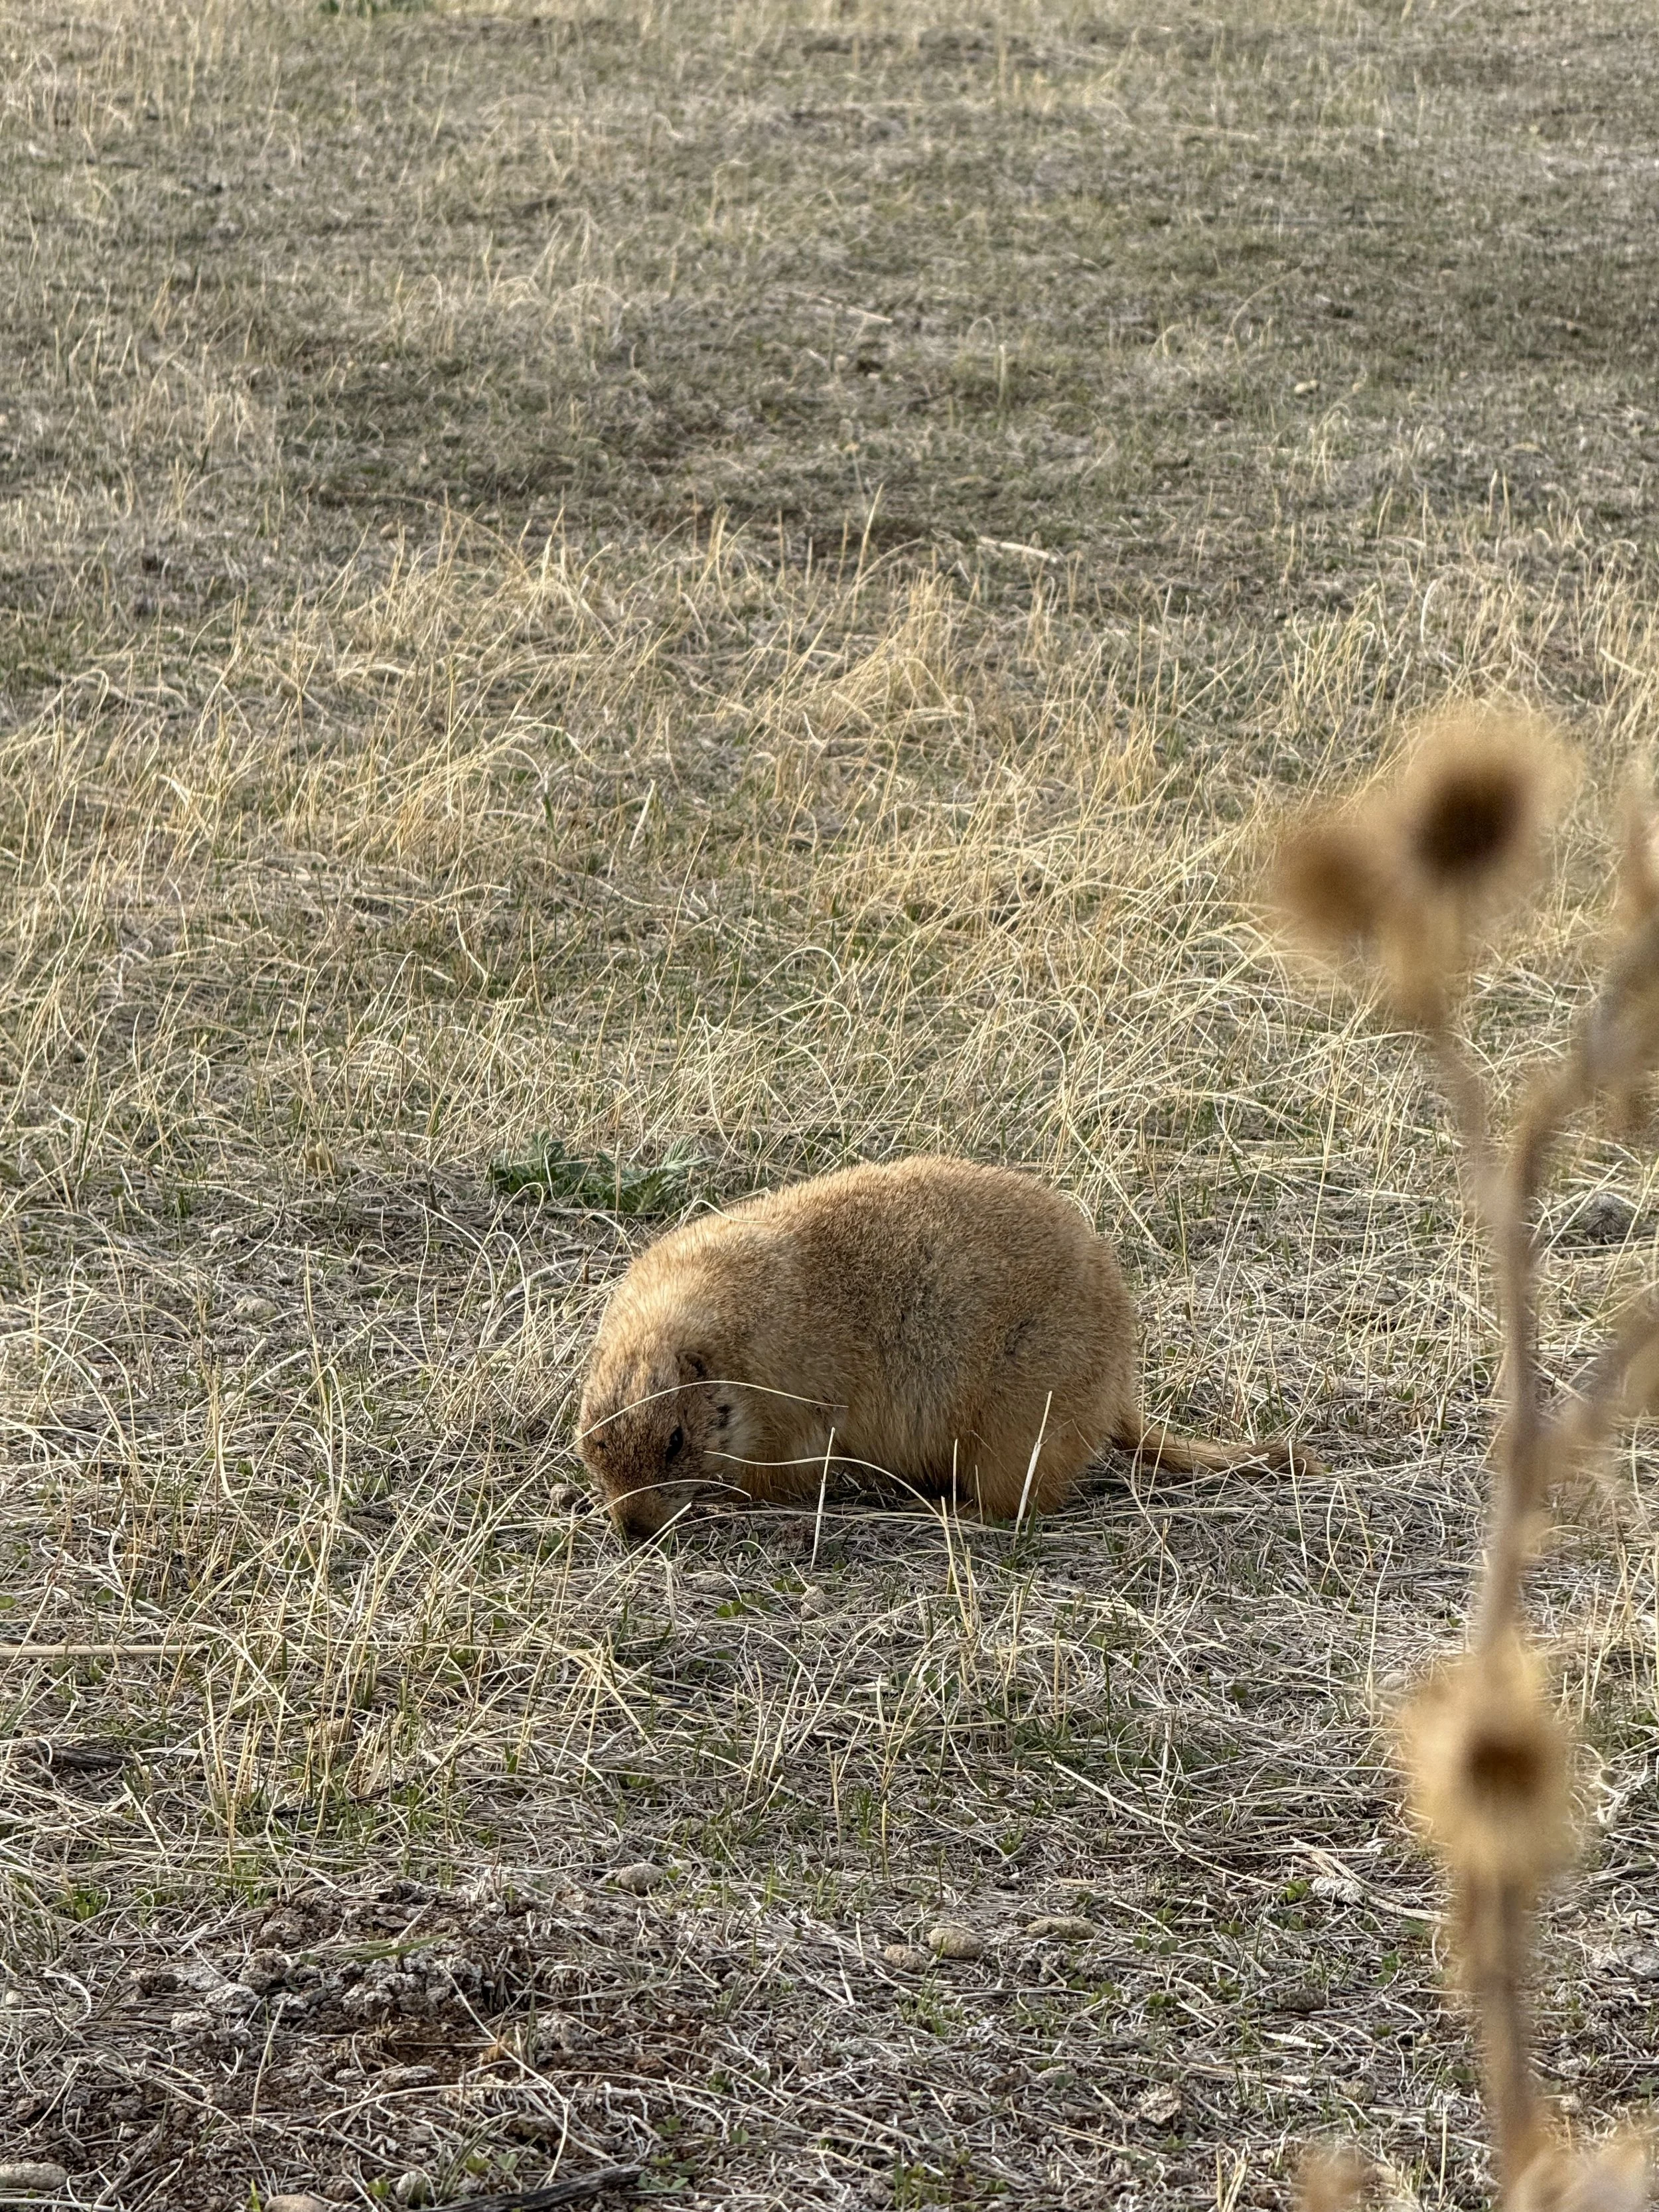
Prairie Dogs!
Catching the sunrise at Big Badlands Overlook
Enjoying Sylvan Lake
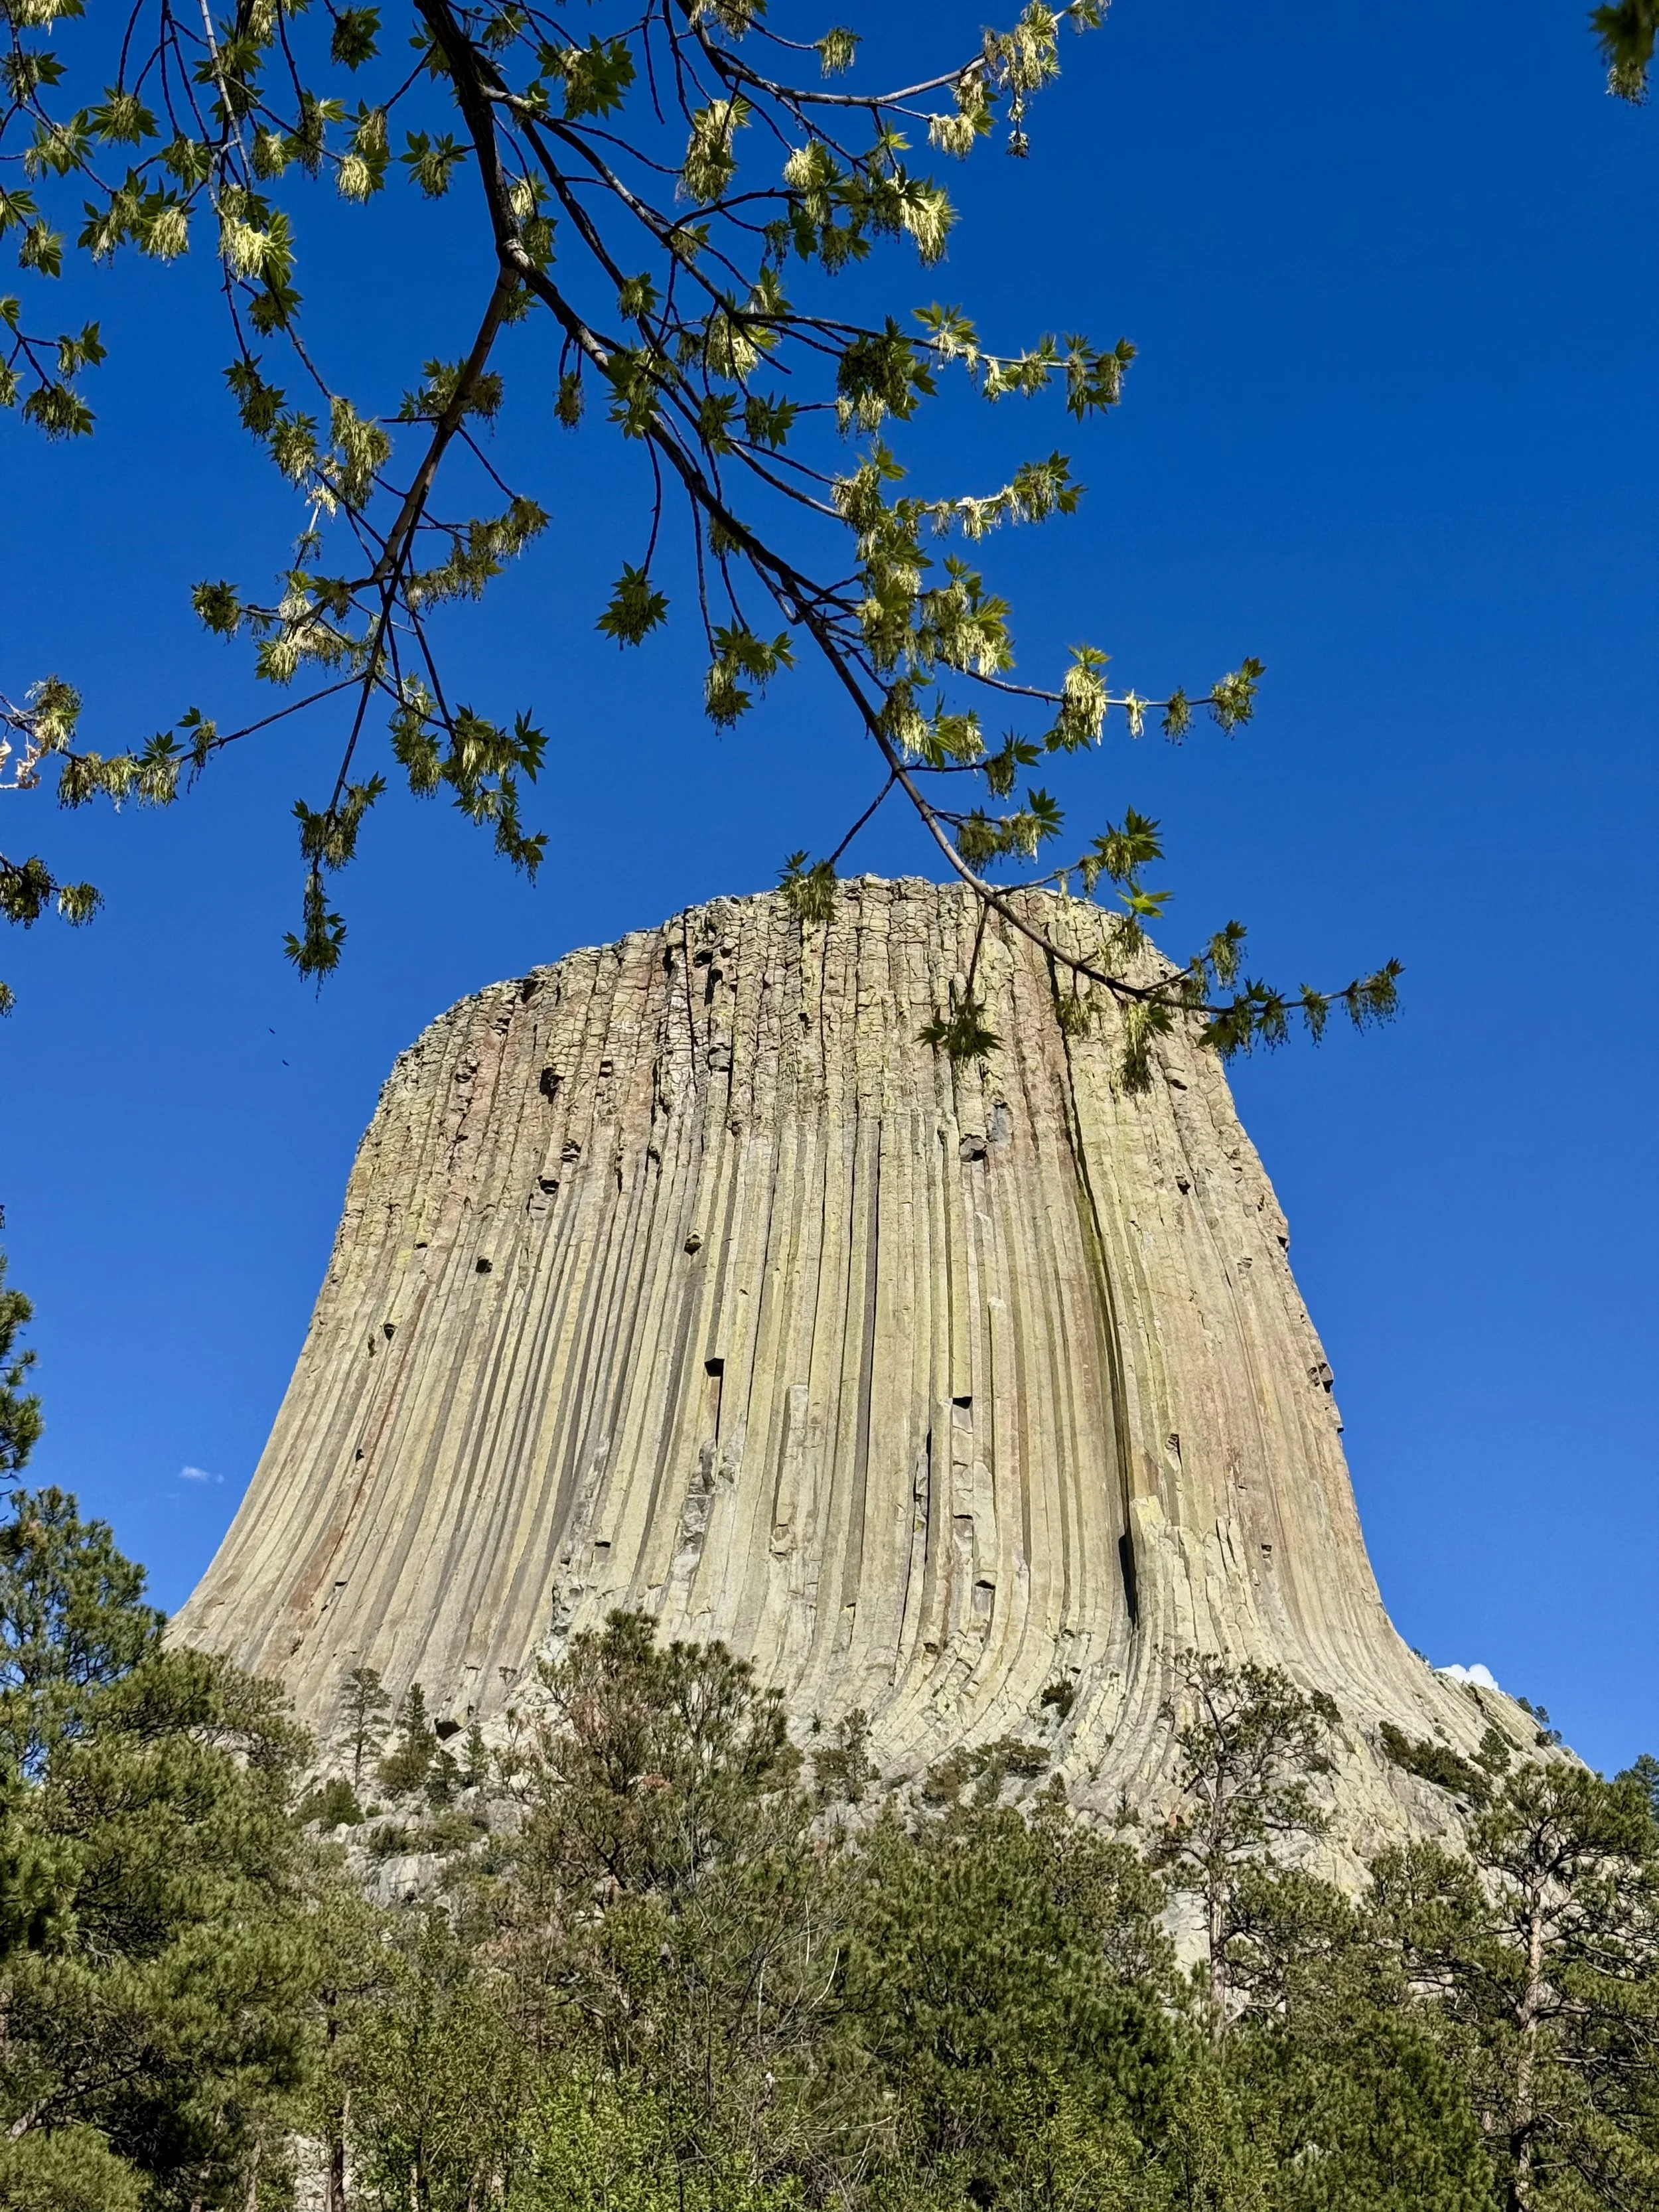
Summiting Devils Tower (Wyoming)
Day-by-day Recap

Day 1
〰️
Day 1 〰️
Day 1 South Dakota Parks Itinerary:
Denver to Badlands
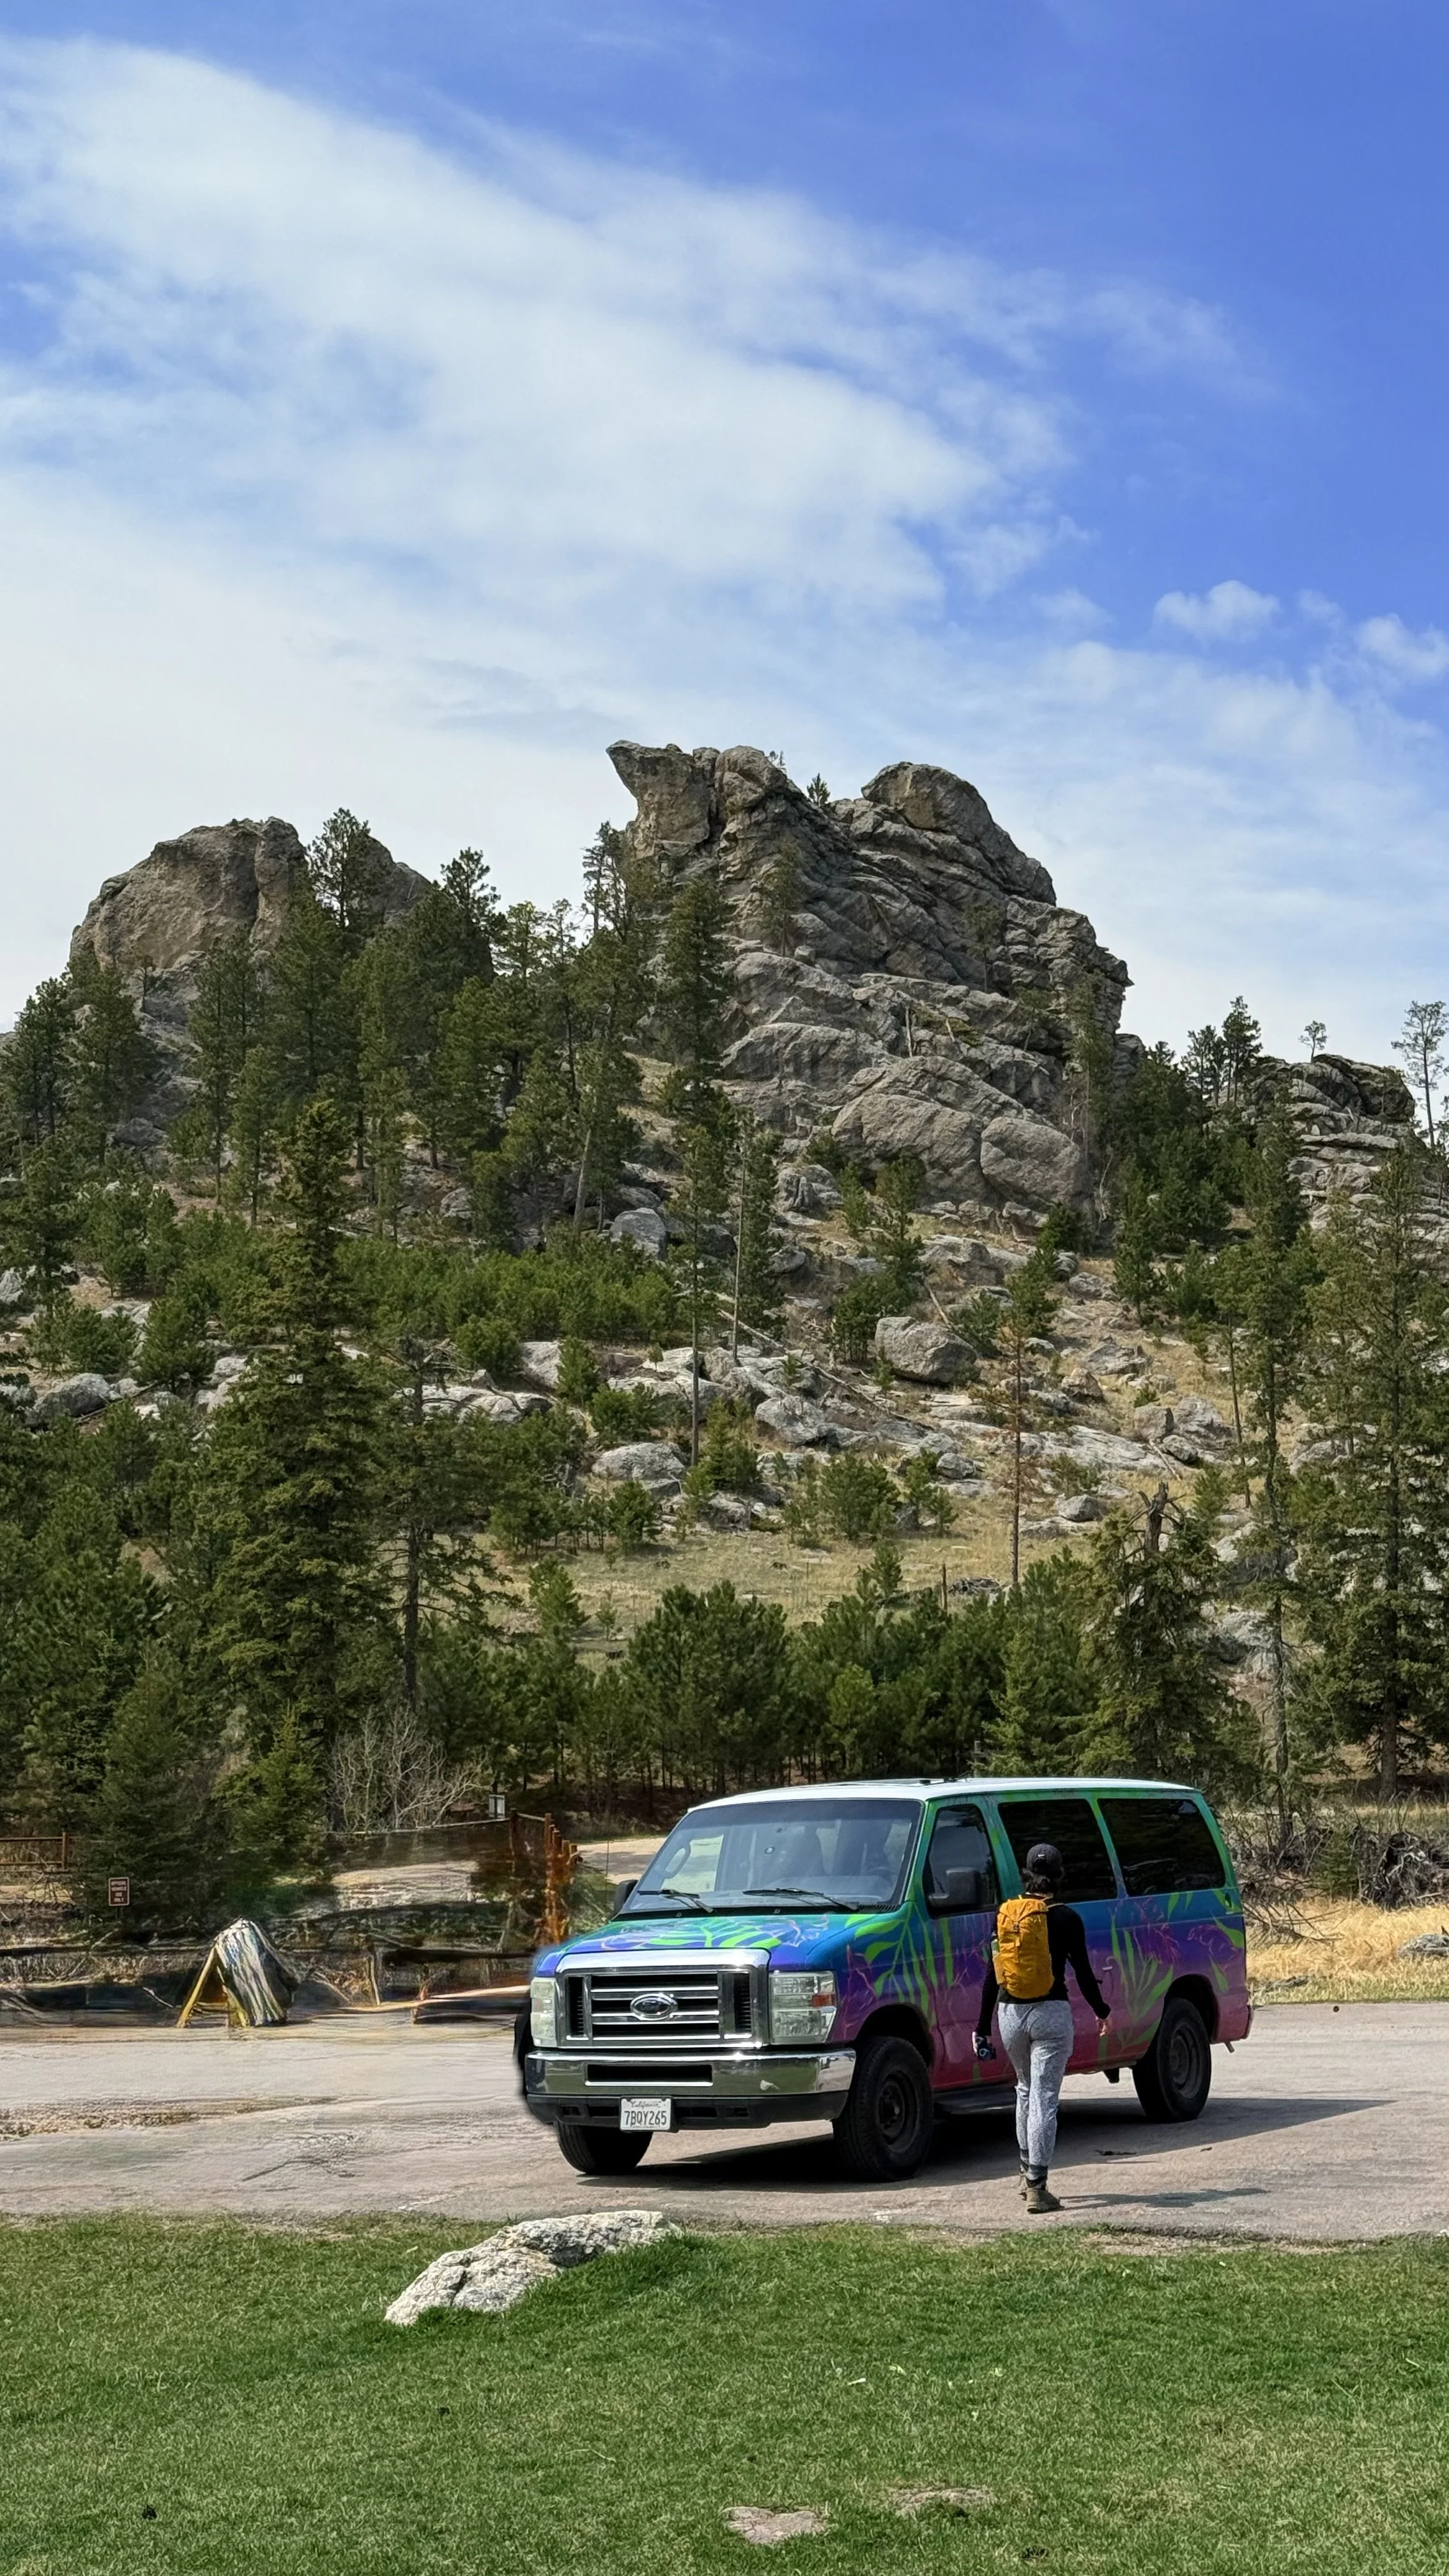
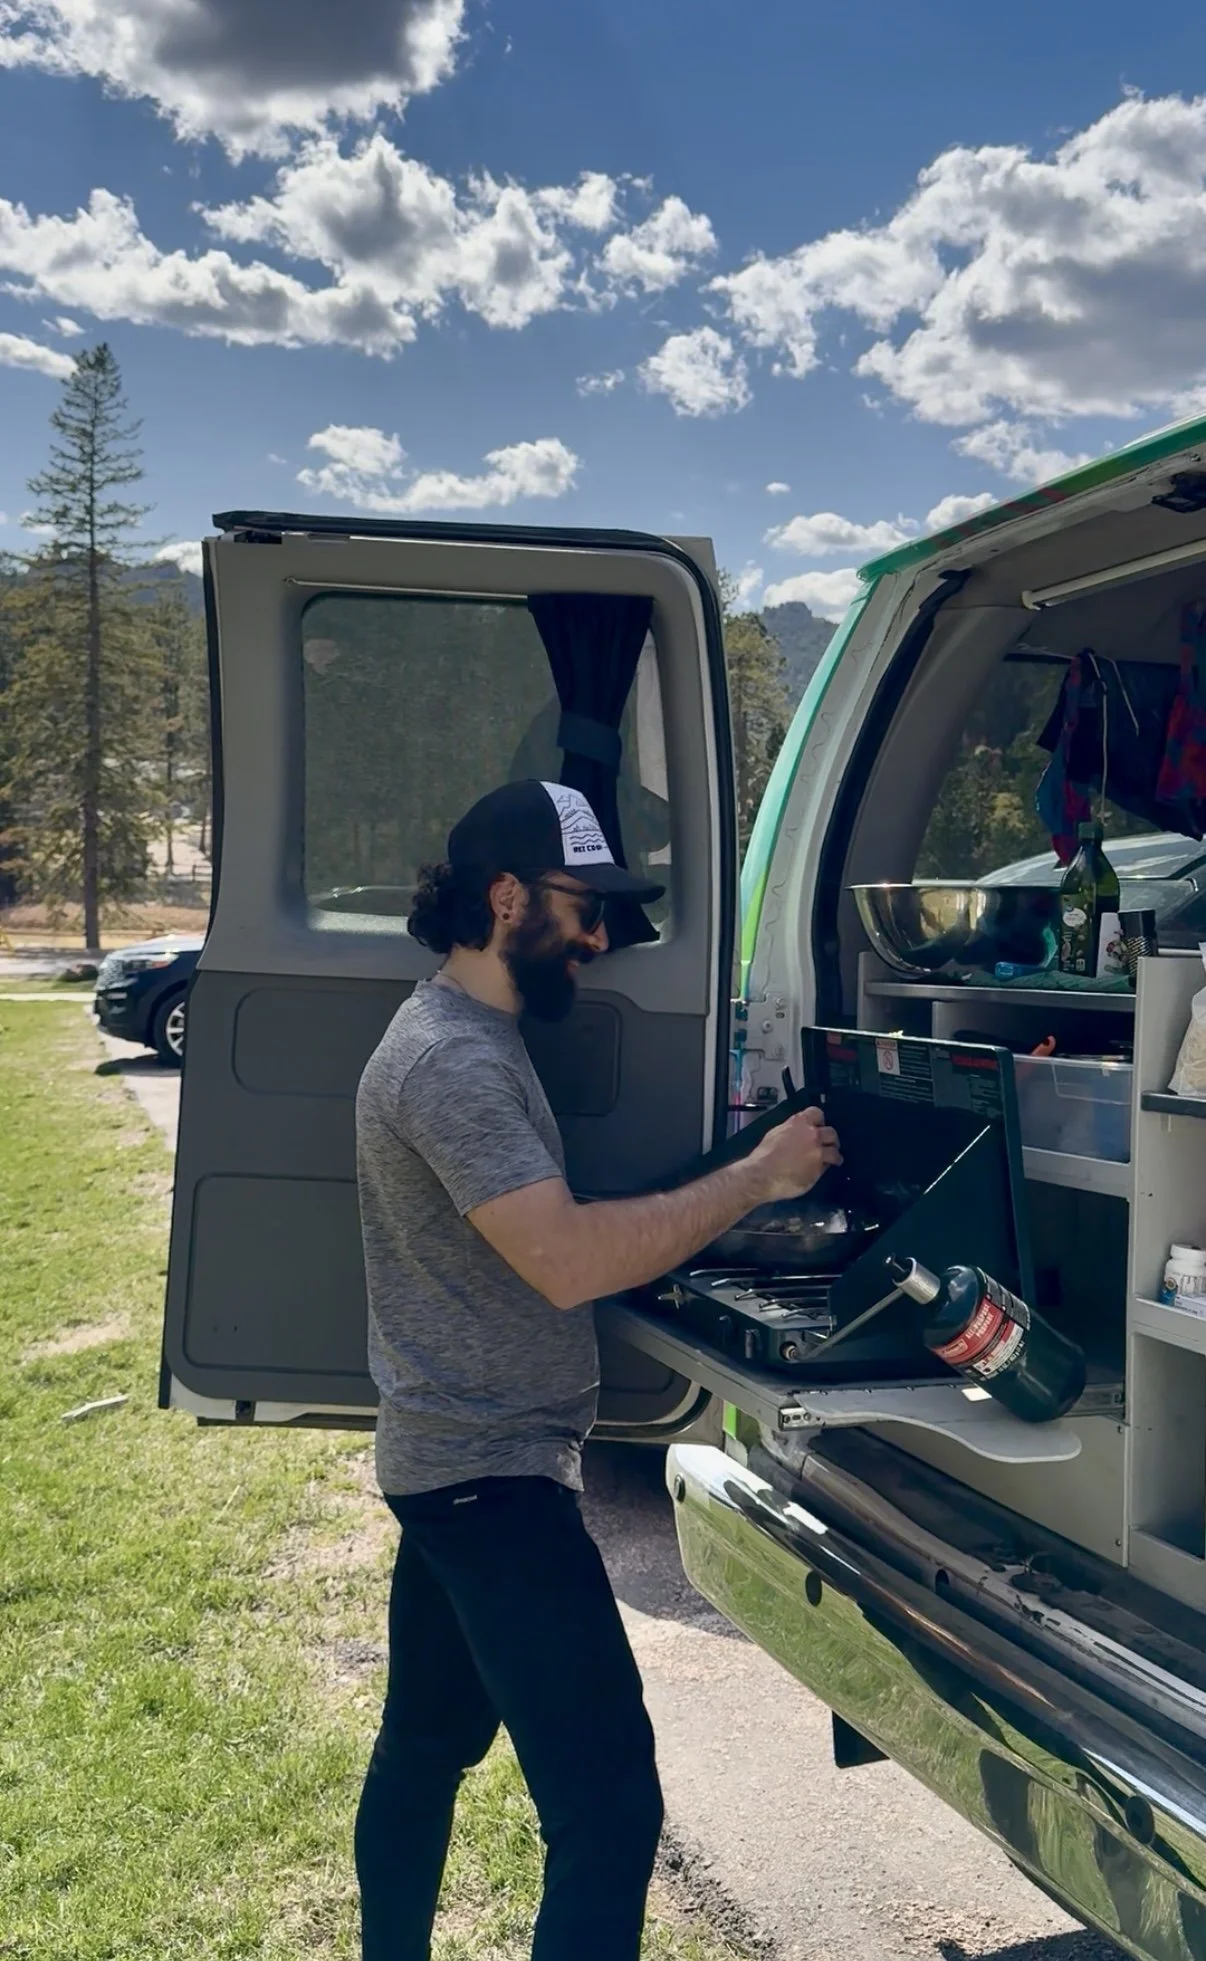
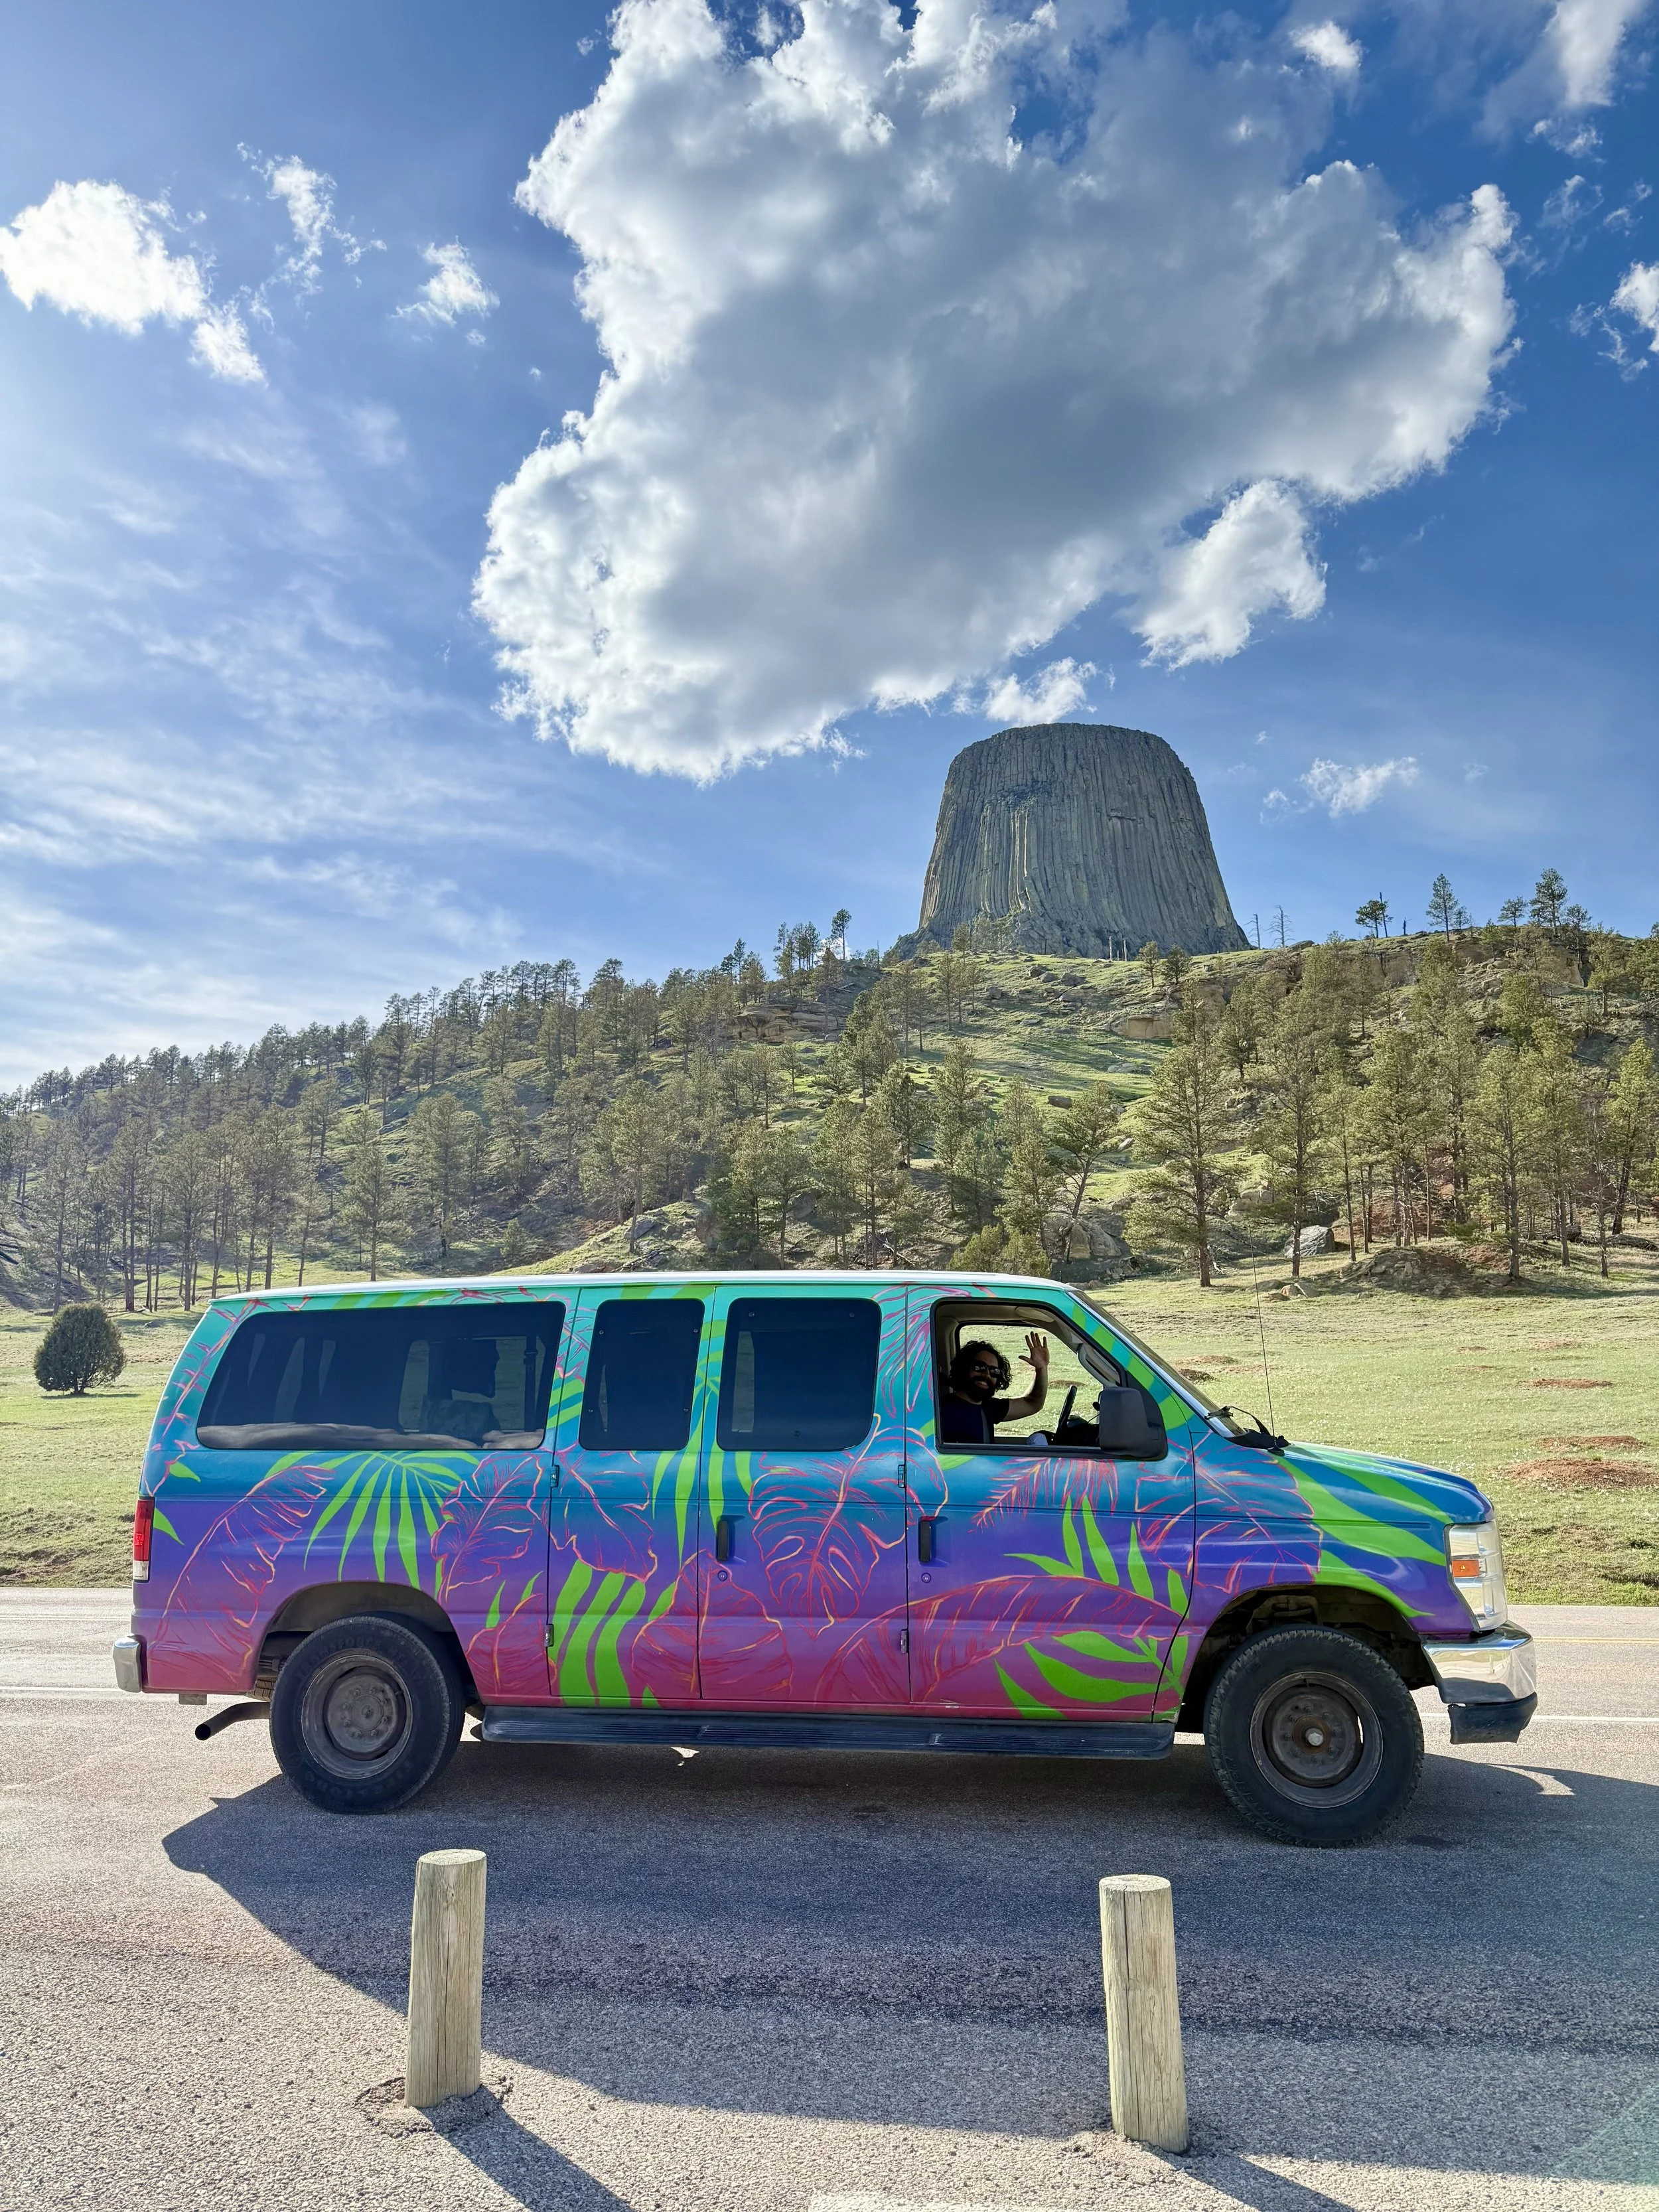
Campervan pickup and supplies
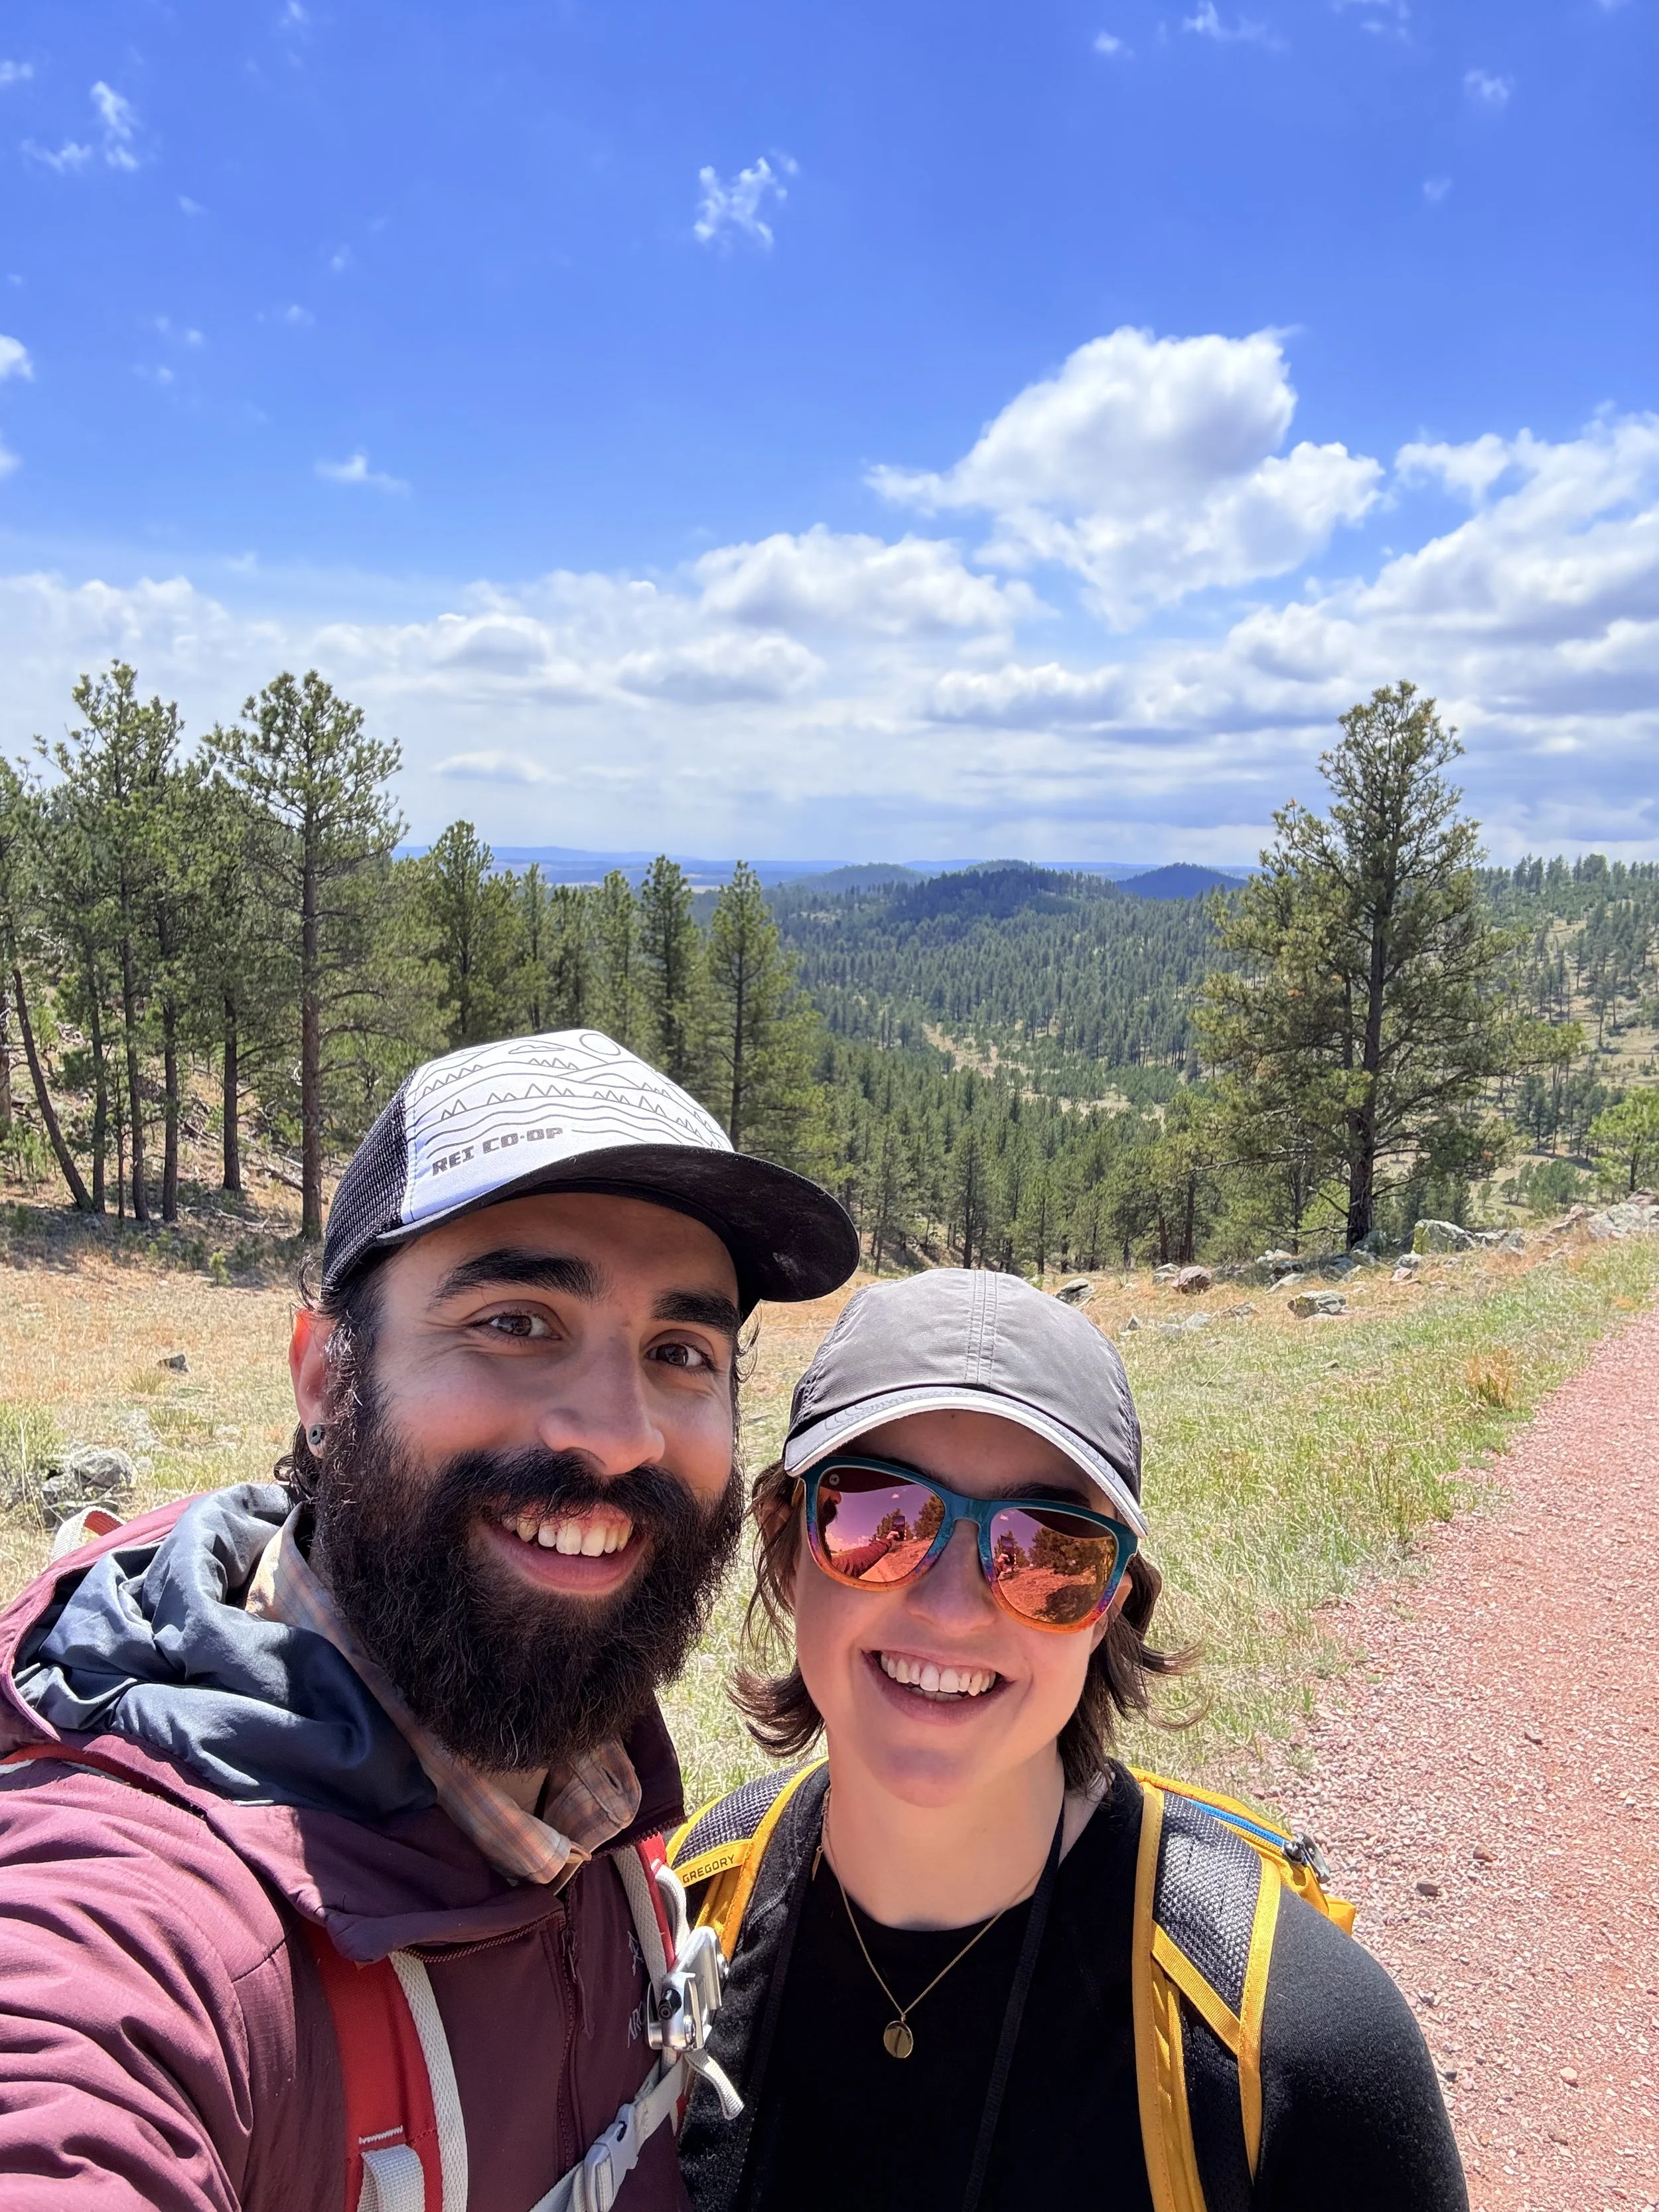
We kicked off our trip by flying into Denver and picking up our rental from Escape Campervans. The staff was super friendly and got us on the road quickly. Since it was still early in the season, their free pile of leftover supplies and nonperishables from past campers wasn’t very full, but it’s such a helpful option to have. Our van, “Eden Glow,” came decked out in vibrant colors and Monstera leaf artwork—definitely one of the more fun ones we’ve rented. As always, we made our supply run to Costco and Walmart before the long drive up to the Badlands. Our Costco membership continues to come in clutch, and it’s always a little adventure seeing what new finds pop up in different locations.

Getting to the Parks
The drive out to the Badlands was a long one (6.5 hours, eek), and the miles of straight roads cutting through wide-open farmland didn’t necessarily make it easy to stay awake after an early morning flight, so definitely one of those drives where a good playlist and plenty of caffeine come in handy. Along the way, we stopped at Carhenge, a quirky sculpture park made of stacked vintage cars. We got there just before sunset and wished we’d had more daylight to explore. It’s such a surprising spot to stumble upon in the middle of nowhere. As we quickly wandered through, a giant owl swooped between the cars, adding to the magic.
One pro tip: always double-check your campground in the GPS. On the last leg of the drive, Dan accidentally routed us to Sage Creek instead of Cedar Pass, which added an unexpected hour to our already full day. Once we made it into the park, though, we were greeted by bison and deer roaming near the road which was such an awesome welcome.

Where to stay in Badlands: Cedar Pass Campground
We pulled into Cedar Pass Campground quite late and did our best to quietly find our site and get settled…then pretty much crashed right into bed. We stayed at Site 32 in the Agate Loop for three nights ($111 total), and honestly, we think we scored one of the best spots in the loop (maybe even the whole campground). Most of the sites are fairly open and close together, so privacy isn’t really a strong point here, but ours felt a little more tucked away and had a great view of the rock formations lining the horizon. The campground had some solid amenities too: hot showers and a big dishwashing station with hot water (huge win after a day of dusty adventuring), though there wasn’t a drinking water fill-up station, so plan ahead for that.
Day 2
〰️
Day 2 〰️
Day 2 South Dakota Parks Itinerary:
Exploring Badlands


Saddle Pass to Castle Trail and Medicine Root Trail
After a much-needed slow morning to catch up on sleep, we made breakfast at our campsite. It was super convenient that every picnic table has a shade awning, especially with the sun already heating up.
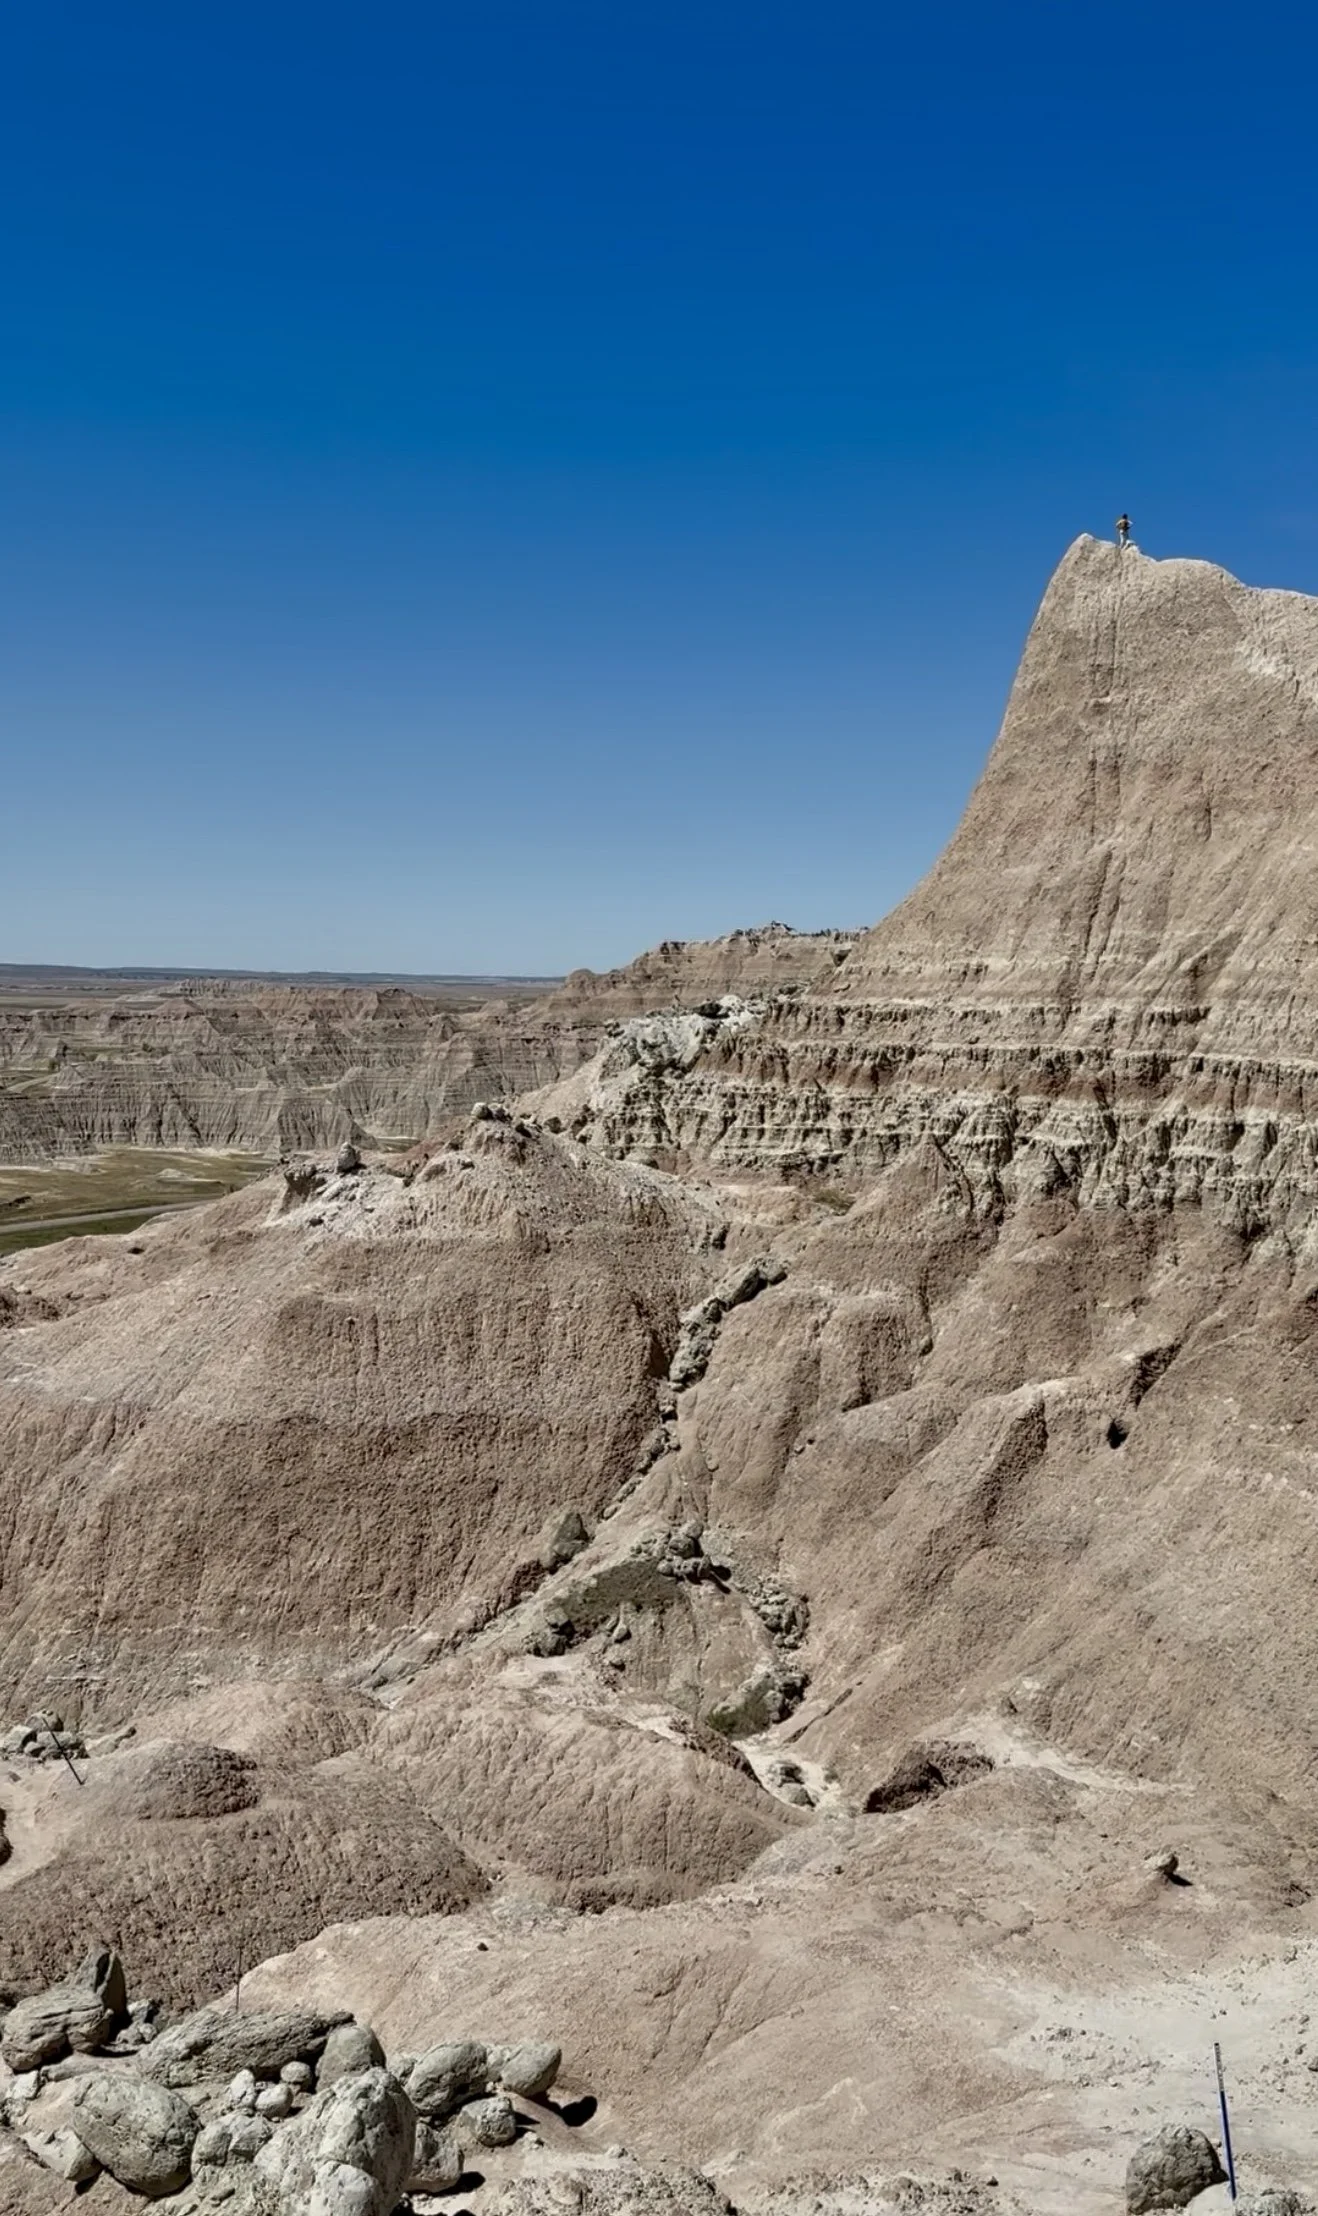
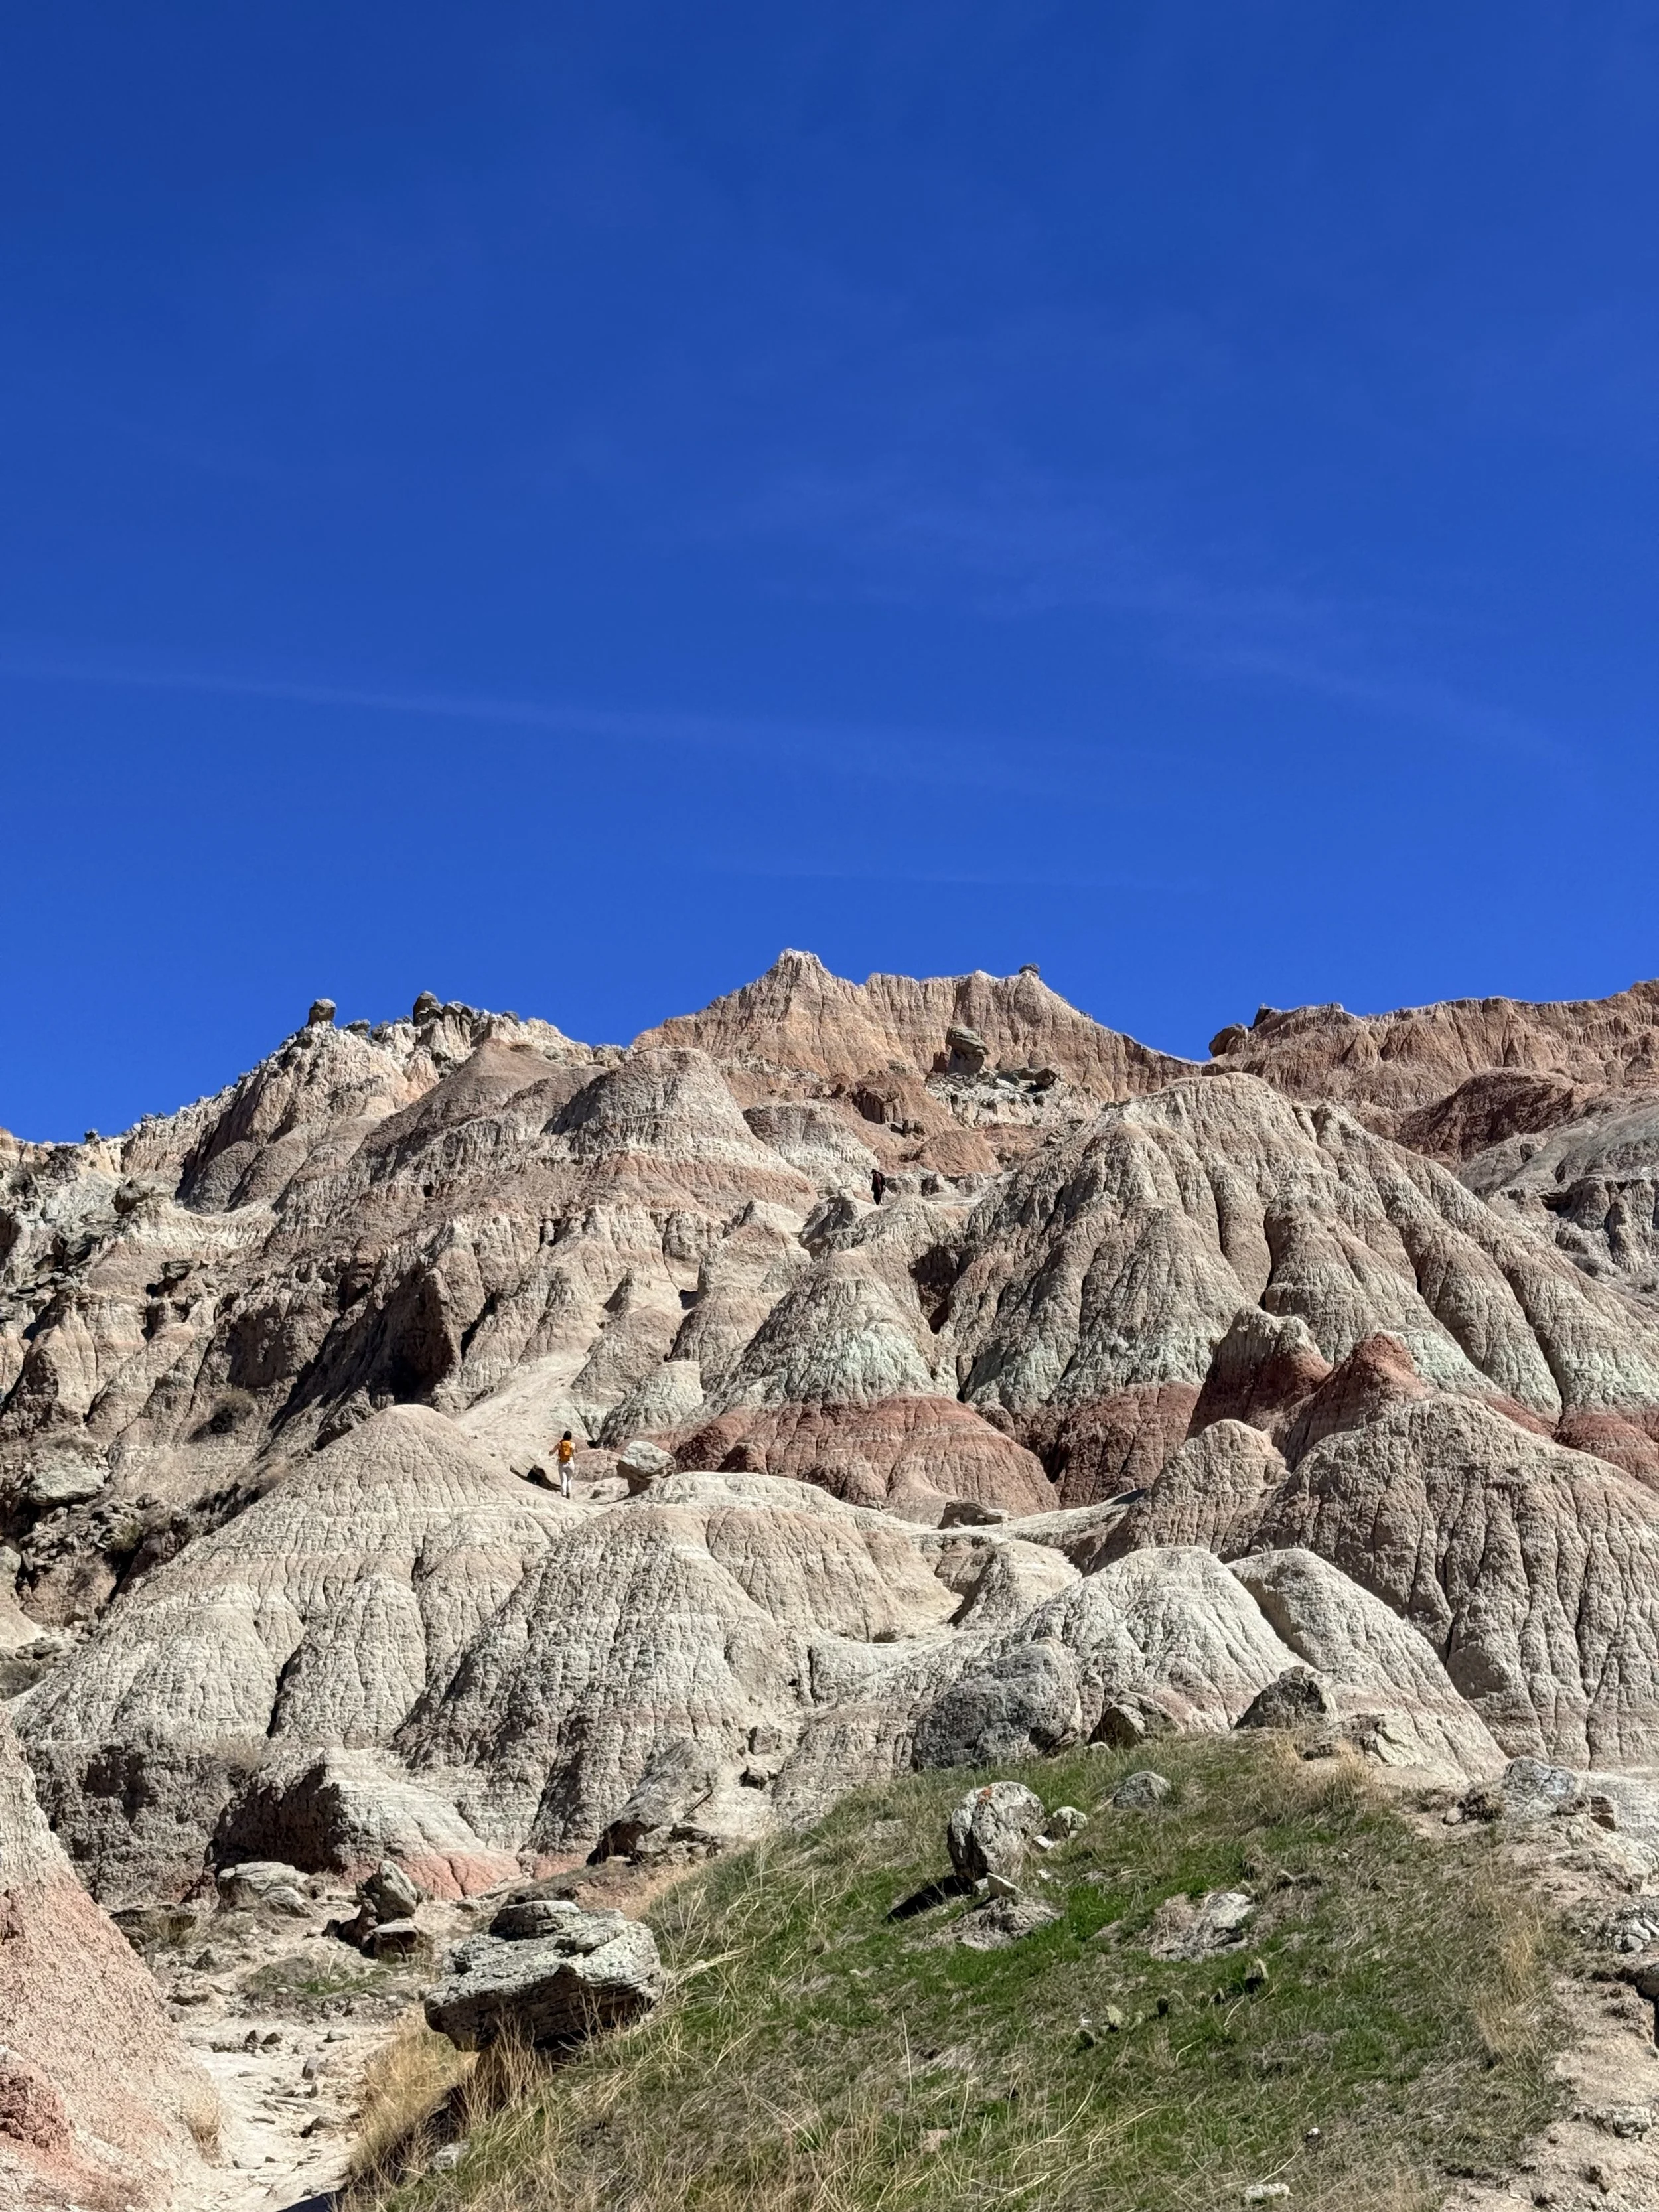
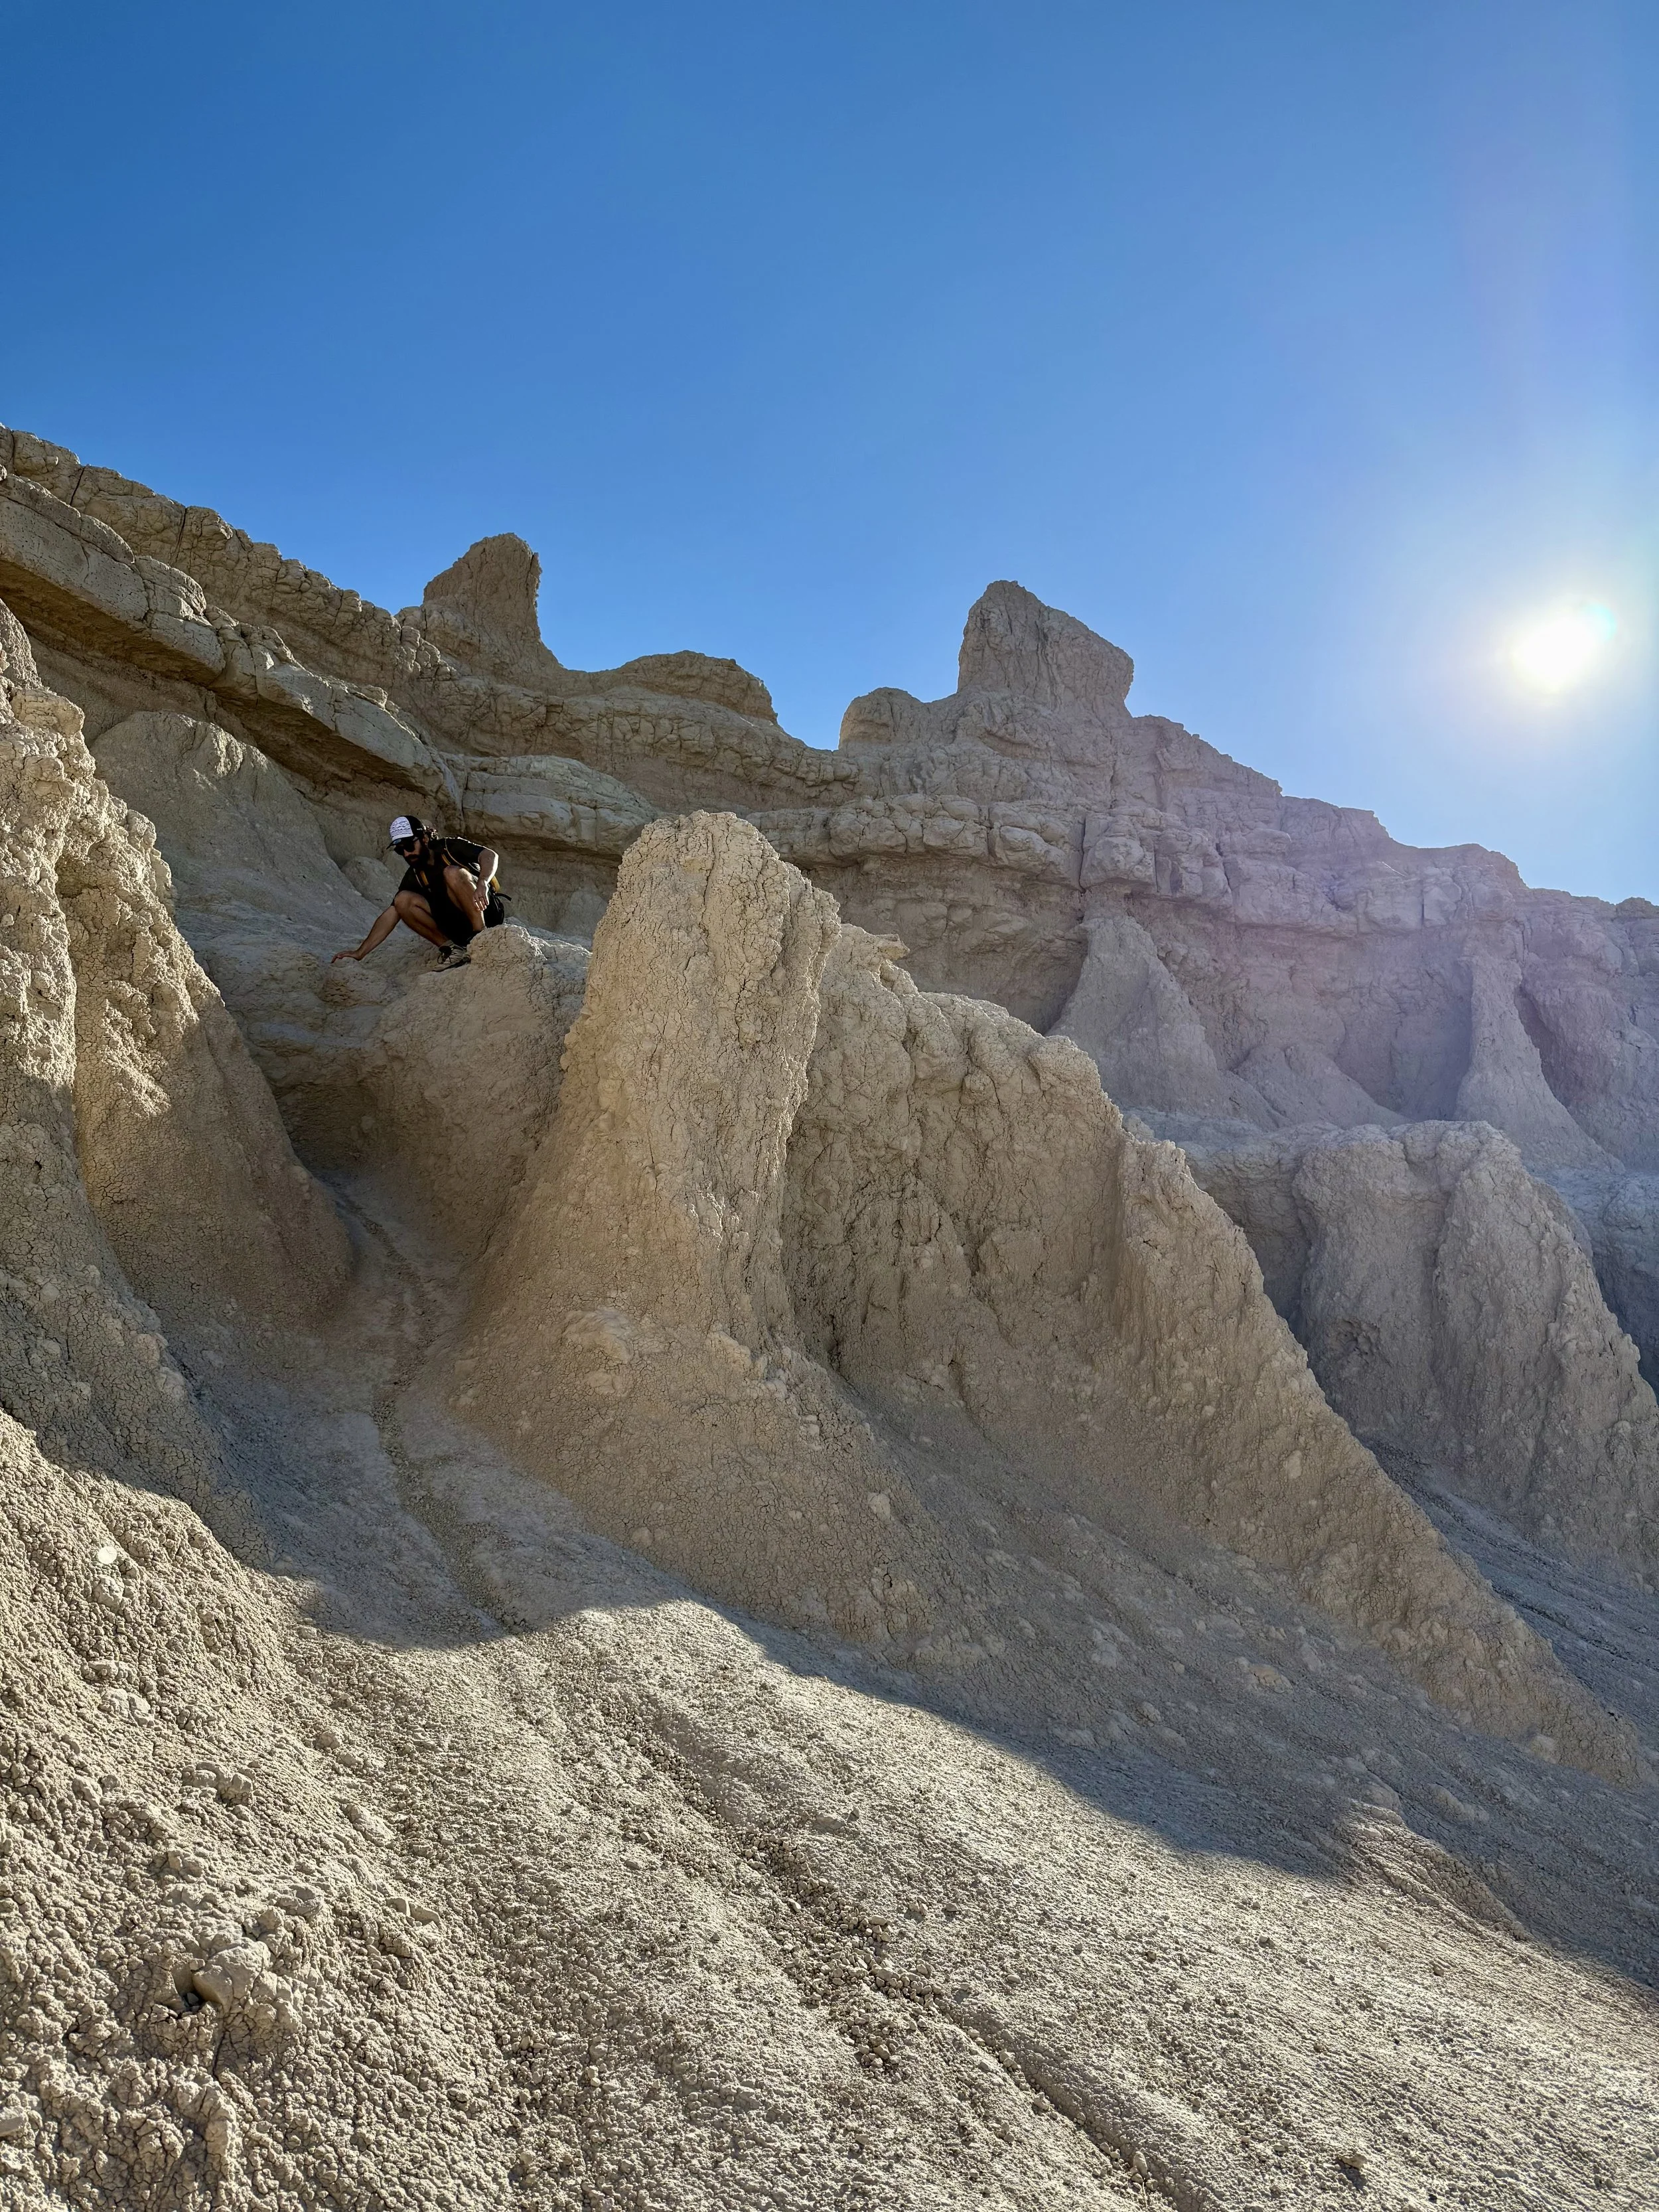
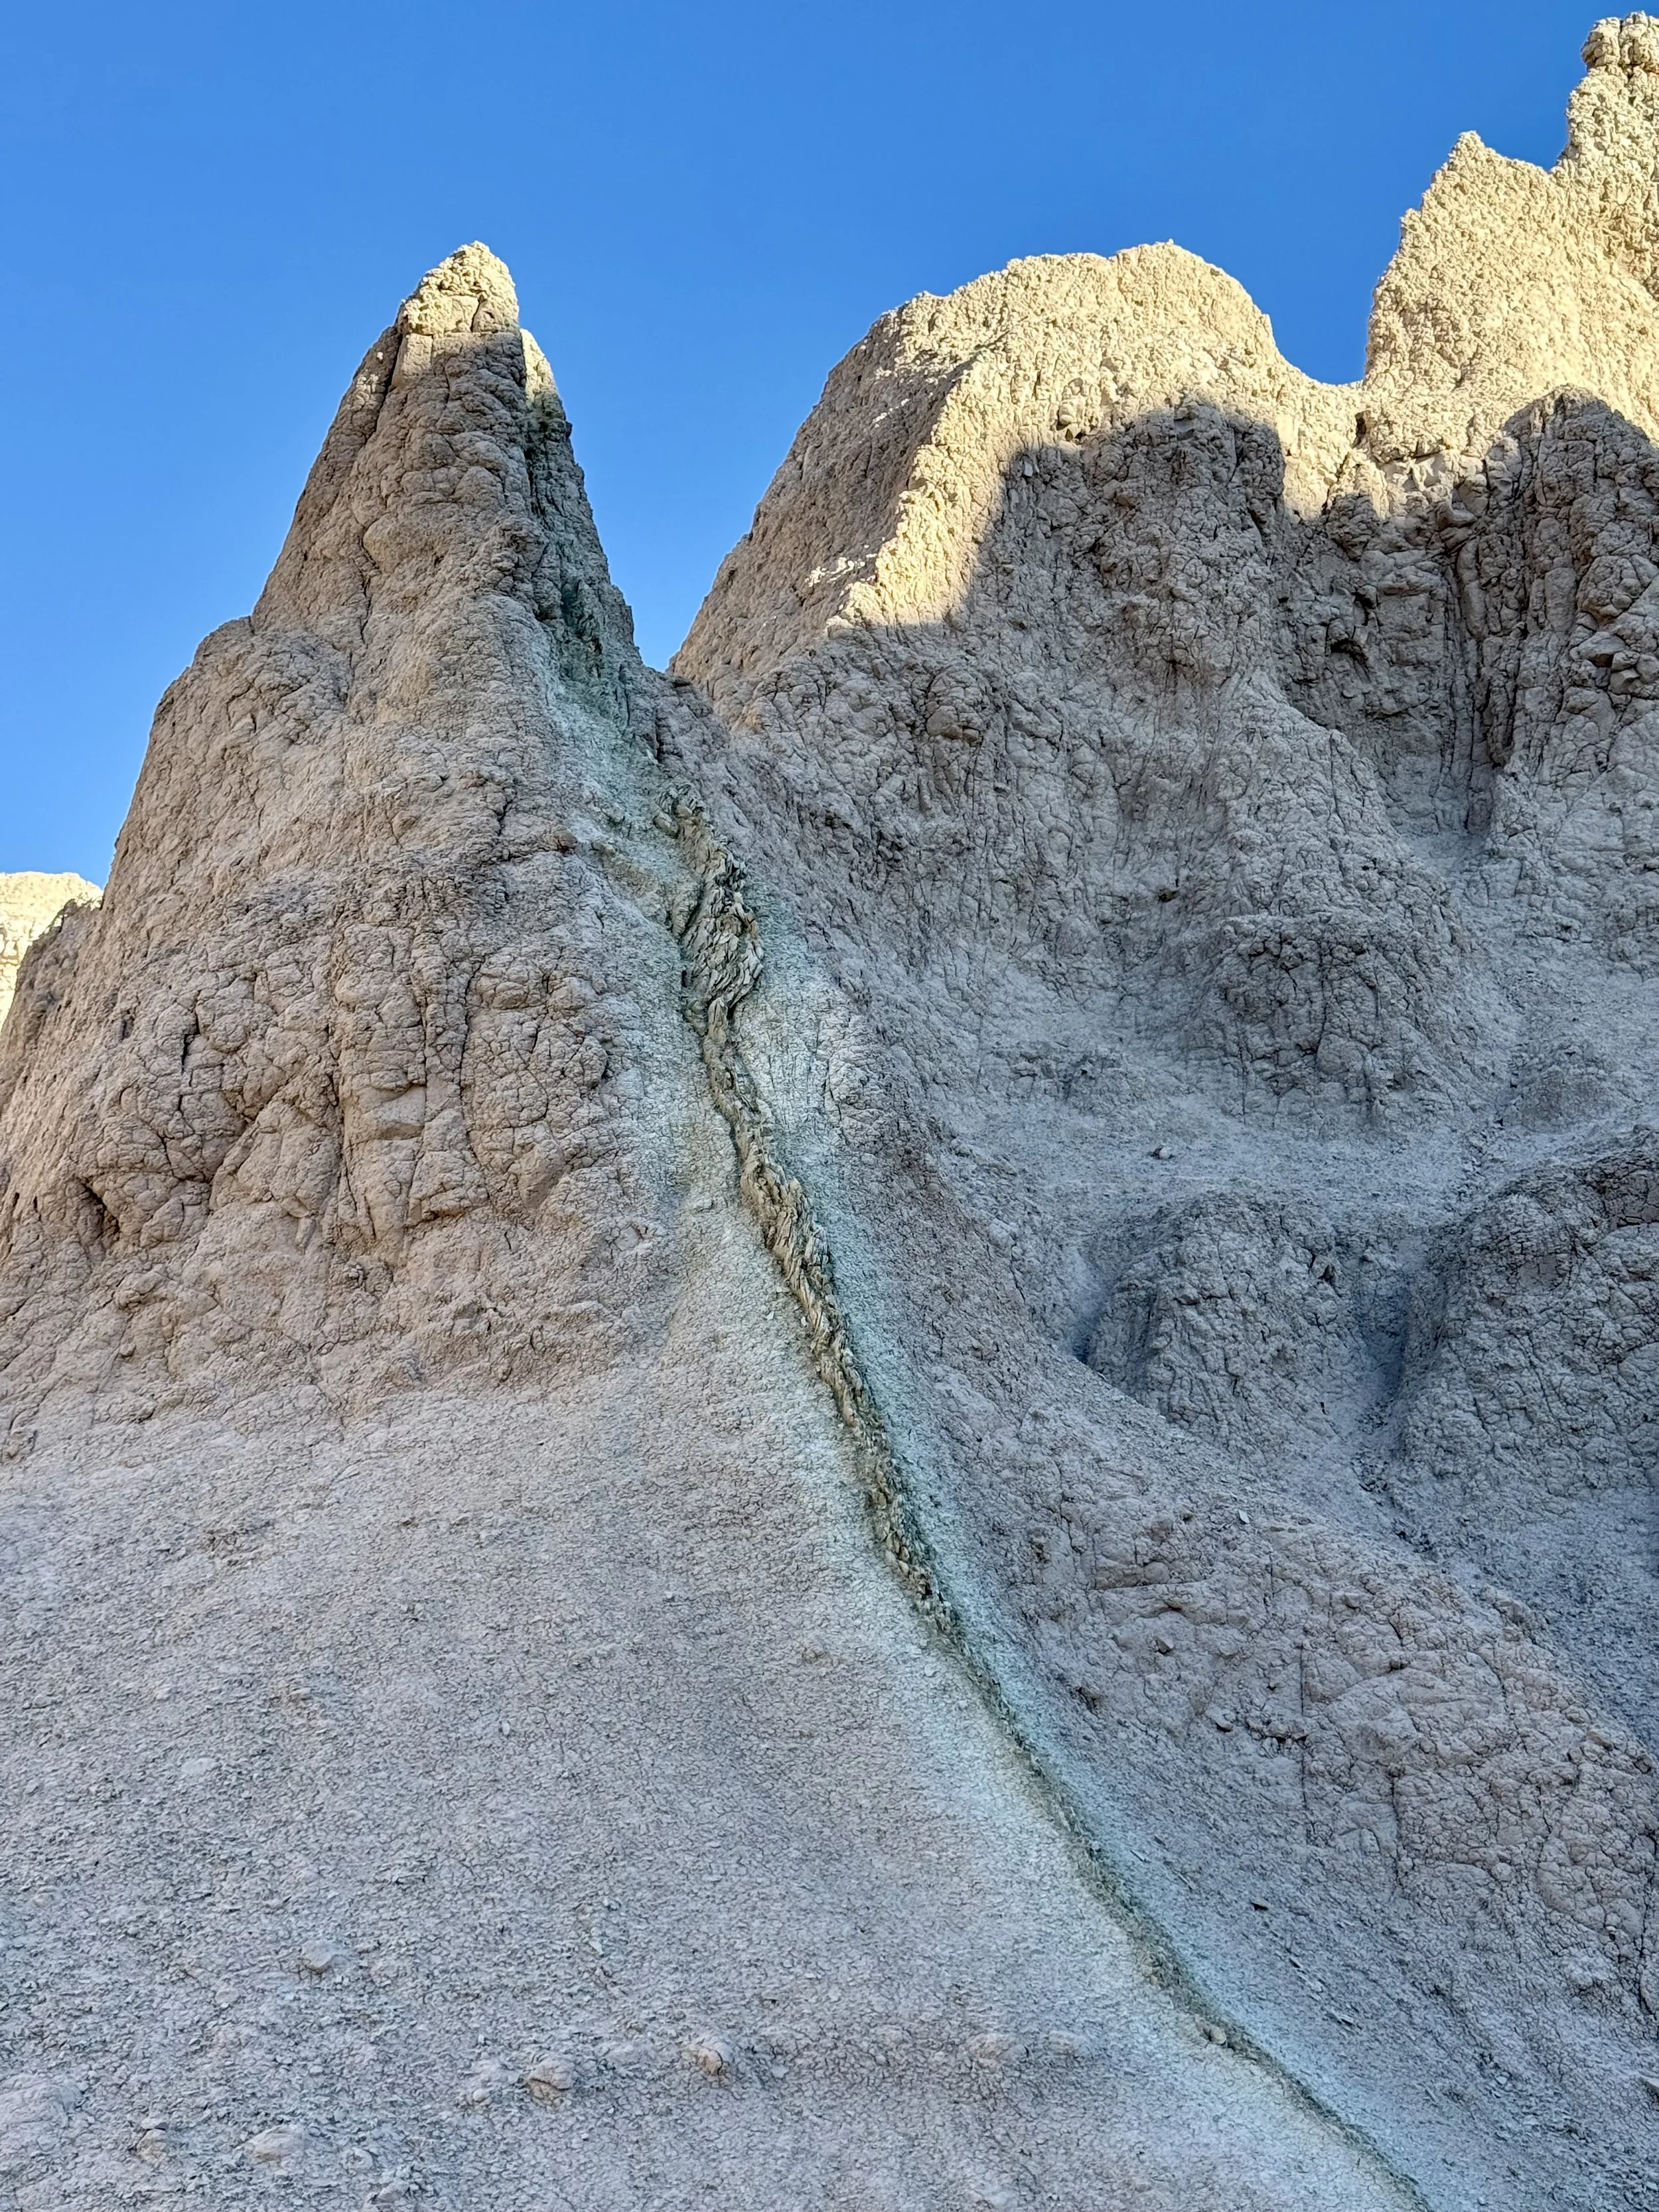
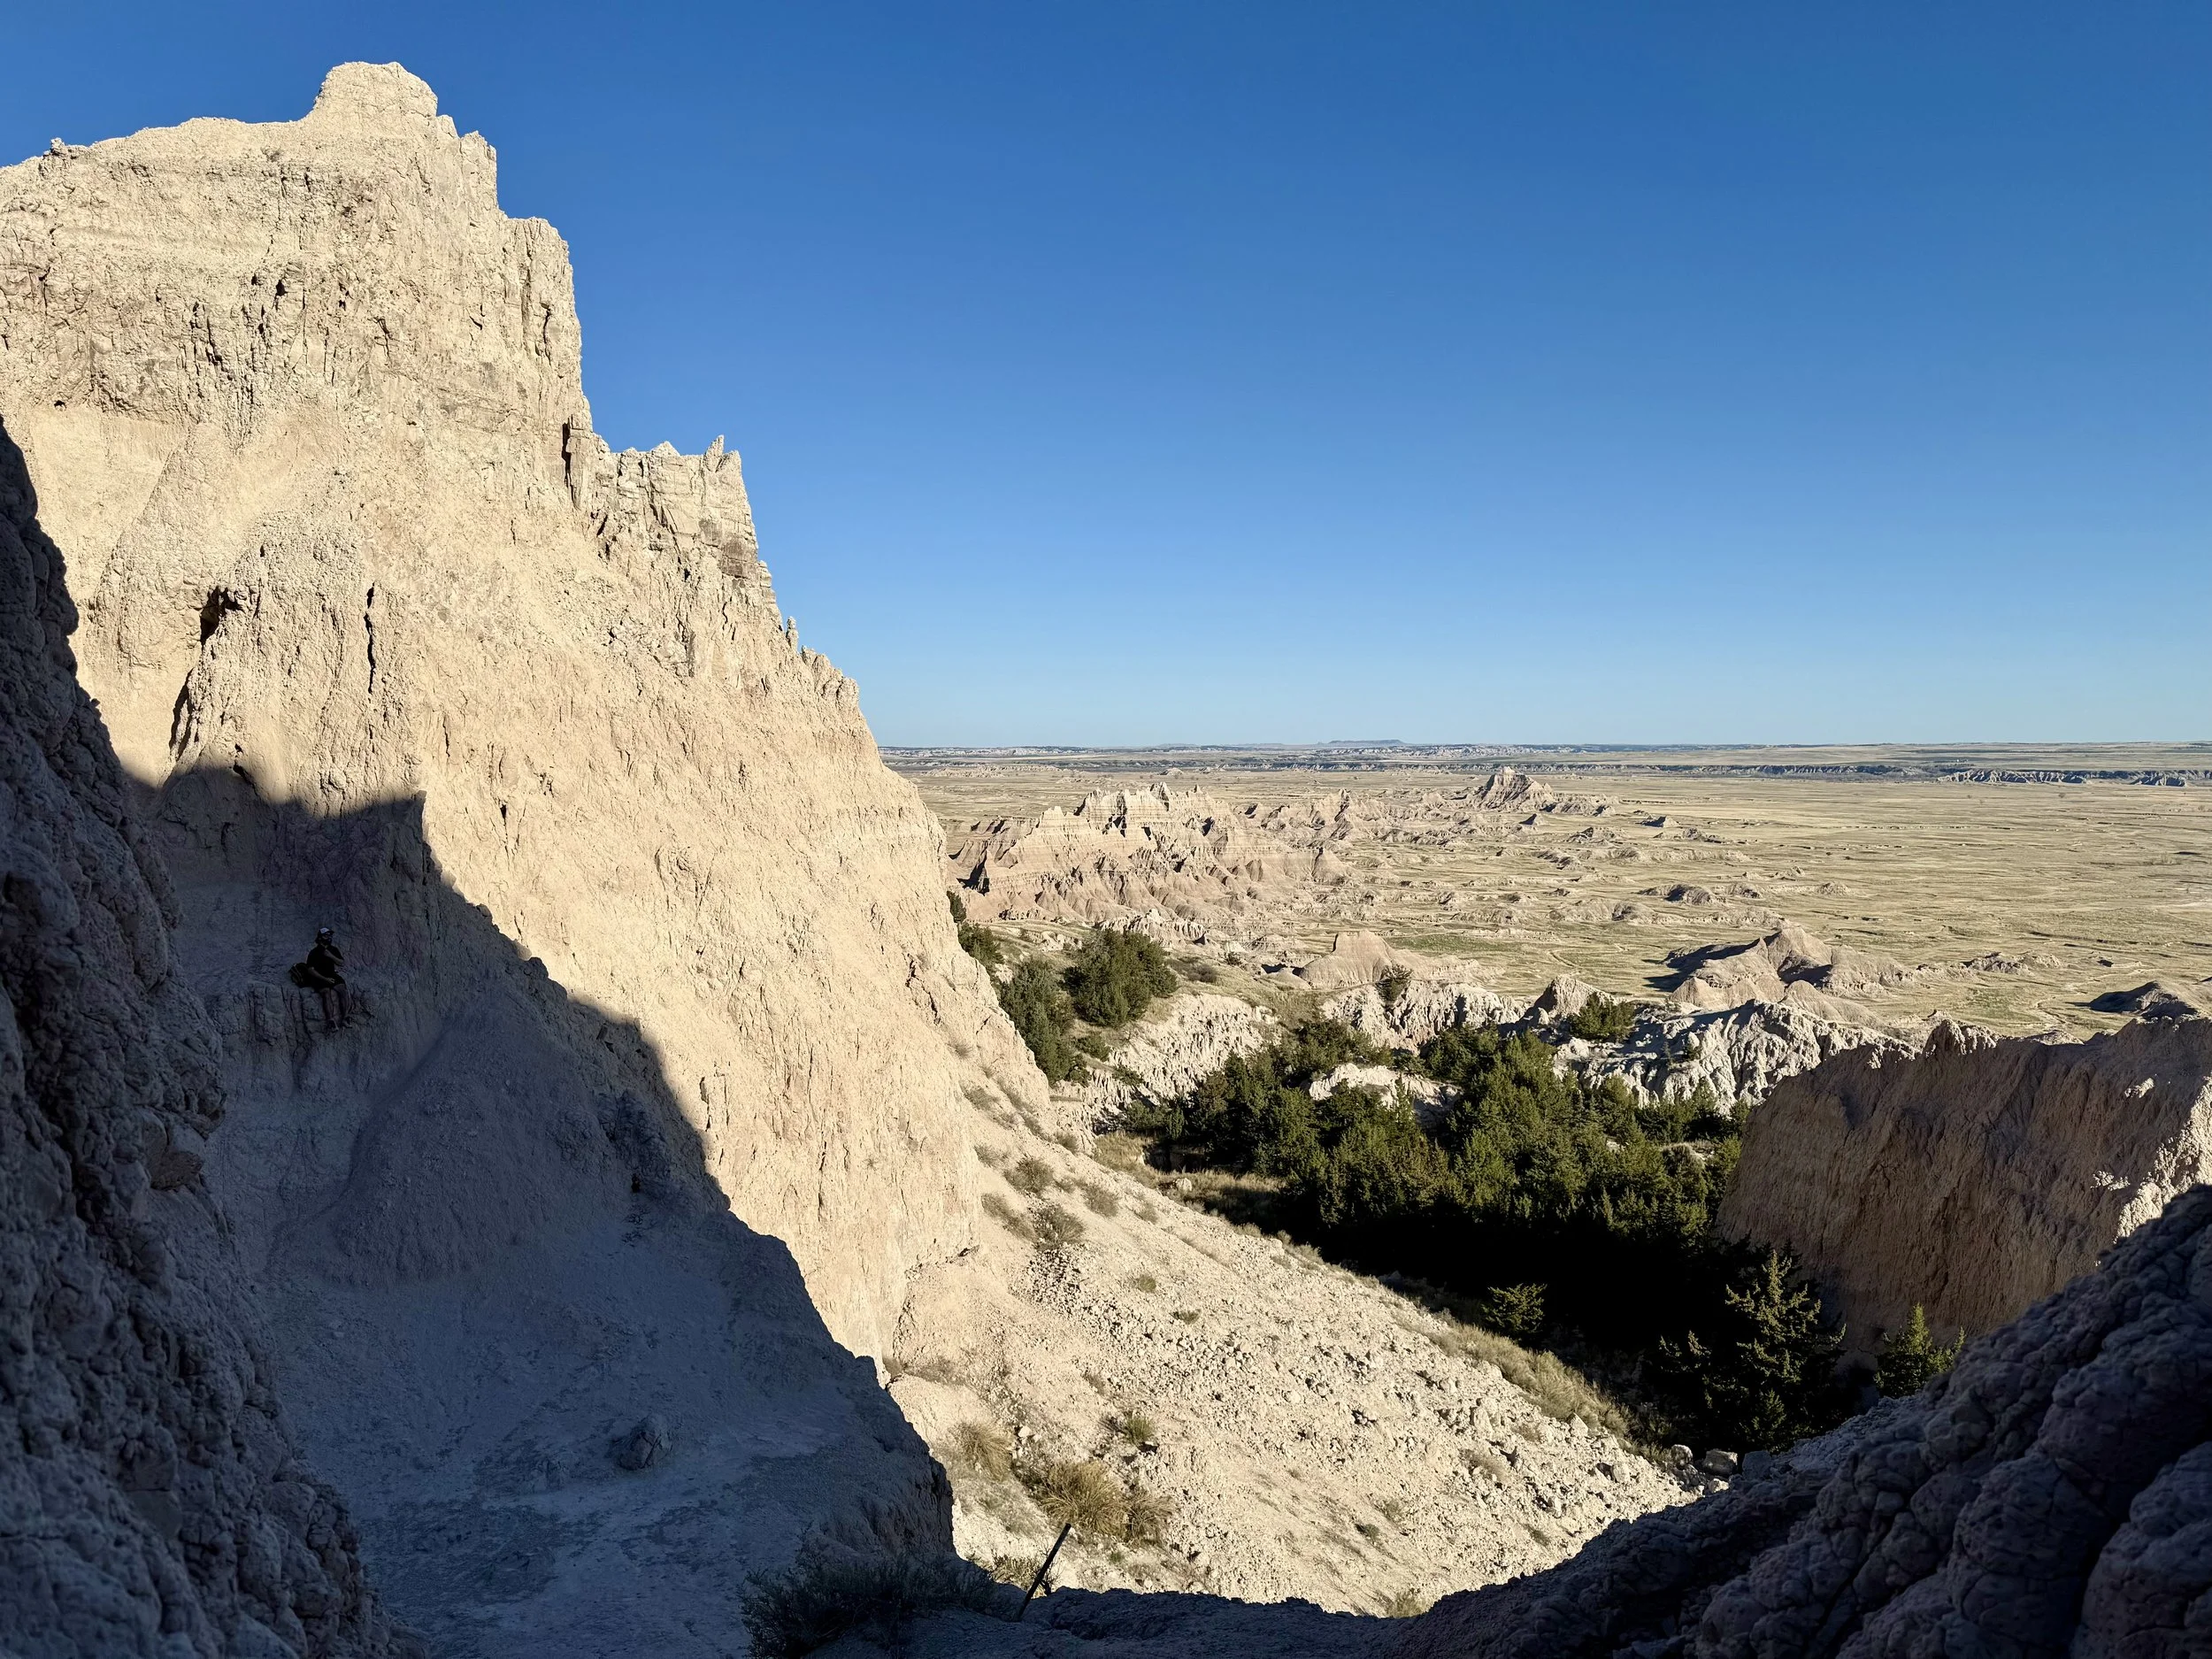
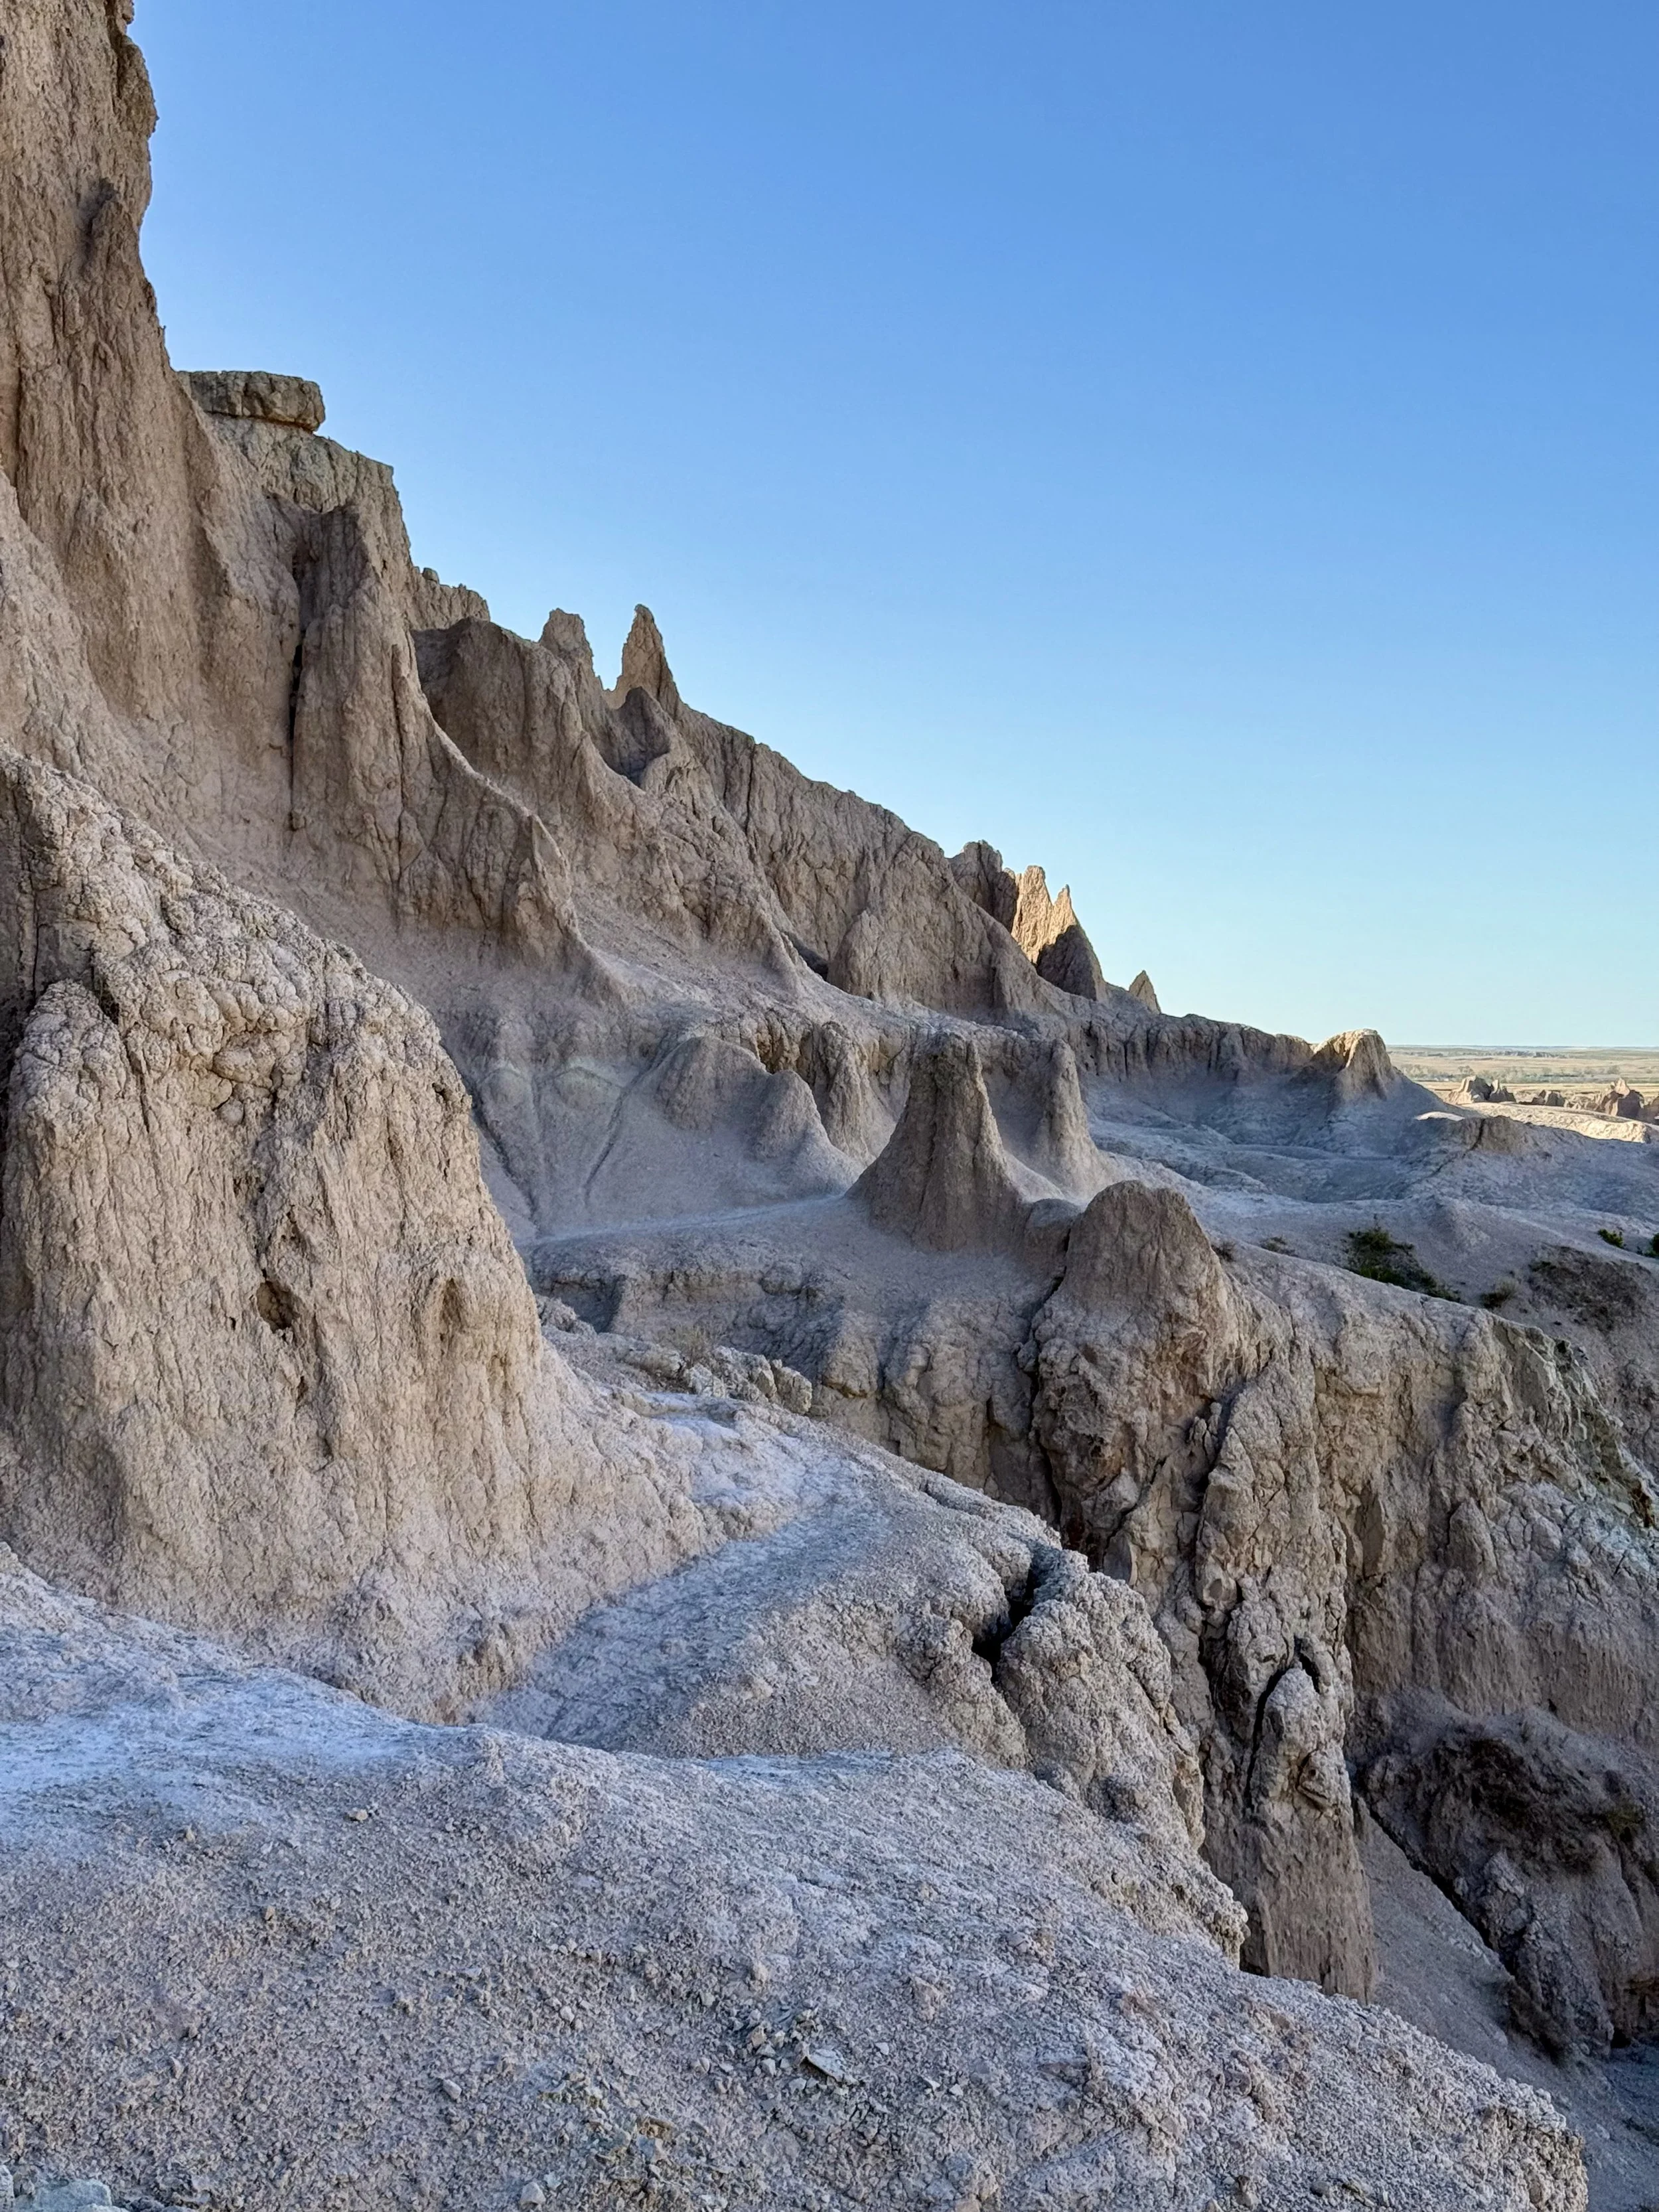
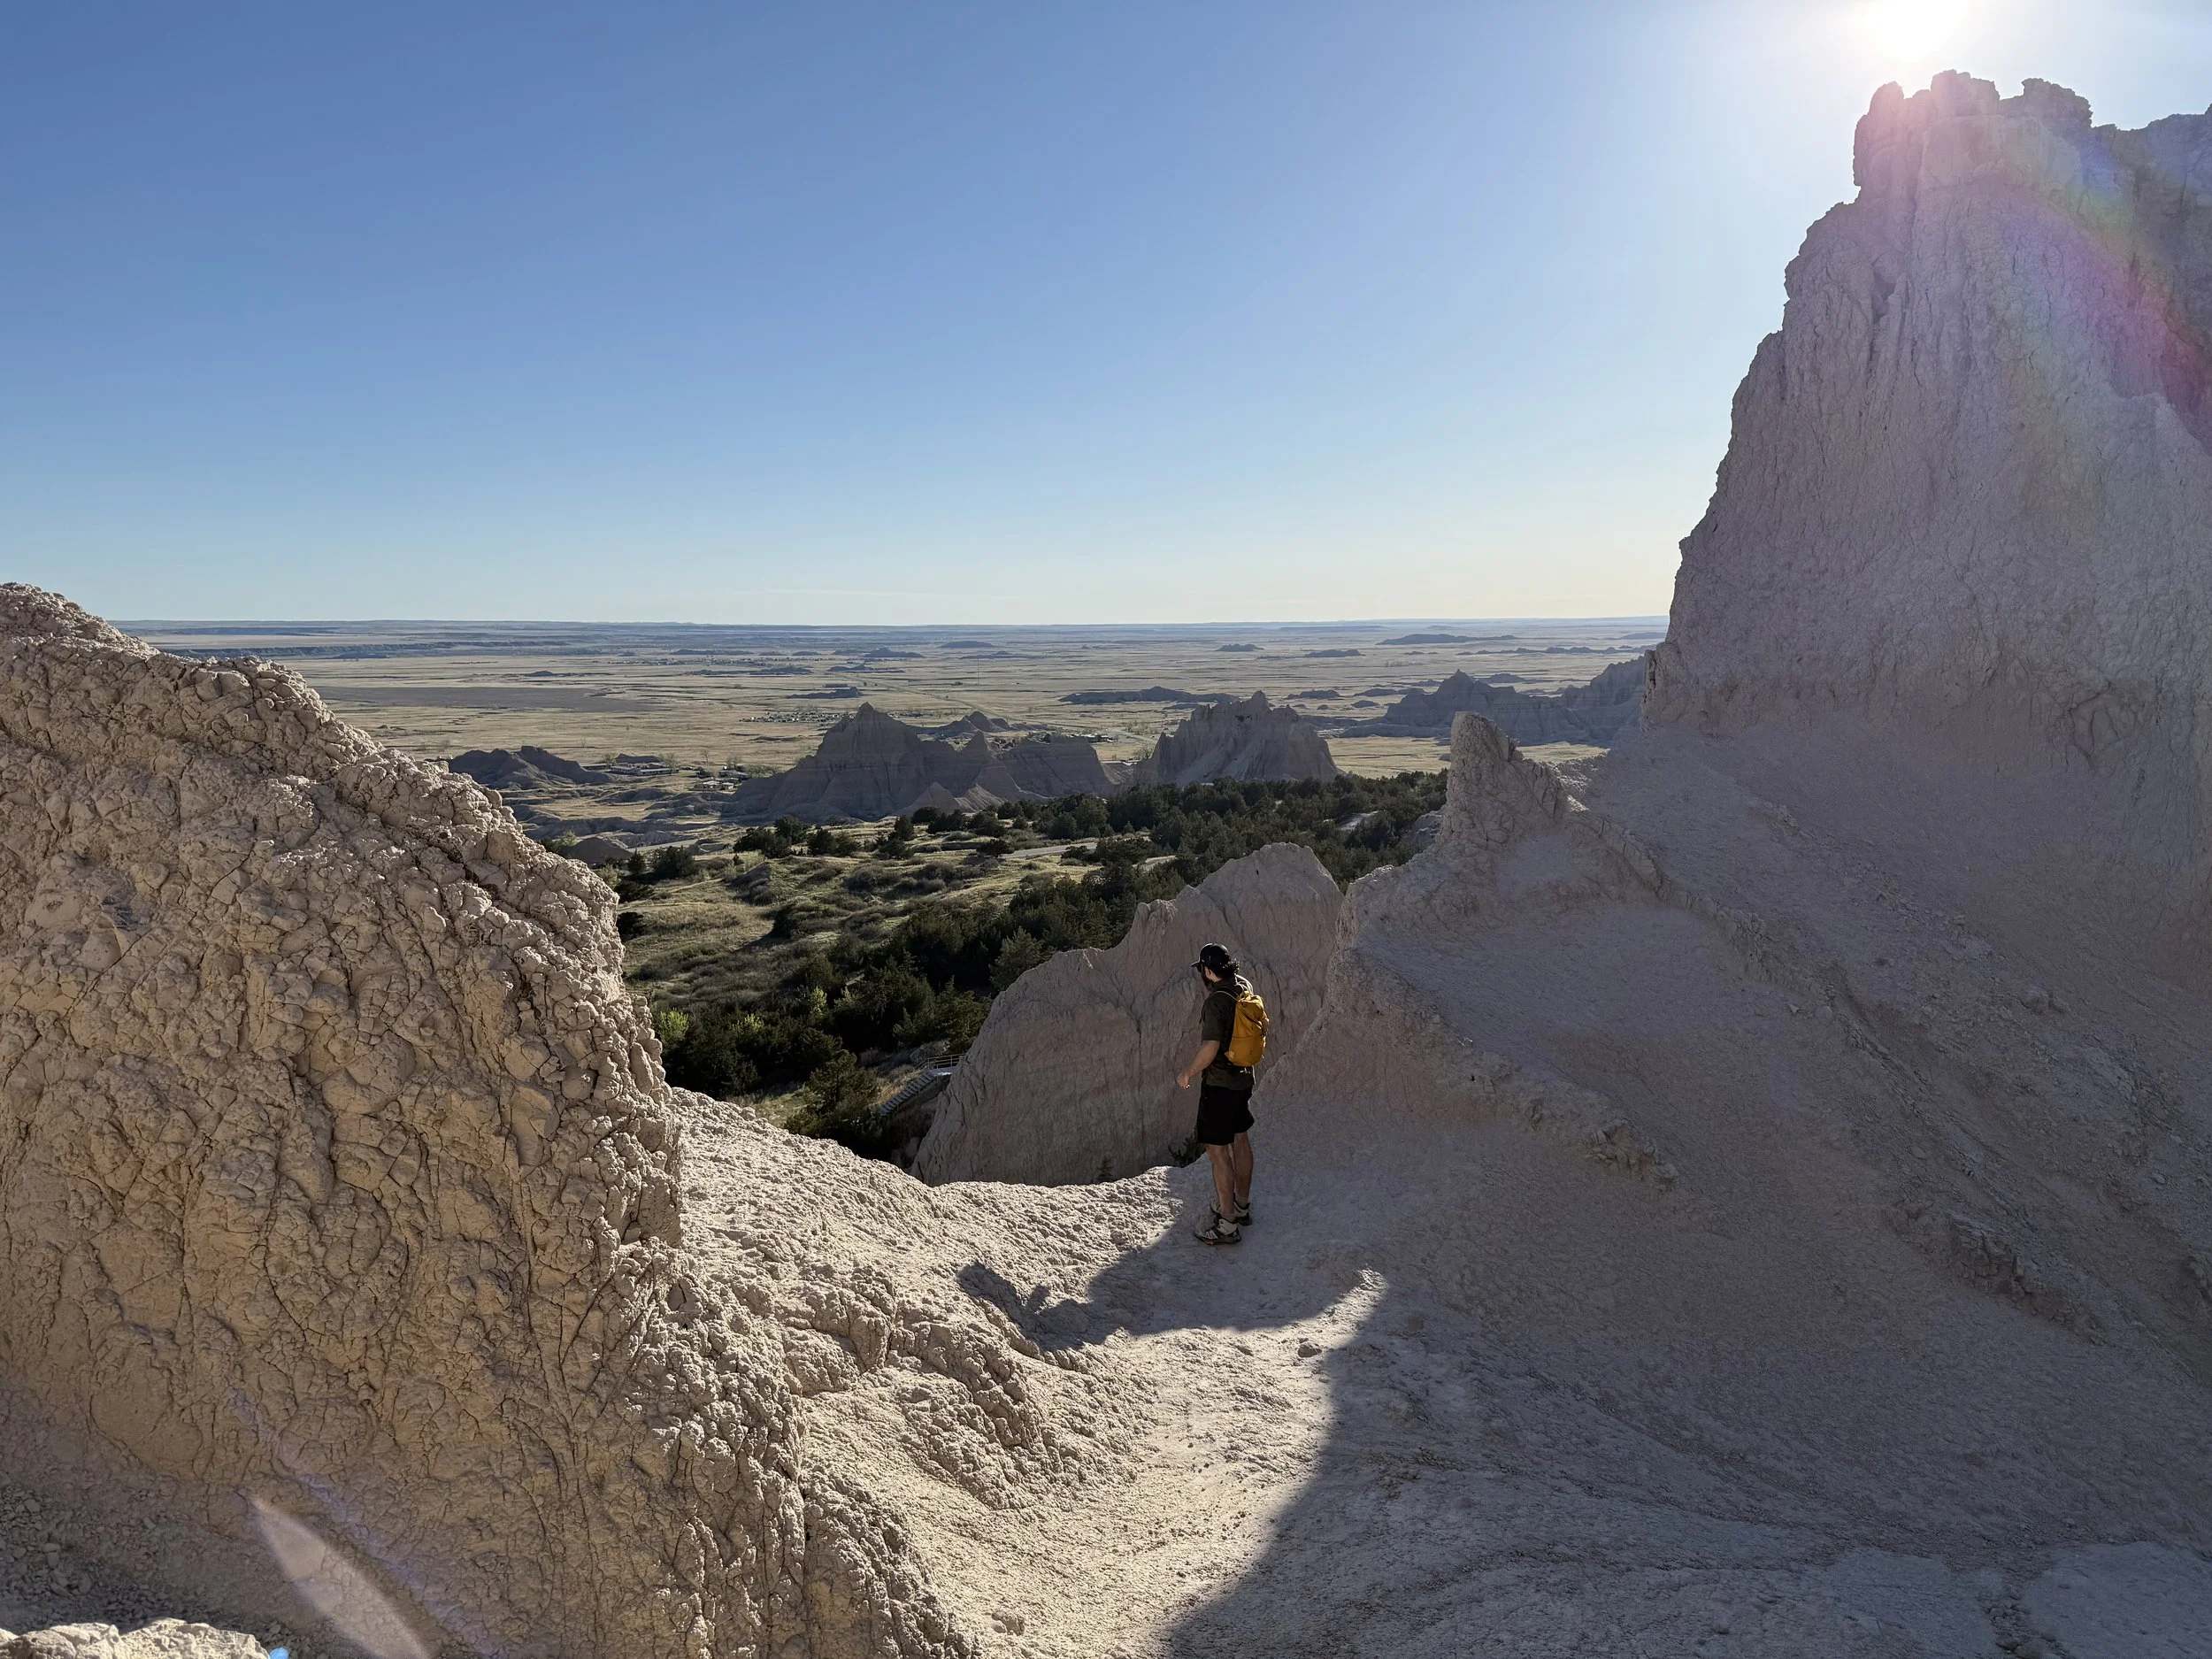
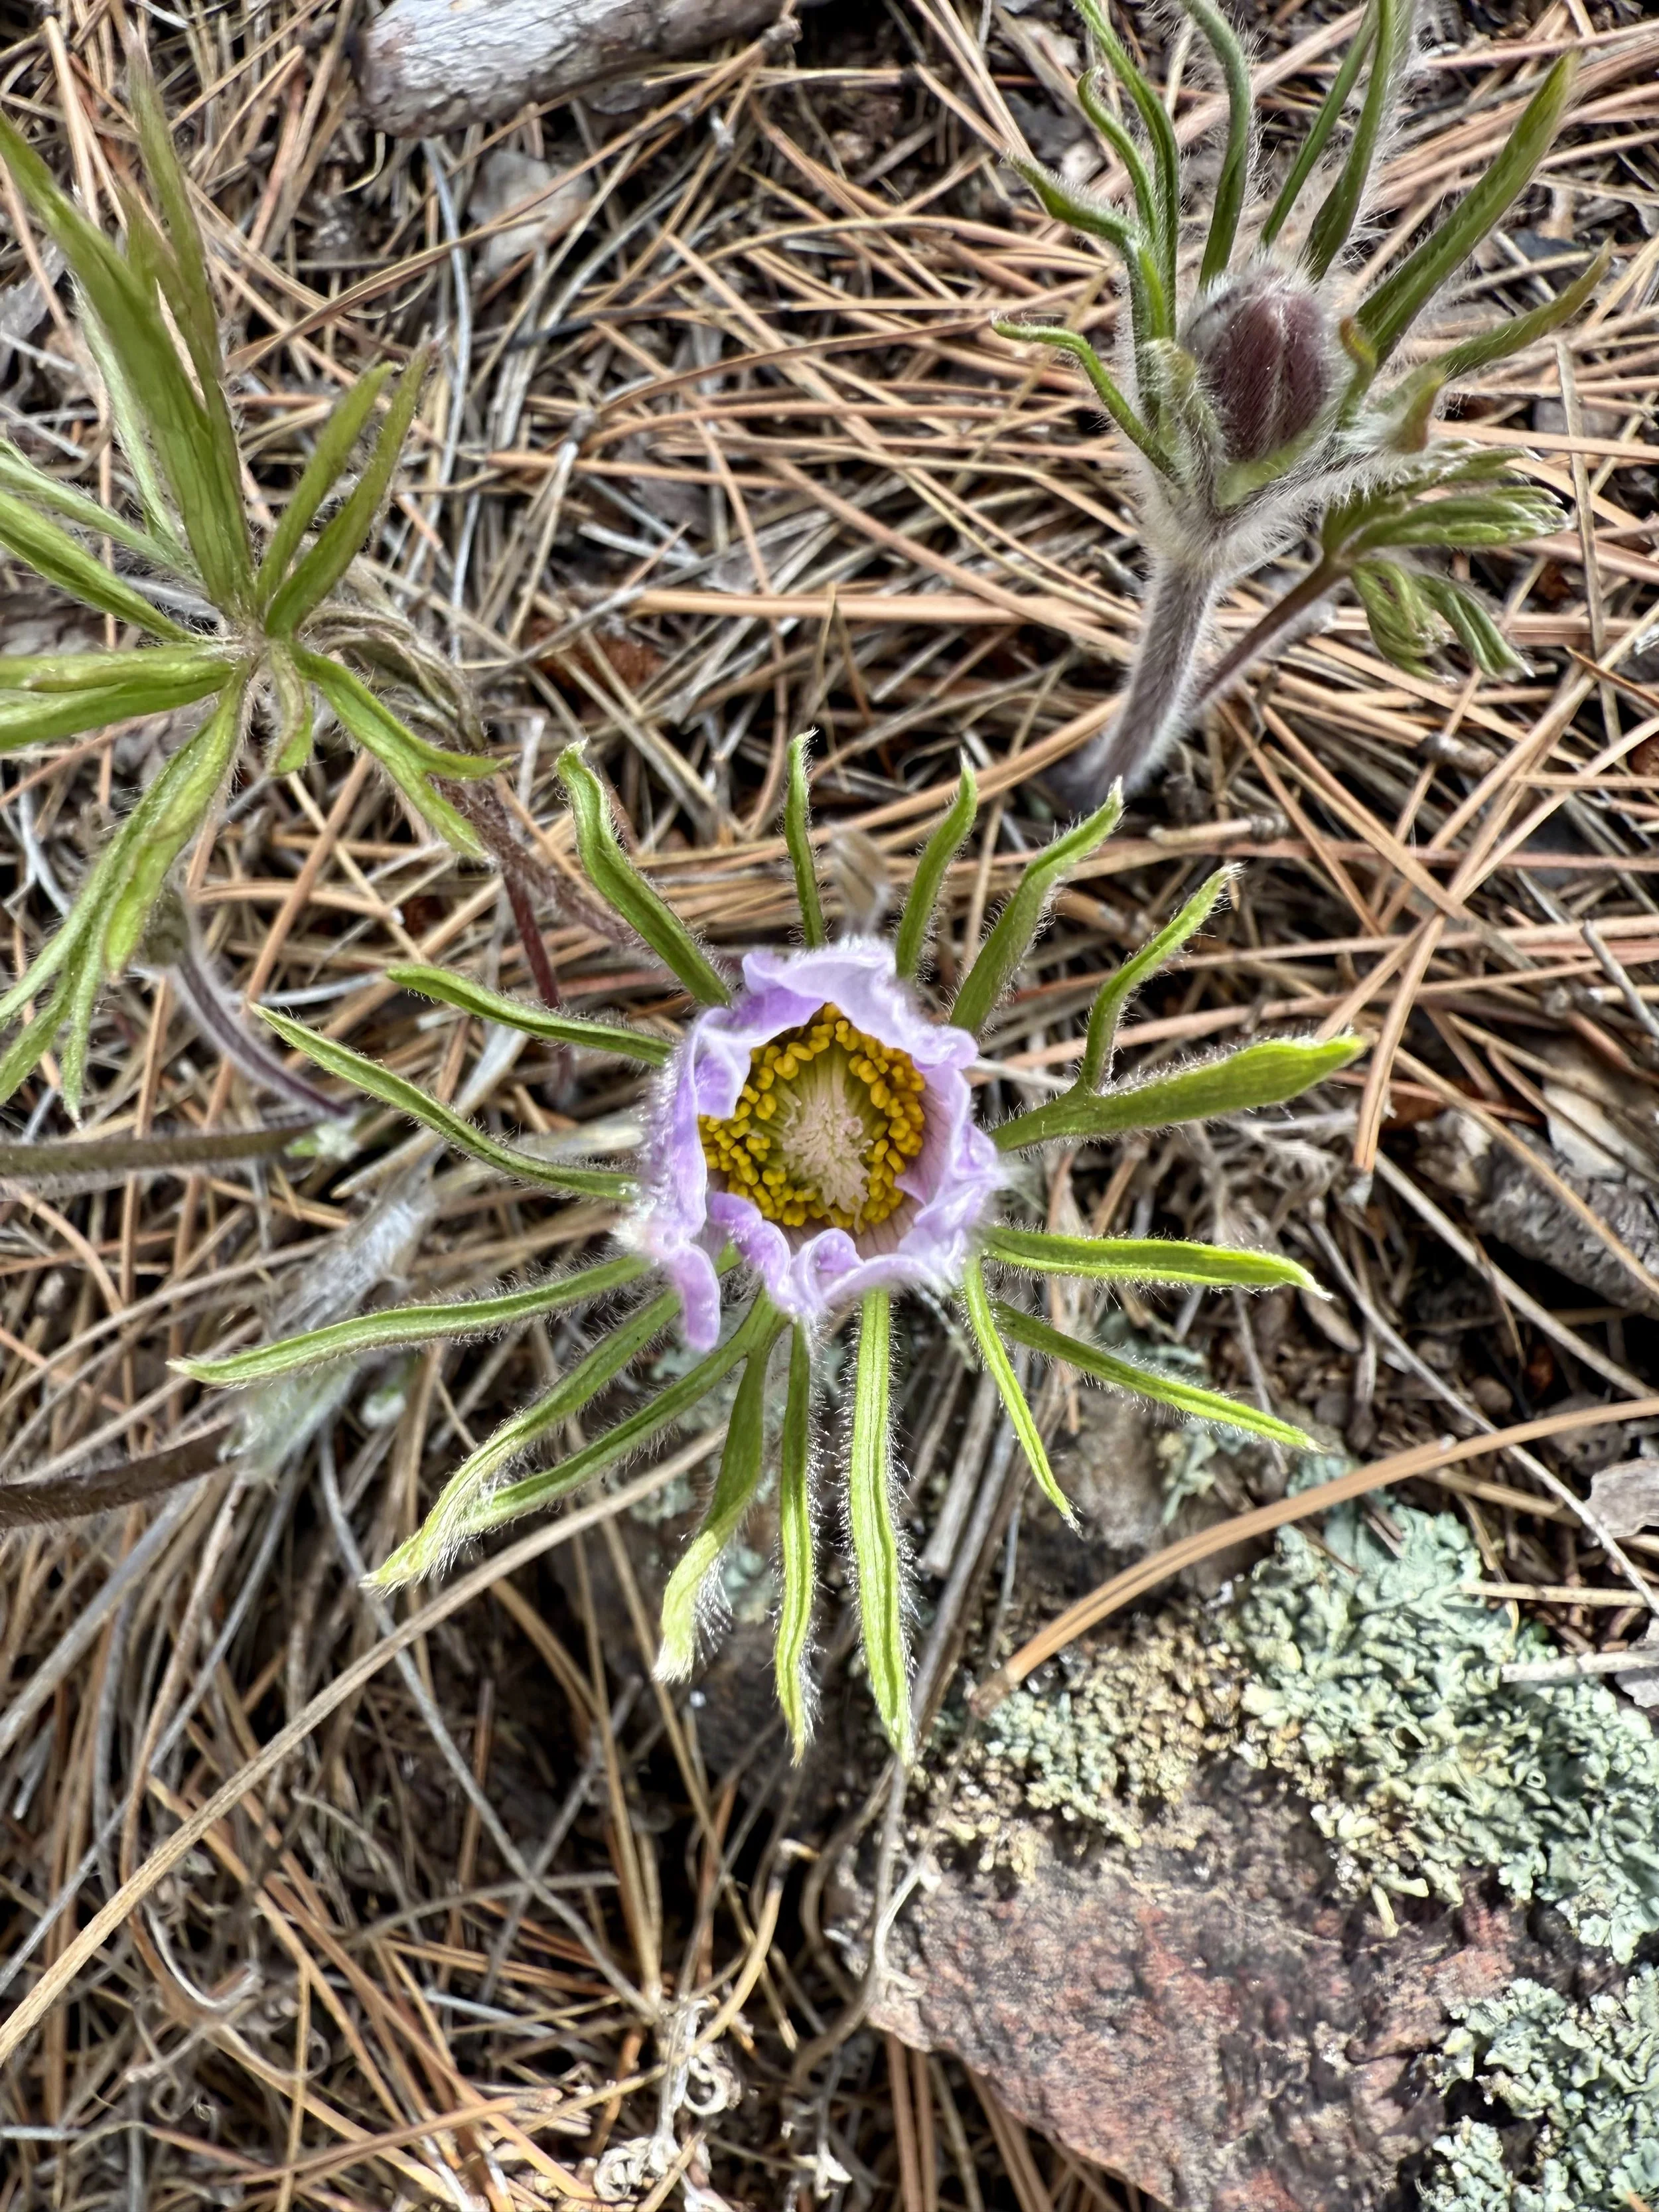
Once we were fueled up, we headed out to hike a mix of Saddle Pass, Castle Trail, and Medicine Root Trail, creating a nice 5-mile loop that took us just under three hours. Saddle Pass starts with a steep, rocky climb—watch your footing on the loose gravel—but the views as you gain elevation are totally worth it. At the top, there’s a little side peak to the left that offers incredible 360° views before continuing on. Castle Trail hugs the rim with more dramatic rock formations, while Medicine Root shifts into wide-open grasslands. We spotted a bunny, a 13-lined ground squirrel, and were serenaded by meadowlarks the whole way. There were even a few wildflowers starting to pop up, just enough to make you feel like spring is settling in.

Visitor Center
We swung by the Visitor Center to grab a few essentials—stickers, a postcard, and most importantly, to refill our water bottles since the campground didn’t have drinking water. Inside, there’s a great little set of exhibits that dive into the park’s geology, wildlife, and ancient history. Definitely worth a few minutes to learn about some of the wild creatures that once roamed the area, like the three-toed horse from 20–30 million years ago (so strange!). After exploring, we ate lunch at the shaded picnic tables right outside, which offered a peaceful spot with a view to take a break before hitting the road again.


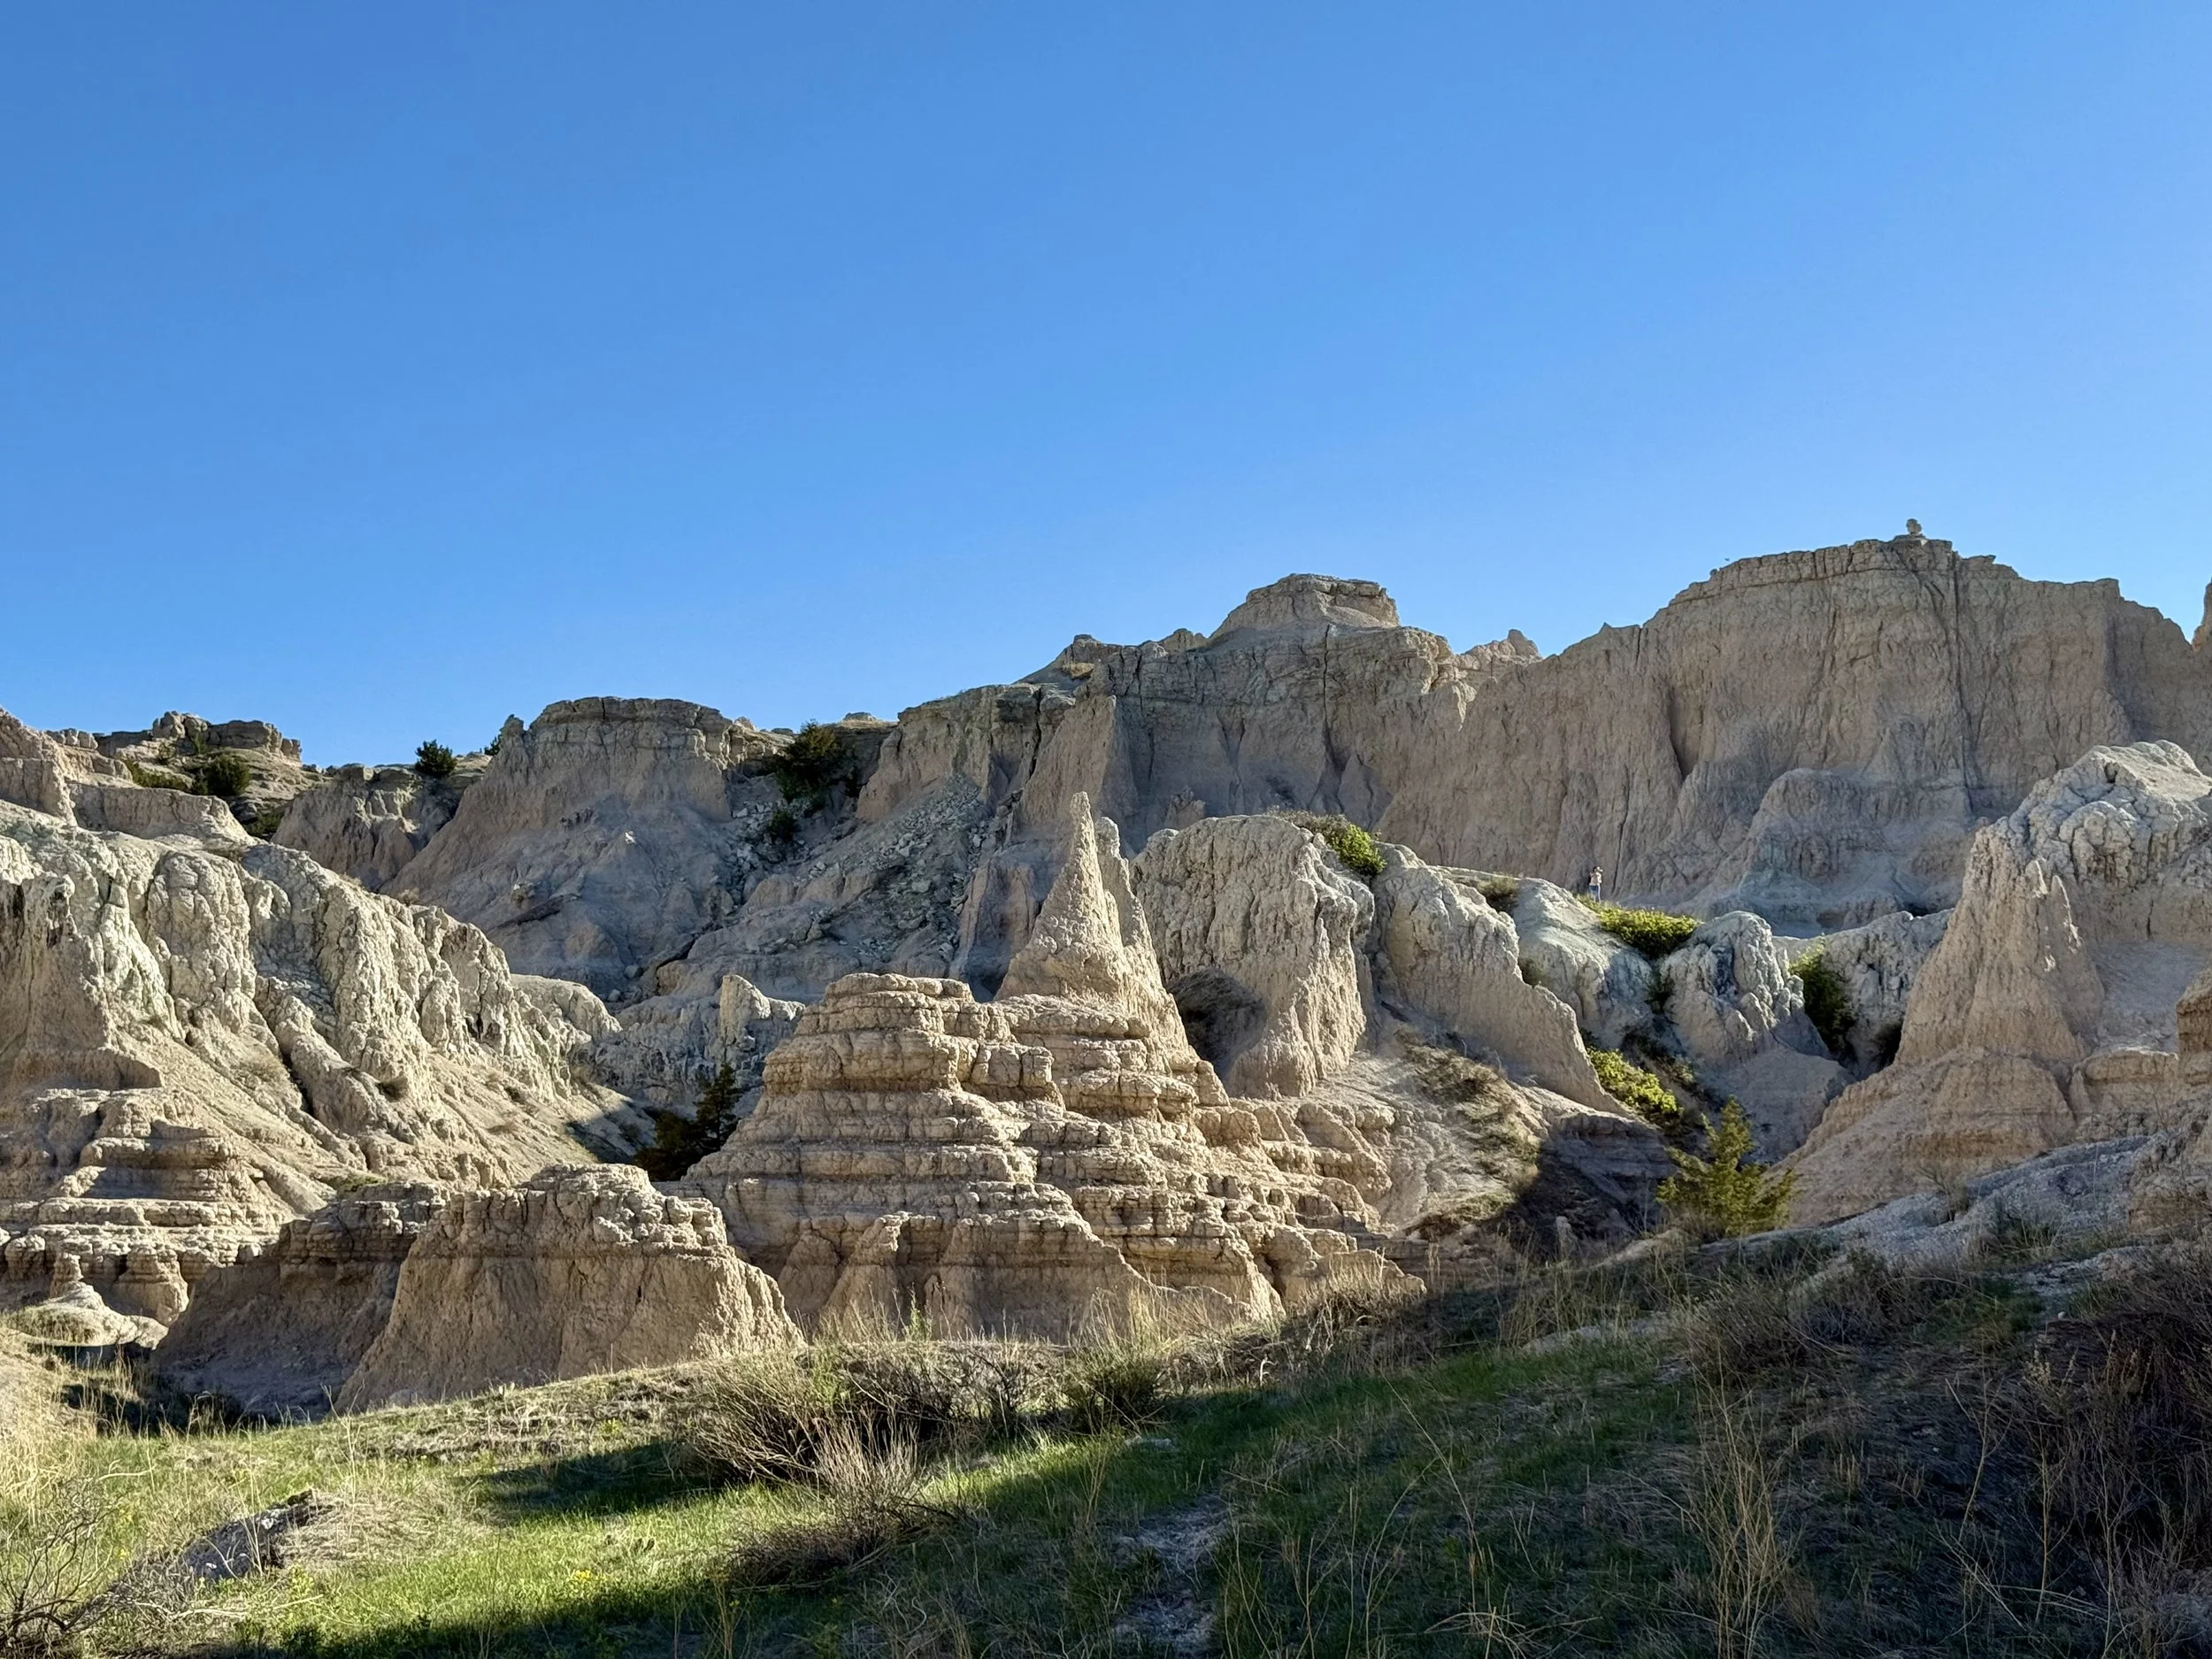
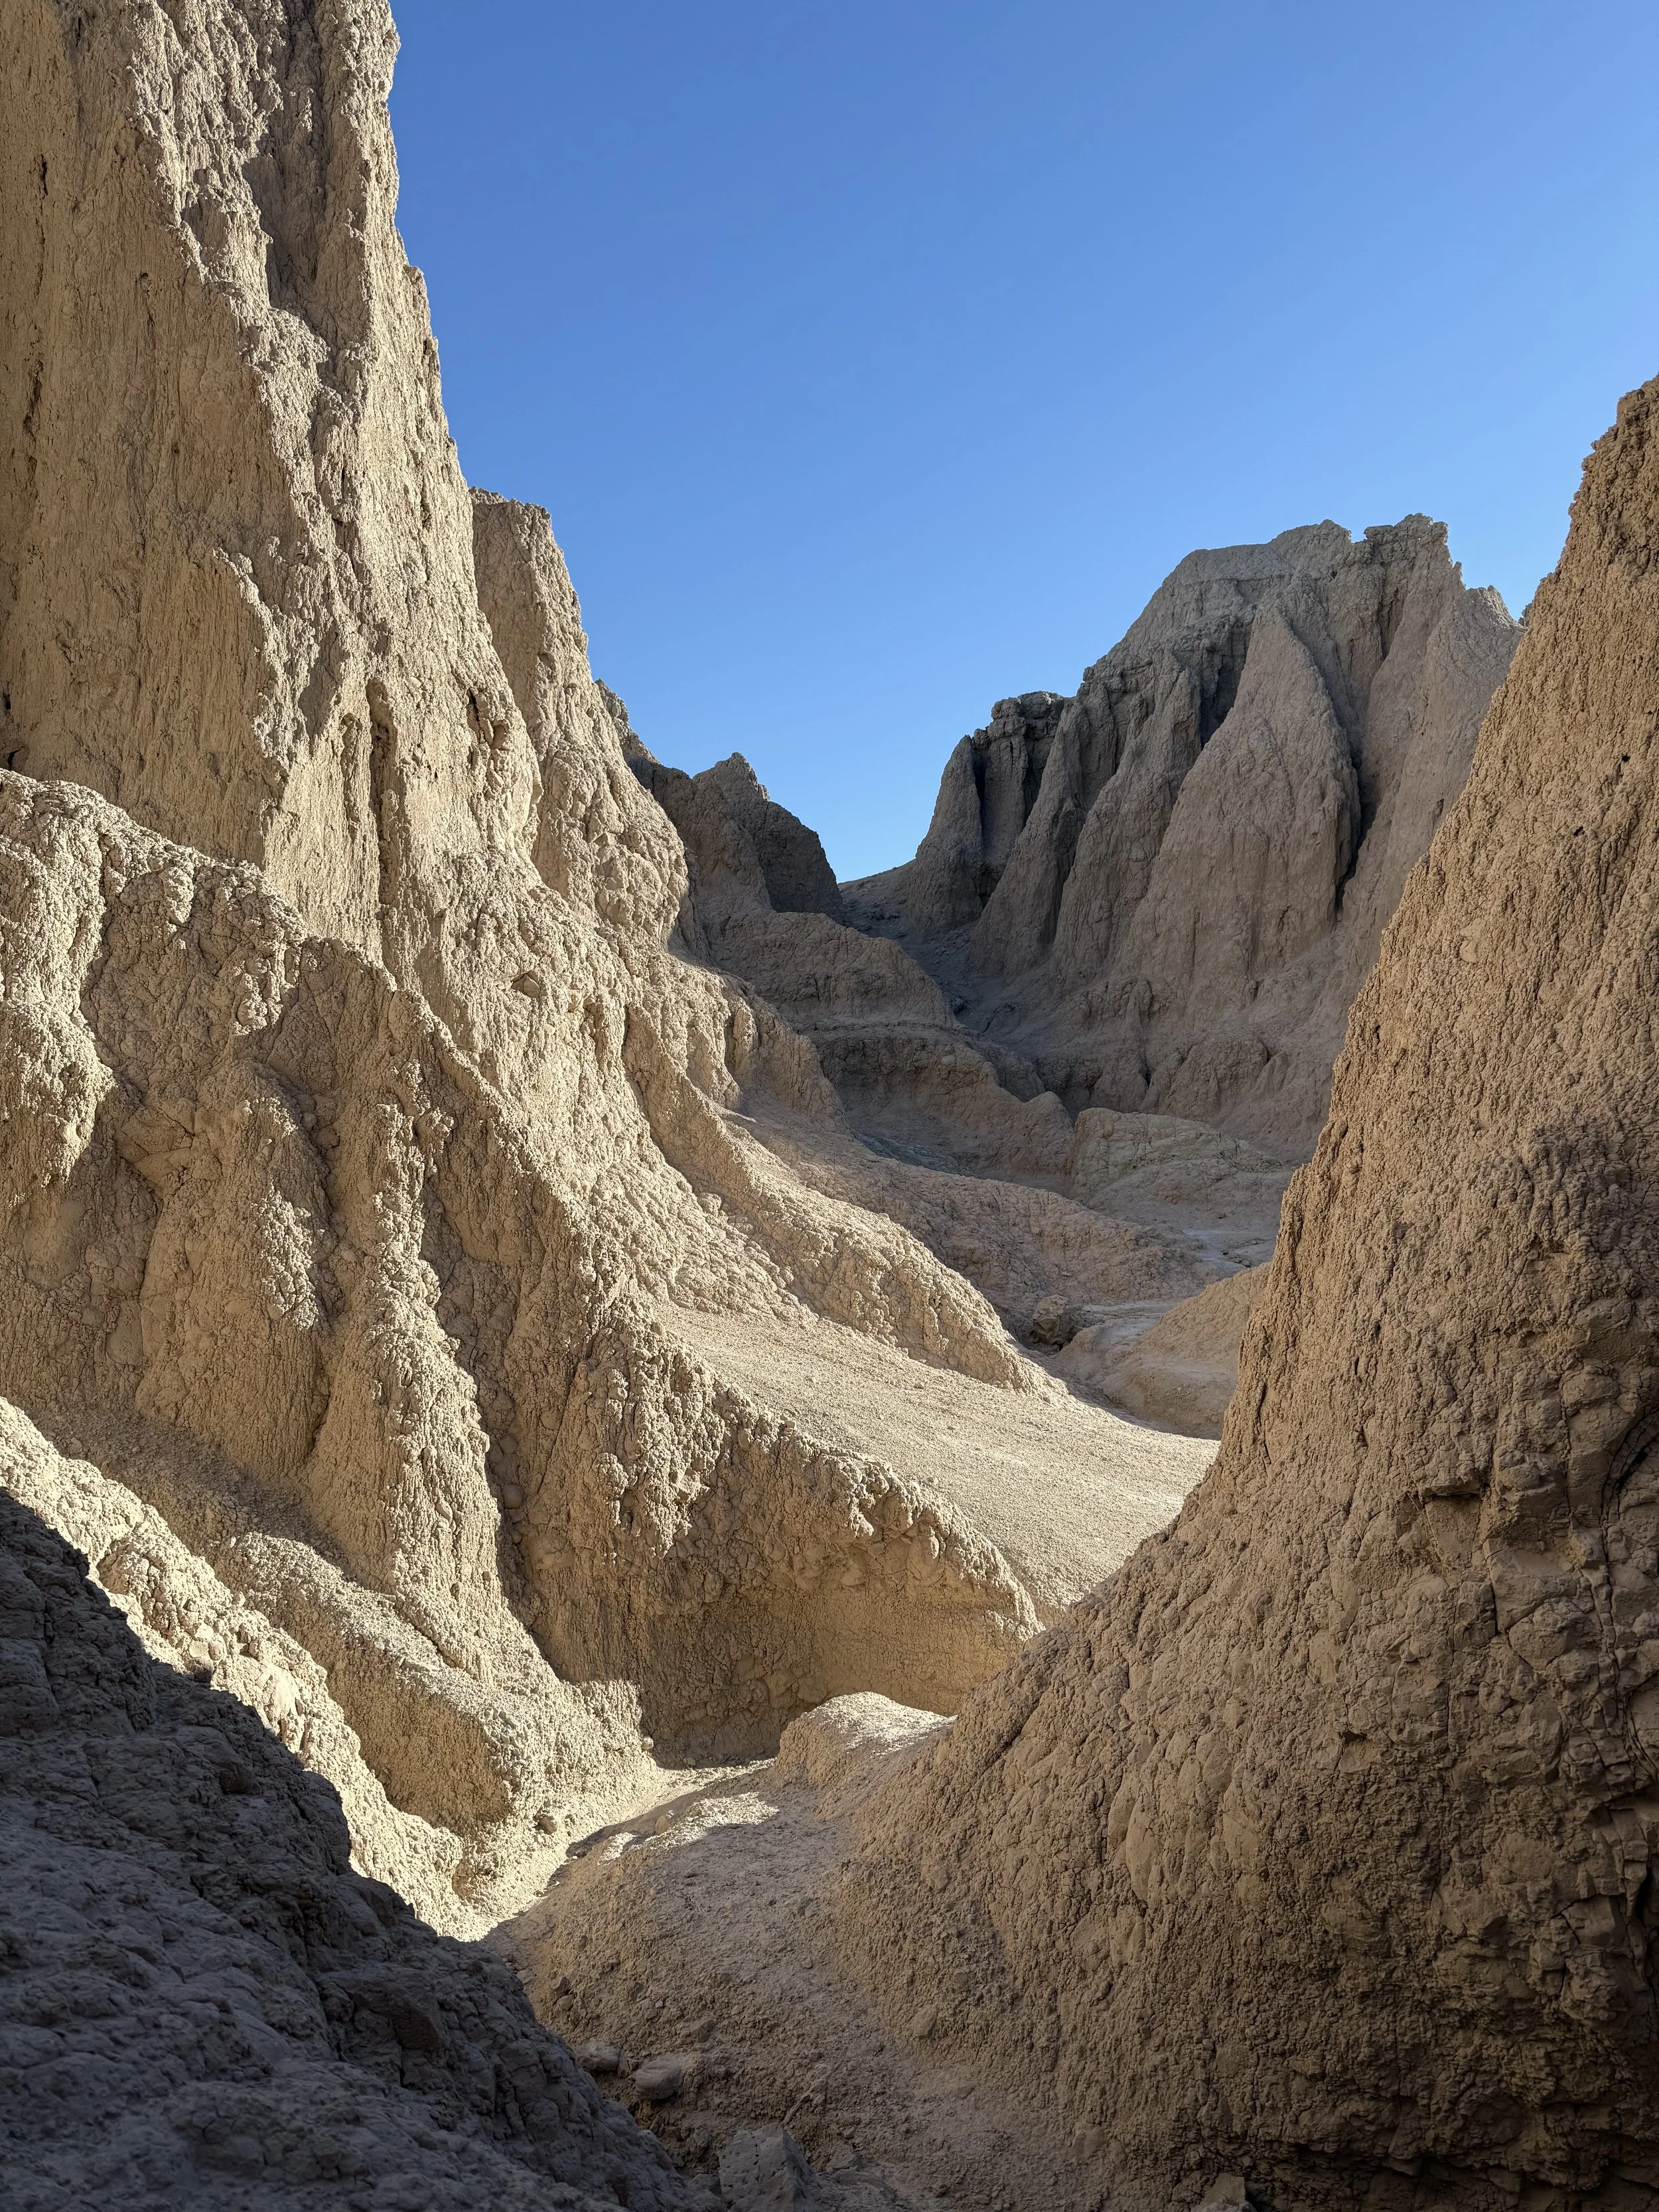
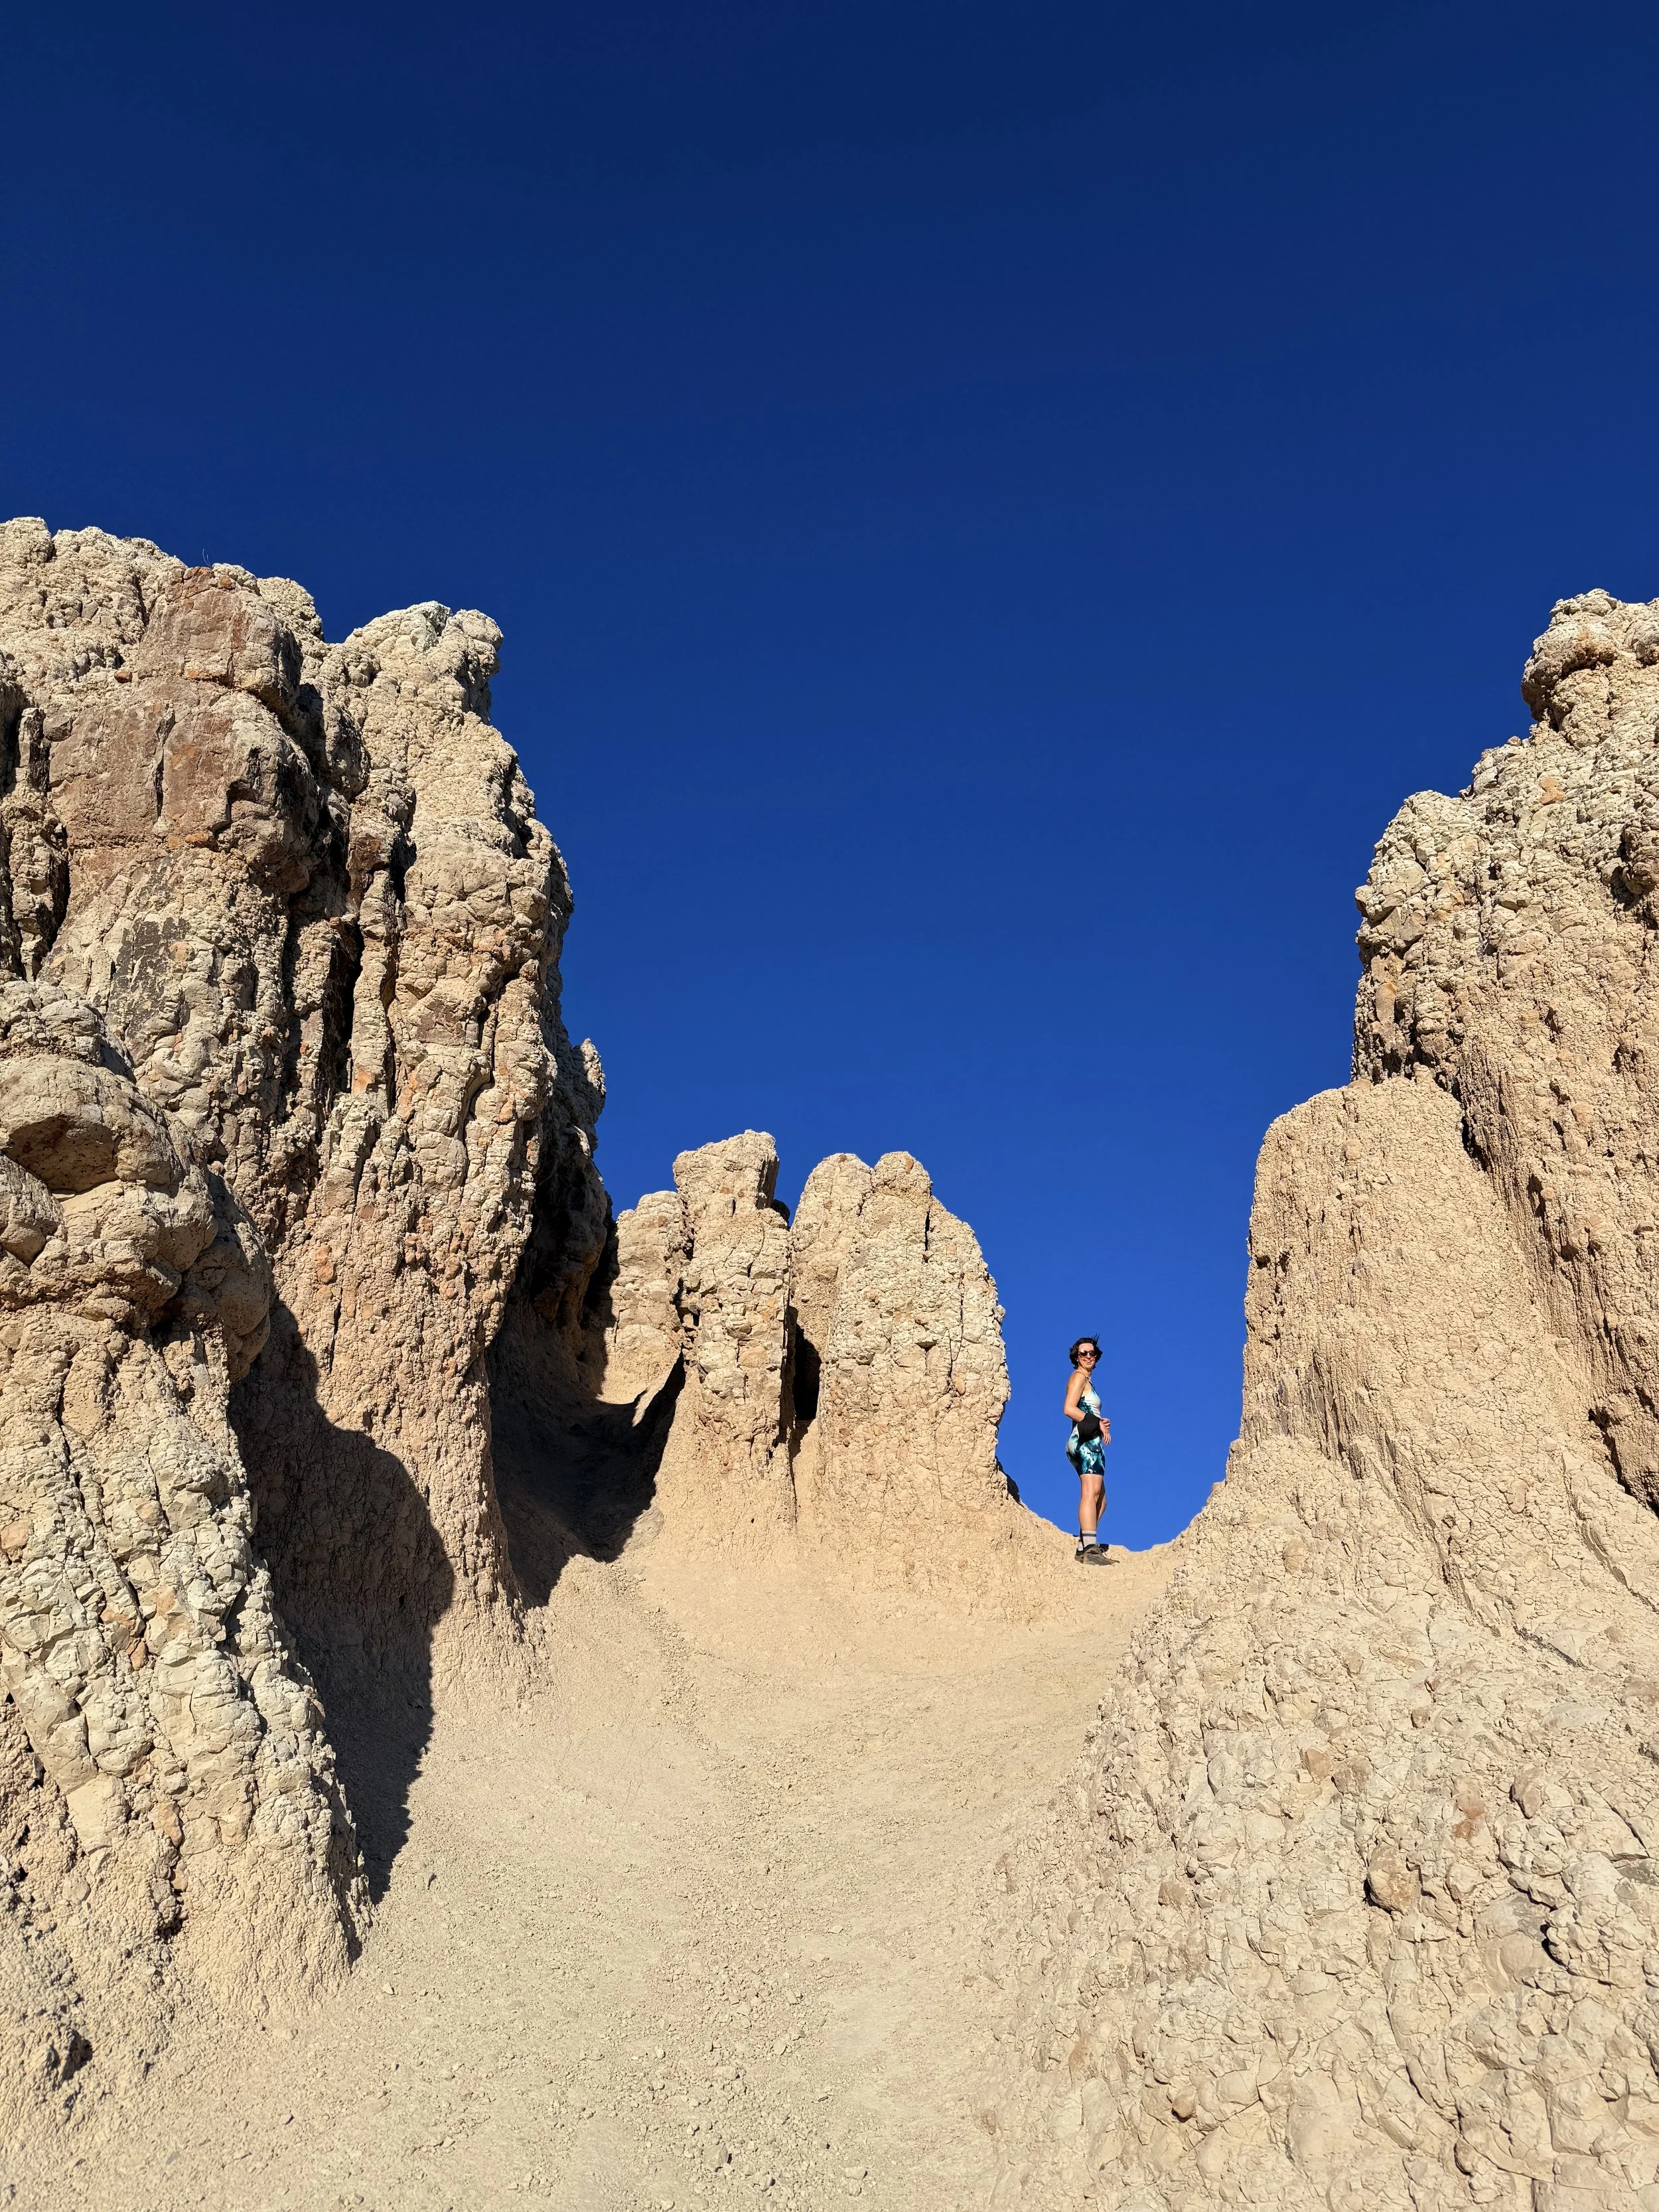
Door Trail
Just a quick 5-minute drive from the Visitor Center, we made our way to the Door Trail for a short but fun hike. The trail is just under a mile and took us about 45 minutes. It starts with a boardwalk that’s wheelchair accessible and leads to a nice viewpoint. From there, a set of stairs takes you into more rugged terrain where you can wander among the buttes and pinnacles. There are trail markers to guide you, but part of the fun is getting to roam a bit off the path, as long as you’re careful and respectful of the landscape.
Fossil Exhibit Trail
After finishing up the Door Trail, we decided to save the nearby Notch and Window trails for the next day and instead explore more of the park by car. Before checking out the overlooks along Badlands Loop Road, we made a quick stop at the Fossil Exhibit Trail. It’s more of a short boardwalk loop than an actual hike—just 0.4 miles—but it’s a nice educational stop with displays about the ancient animals that once lived in the area. Worth popping out for a quick visit, just don’t expect to see an abundance of fossils or anything too dramatic!


Badlands Loop Road Overlooks
We continued along the Badlands Loop Road to take in more of the park’s incredible scenery, stopping at several of the 16 designated overlooks along SD 240. Since we weren’t in a rush, we pulled over at quite a few, but if you’re short on time, here are the ones we’d recommend prioritizing:
Big Foot Pass has a short boardwalk that leads to a sweeping viewpoint with a bench—perfect for a quick rest—and also offers bathrooms and shaded picnic tables.
Panorama Point lives up to its name with 360° views, where the flat buttes suddenly drop into dramatic rock formations.
Yellow Mounds really stood out for the vibrant colors, thanks to a mineral called Goethite. The mounds were once shales that were weathered and fossilized into soils about 67 million years ago.
And Pinnacles Overlook was the most expansive of them all, with lots of space to walk and explore. There were benches to take in the view, bathrooms nearby, and here we even spotted a baby bighorn sheep with its parents.


Sage Creek Rim Road
We wrapped up the day with a drive down the gravel Sage Creek Rim Road, hoping to catch some better views of the bison—and it delivered. At the Badlands Wilderness Overlook, we found a few scratching themselves on parking posts and signs, totally unbothered by our presence.
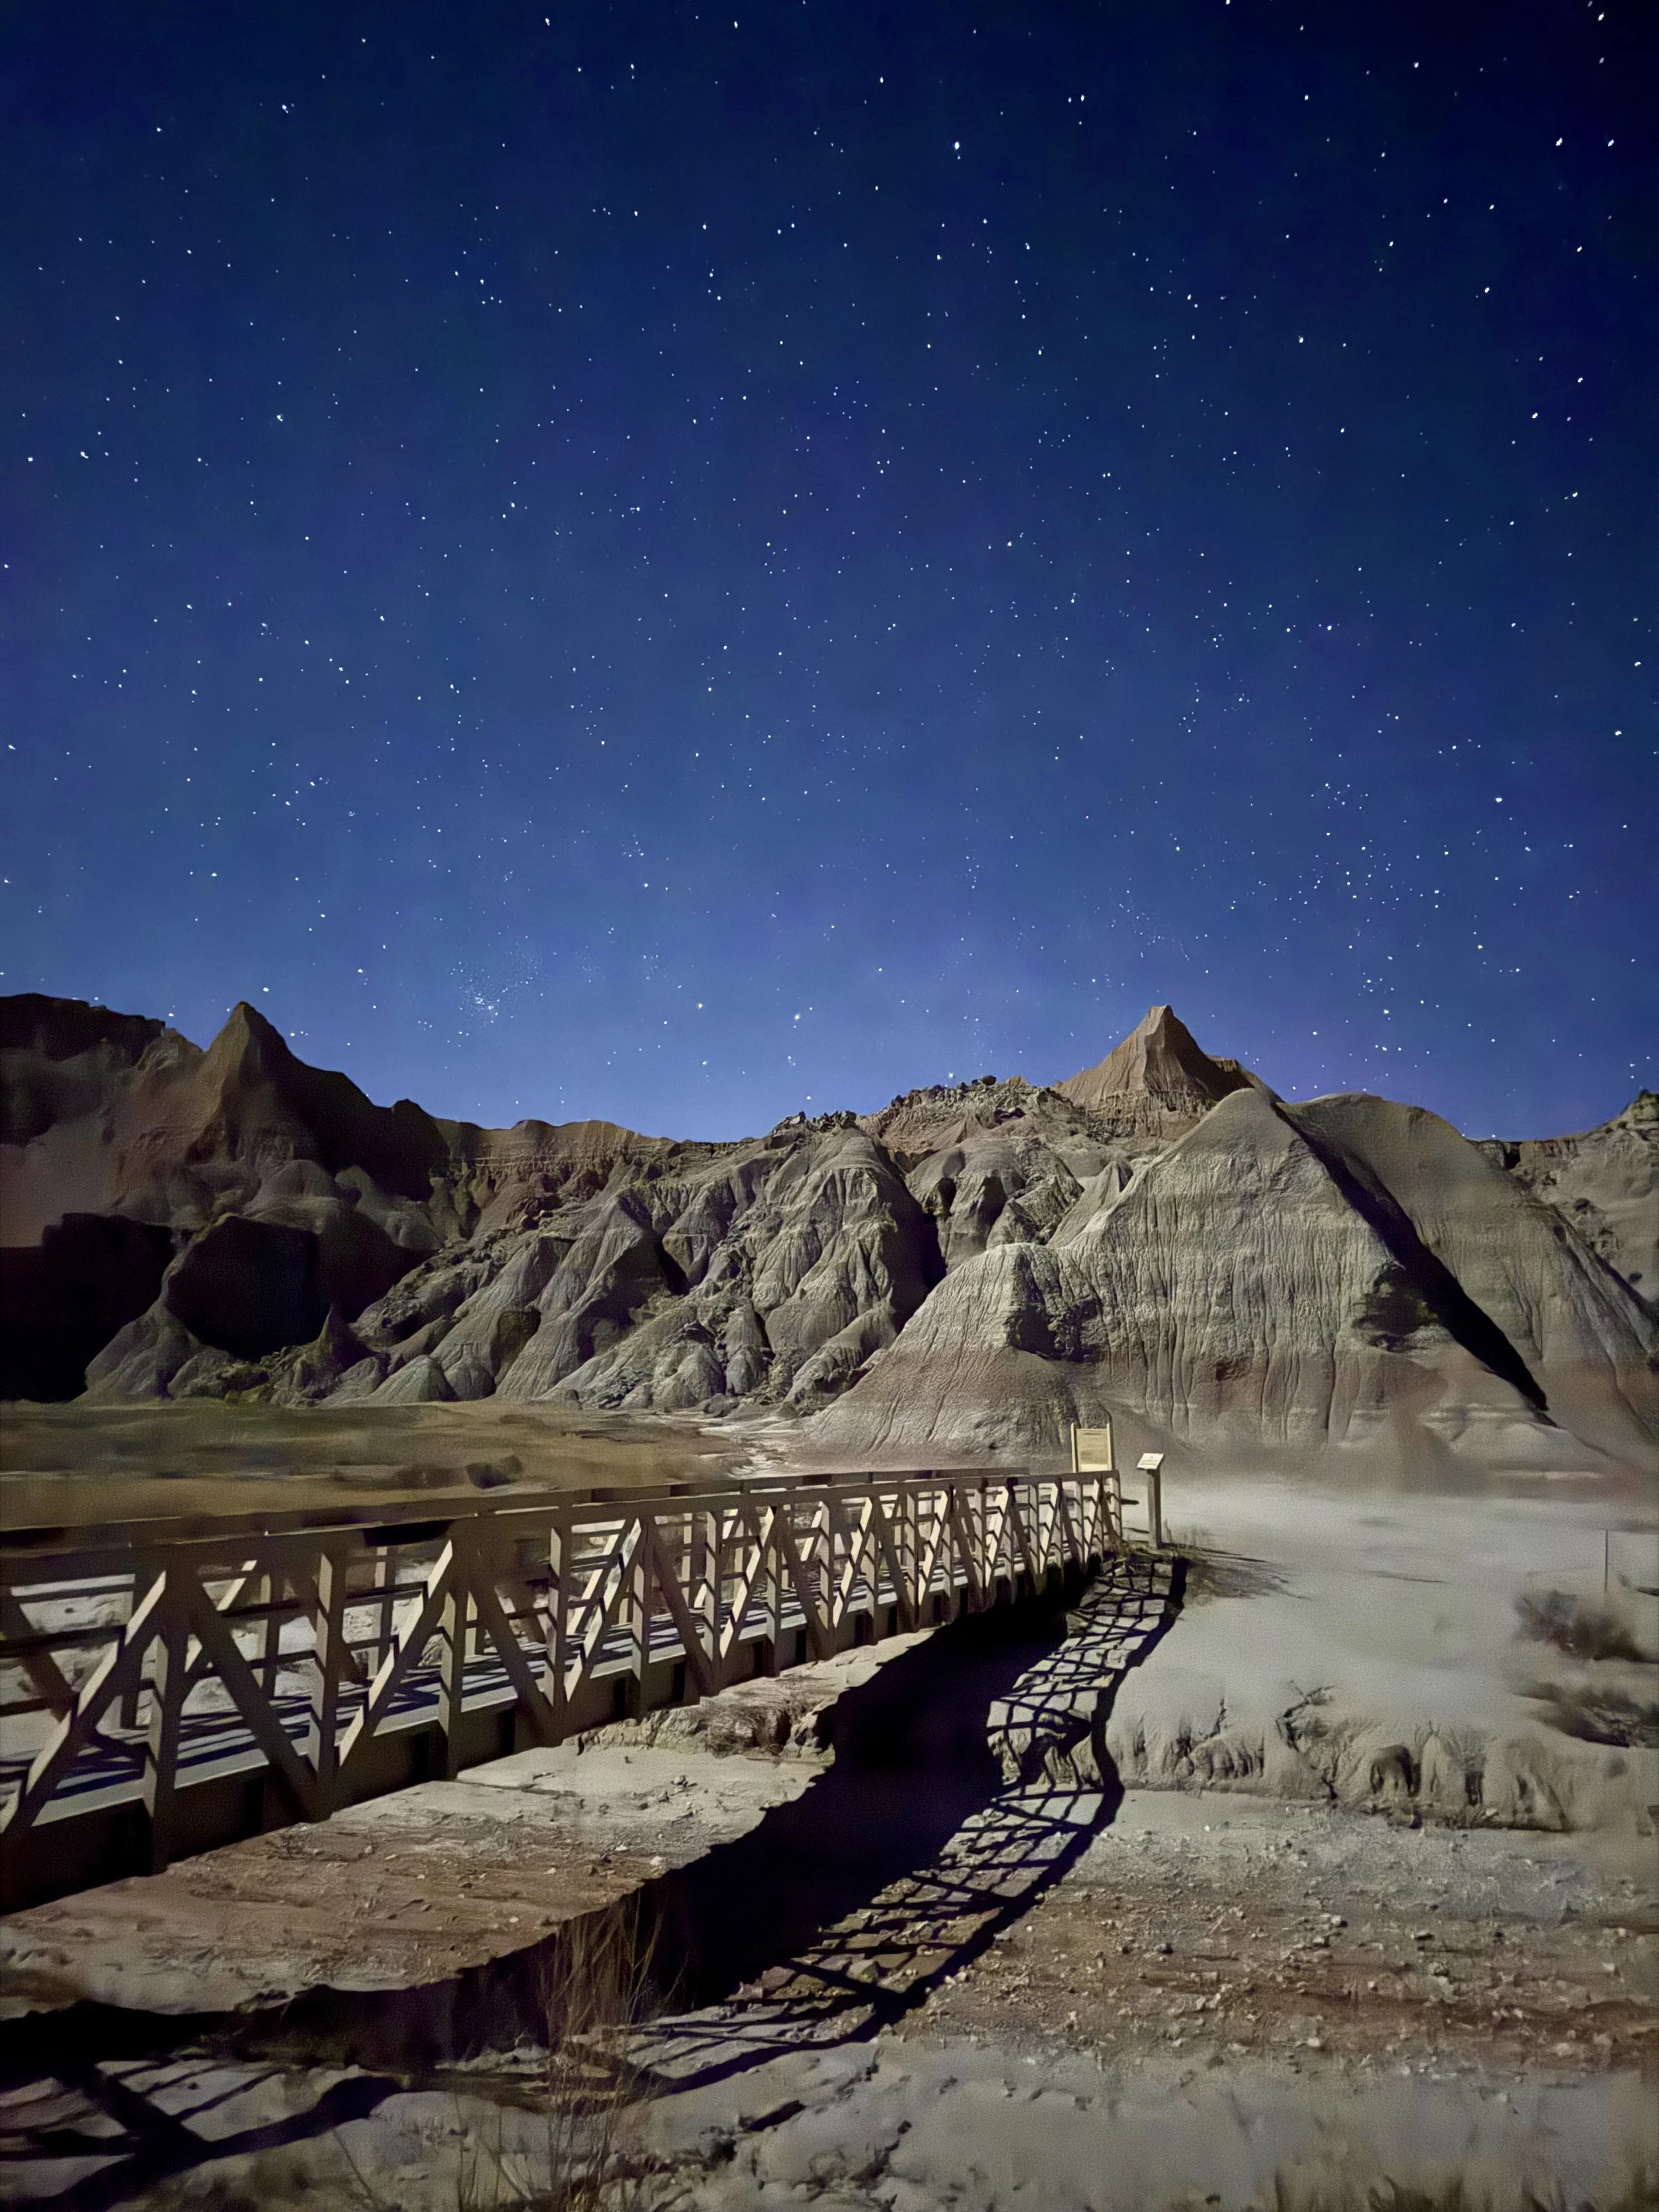
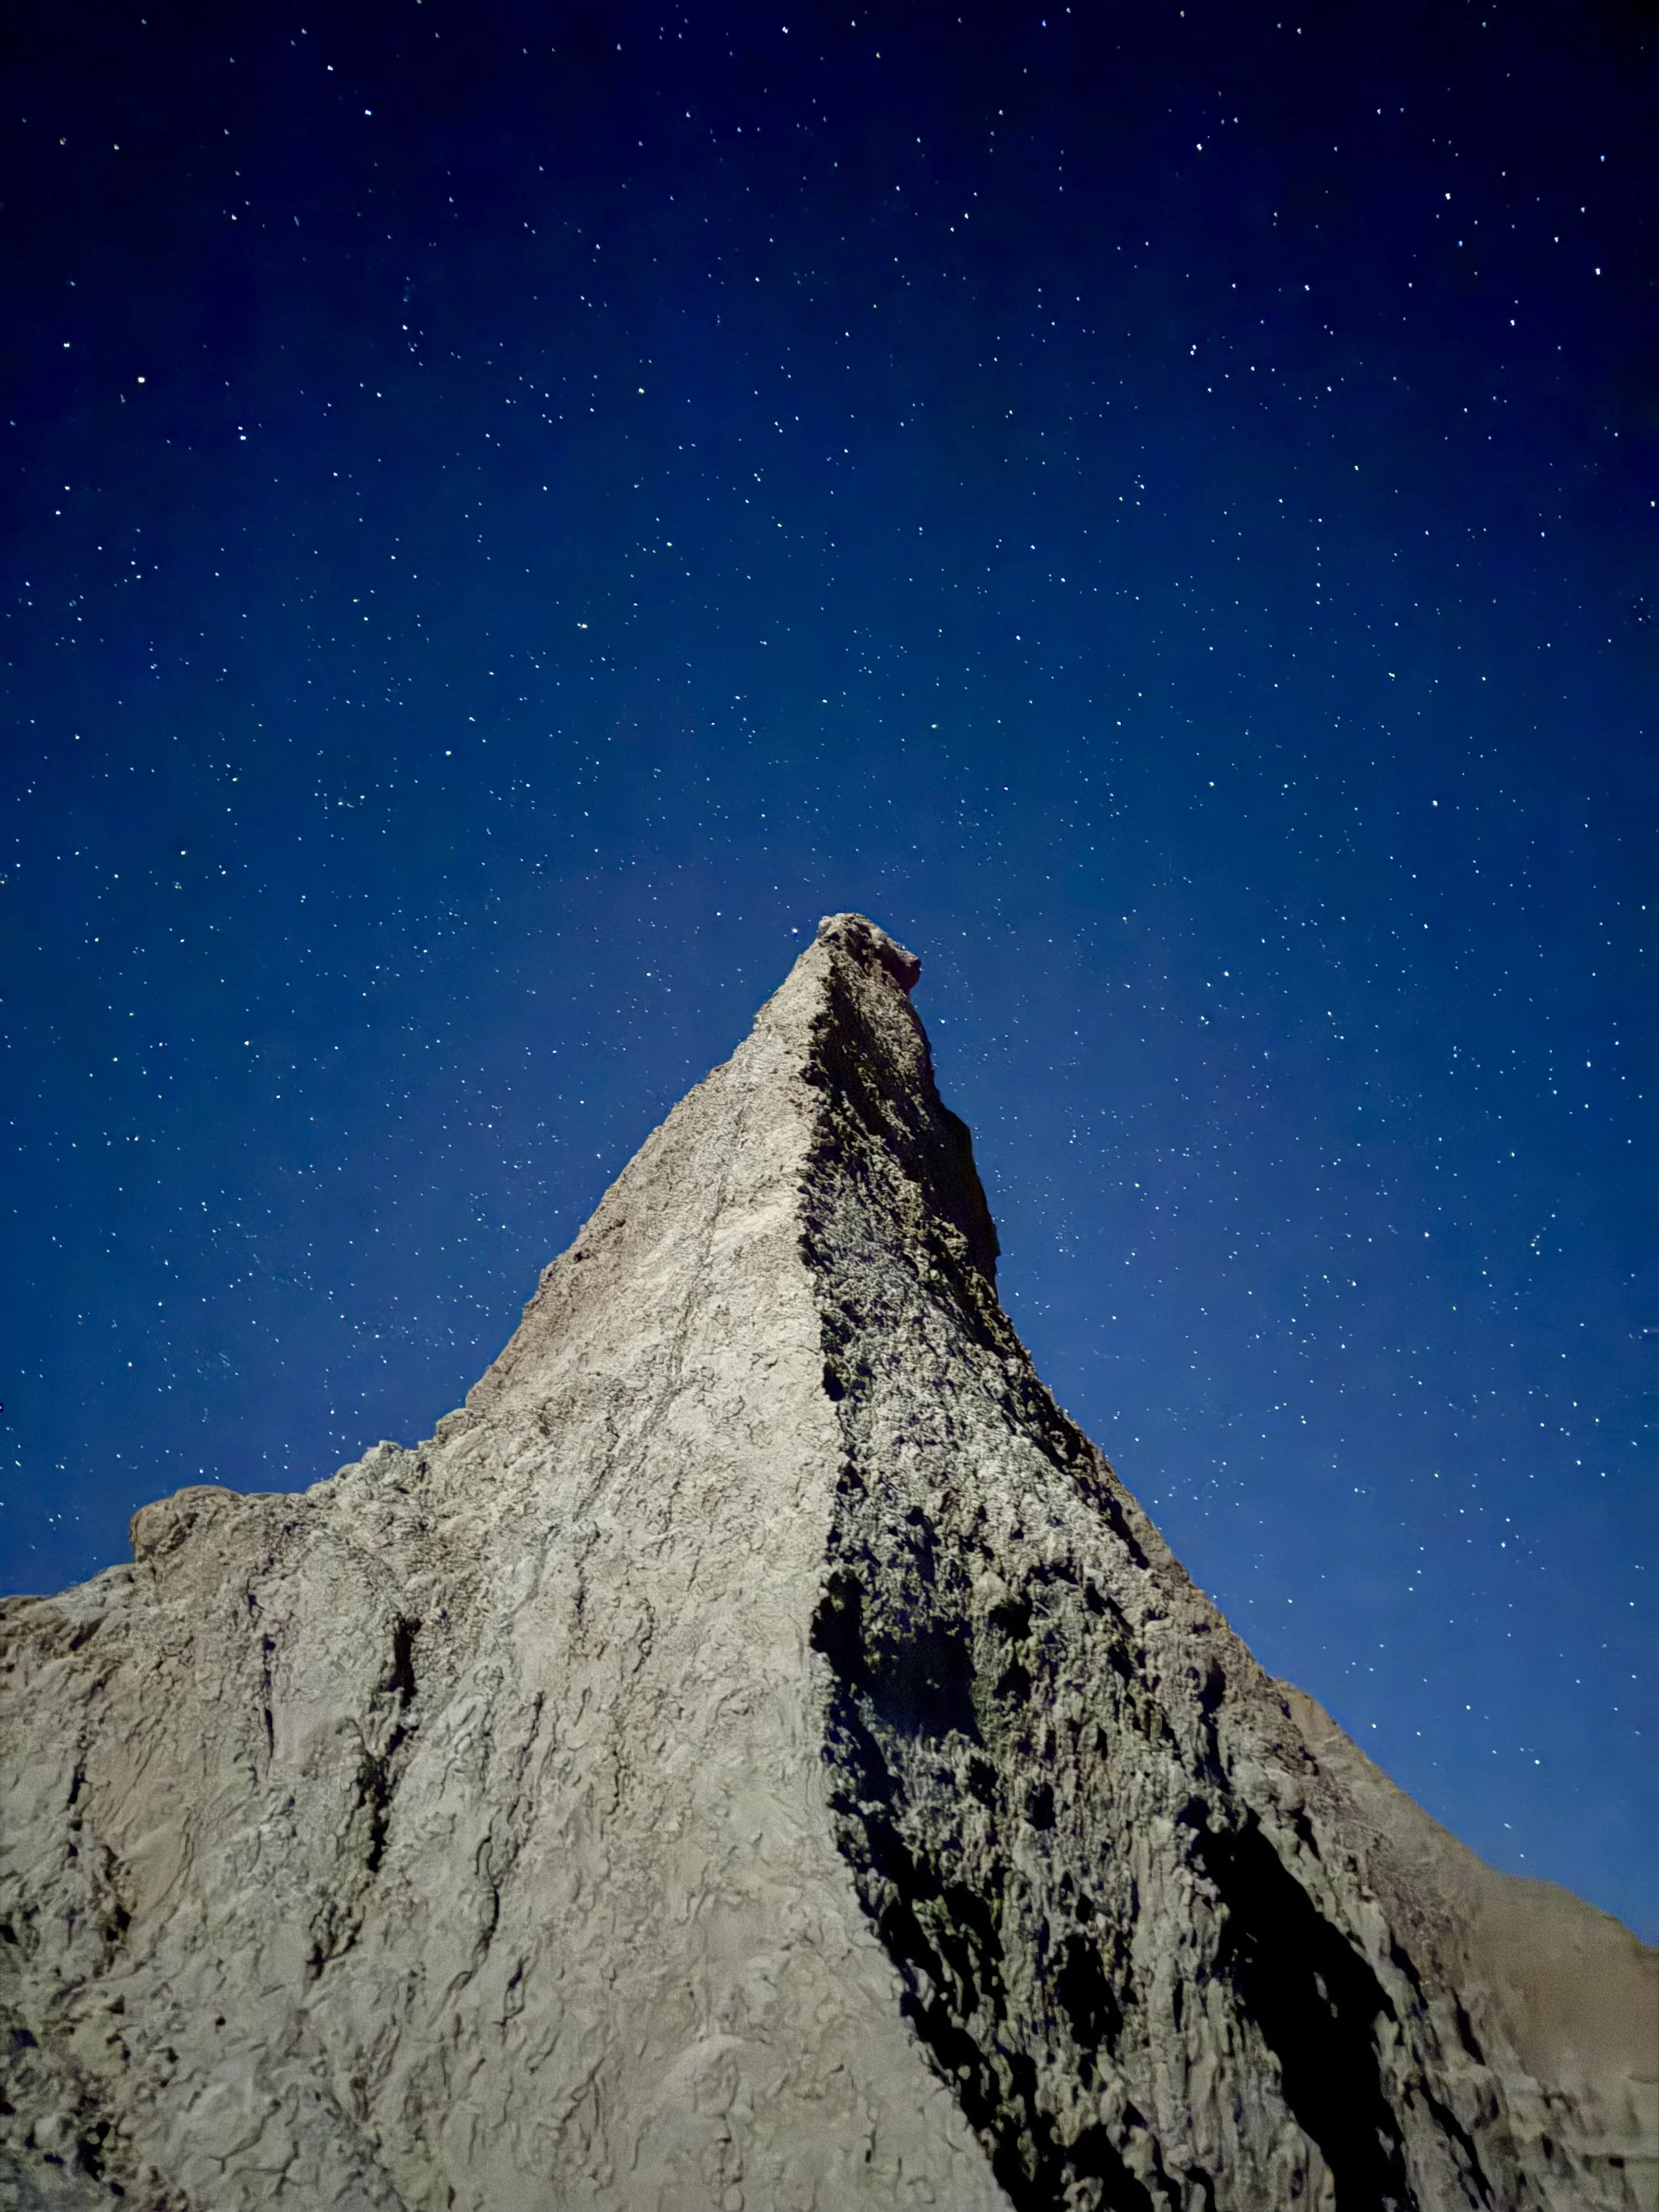
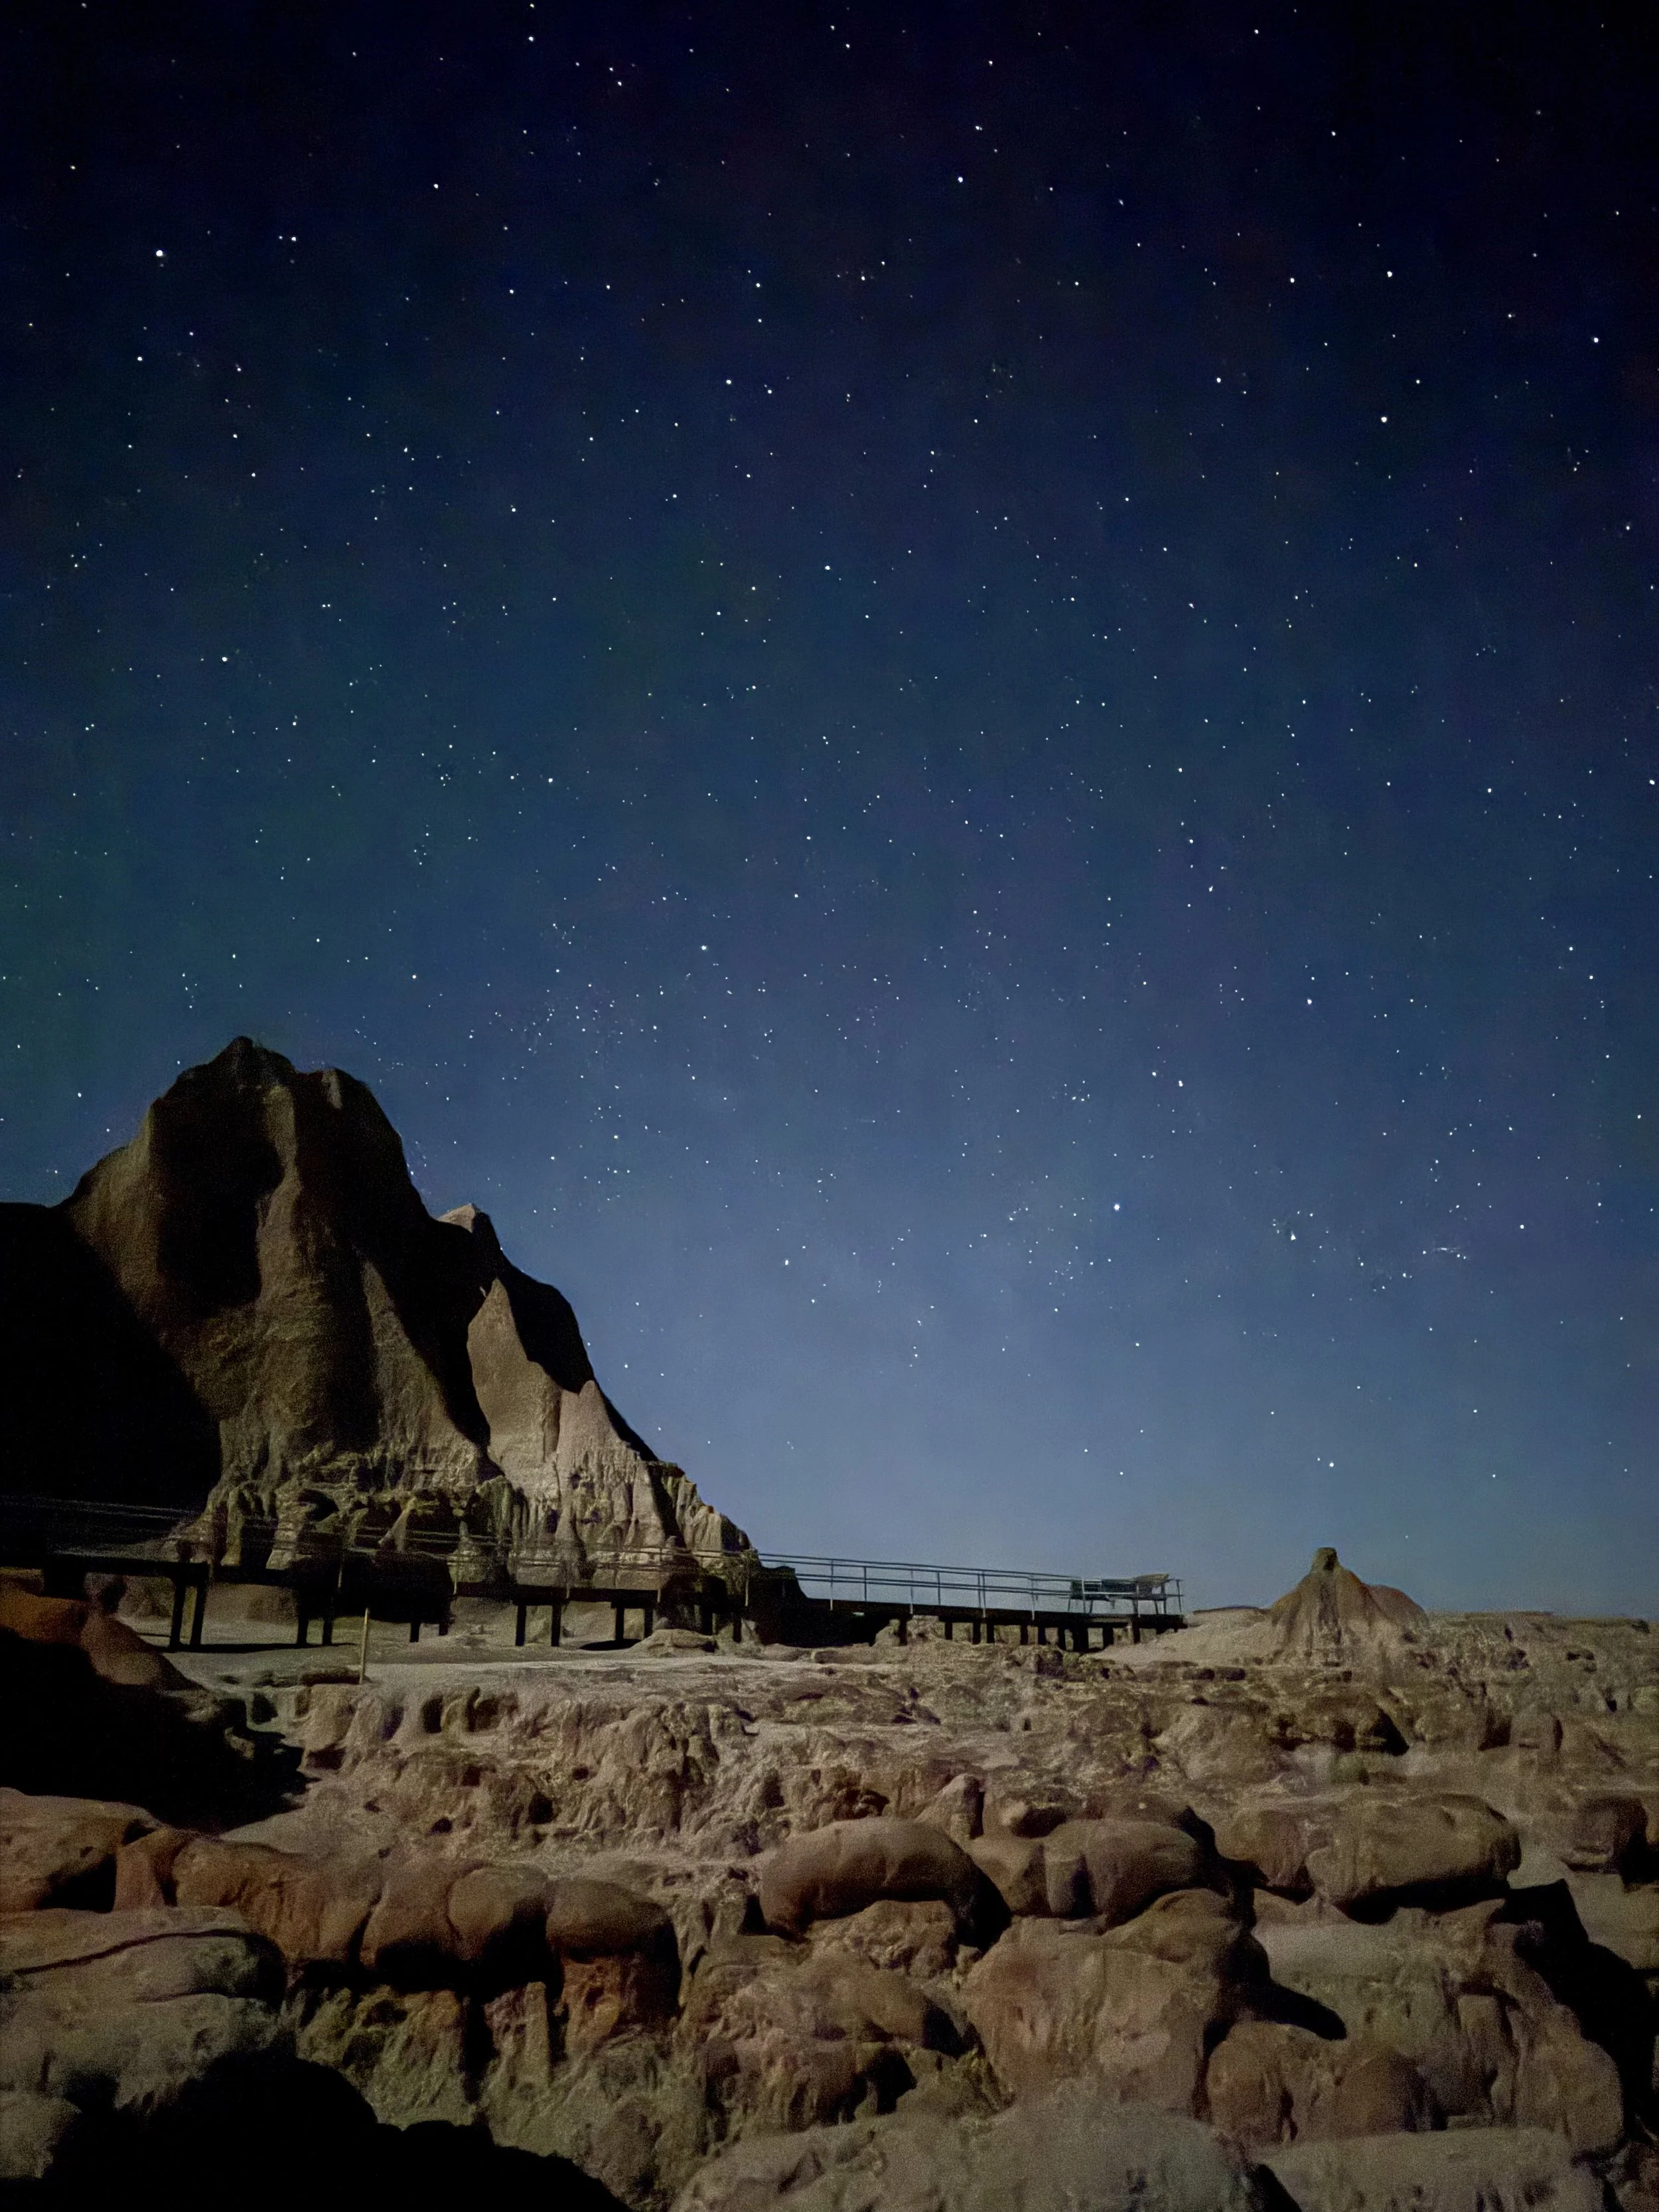
For sunset, we pulled off at Hay Butte Overlook and cooked up some chicken alfredo while the sky turned pink and gold around us. On the 40-minute drive back to camp, we couldn’t resist stopping for some astrophotography. The Badlands are a designated Dark Sky Park after all, and the stars put on an unforgettable show.
Day 3
〰️
Day 3 〰️
Day 3 South Dakota Parks Itinerary:
Exploring Badlands
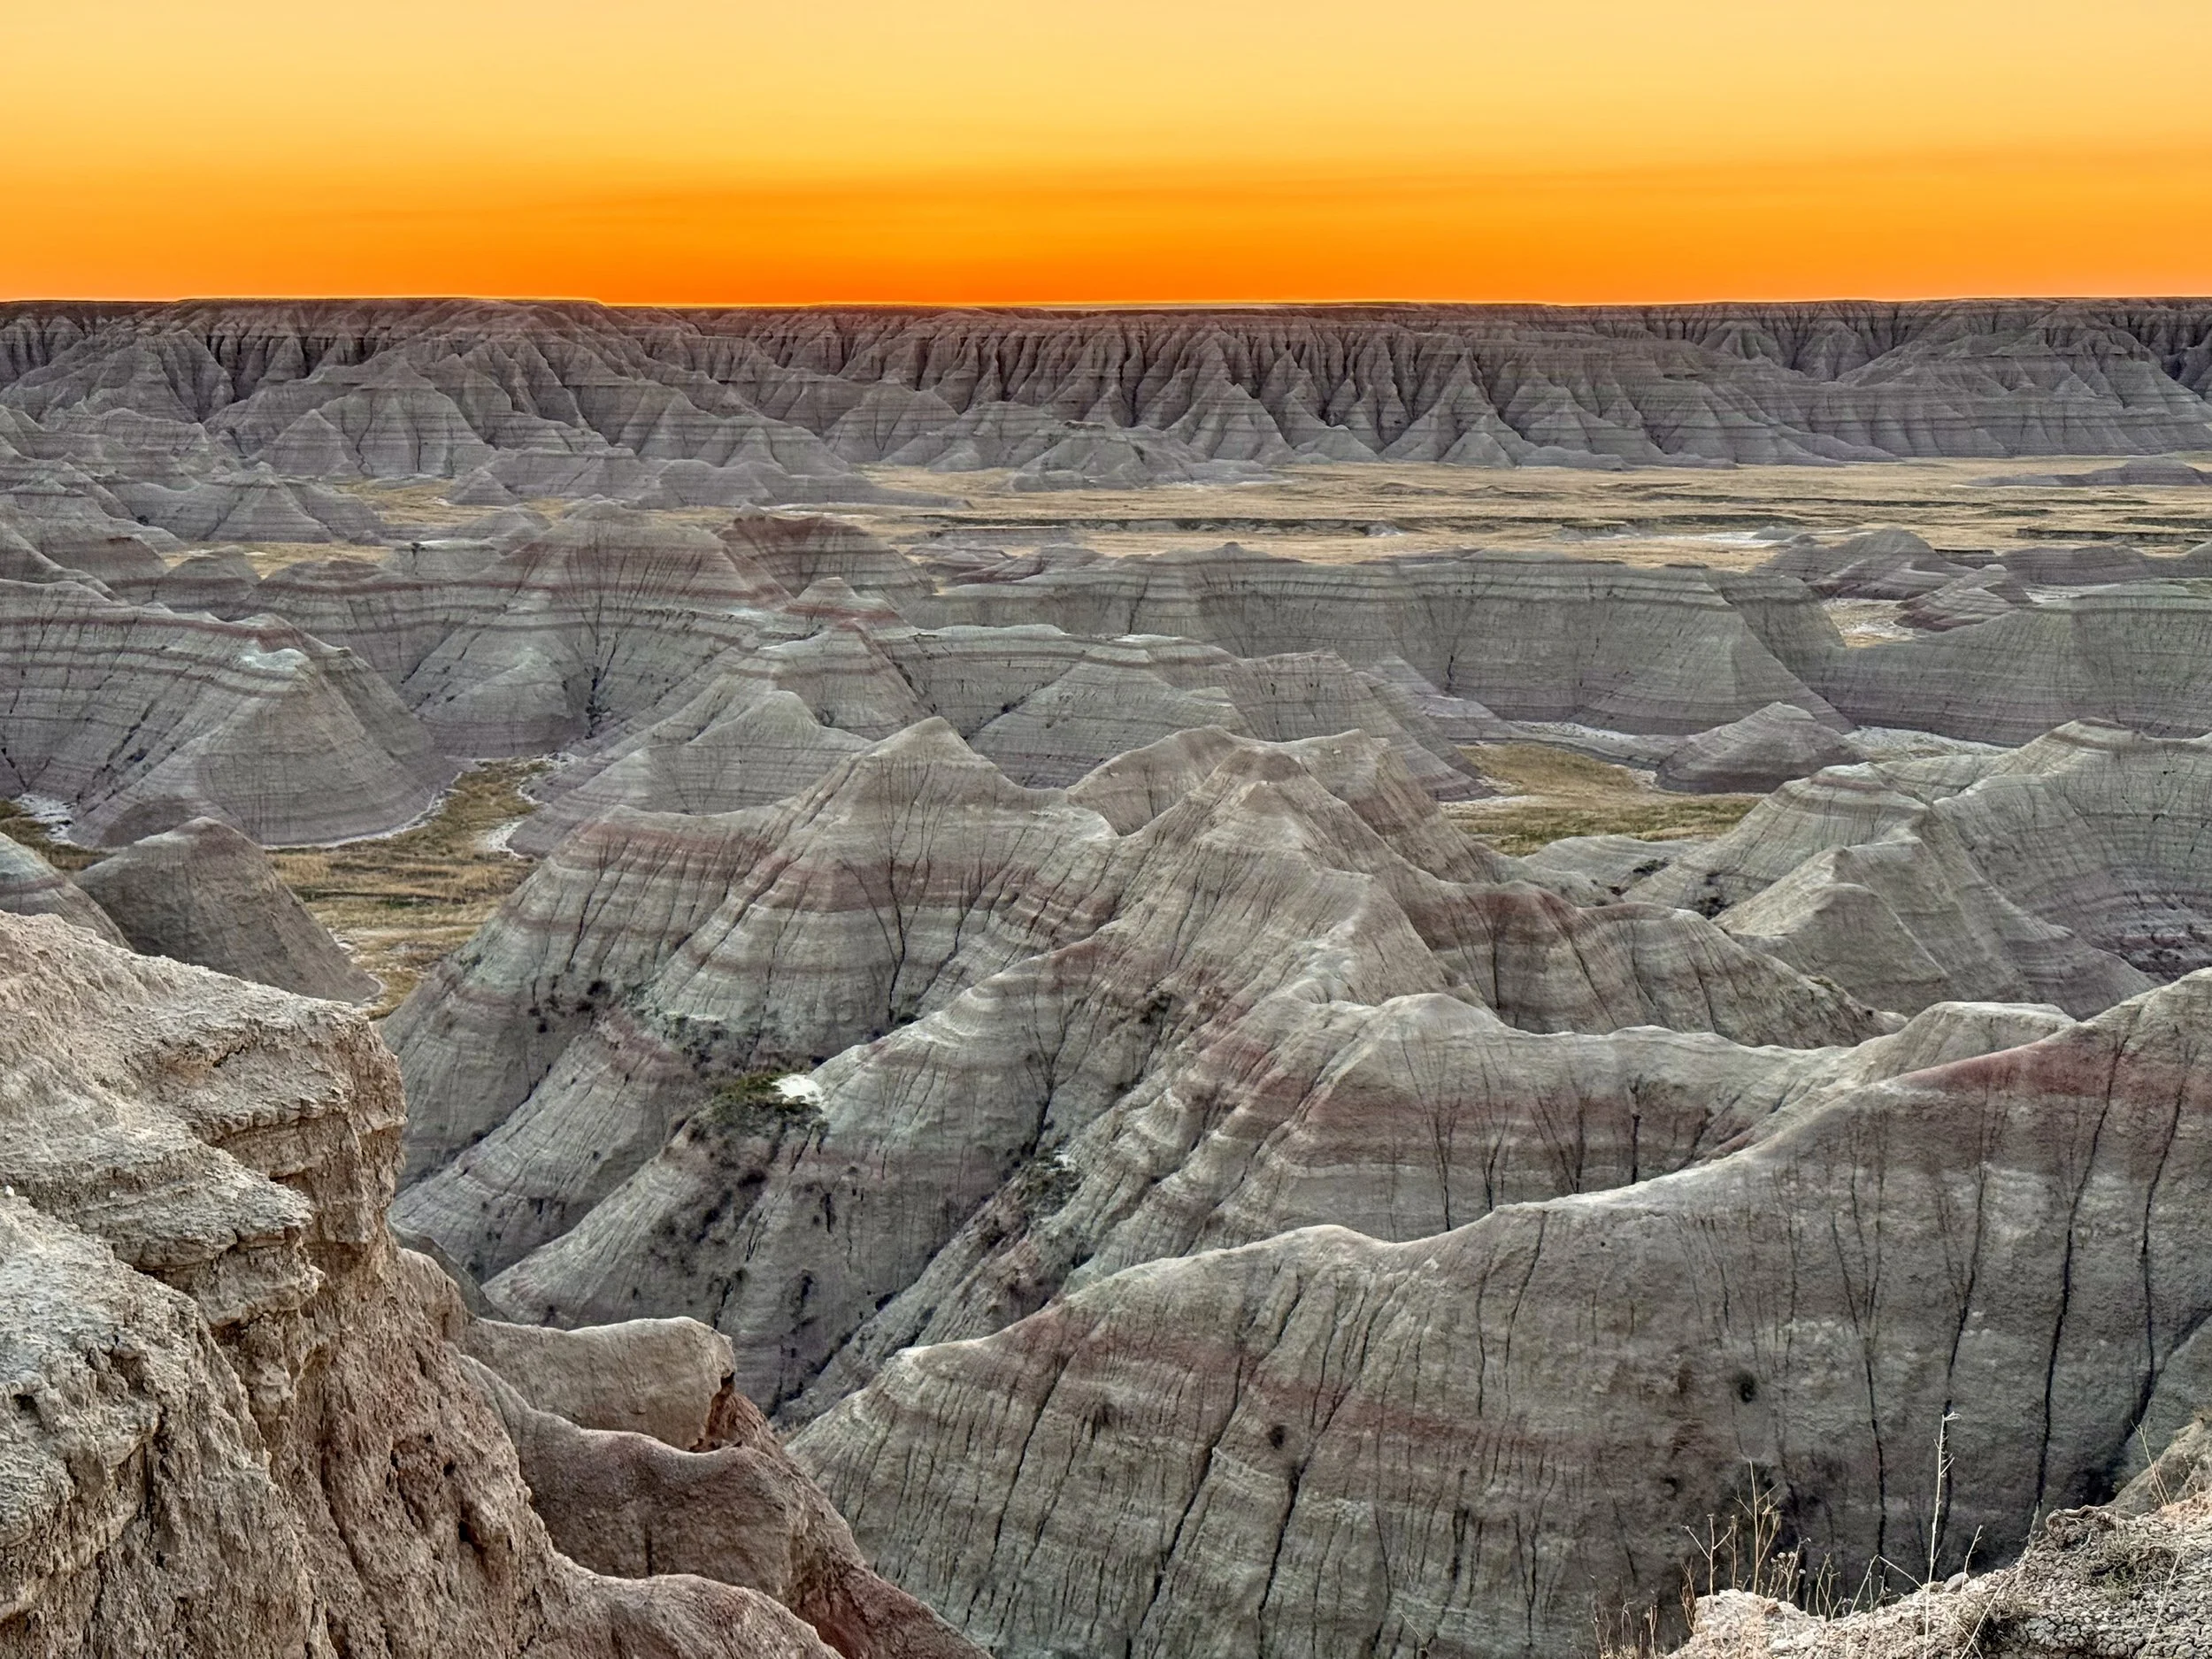

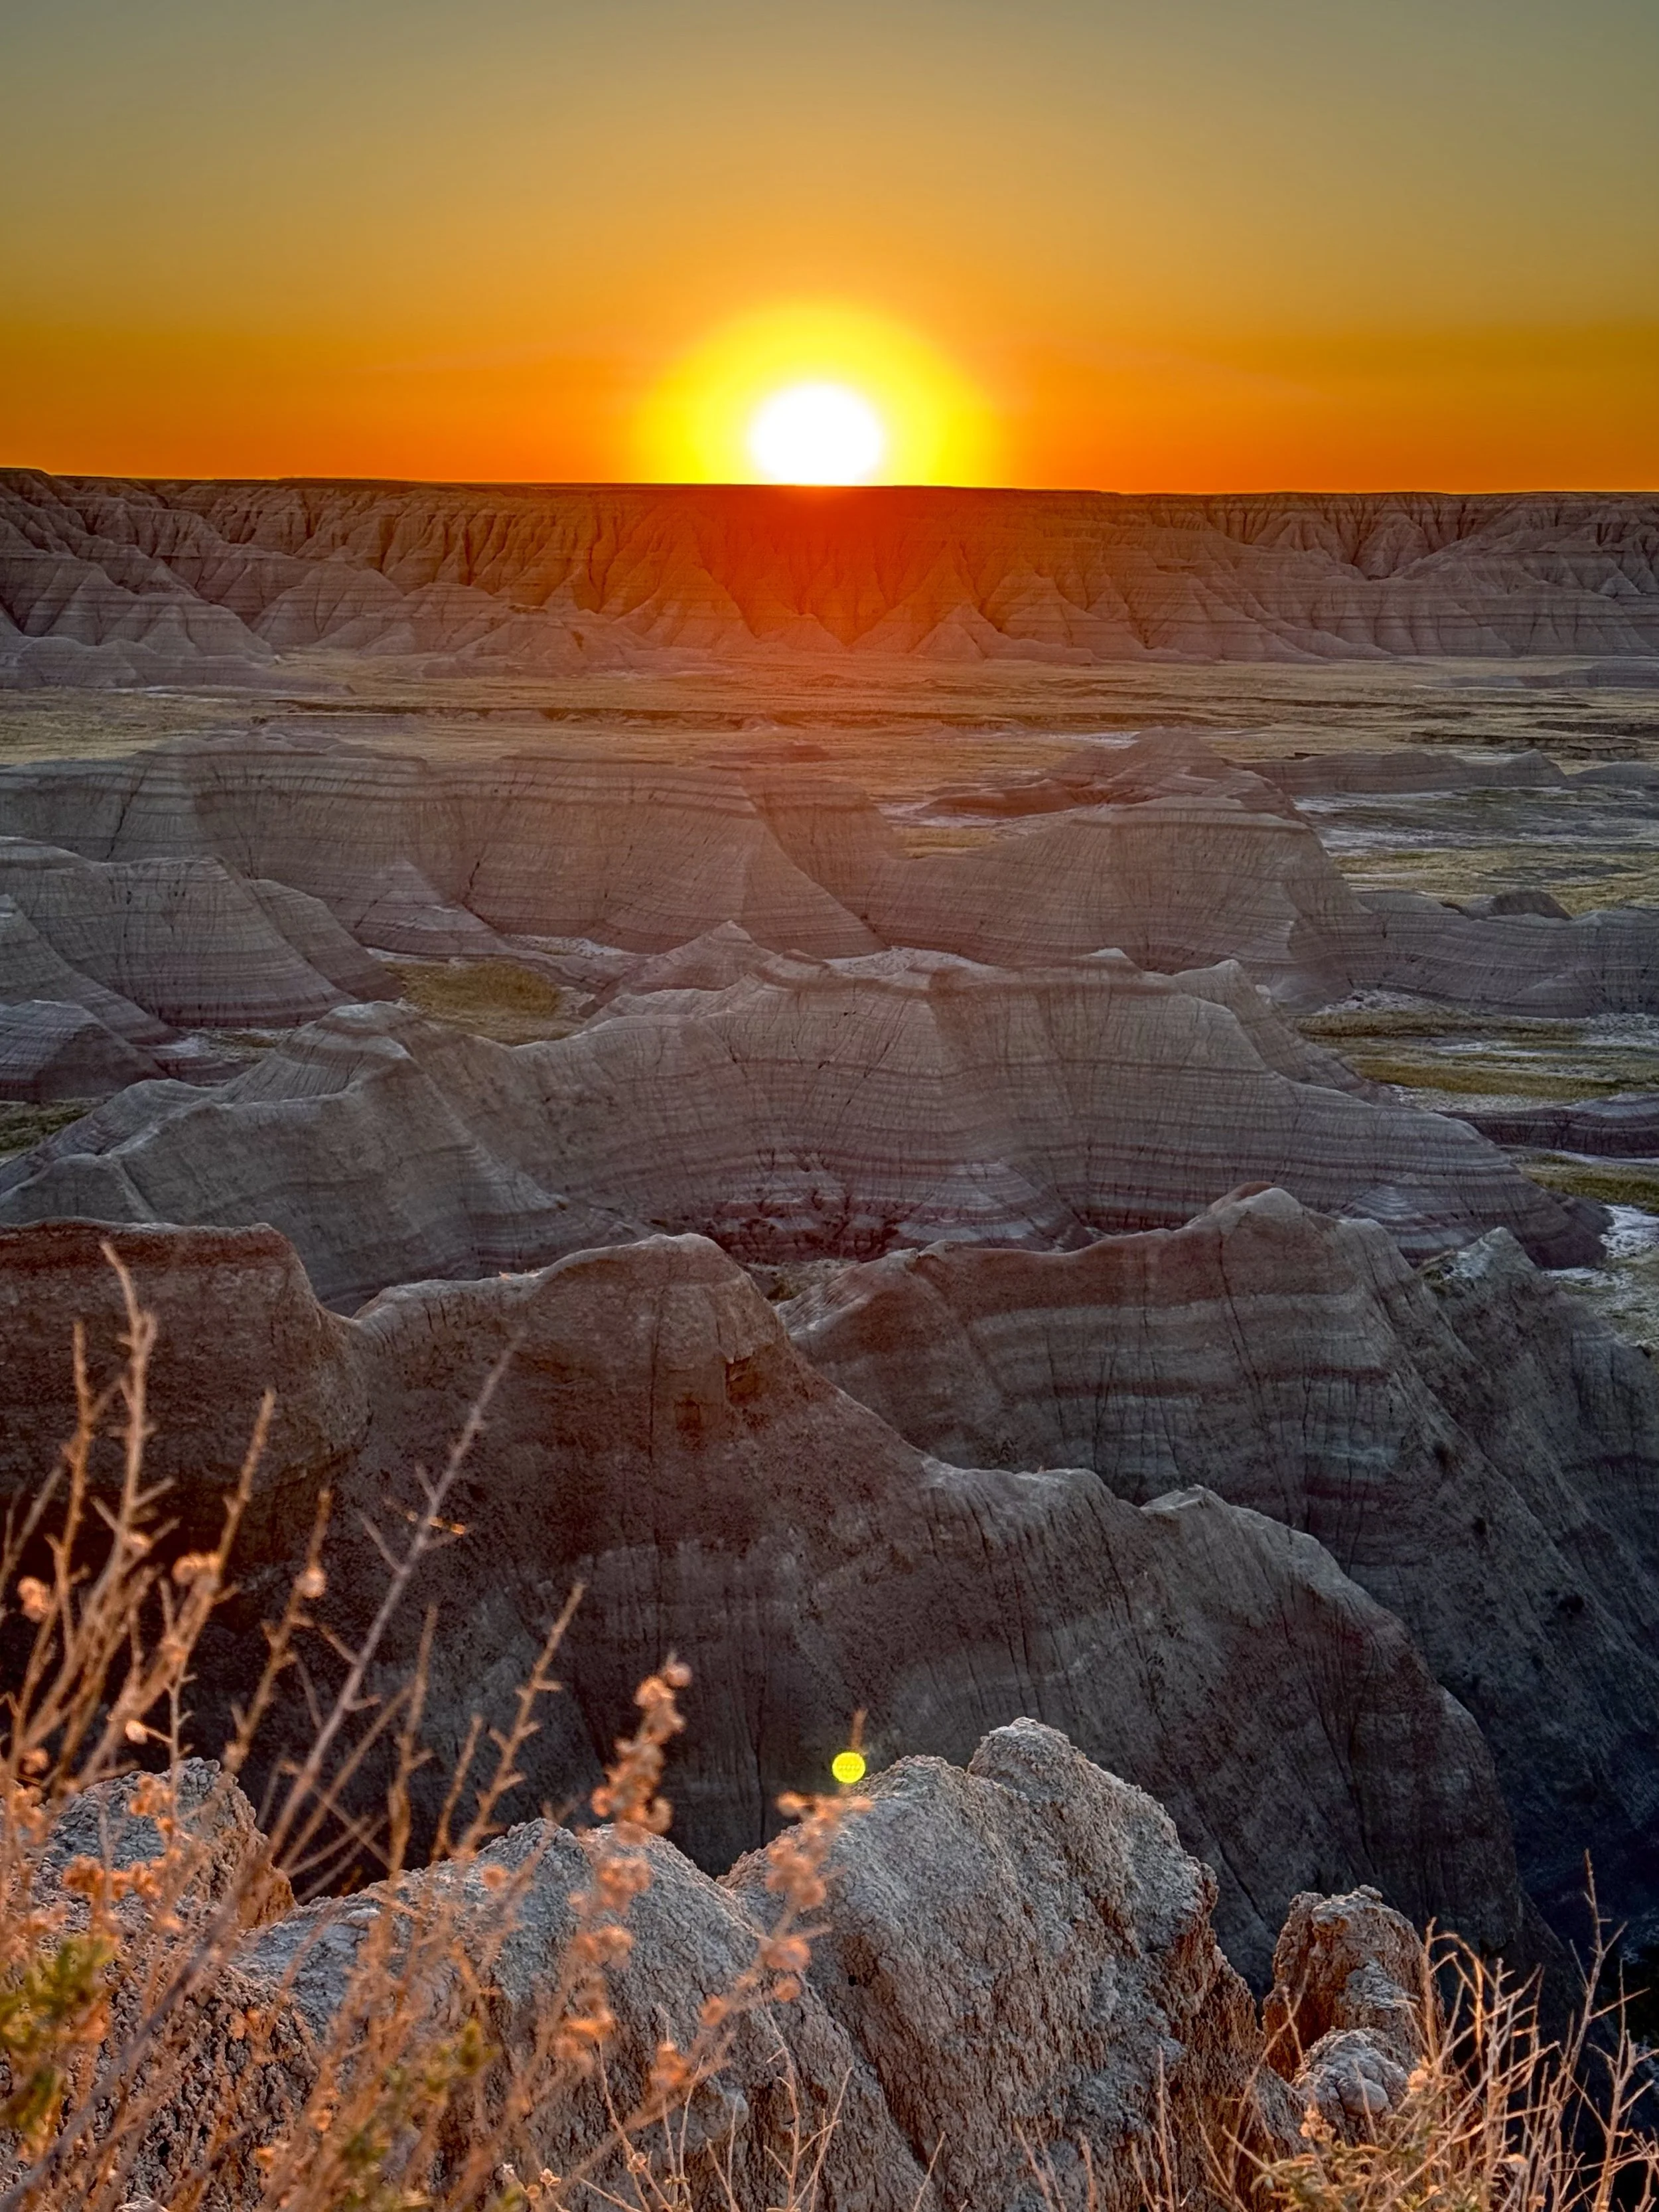
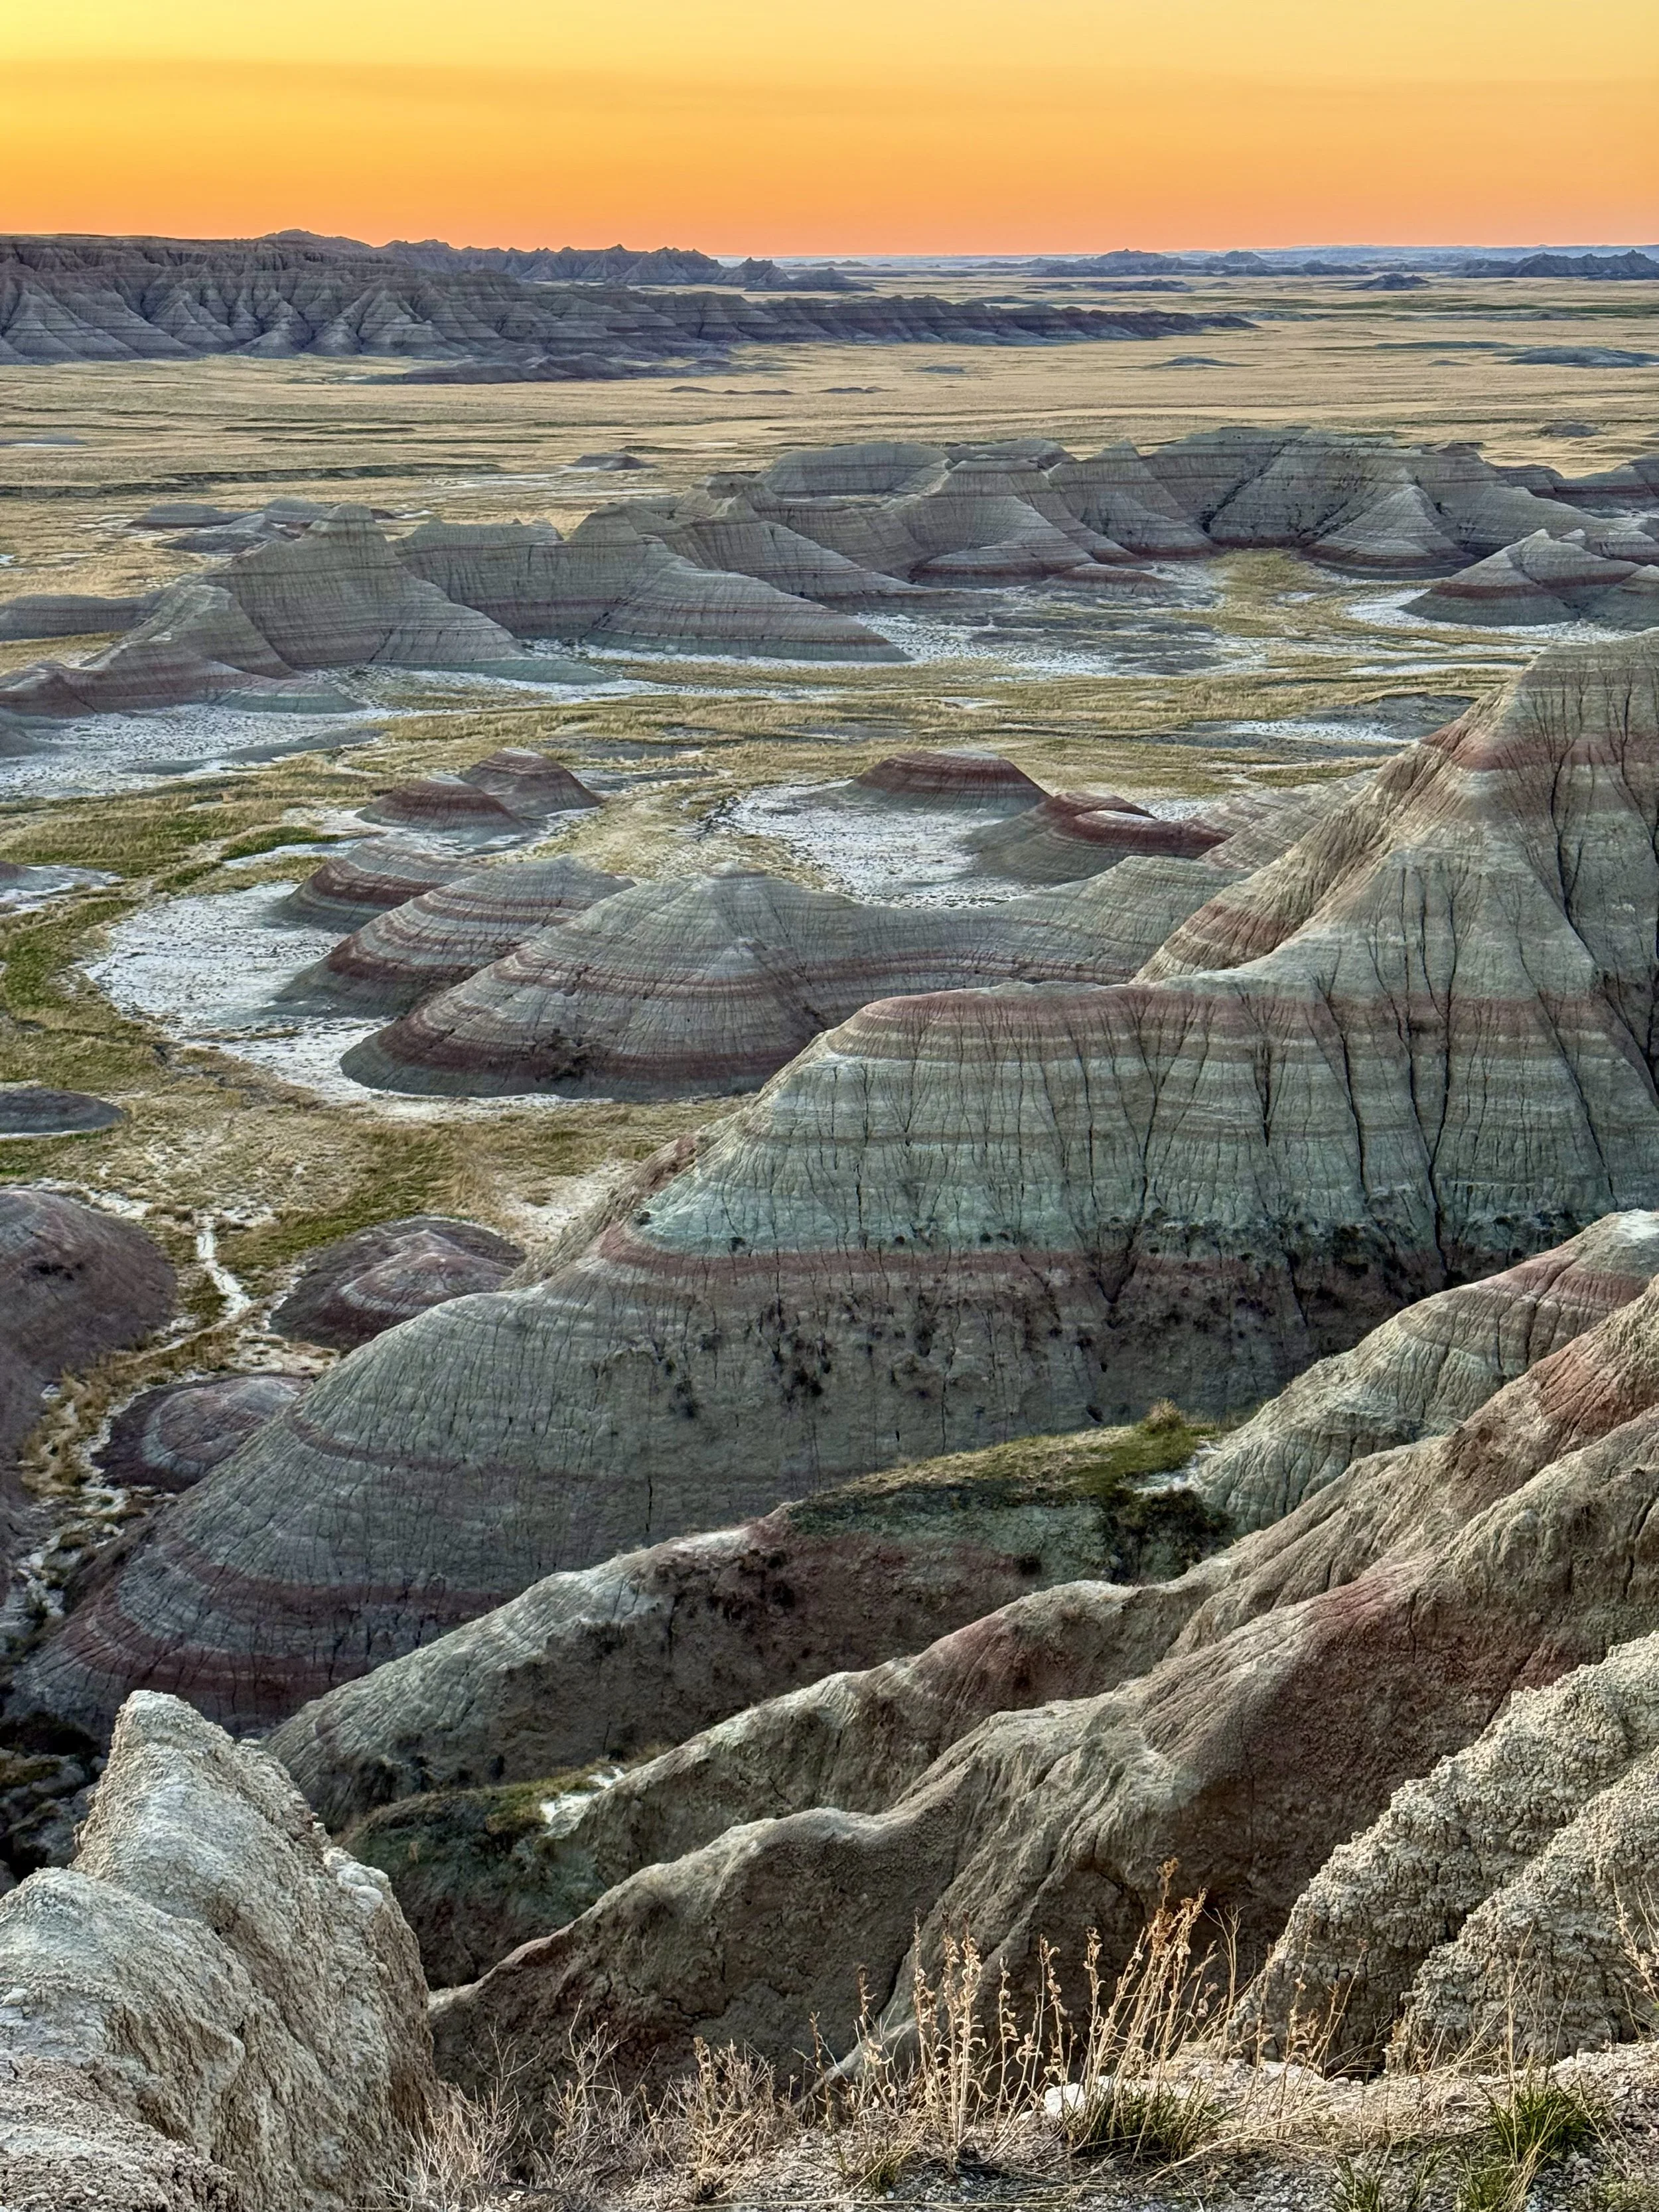

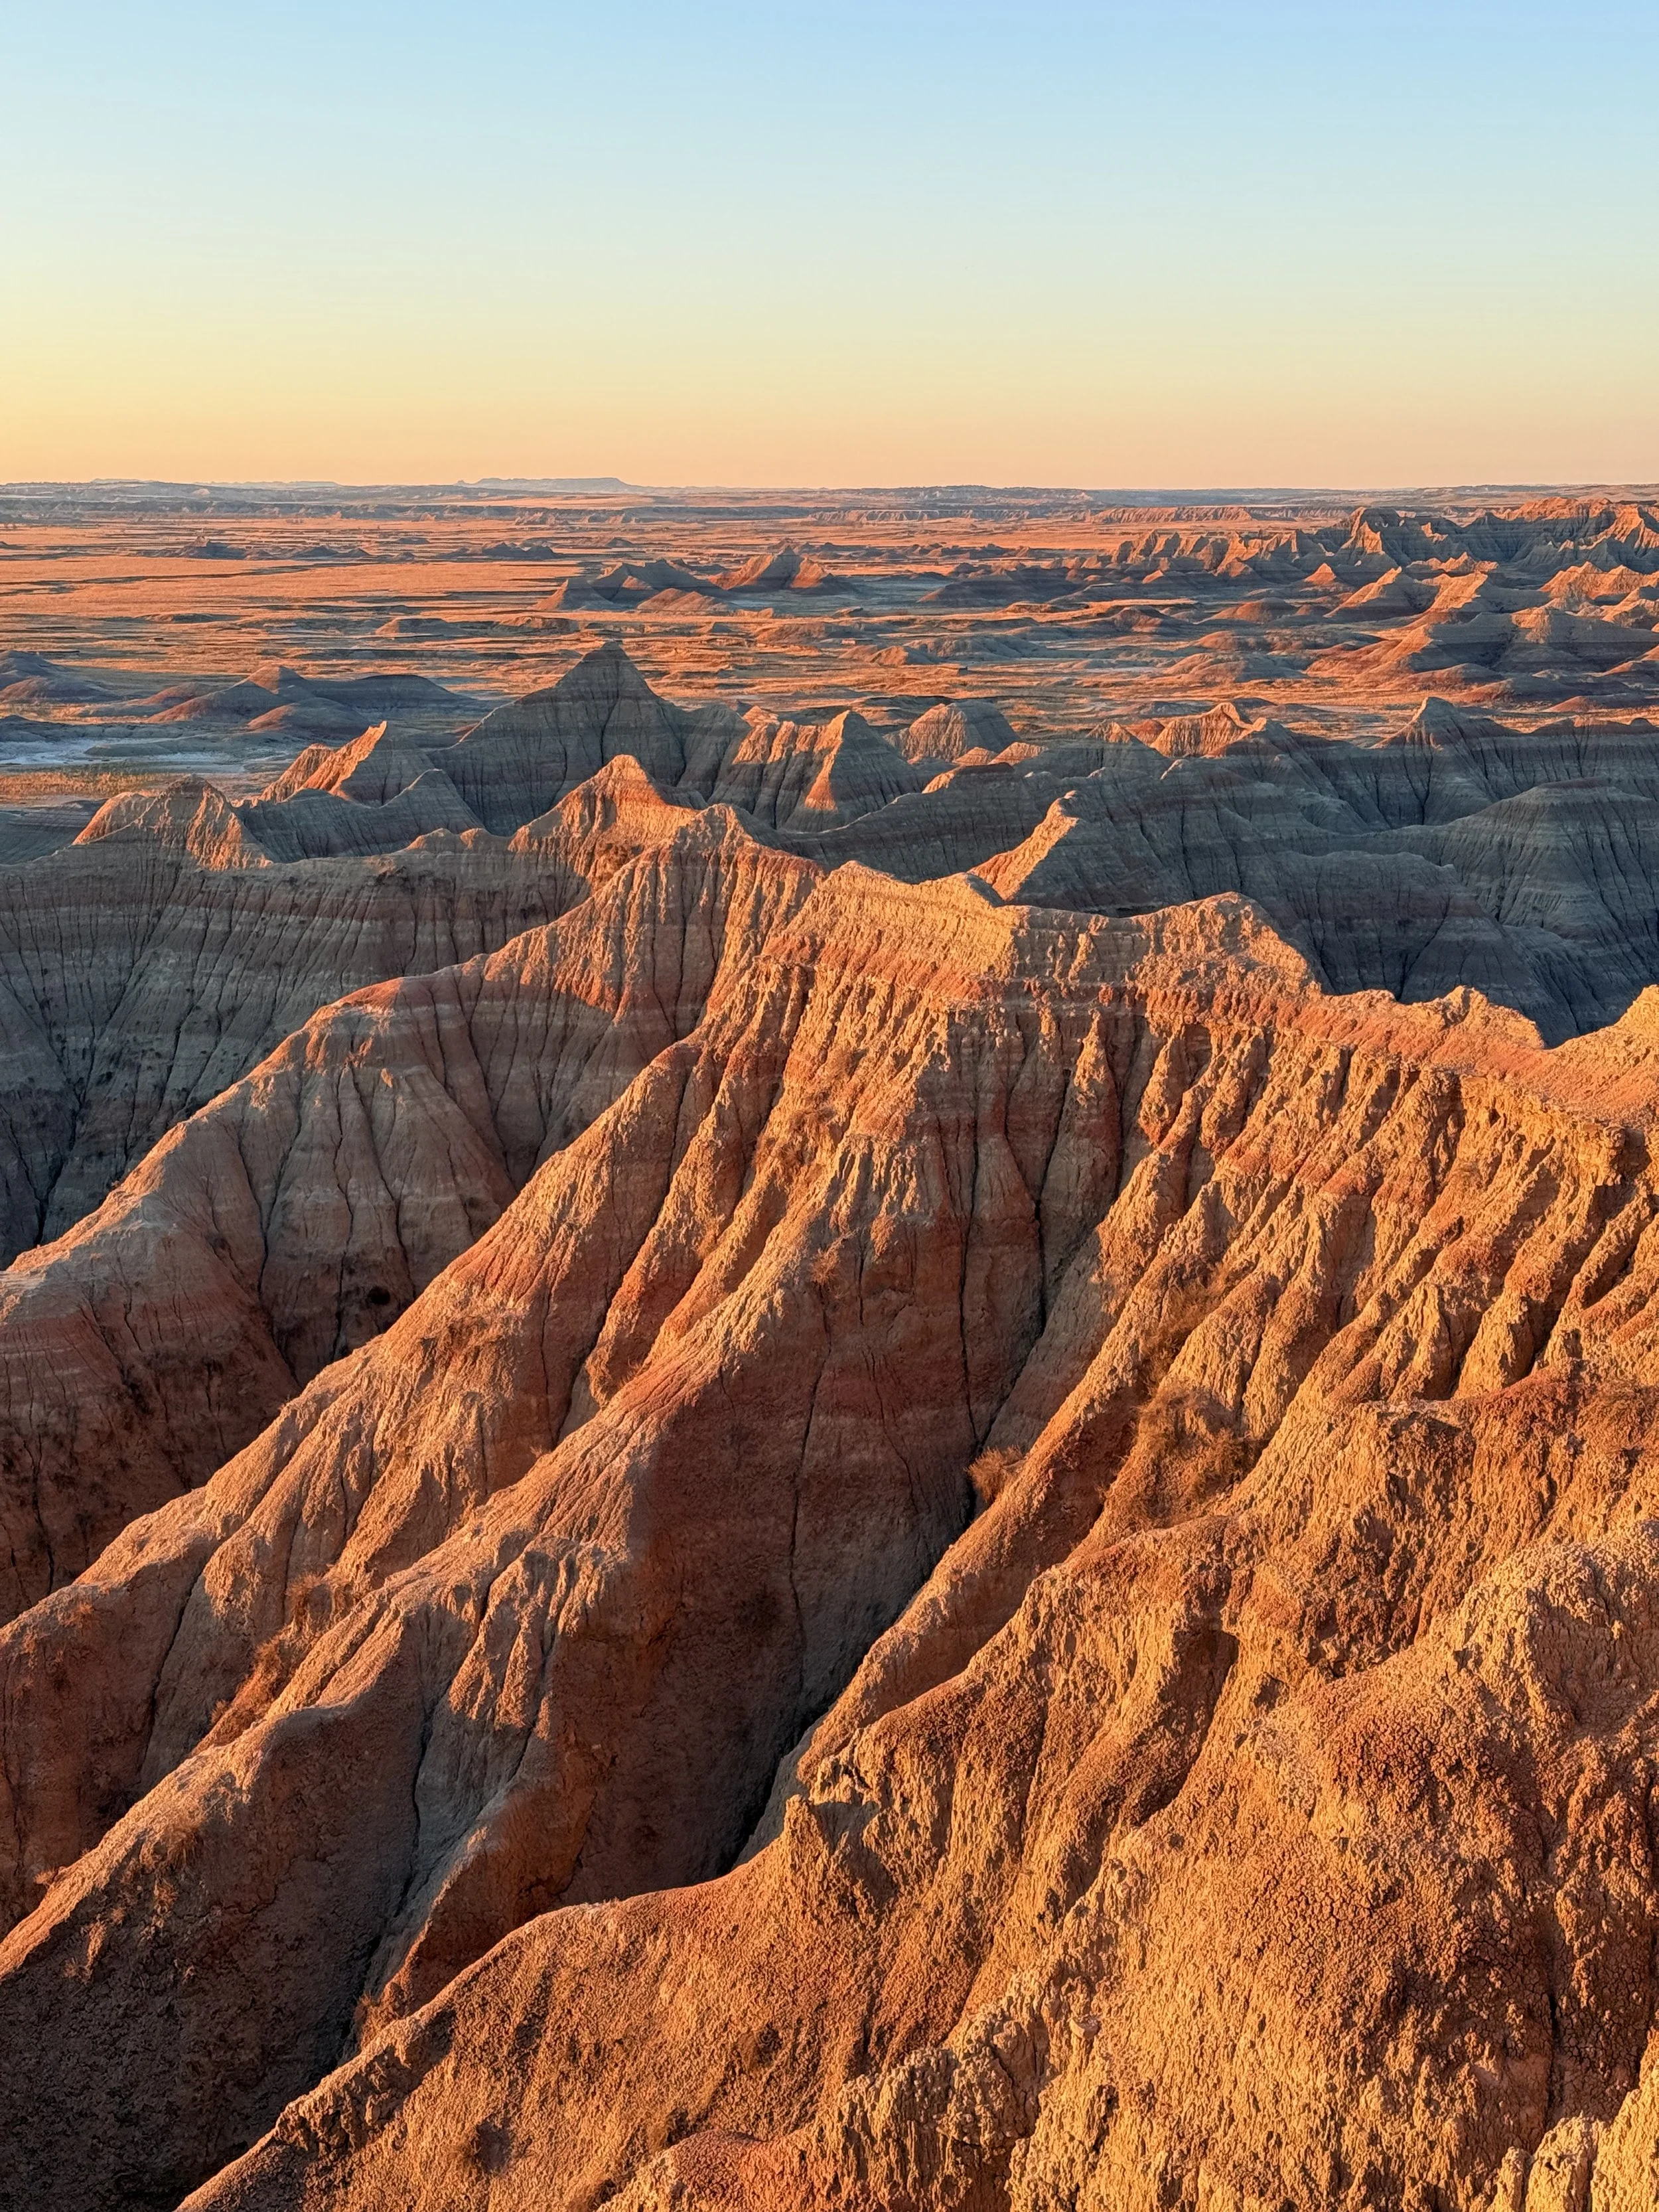
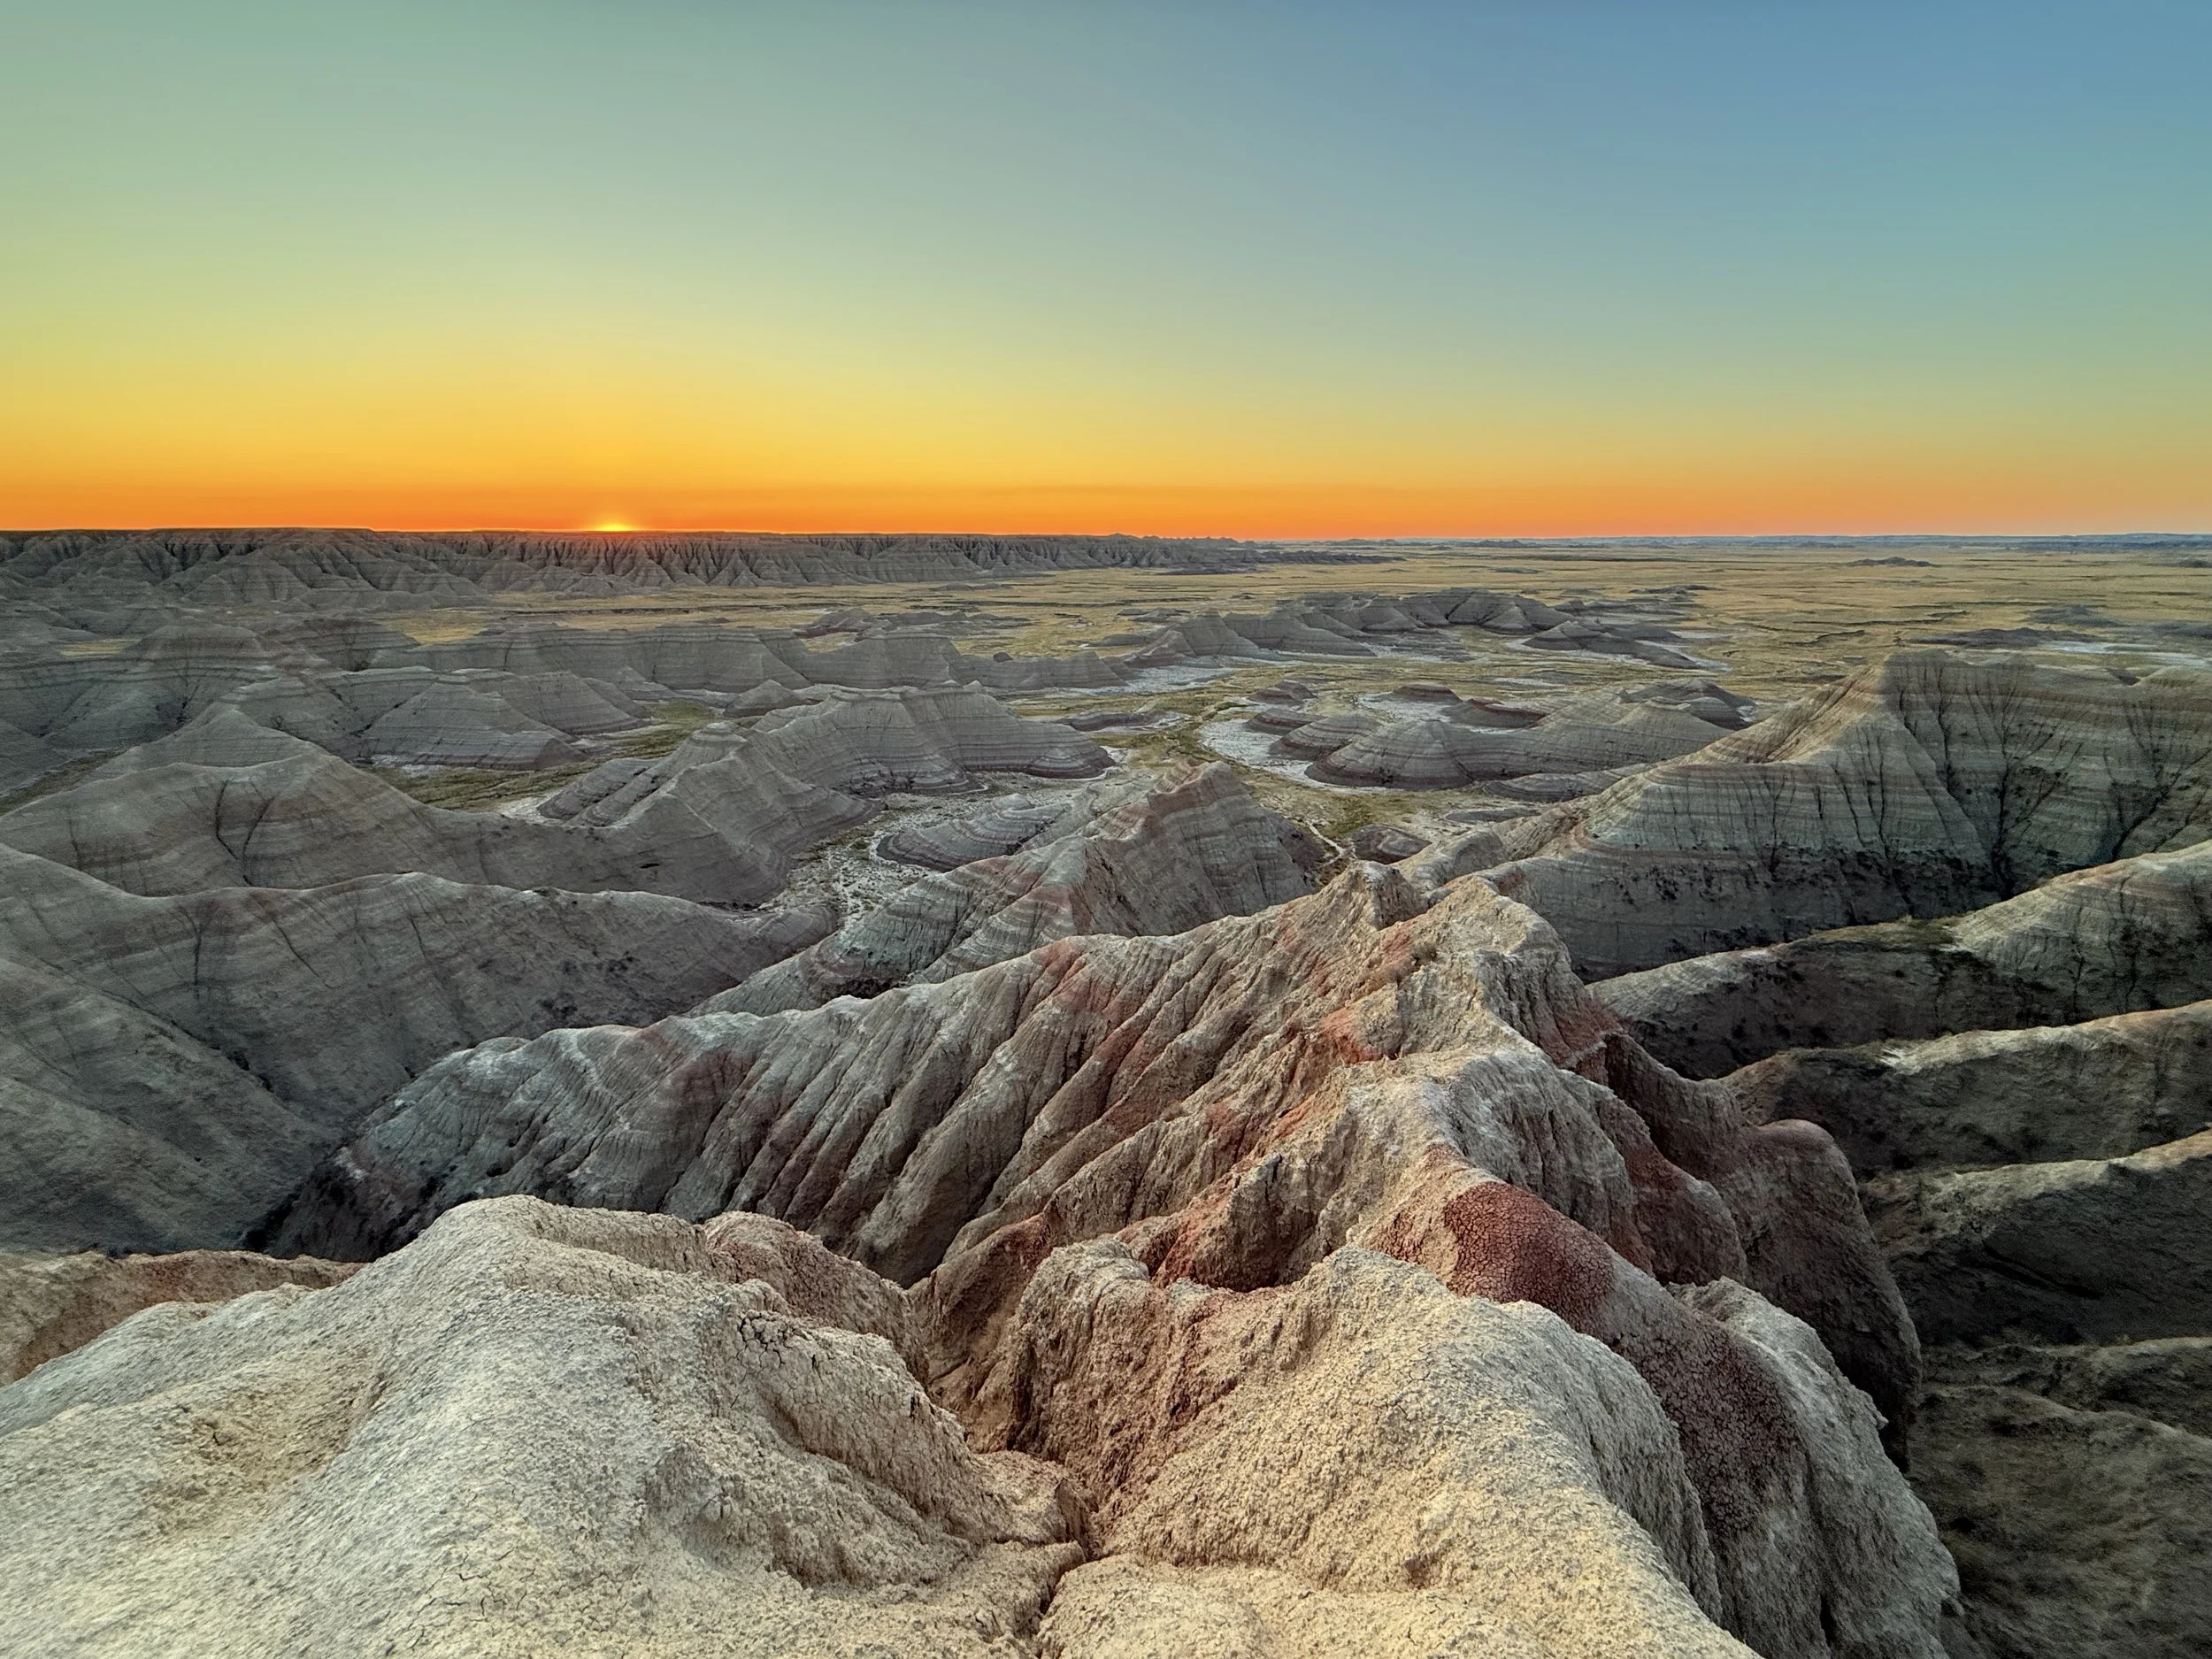

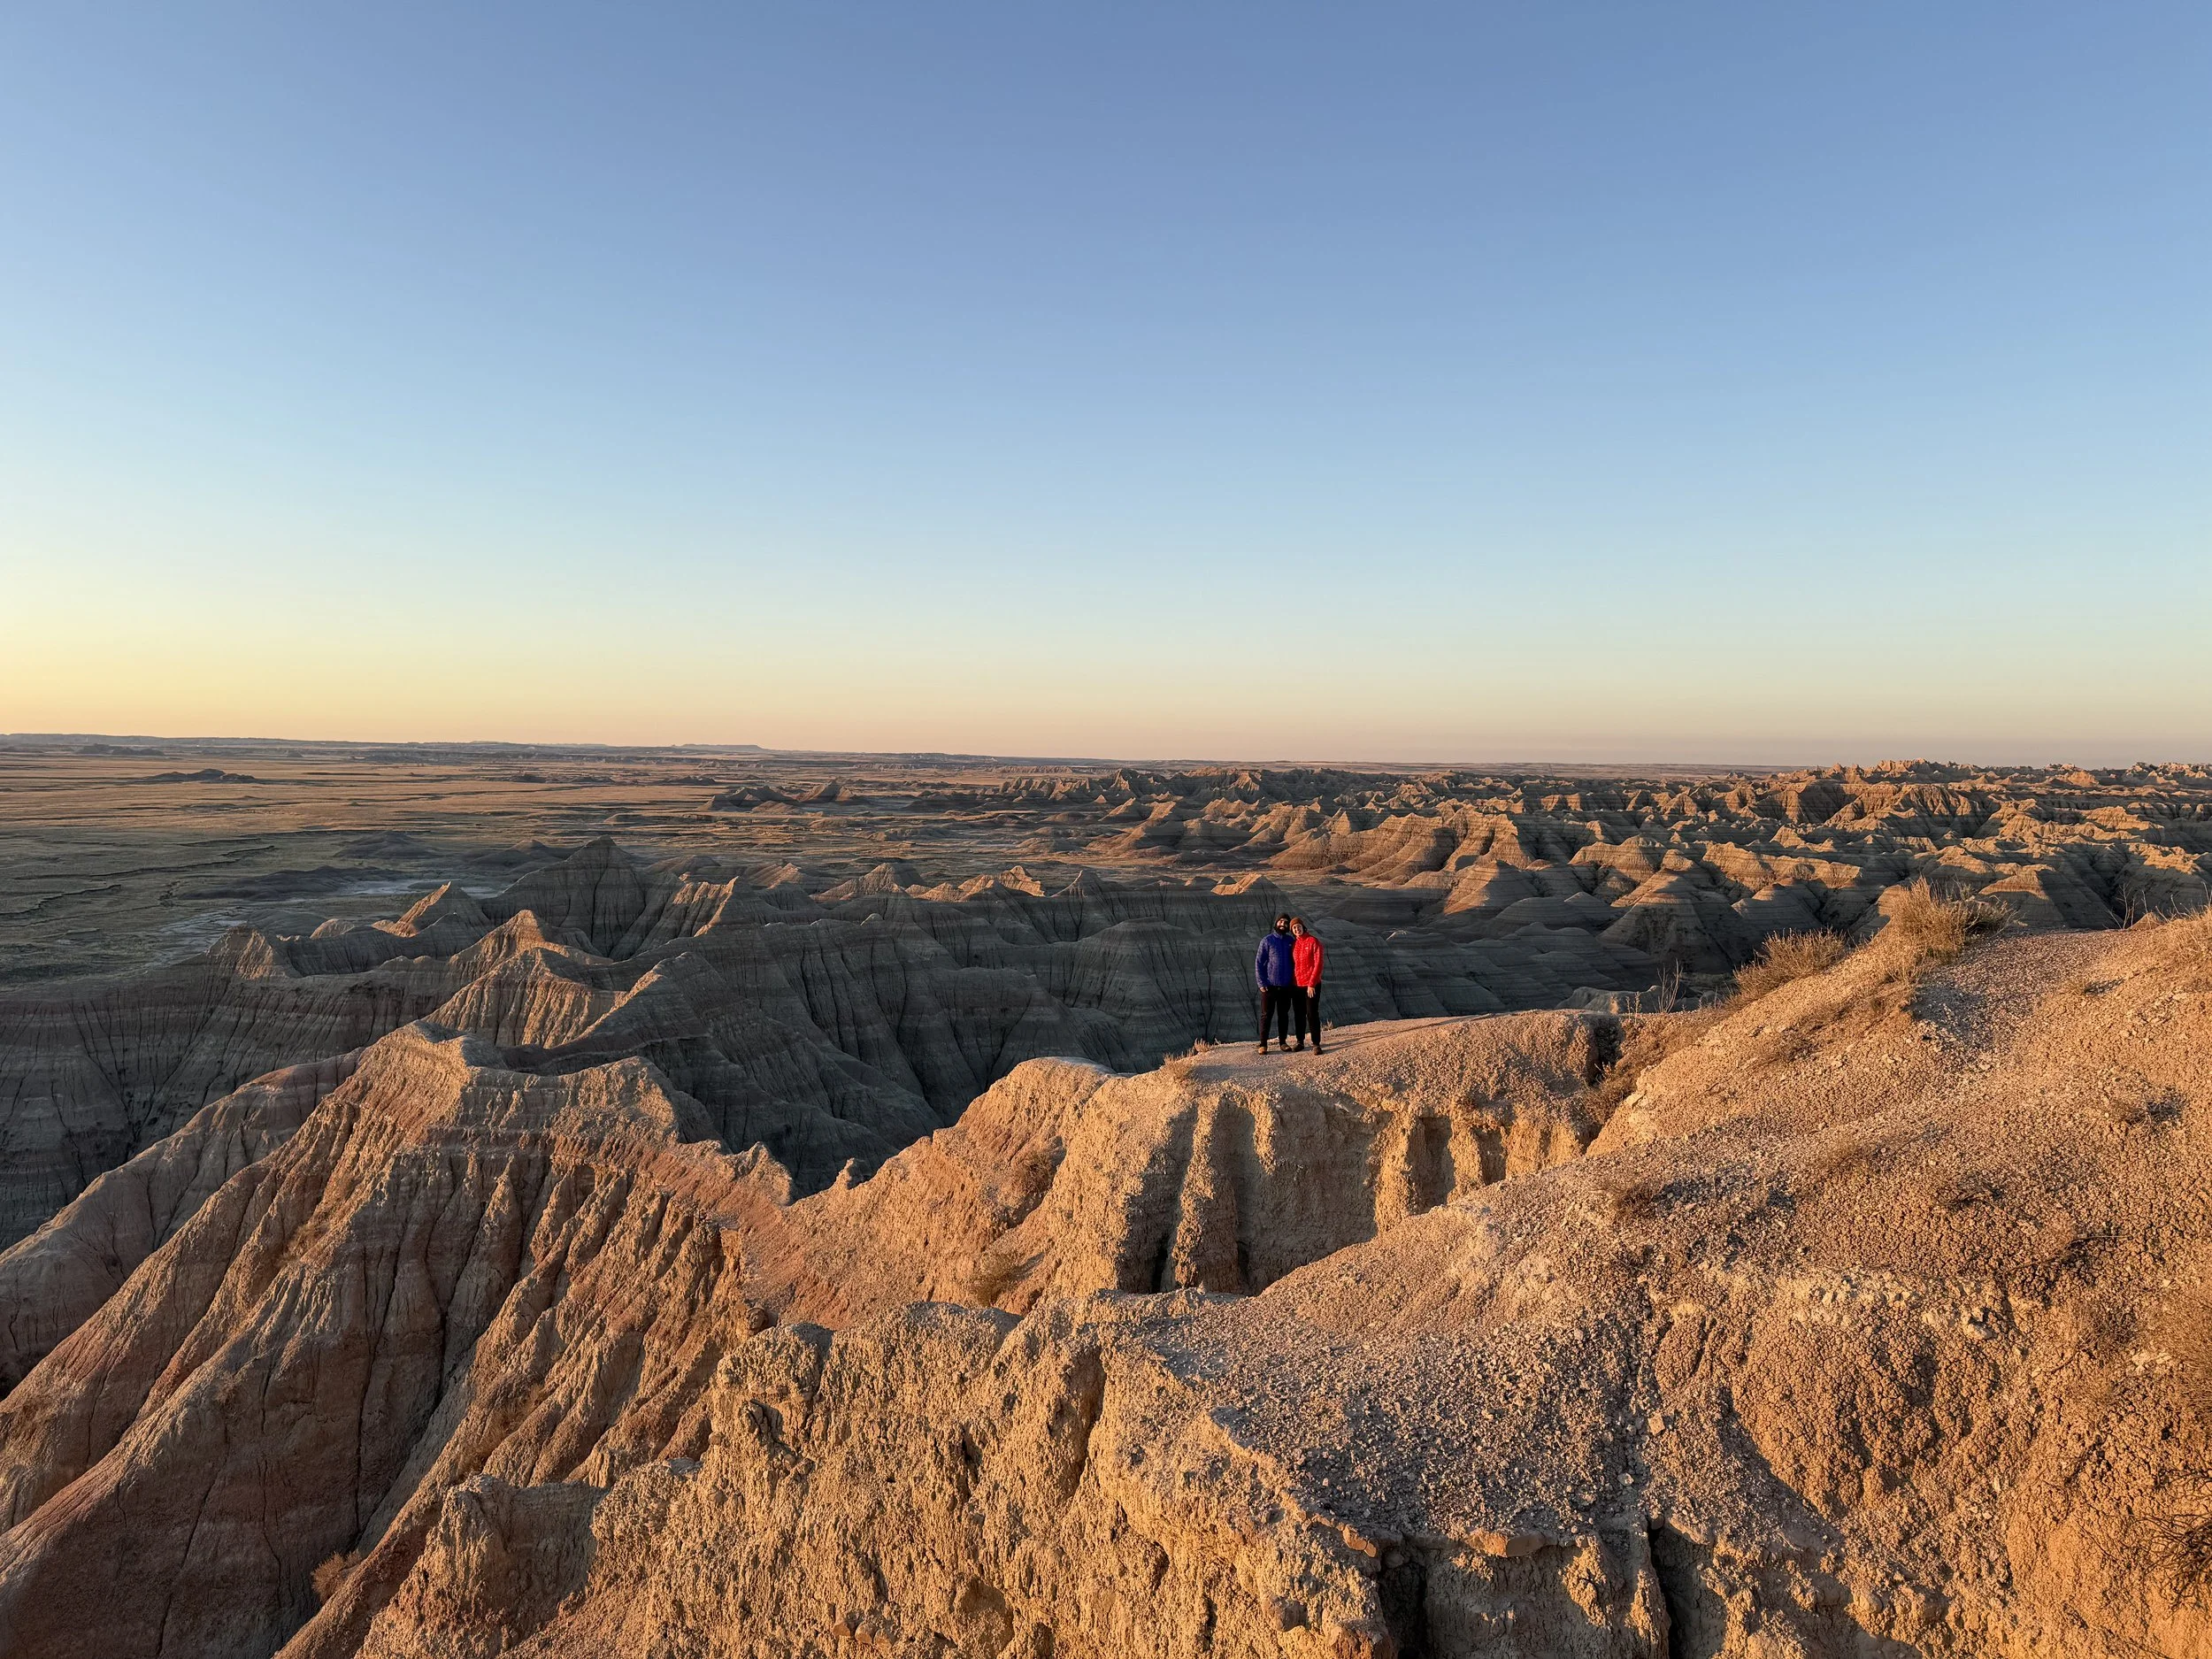
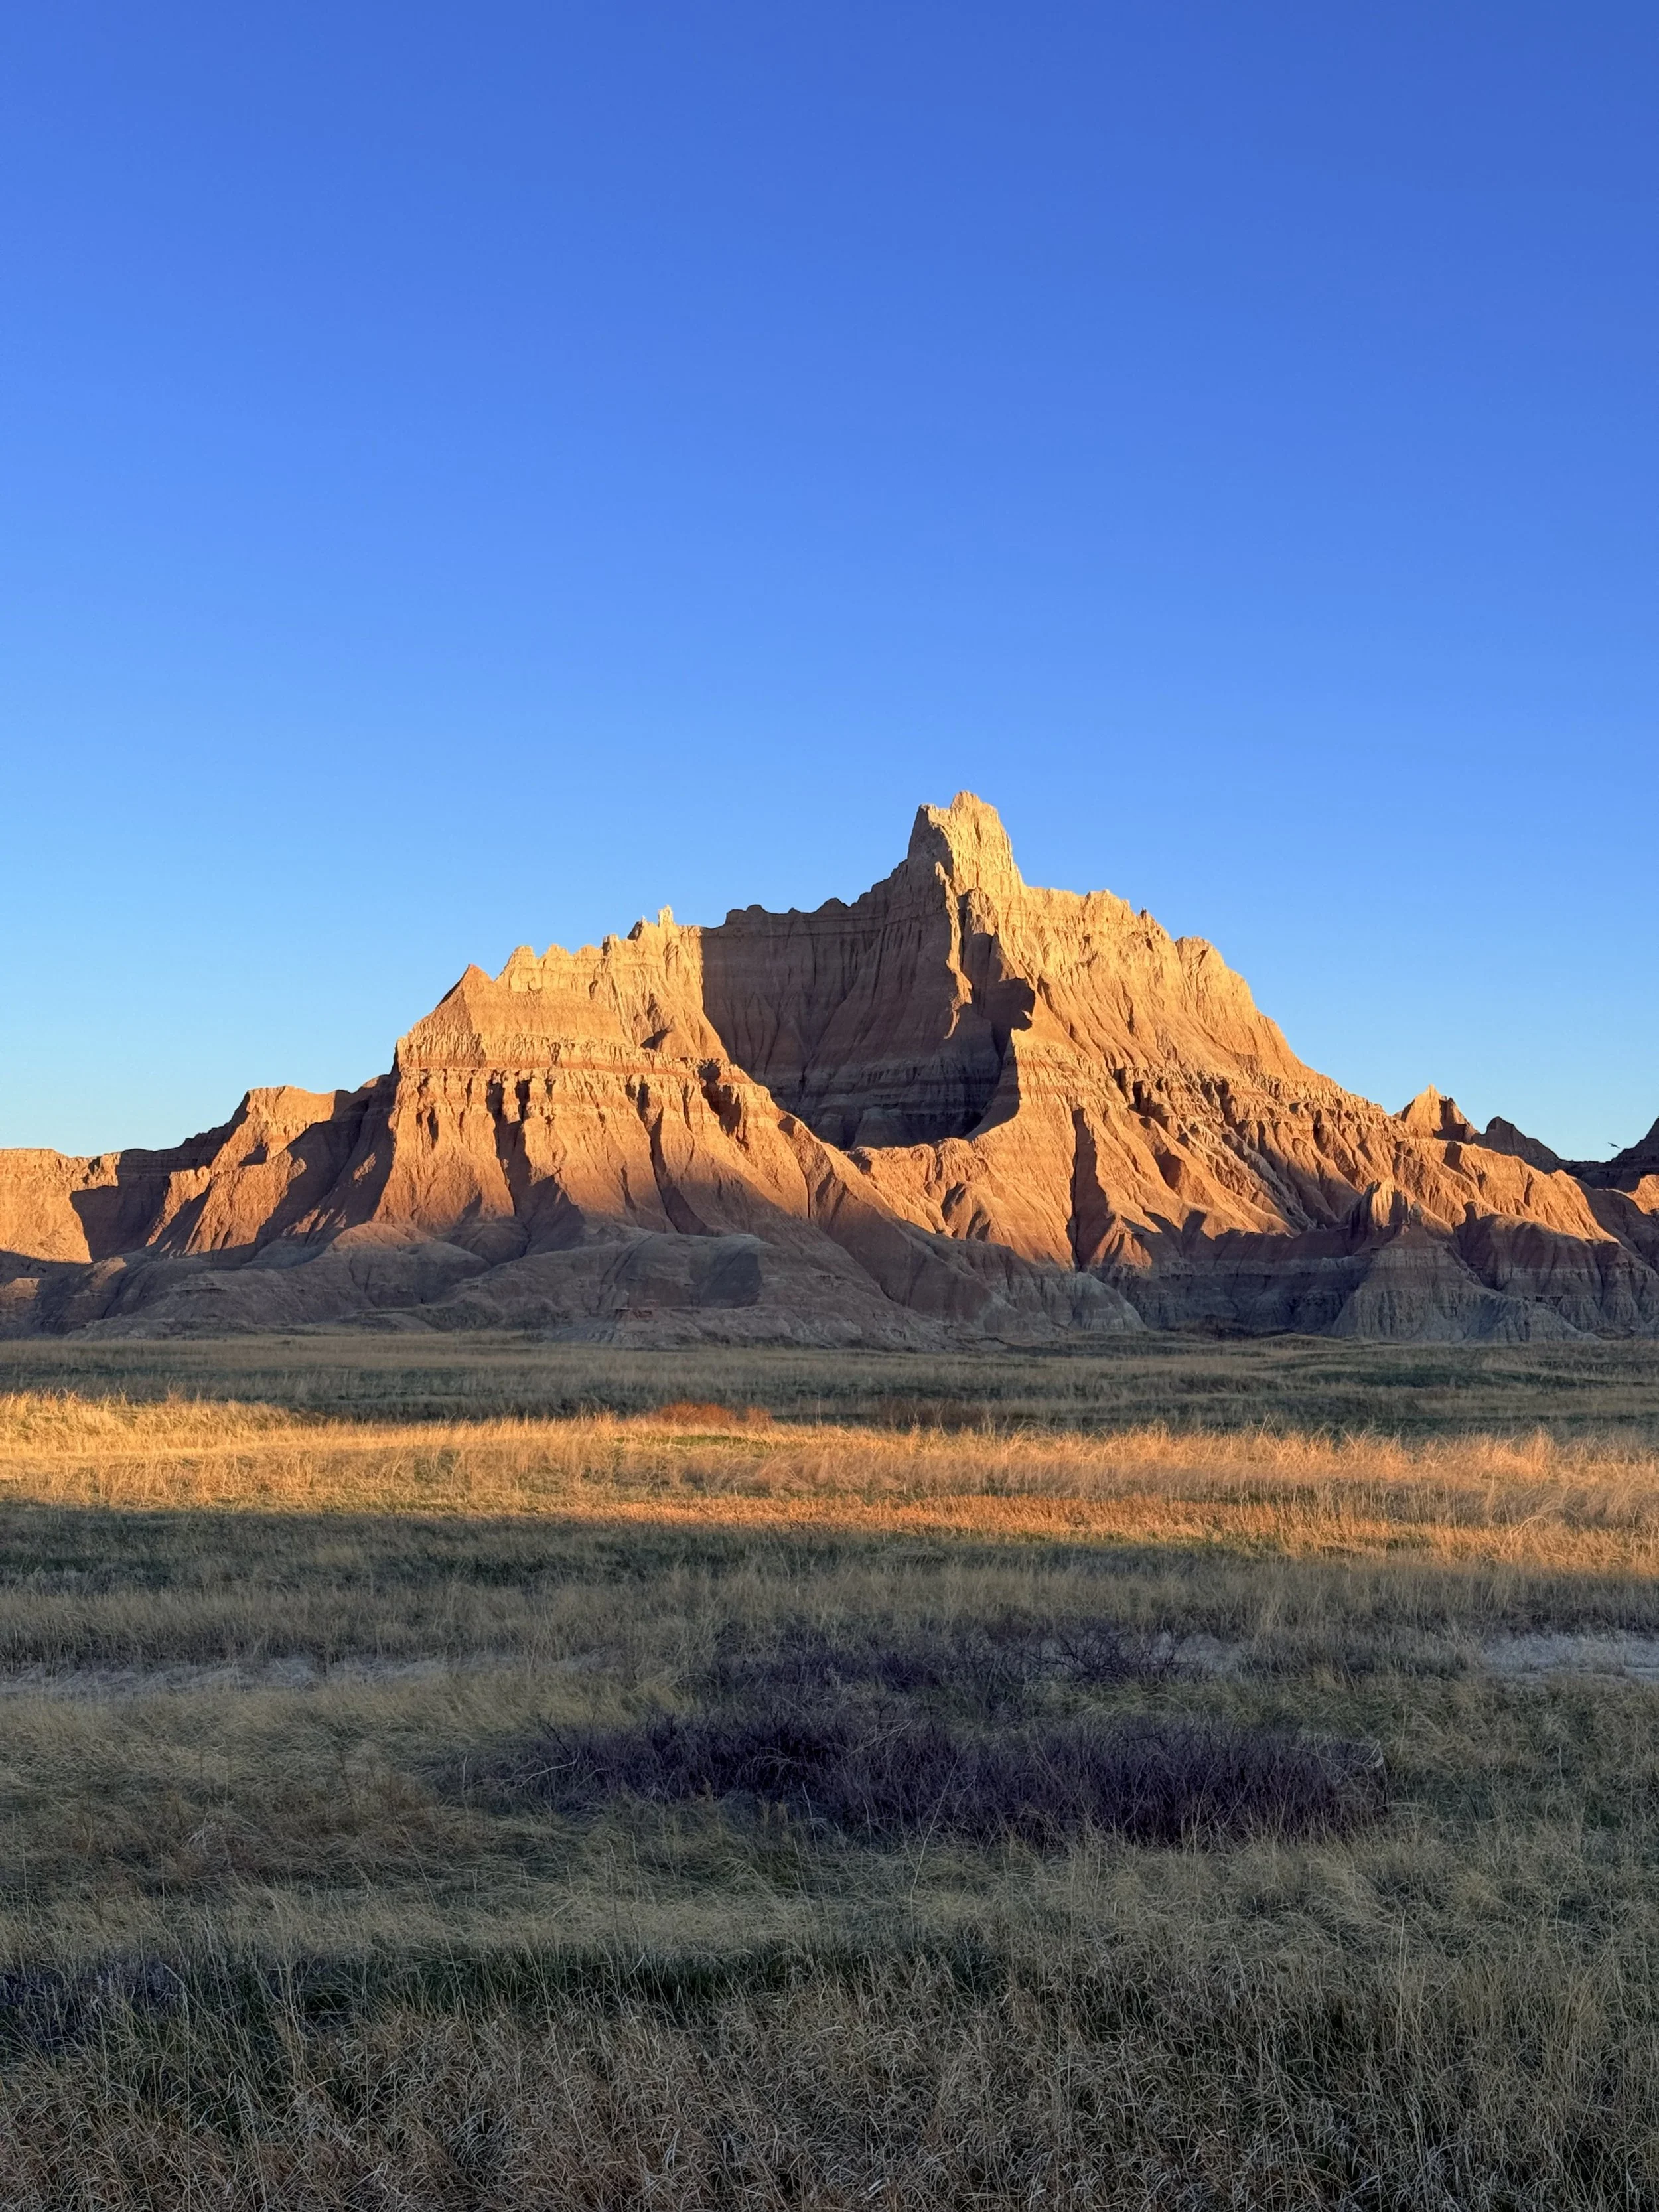
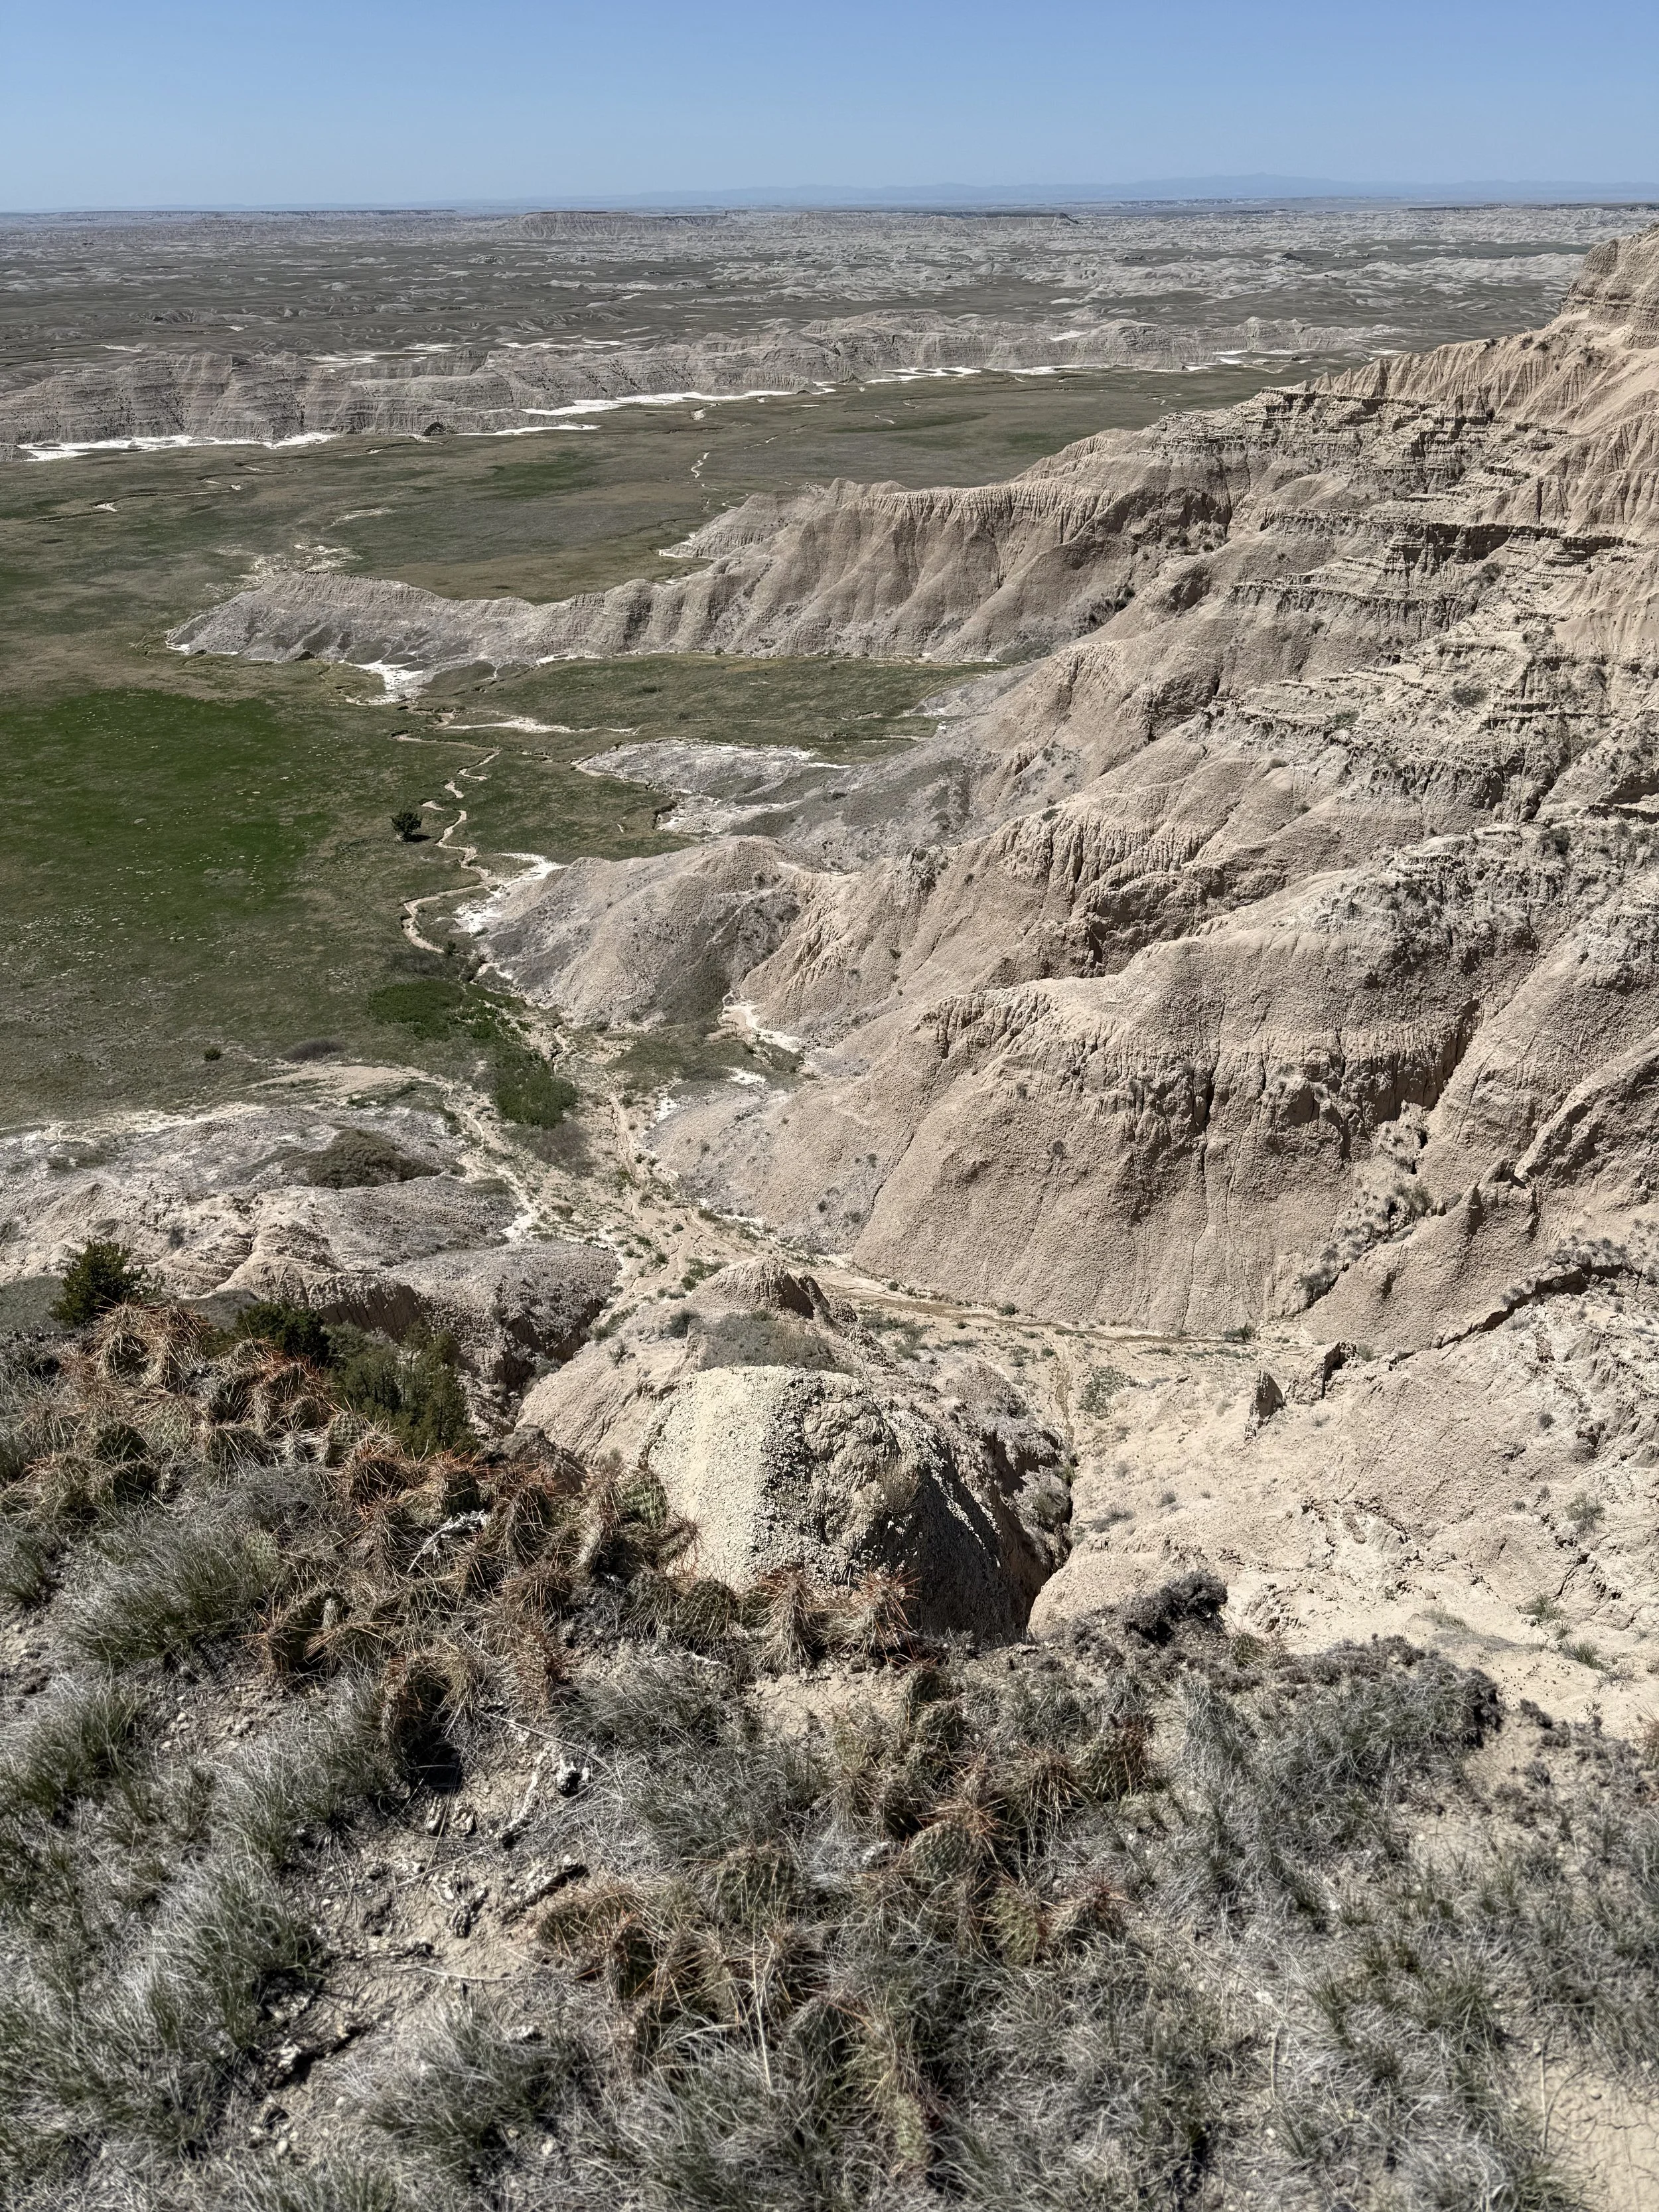
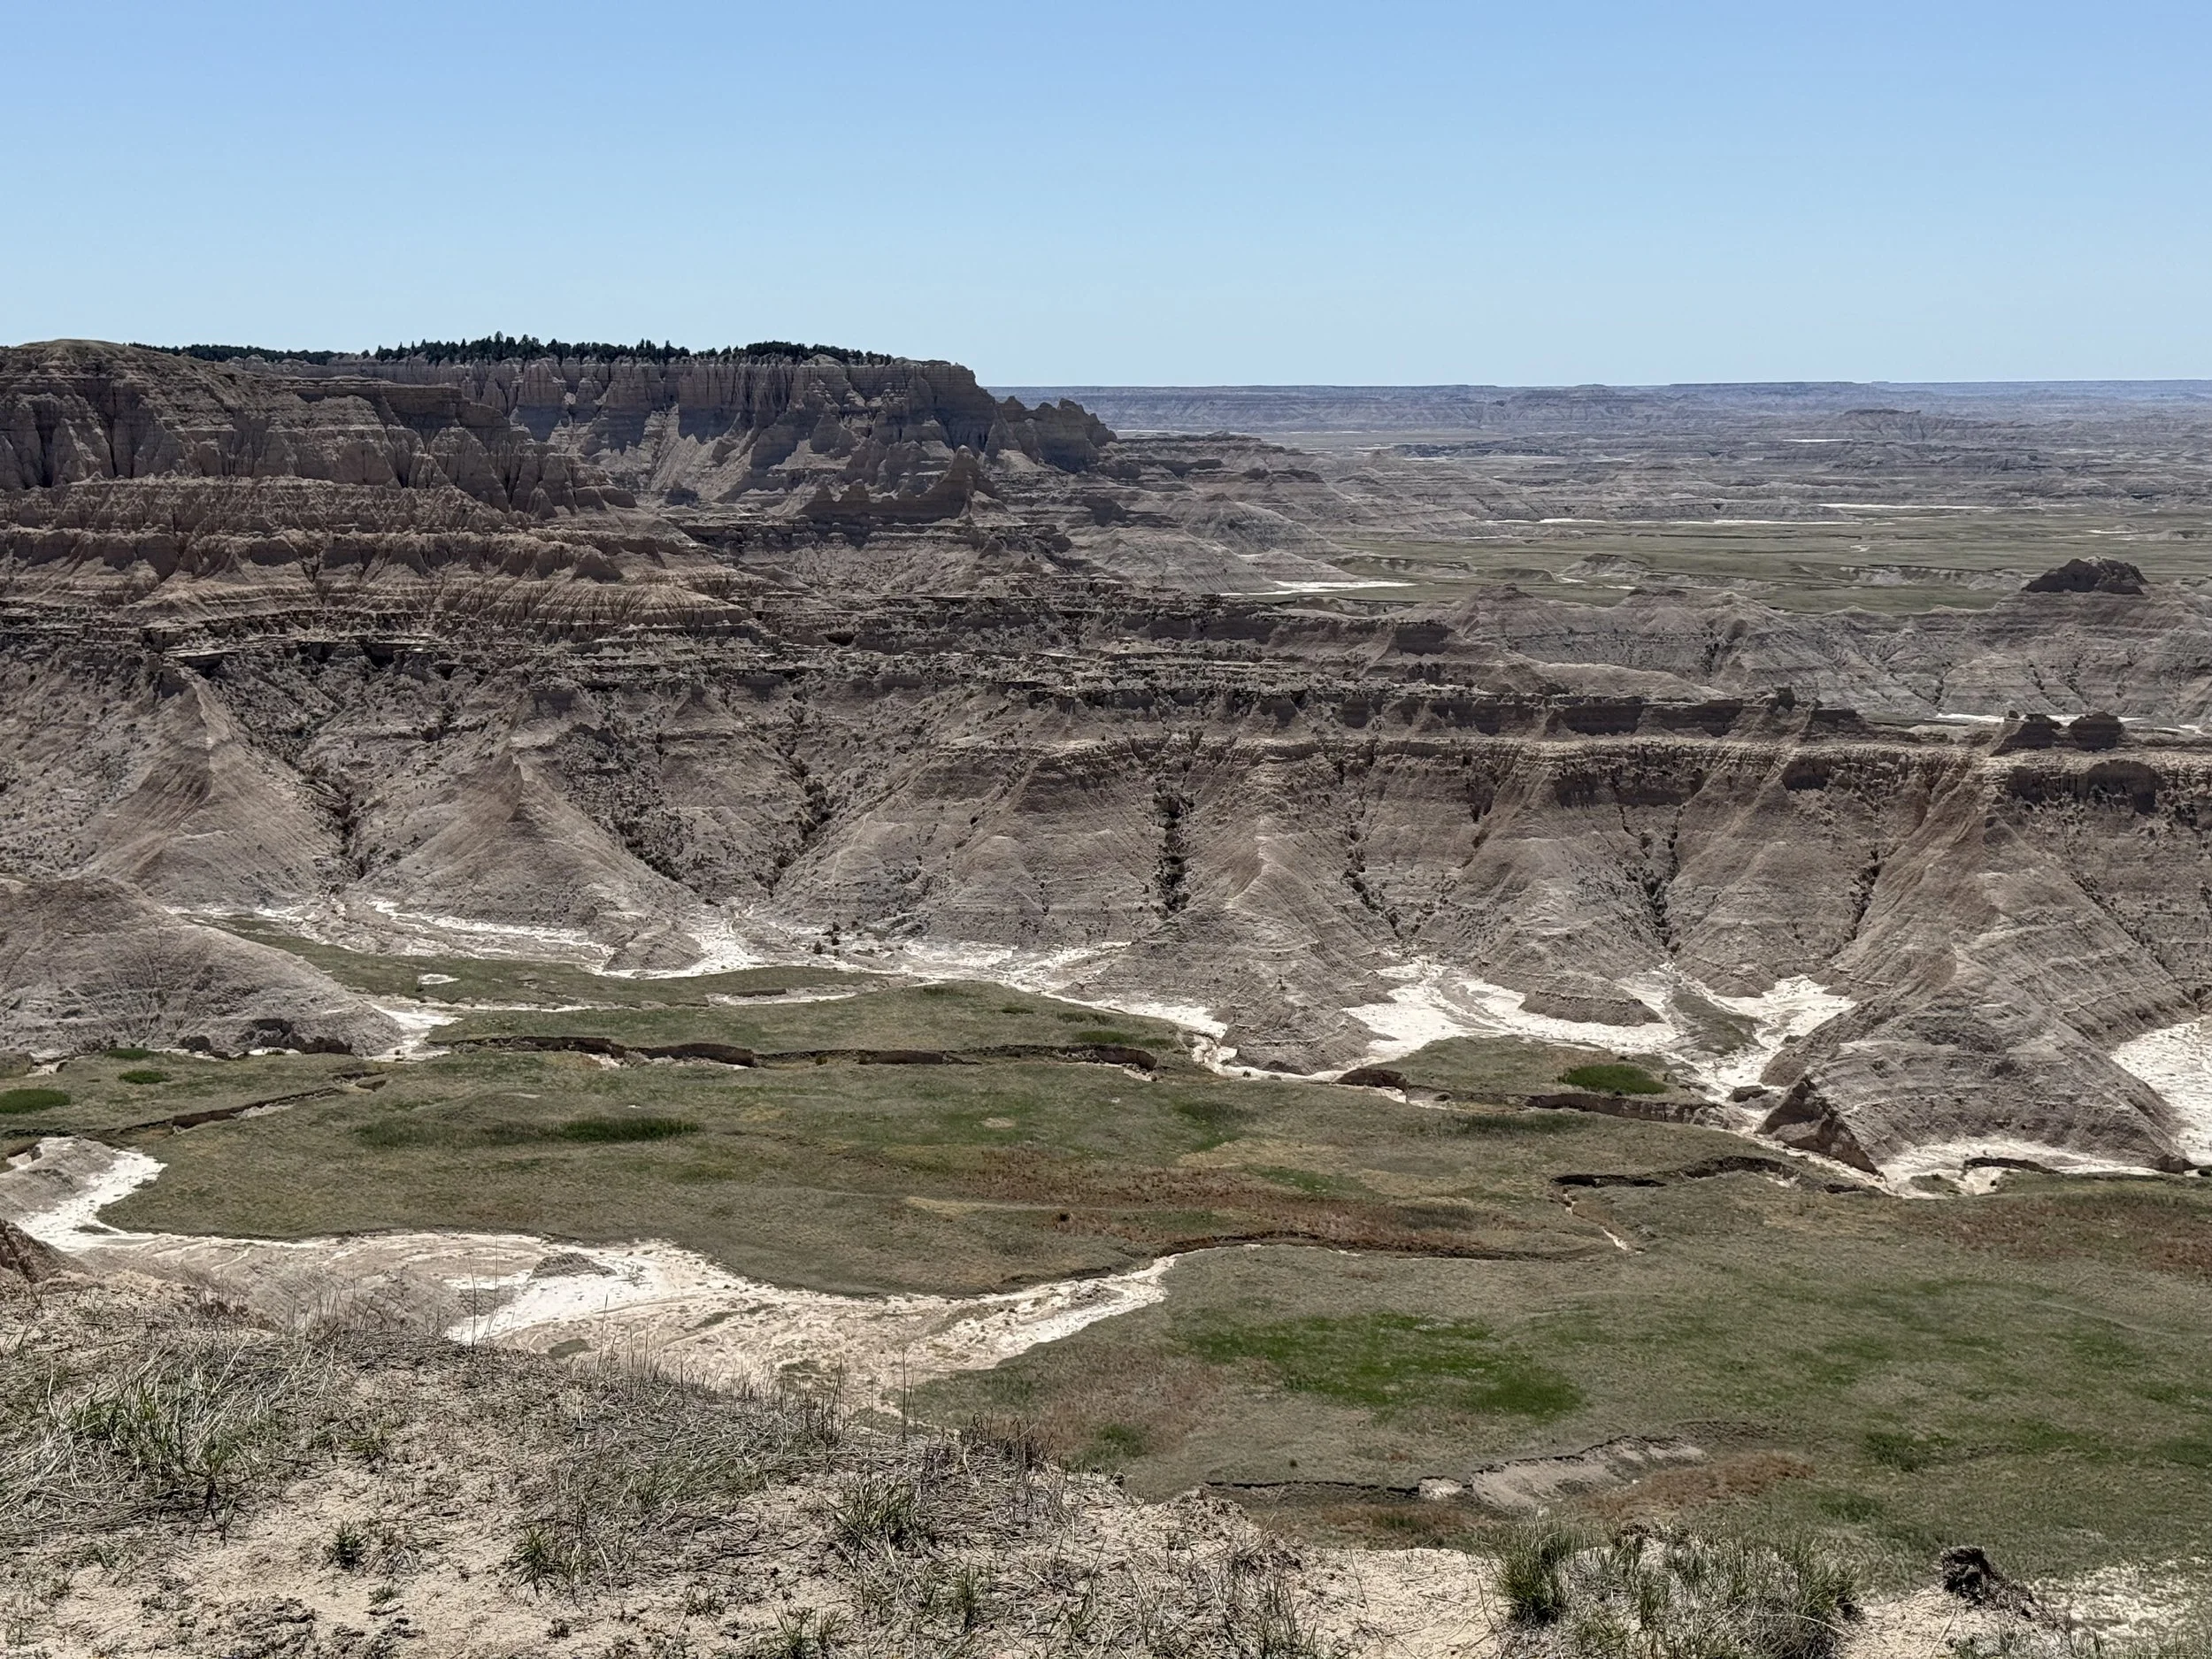
Sunrise at Big Badlands Overlook
We woke up bright and early to catch the sunrise at Big Badlands Overlook around 5:40am. A few others had the same idea, but the scene was still incredibly serene, with meadowlarks singing as the first light hit the rocks. The sun lit up the layered formations in a way that felt almost surreal. It reminded us a lot of sunrise at Zabriskie Point in Death Valley, and was the perfect quiet moment to soak in the beauty of the Badlands before the day began.


Sheep Mountain Table Road
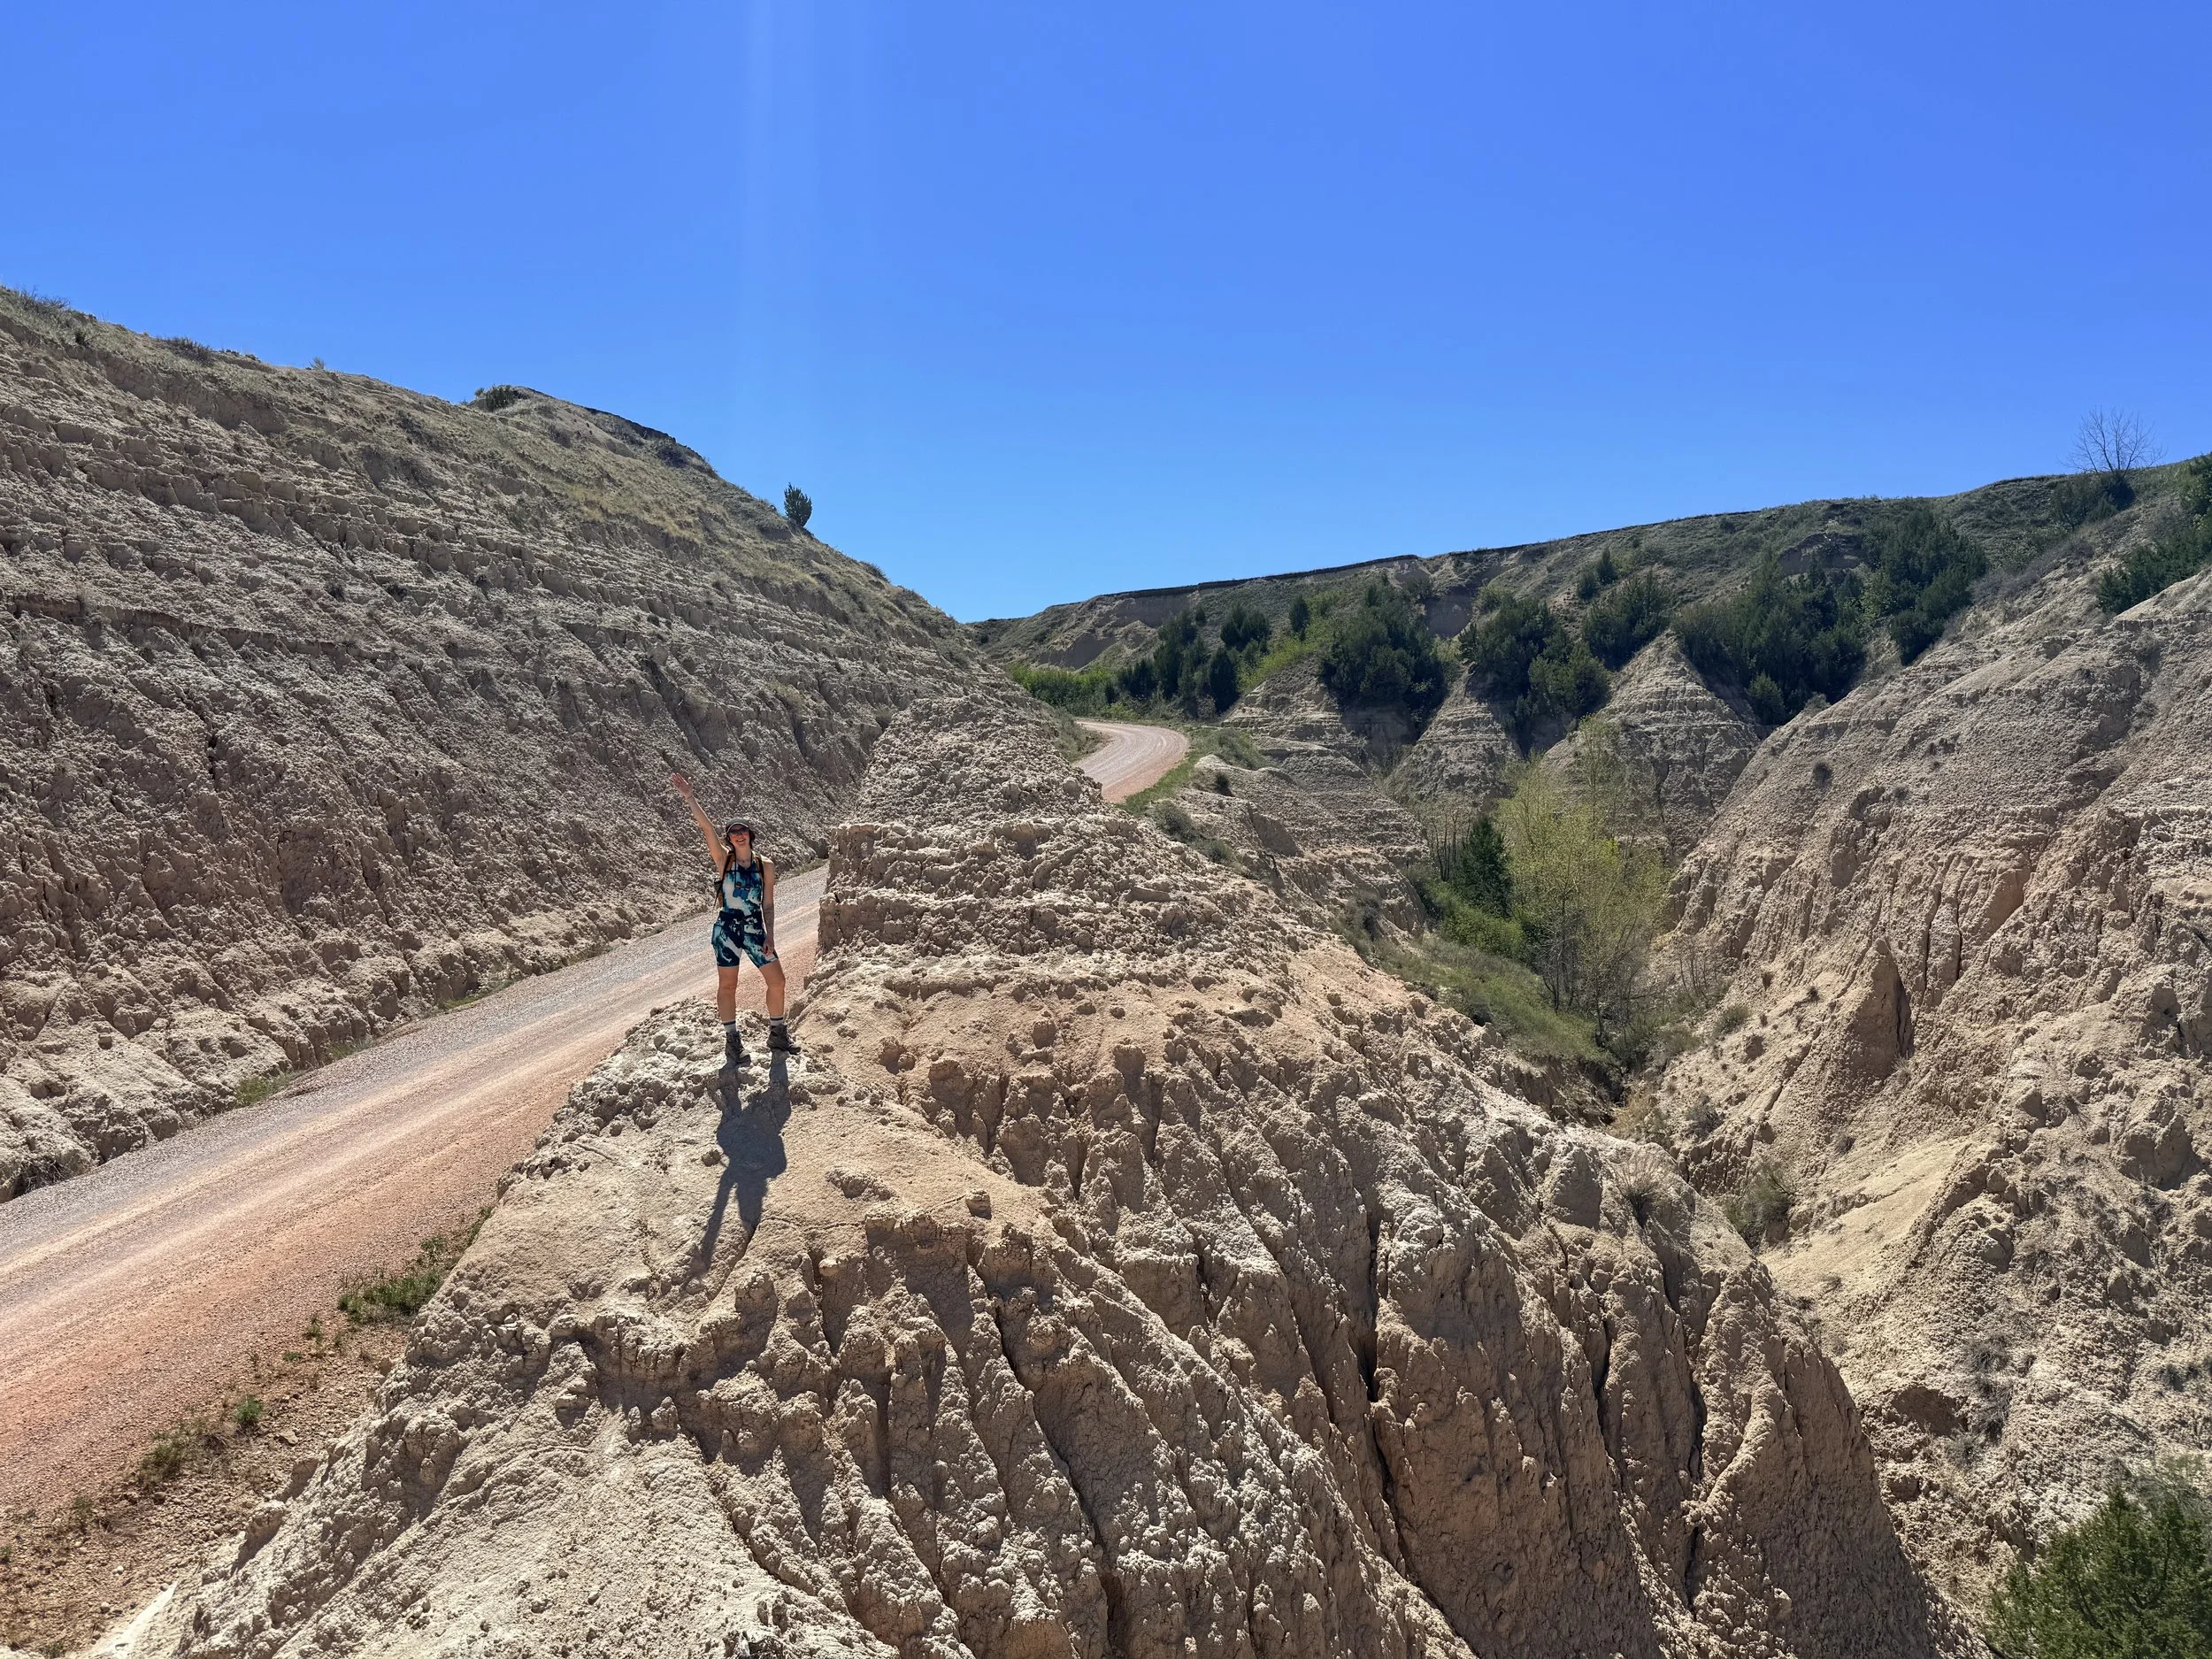
After sunrise and a quick stop back at camp for breakfast, we made our way to Sheep Mountain Table Road with plans to drive up to the overlook and hike the Cedar Butte Trail. Unfortunately, the rough, washboarded road and Eden Glow (our campervan) didn’t get along. The van was bouncing so much it felt like it might fishtail, so we pulled off about 1.5 miles in.
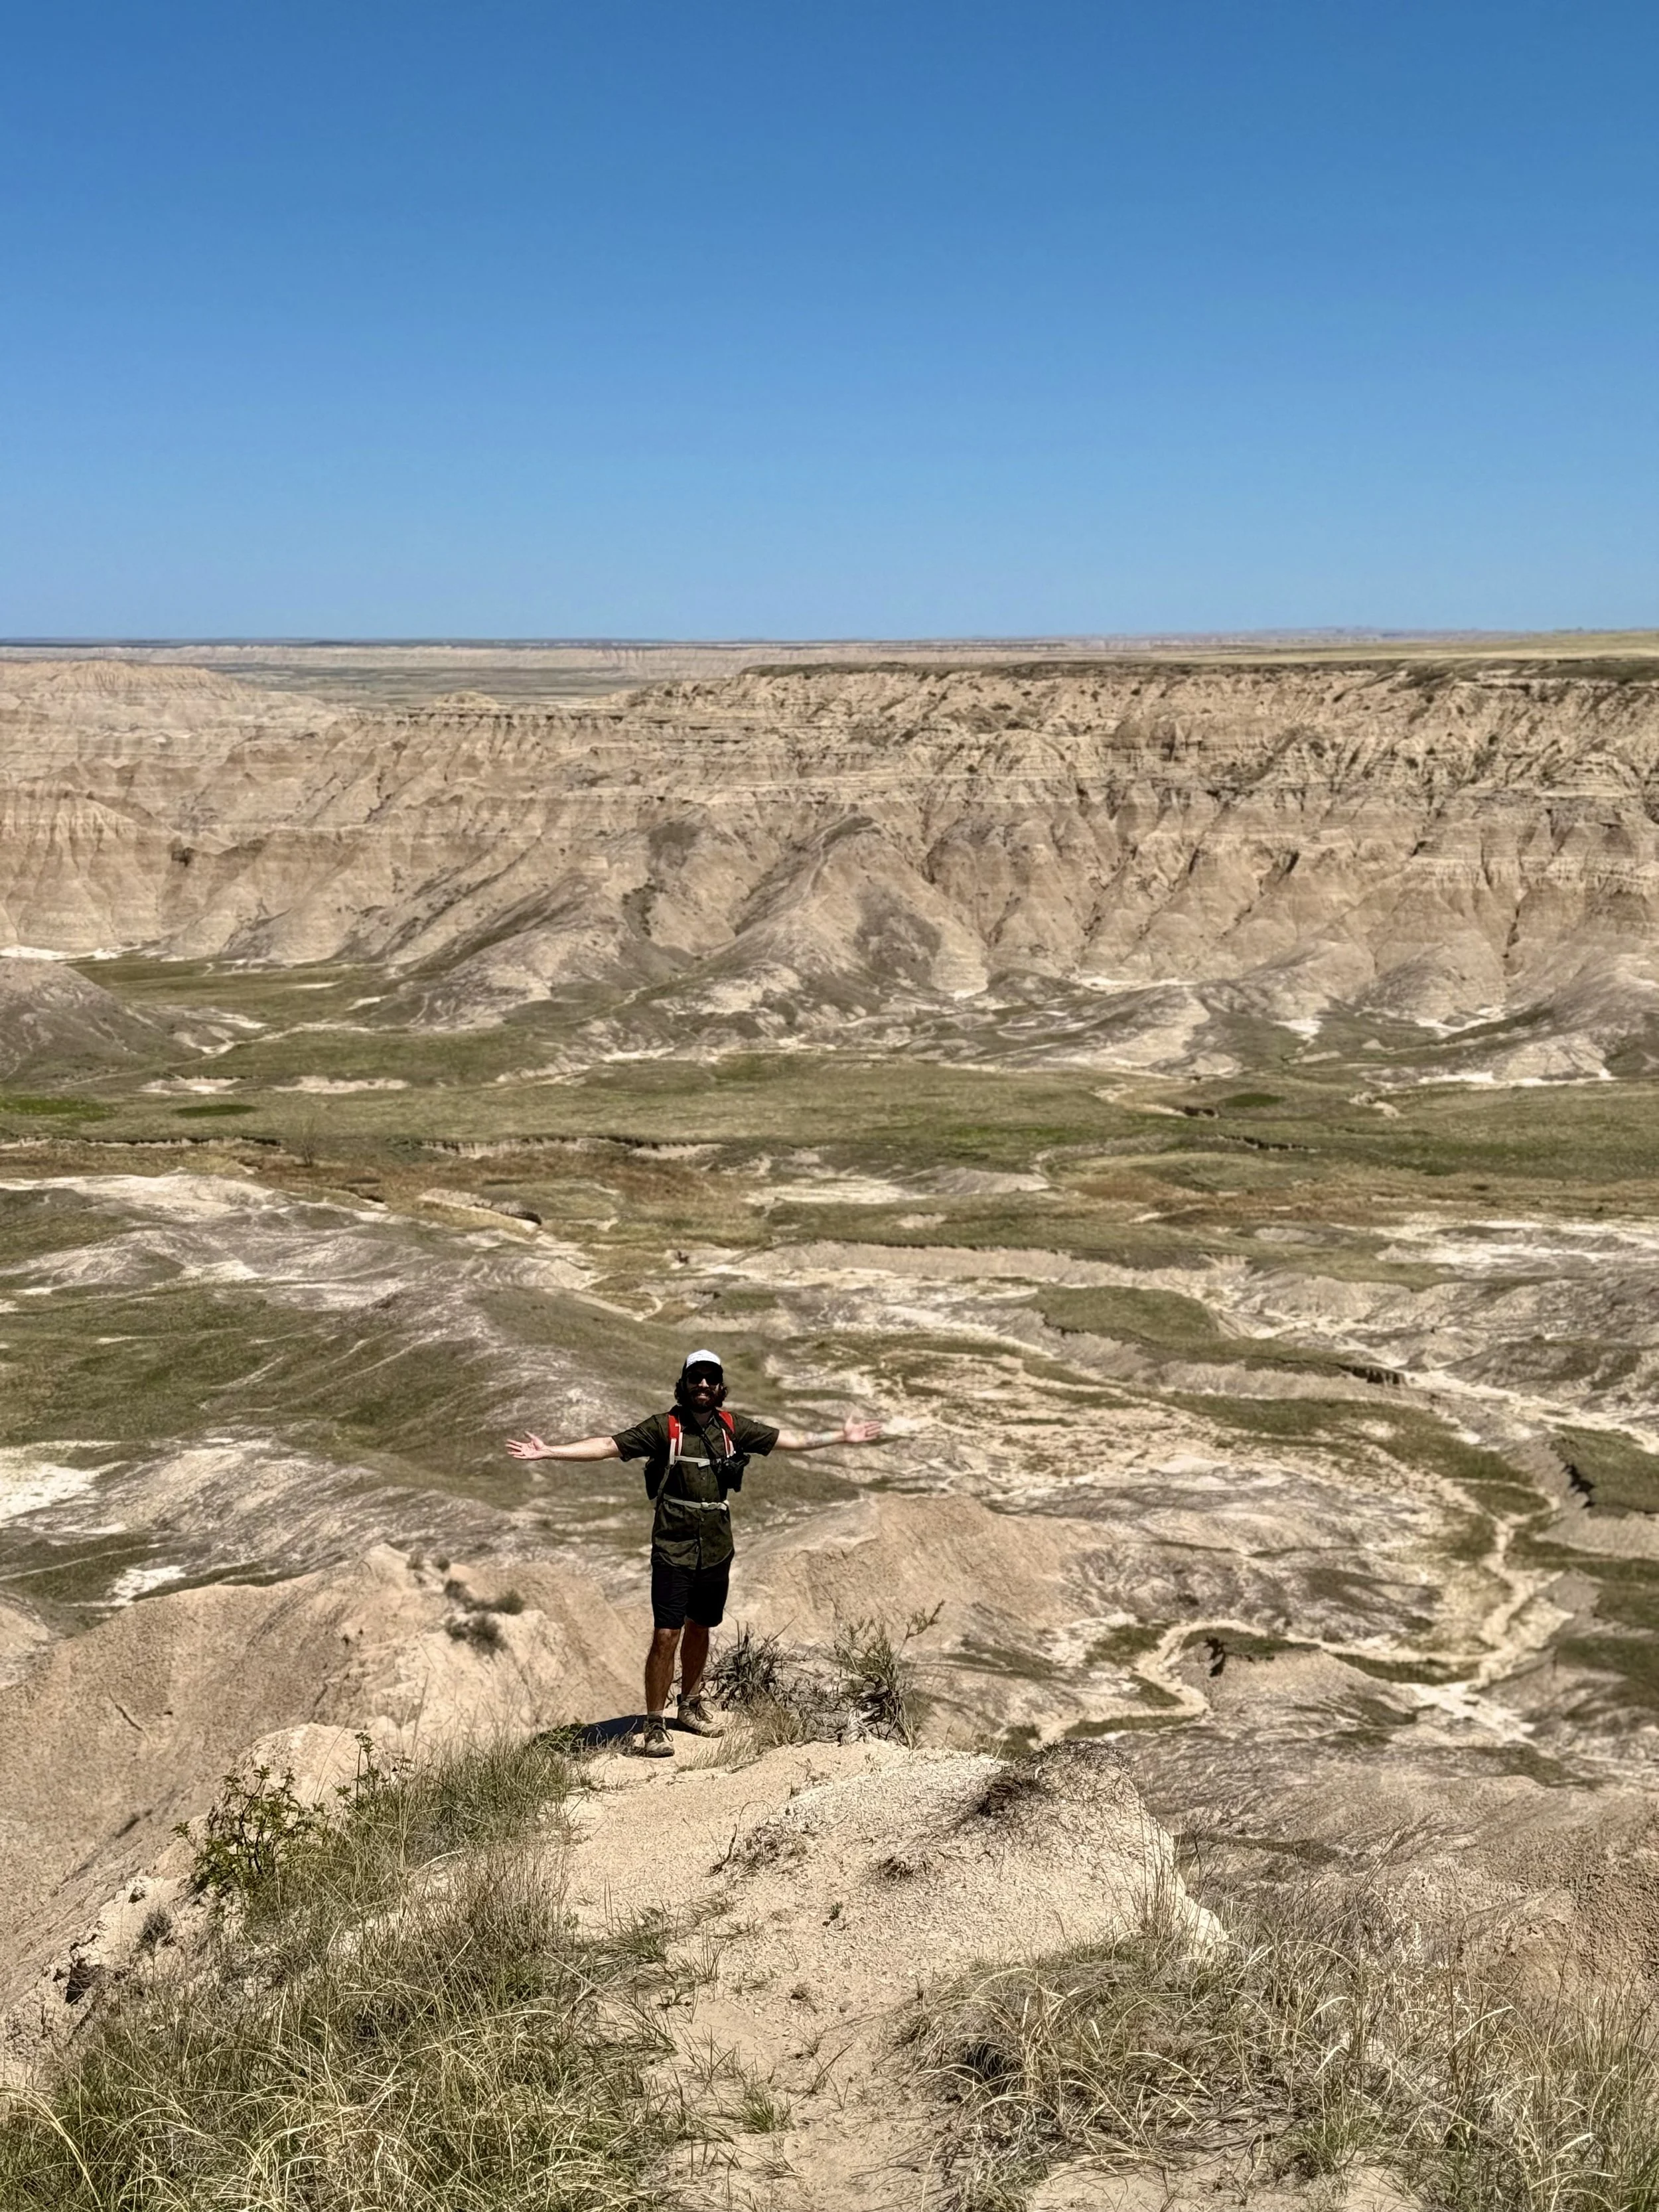
Since we were already there, we decided to stretch our legs and walk a bit. What started out as us saying we’d walk 30-minute and then head back turned into a 6.7-mile trek over about two and a half hours as we made our way up to the overlook. We didn’t have much else planned for the day, so we figured “why not?”. Even though we stayed along the road, reaching the top of the mesa felt like a real accomplishment. The wind was so strong on the incline that I barely heard a truck coming up behind me (or Dan yelling for me to get out of the way)!
We took our time at the overlook, eating lunch and soaking in the views. A group of older women even stopped to commend us for the trek. On the way back, we had the trail (road) mostly to ourselves and spotted a prairie dog field near the top, along with pronghorns grazing in the flats below.
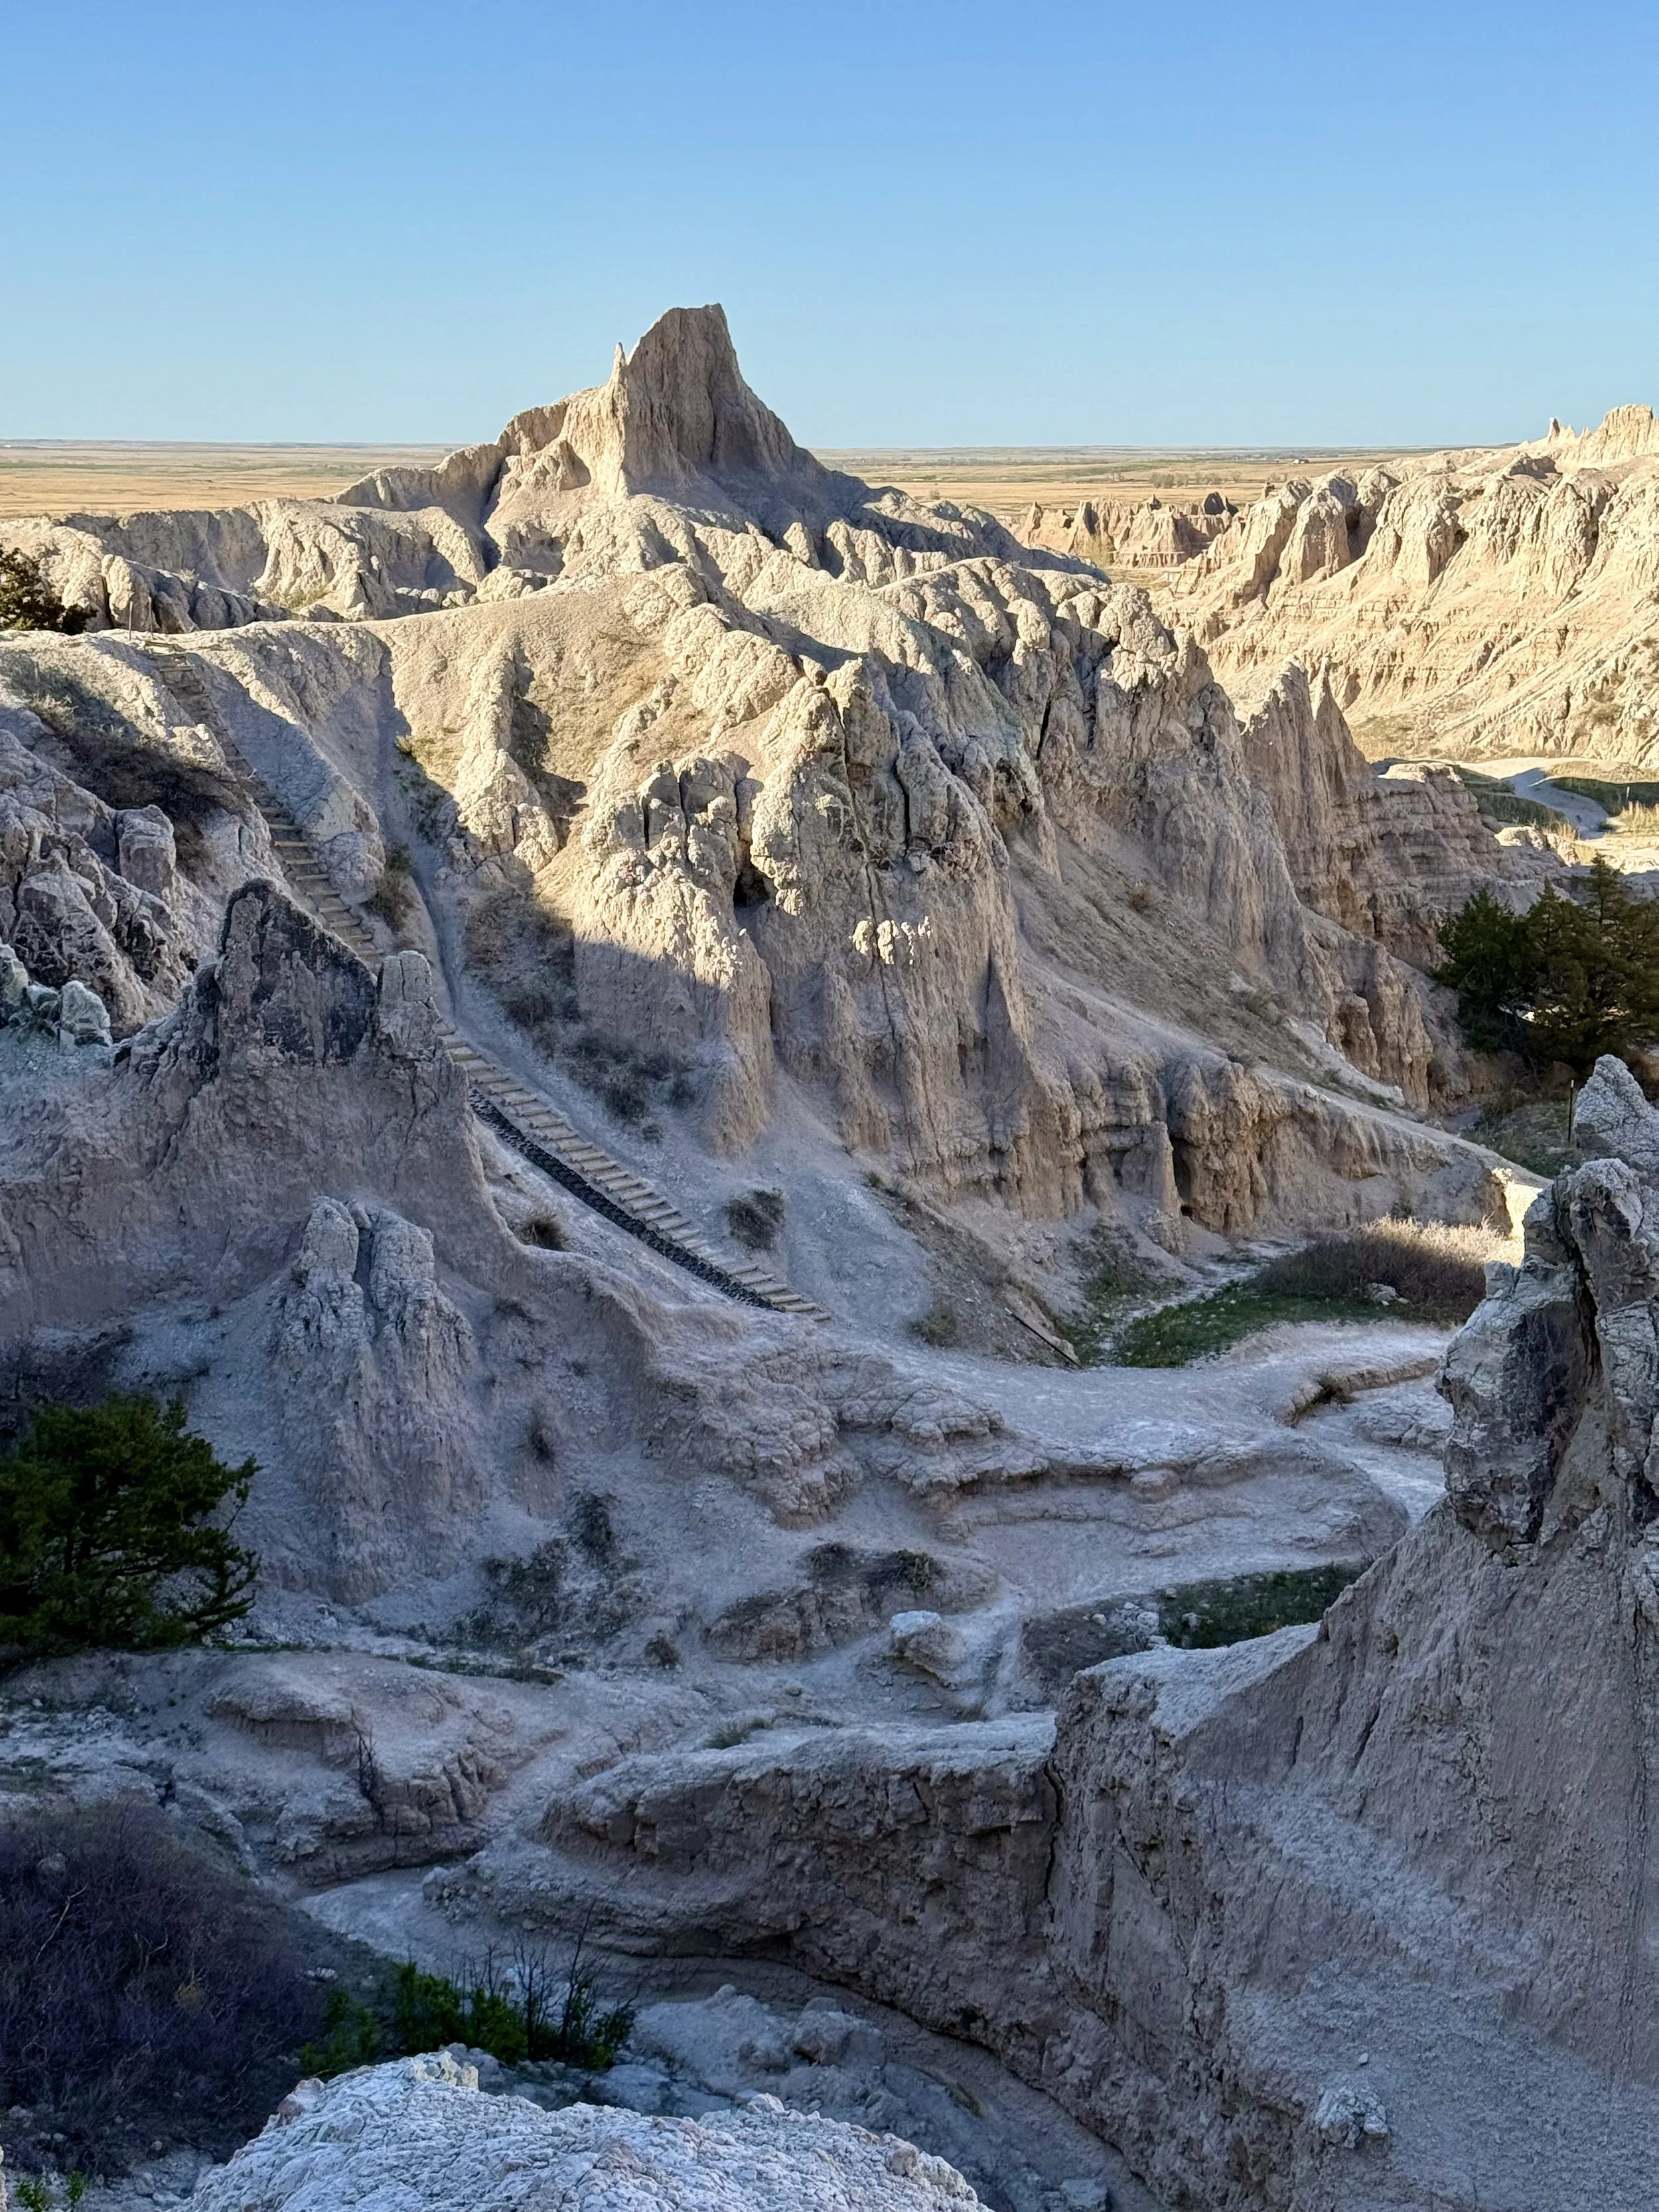


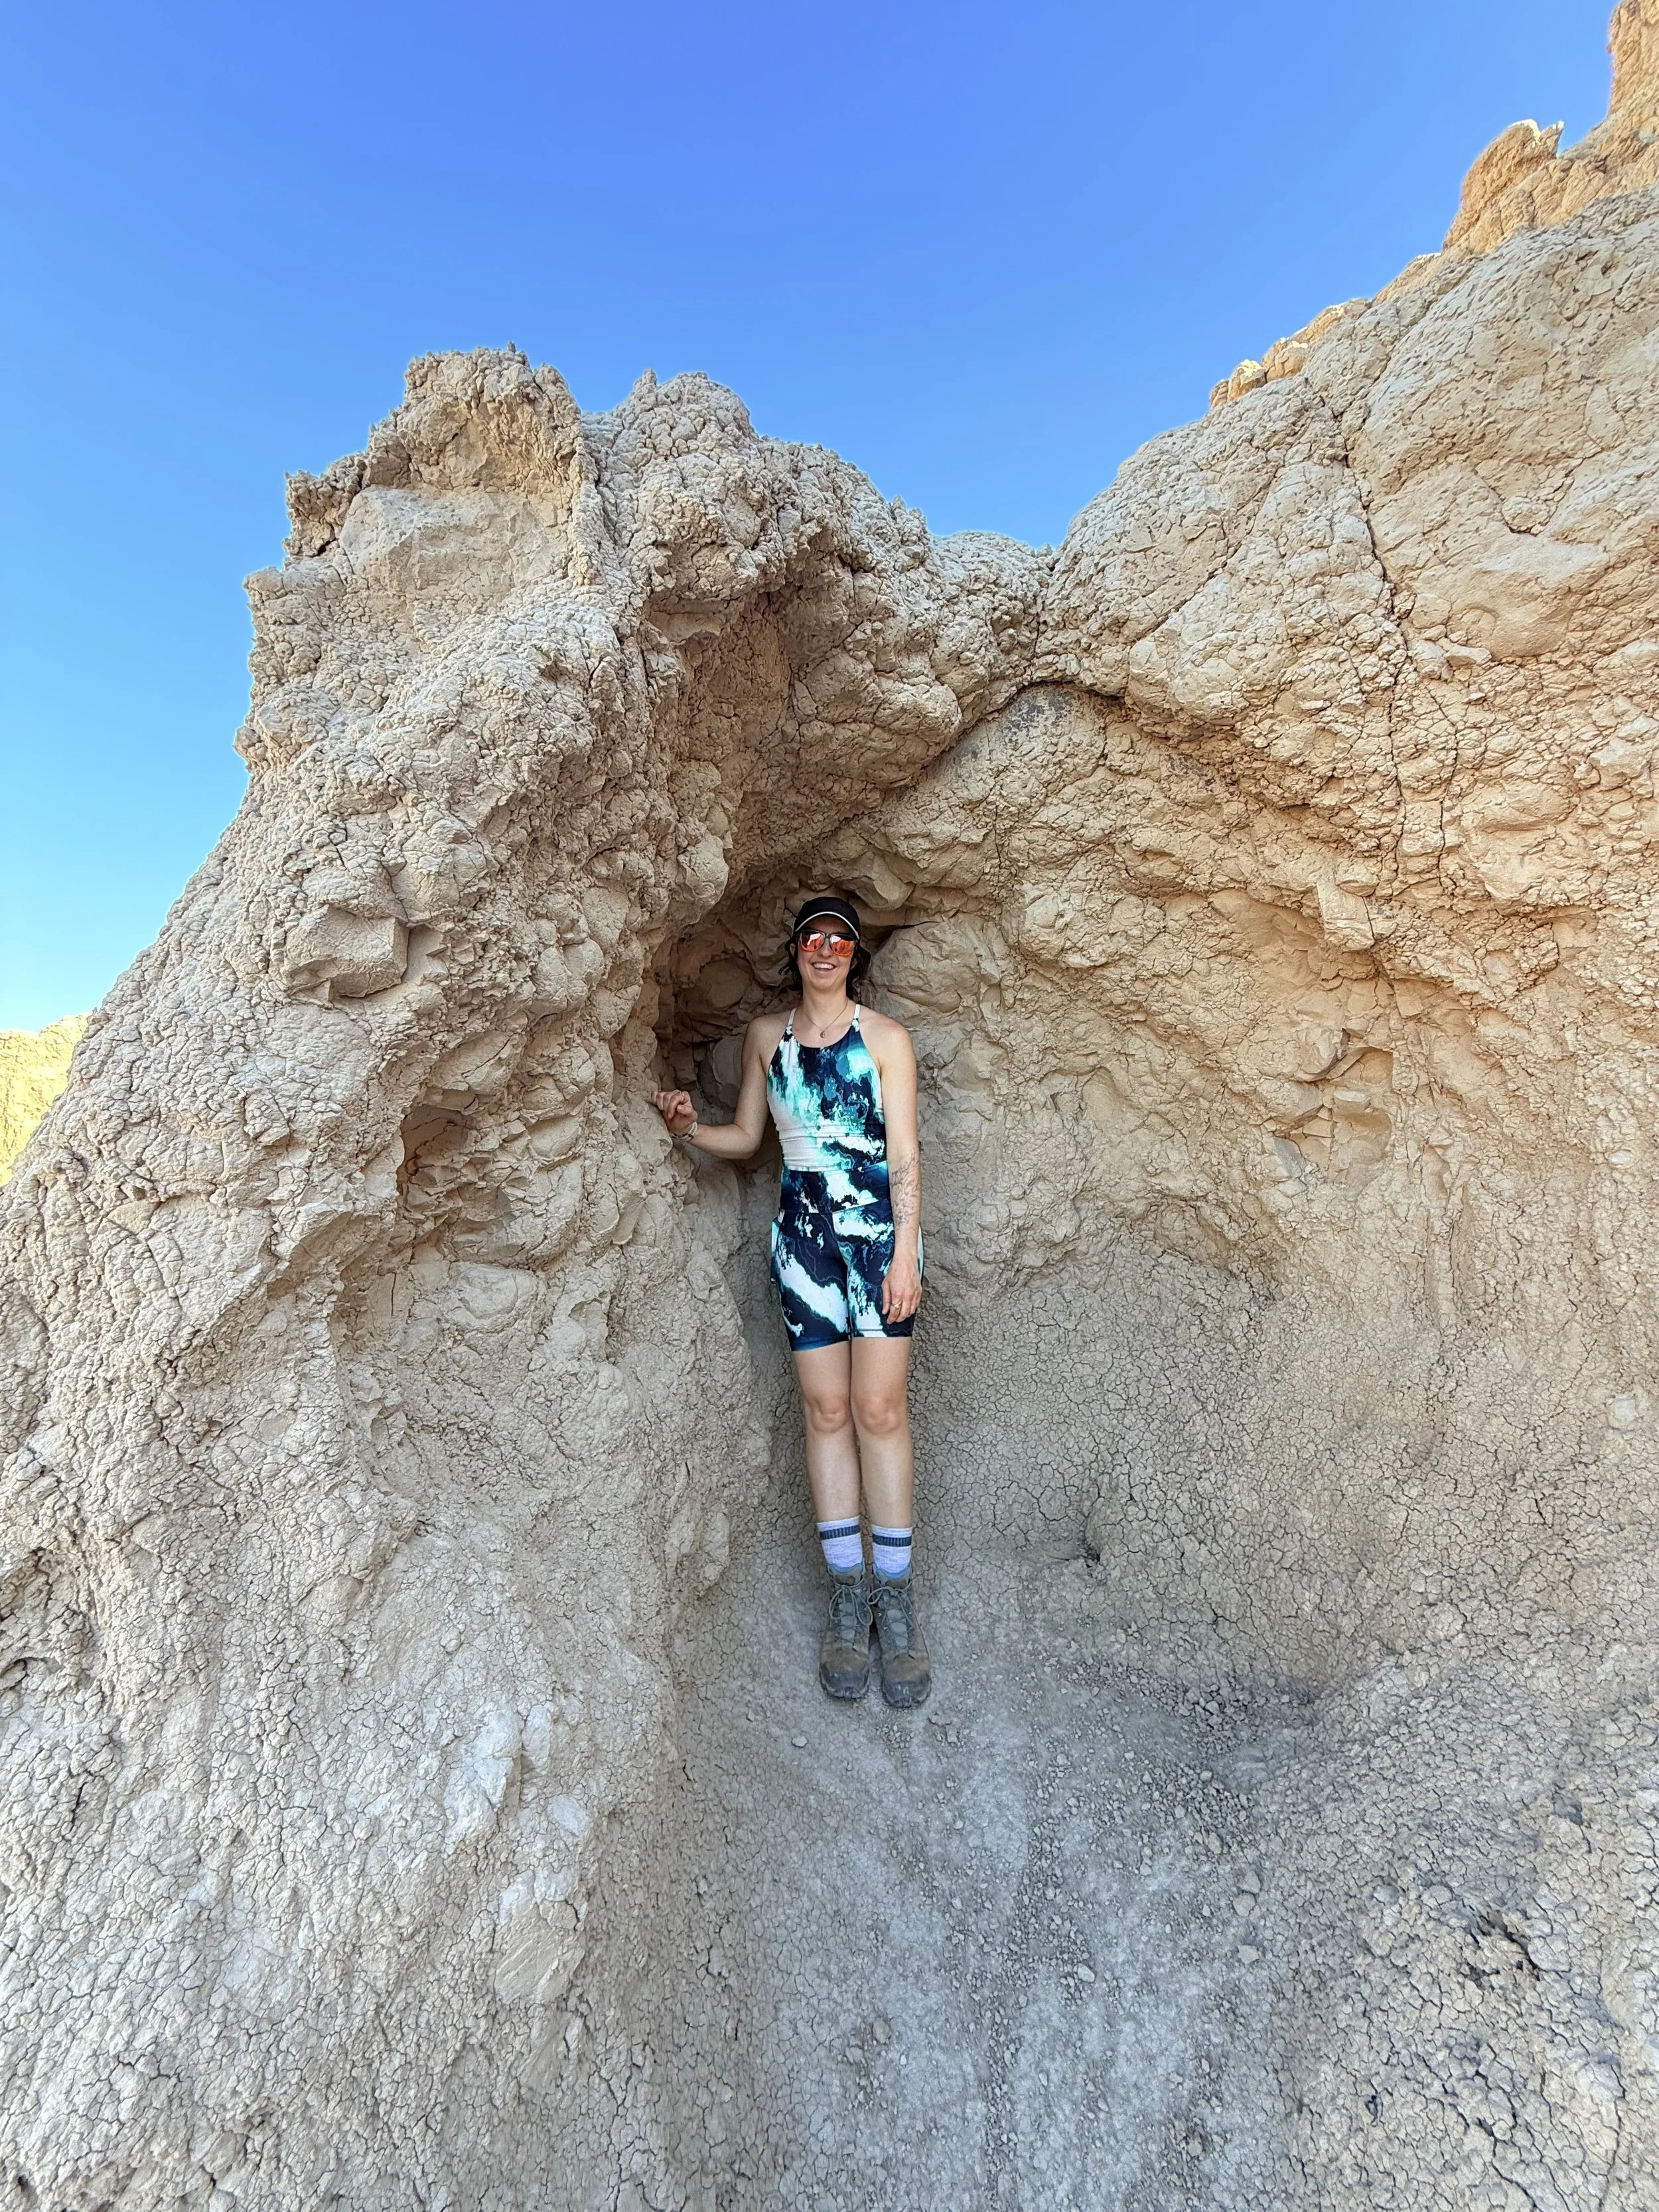
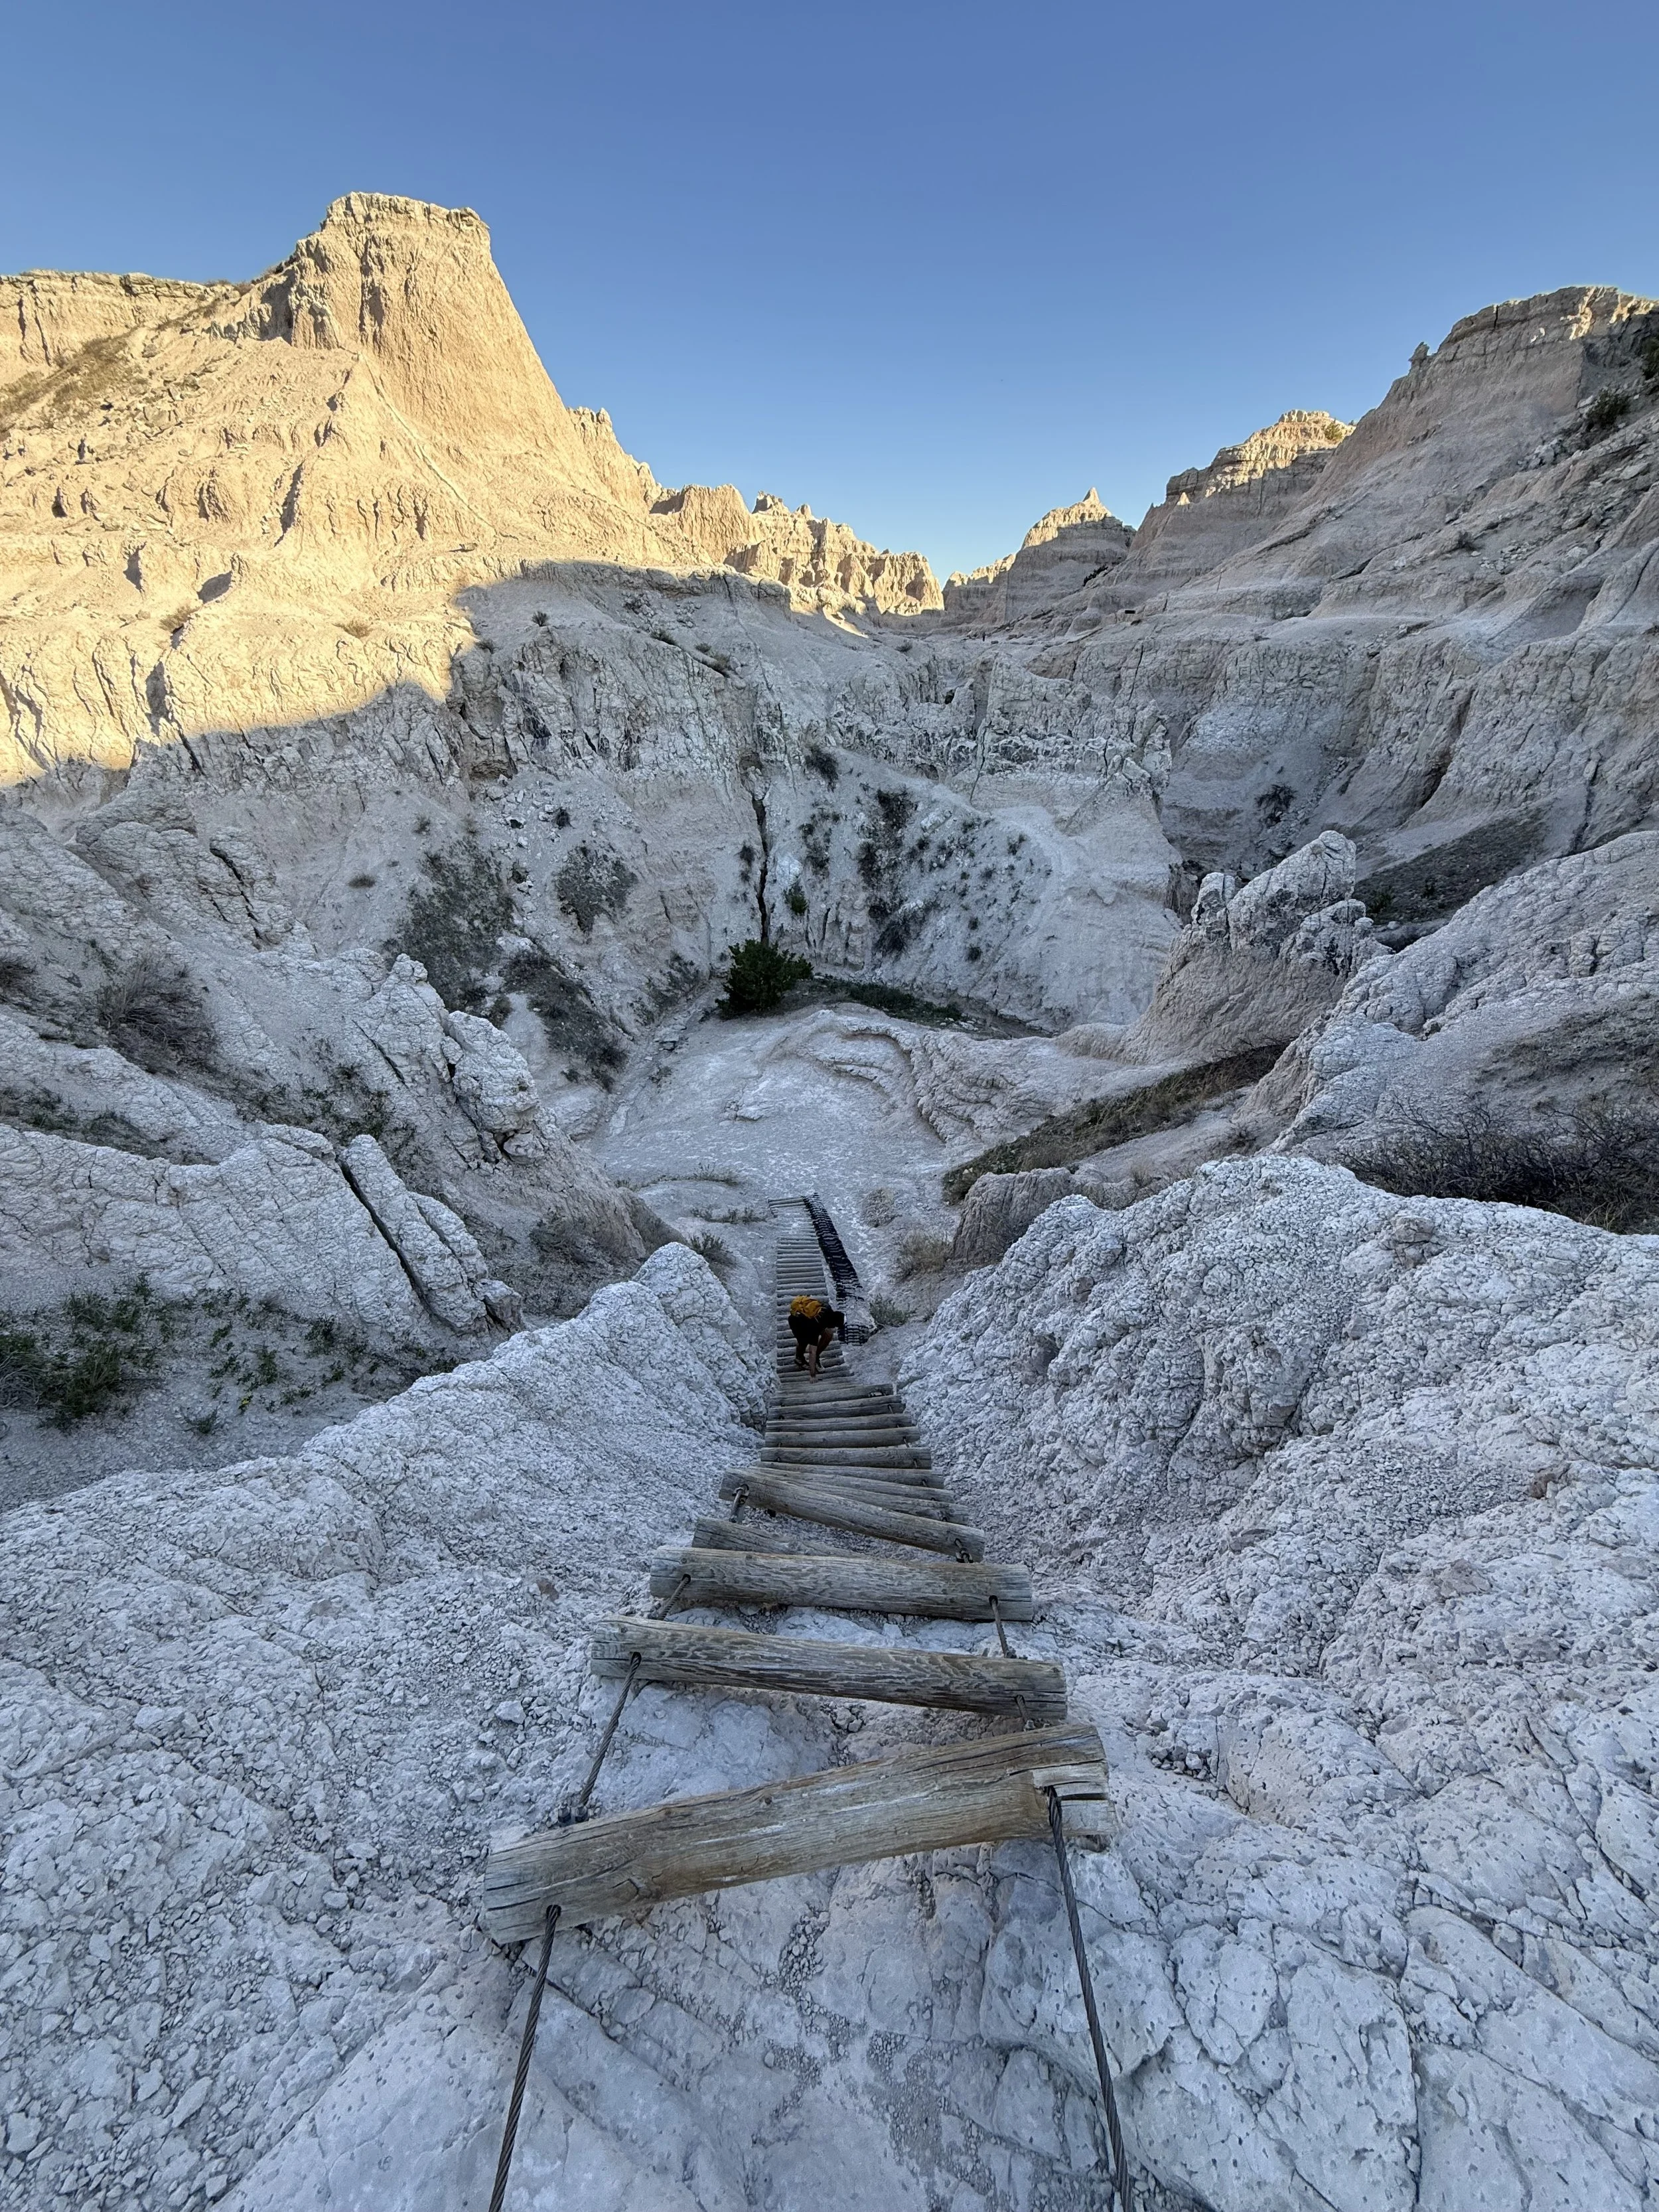


Window and Notch Trails
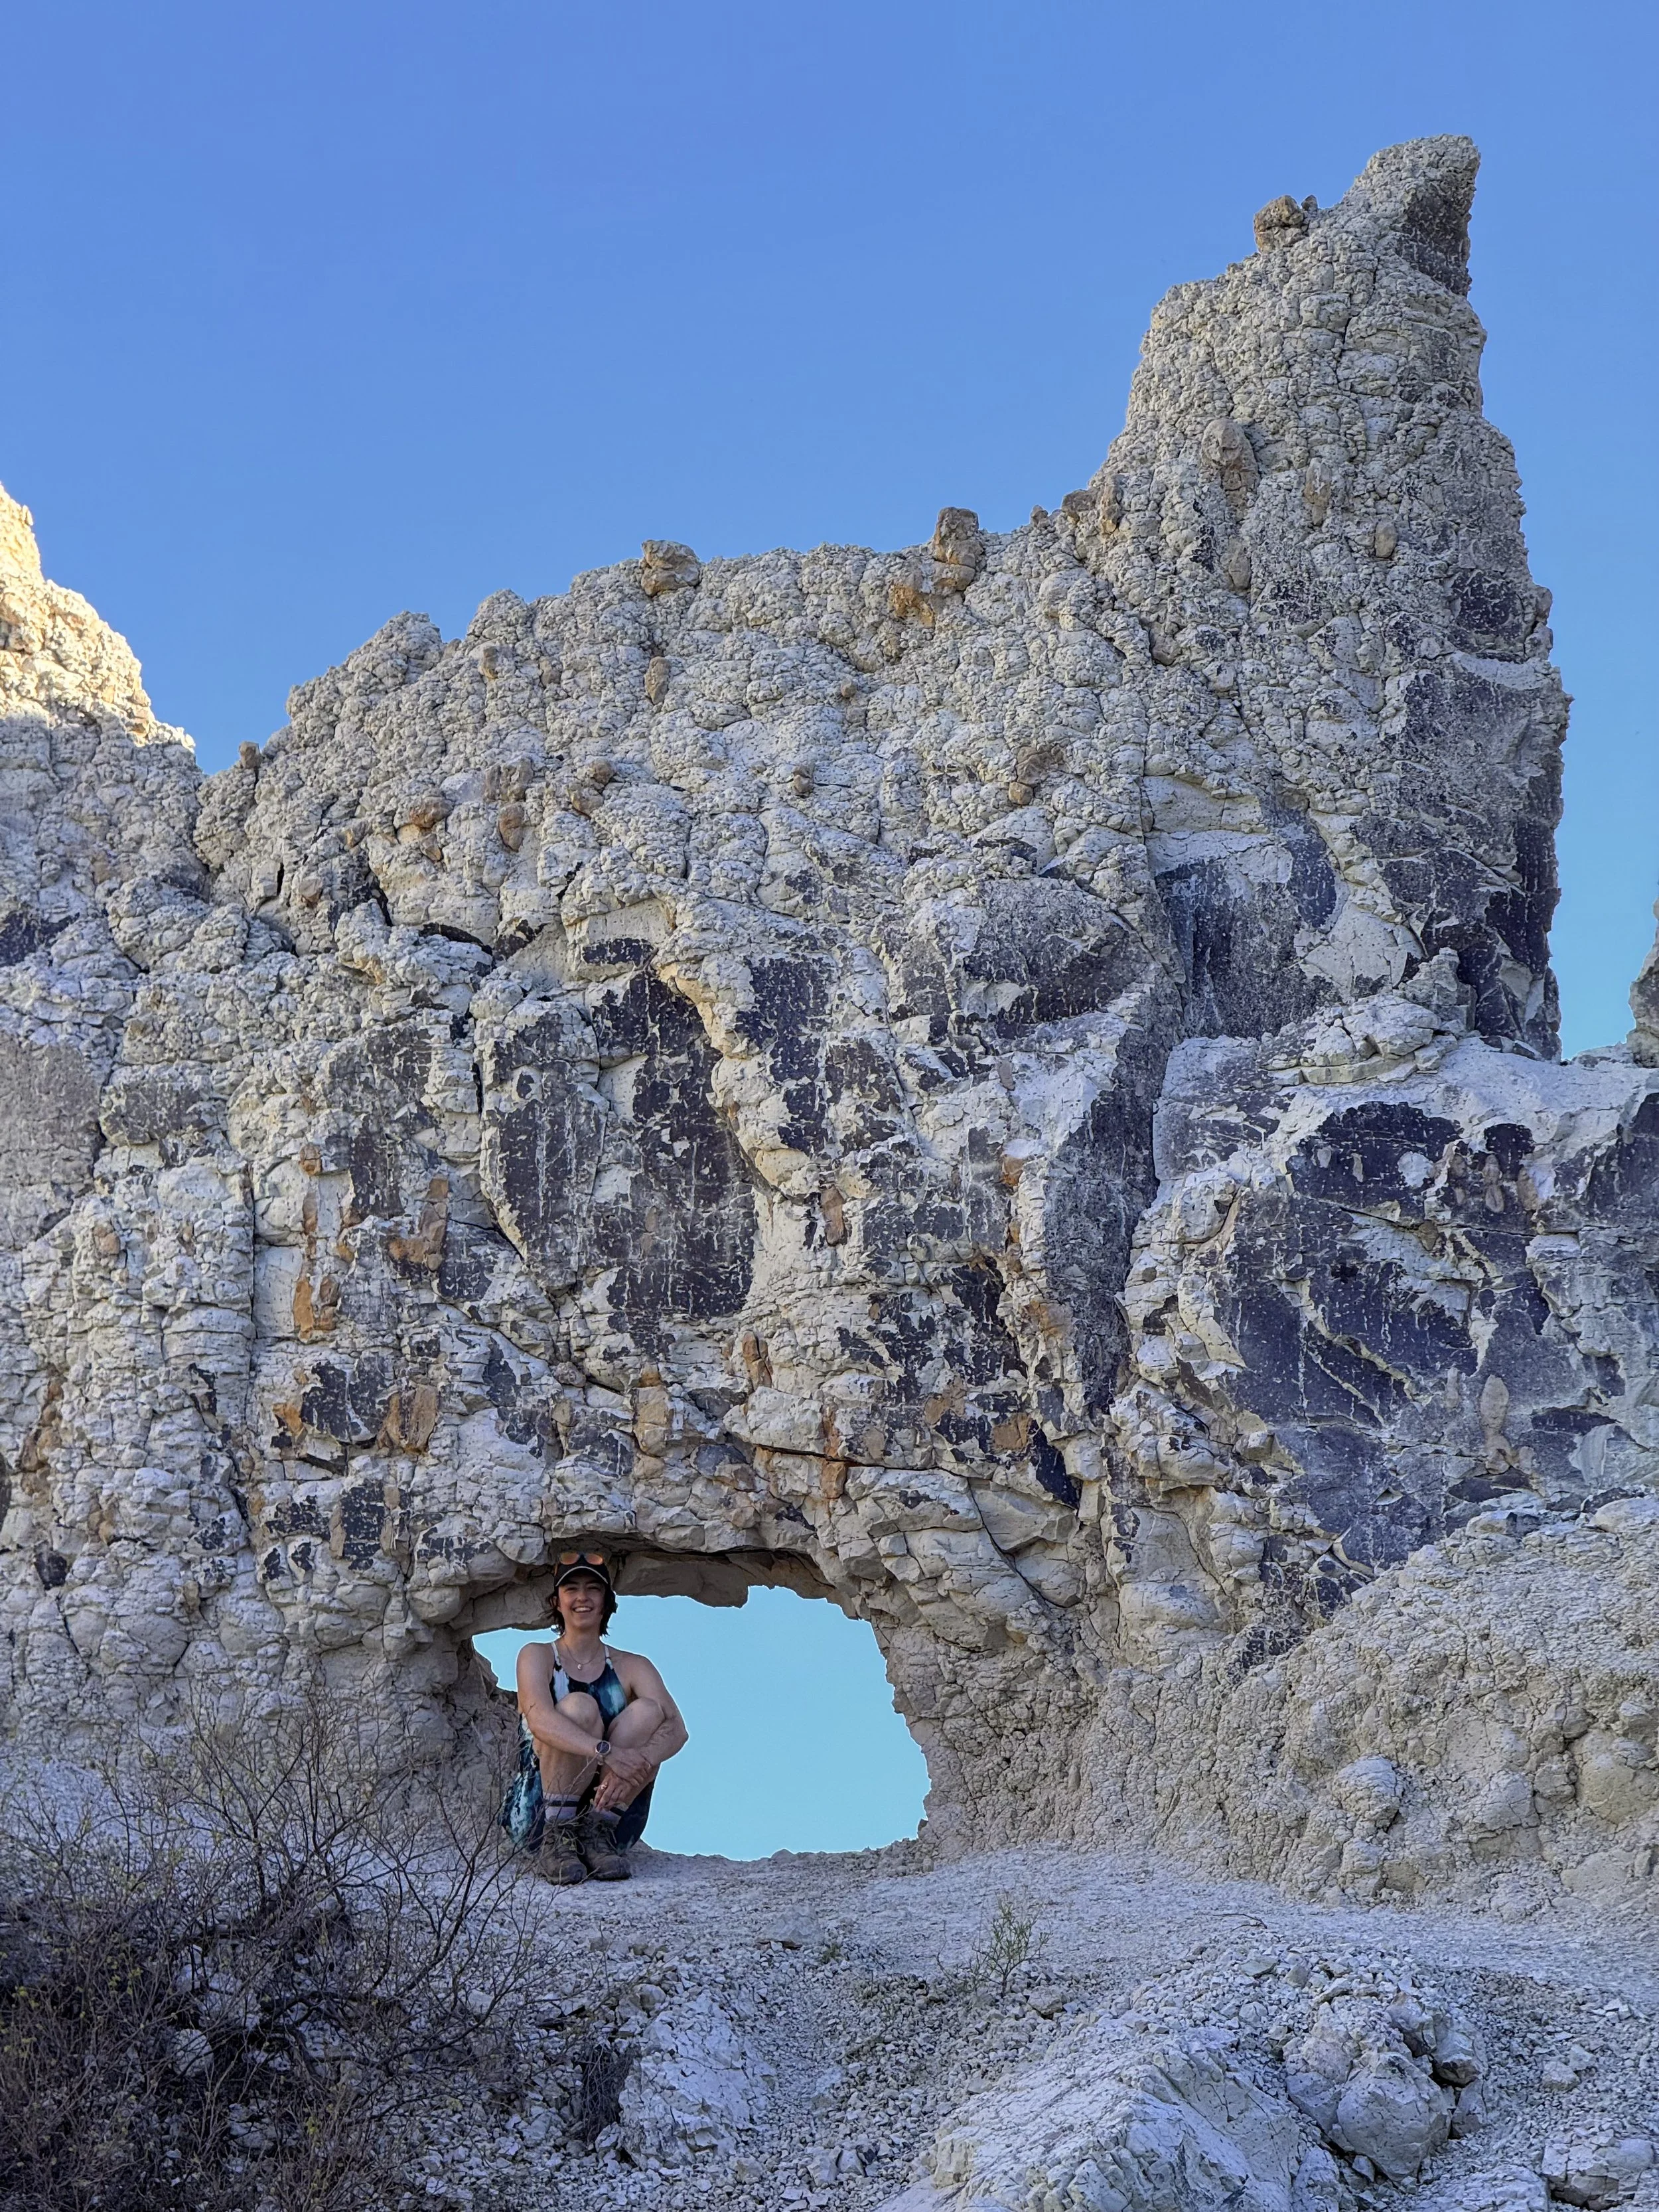
From the rickety Sheep Mountain Table Road, we returned to the main Badlands area to complete the Window and Notch Trails. Together, these two trails cover about 2 miles and take roughly 1.5 hours to explore. We first wandered through the Window Trail, climbing on some of the pinnacles, then crossed over to the Notch Trail.
The Notch surprised us with a wooden ladder that led up onto the rock formations, opening up to two carved-out viewpoints overlooking the Cedar Pass area. It was pretty windy at the top and Dan nearly lost his cap, so beware! Along the way, we noticed lots of clastic dikes—vertical sheets of sediment that slice through the horizontal rock. They are apparently scattered throughout the park, but they stood out to us on this trail in particular. Because of the way they form, they act like natural “tentpoles” holding up the formations. We also spotted cliff swallow mud nests tucked into the rock walls, adding a little wildlife charm to the hike. Once we finished, we went back to camp to cook up some beef and cilantro rice.


Cliff Shelf Nature Trail
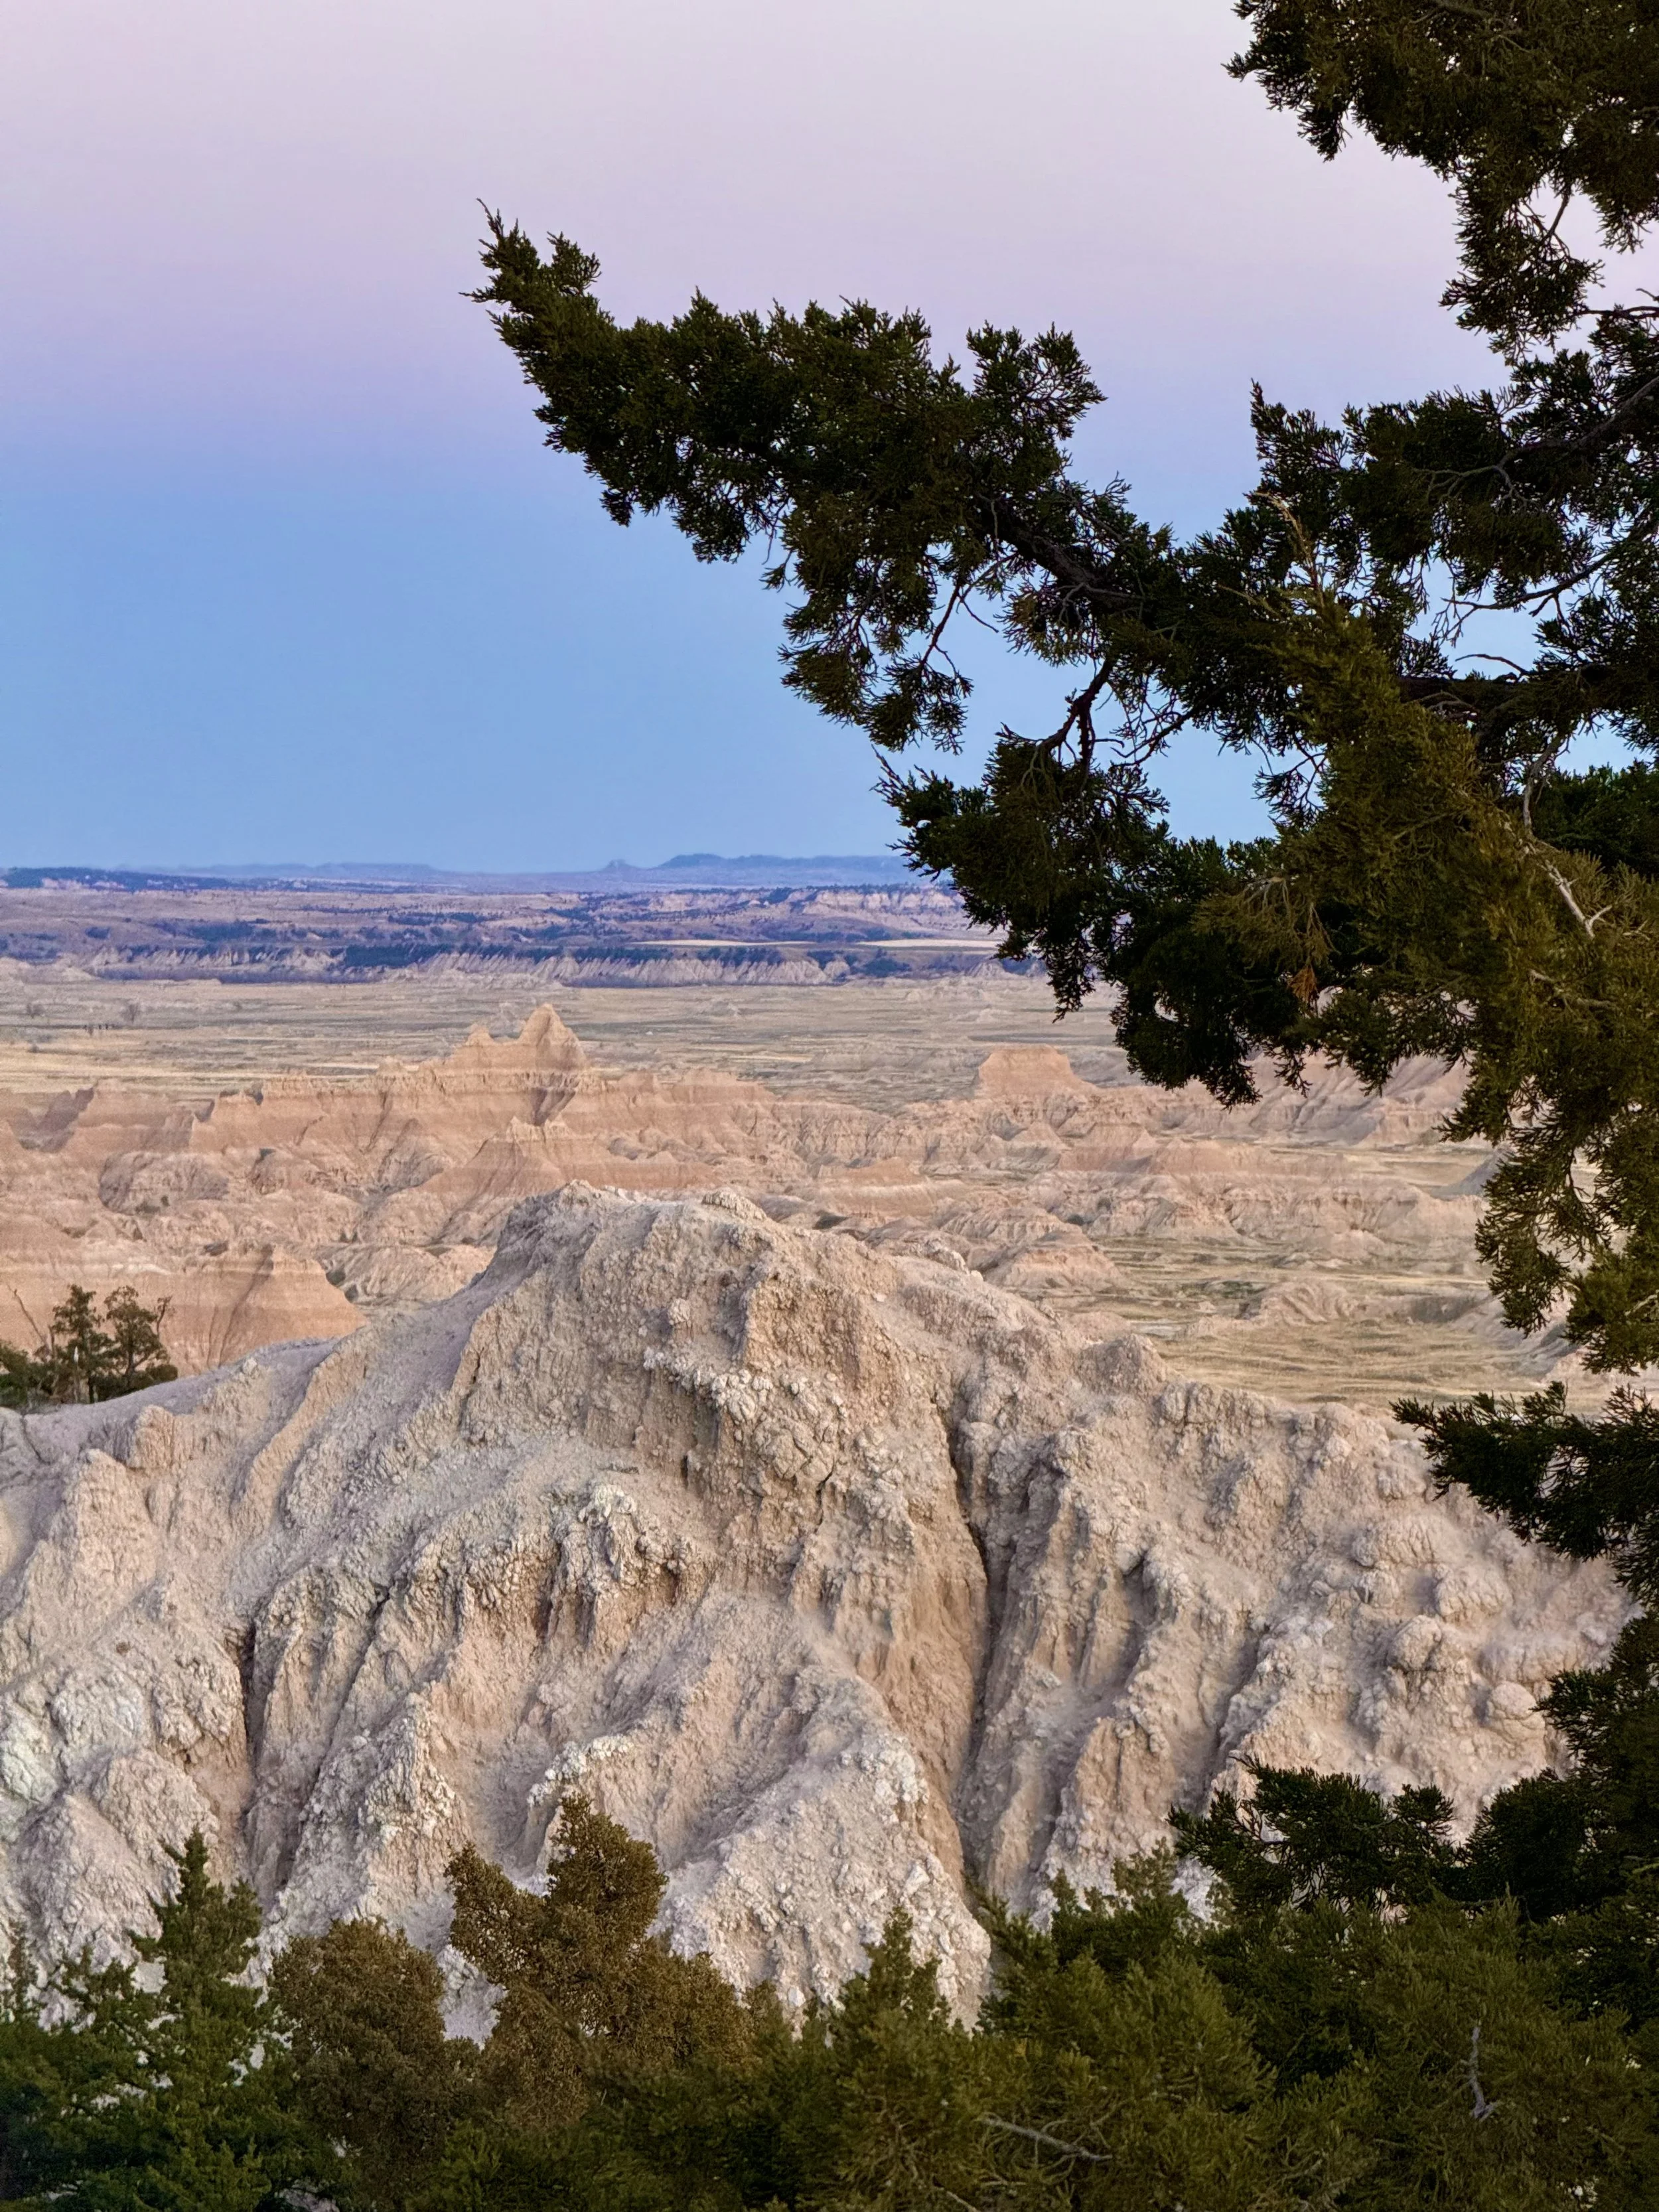
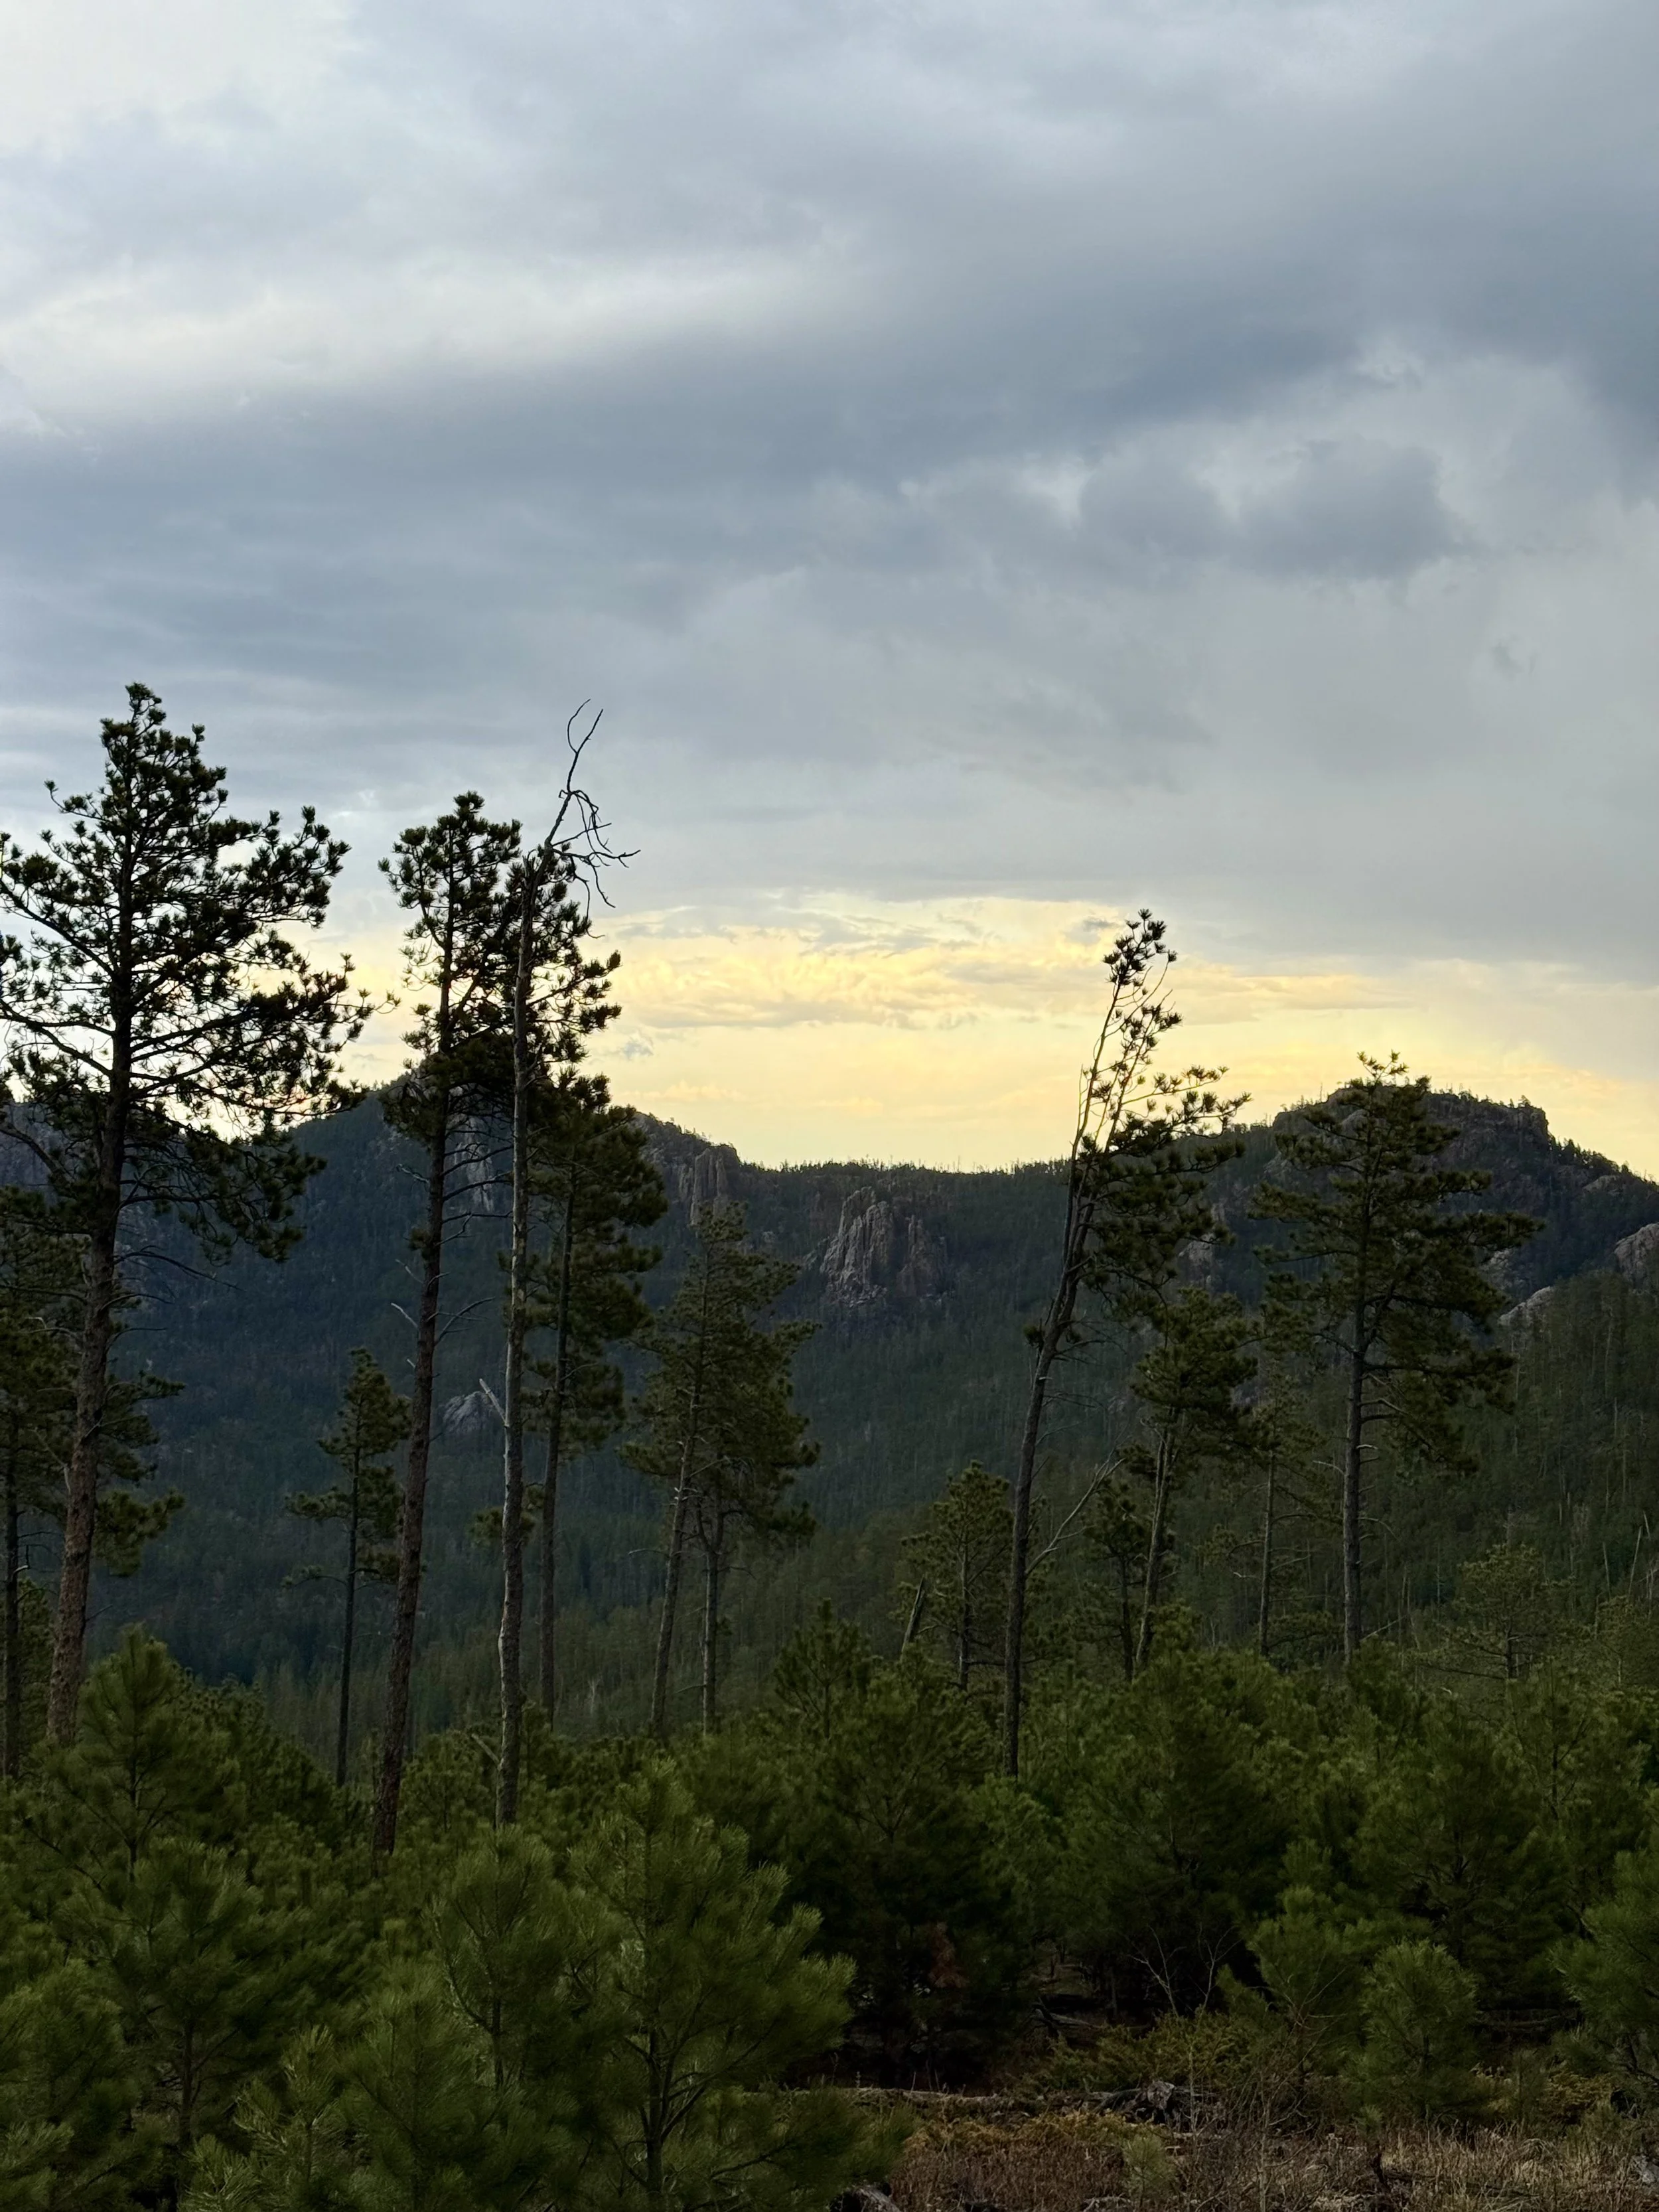
After scarfing down some dinner, we jumped back in the van for a quick 5 minute drive to trot around the Cliff Shelf Nature Trail just in time for the tail end of sunset. The short half-mile loop took us about 15-20 minutes to complete, with soft pastel skies casting a gentle glow over the landscape. The trail was well maintained and offered a nice change of scenery with some rare forested spots full of juniper trees. Afterward, we settled back in at camp with a hot shower and an early night for our final evening in the Badlands.
Day 4
〰️
Day 4 〰️
Day 4 South Dakota Parks Itinerary:
Badlands to Custer


Drive West
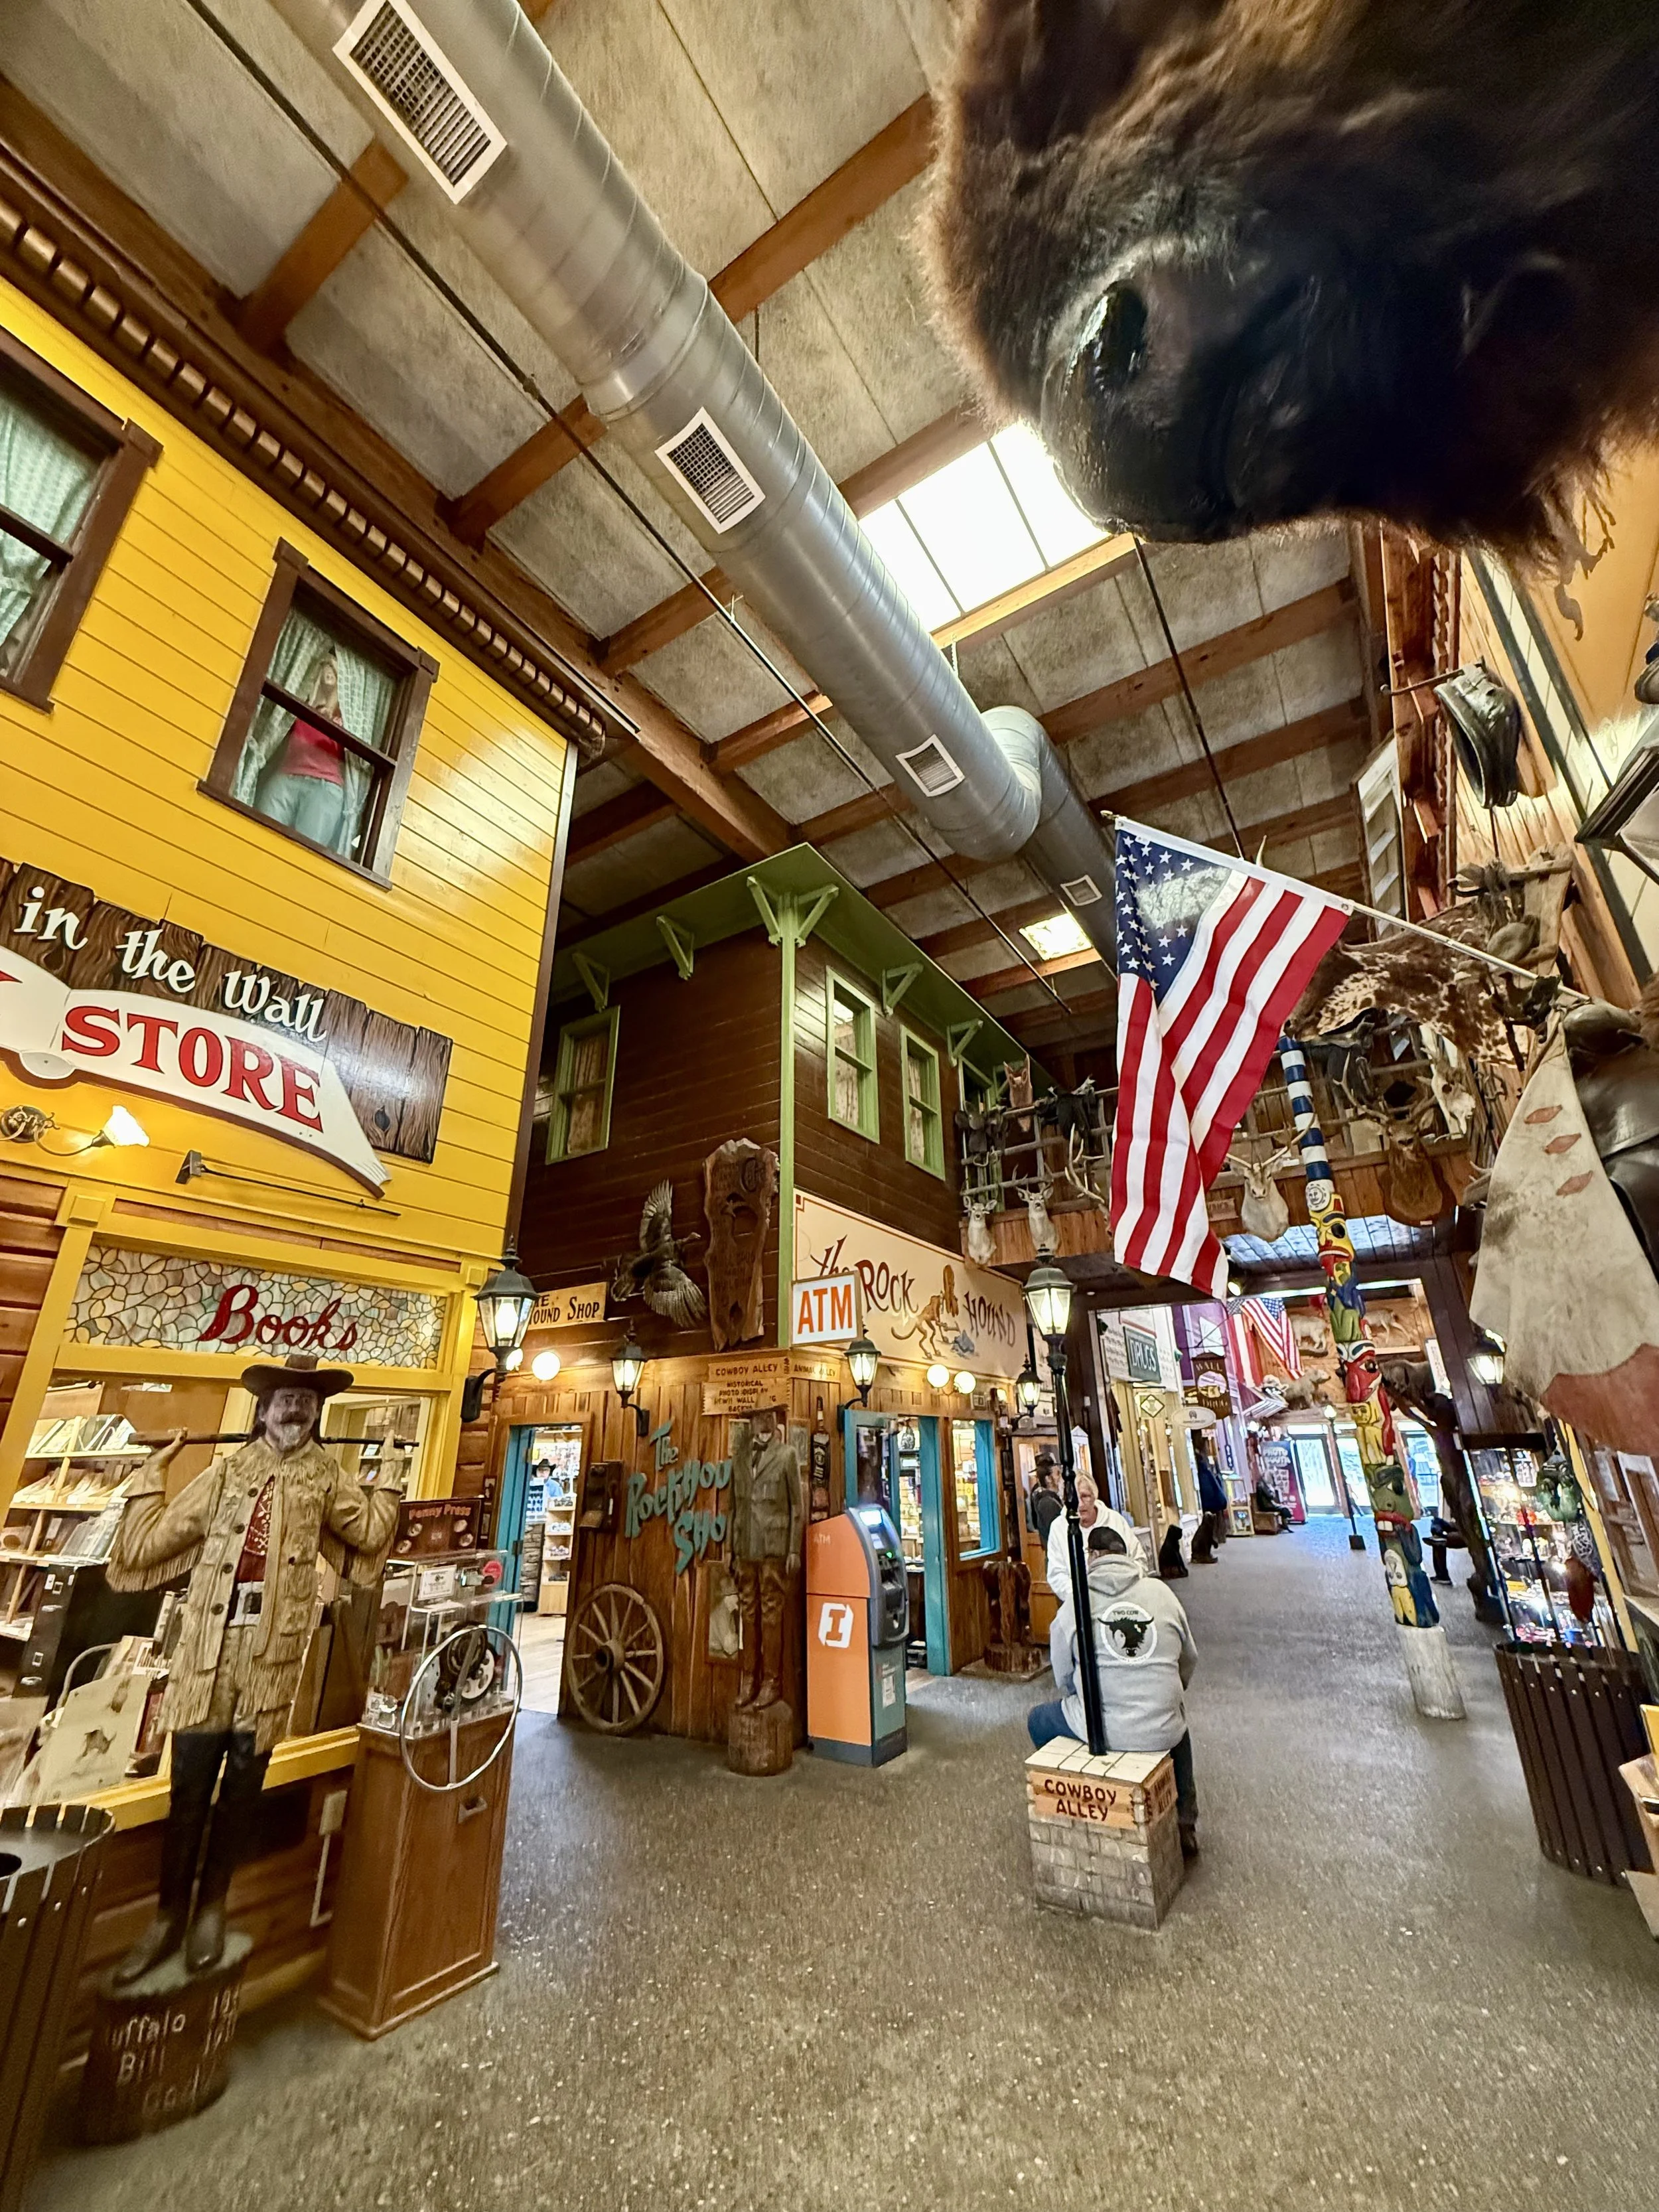
We started our 2 hour 15 minute drive from the Badlands to Custer State Park with a fun stop just outside the park to visit a prairie dog town. There’s an old cooler where you can grab some peanuts (in exchange for a few dollars) to feed these scraggly but adorable critters. Along the way, you won’t miss the signs for Wall Drug. It’s definitely a tourist trap, but a classic roadside stop that offers a nice break in the drive. We grabbed their famous 5-cent coffee and enjoyed wandering through the kitschy, quirky shops—jackalopes and all. It’s a fun little detour that adds some extra character to the trip.


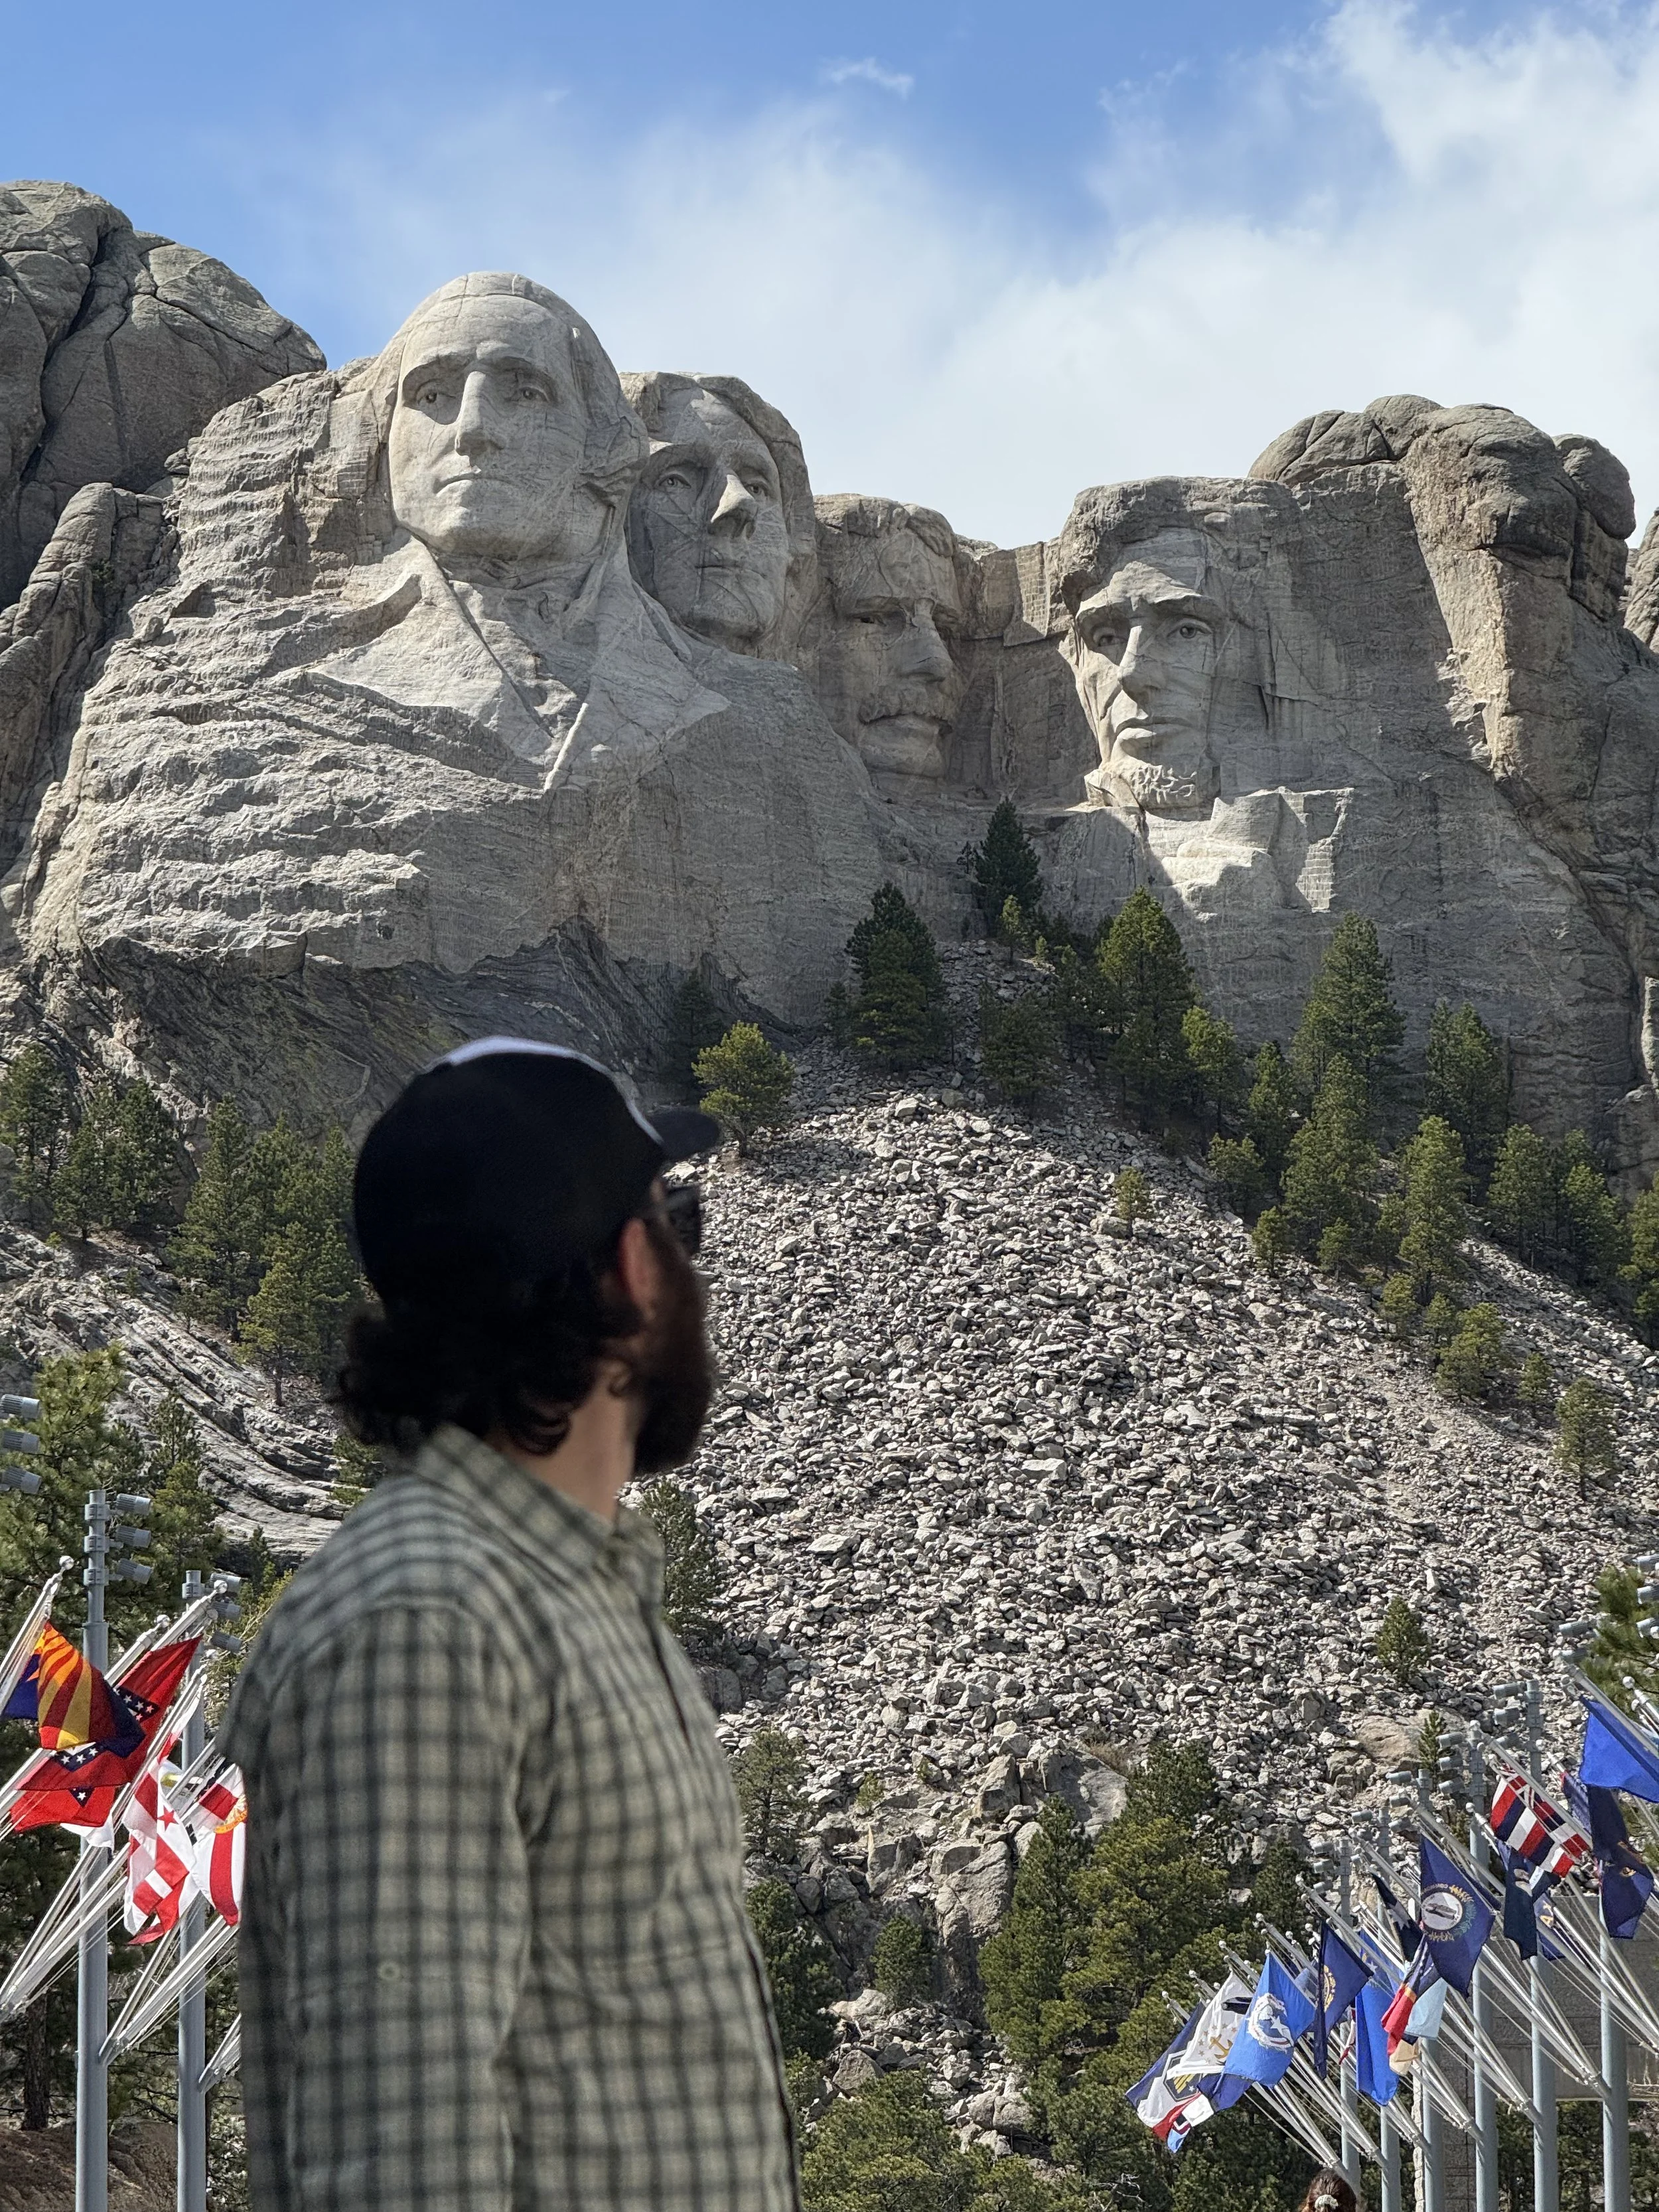
Mount Rushmore
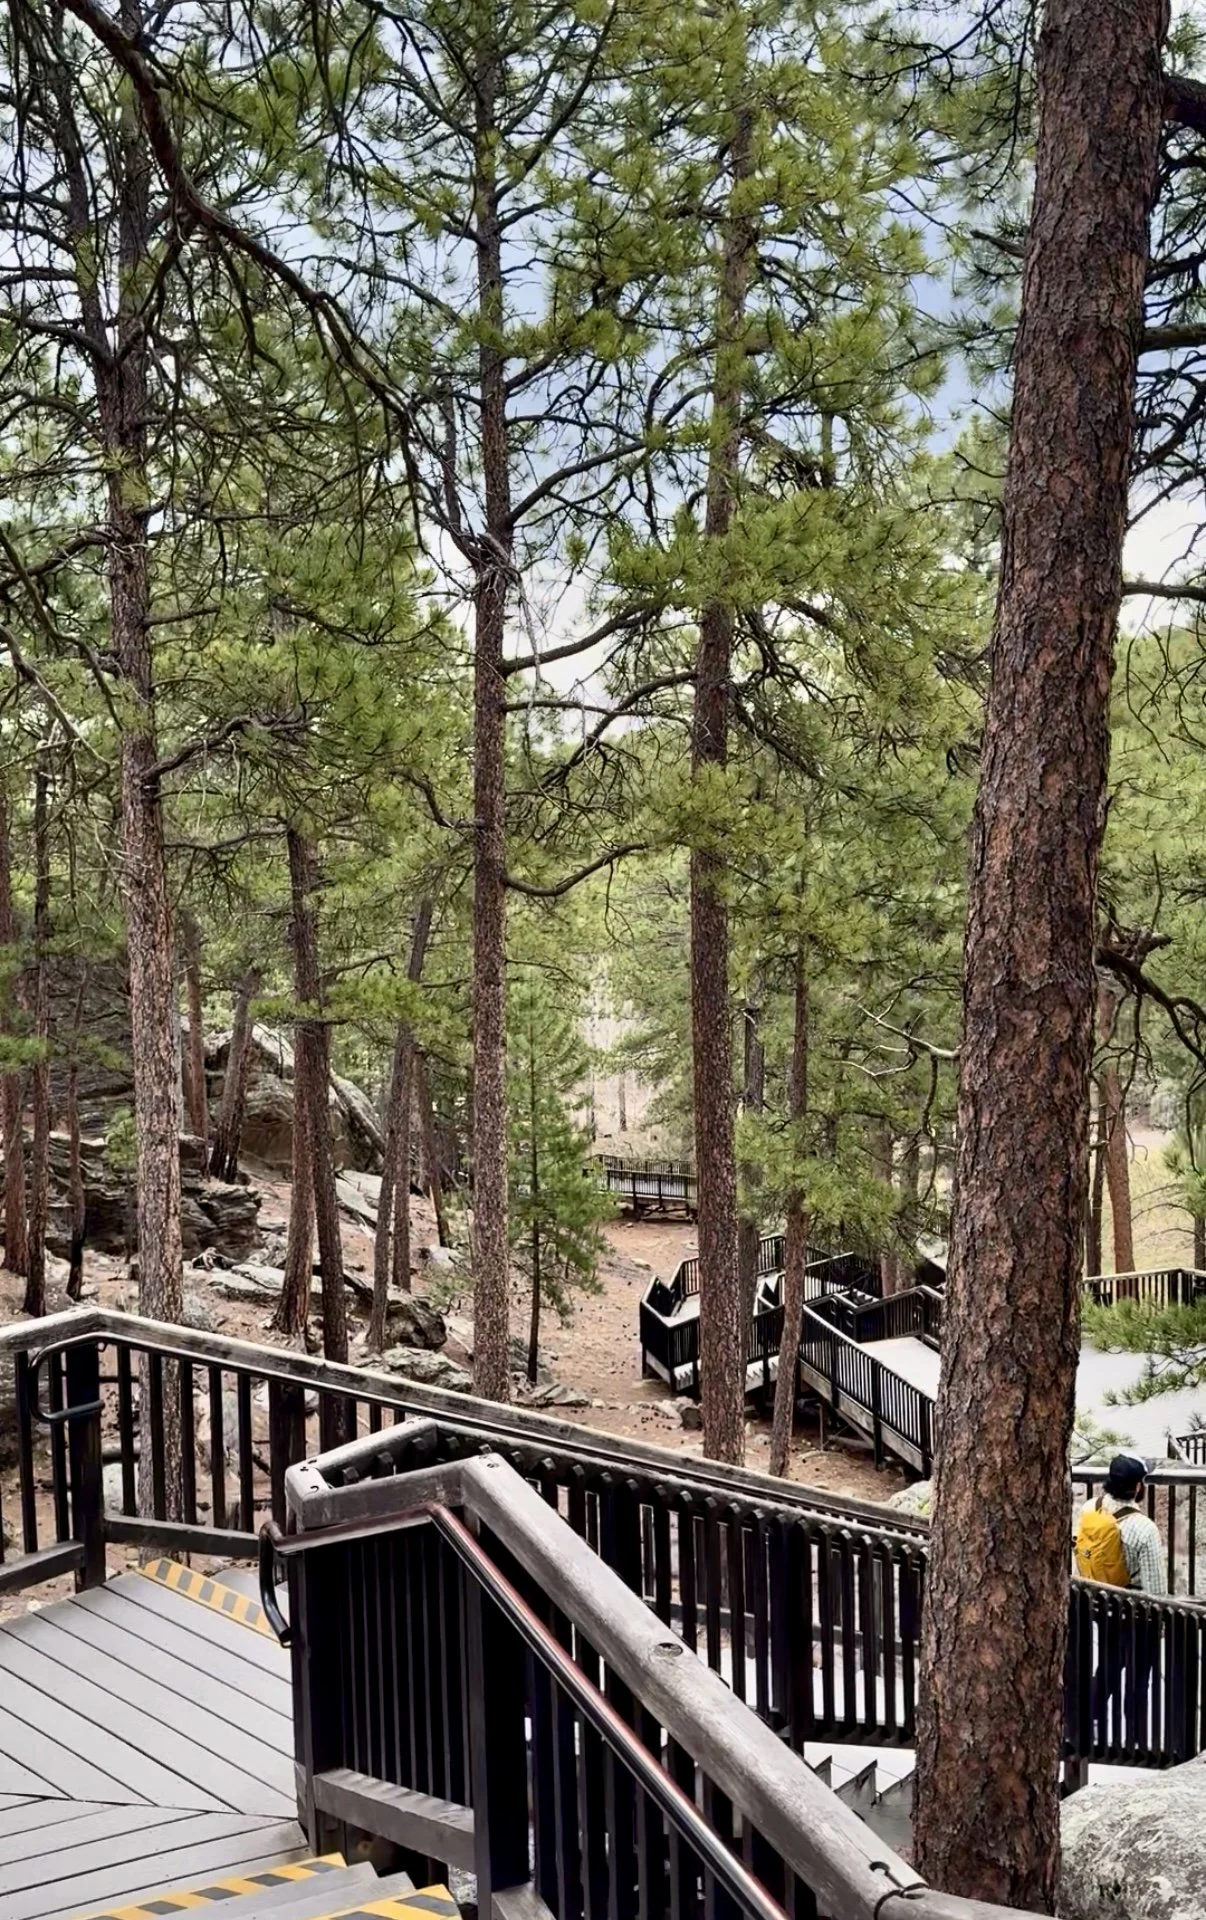
Since we were nearby (when in South Dakota, amirite?), we stopped at Mount Rushmore to take in the impressive carvings and visit the exhibits that share the story behind the sculpture. It was interesting to learn how the artists carved the eyes to look so realistic. The pupil is a granite shaft that sticks out, while the iris is hollowed out. We also discovered that they originally started carving Thomas Jefferson on the other side of Washington’s face but had to blast it away because the rock wasn’t suitable. We took the short 0.9-mile loop trail through the forest, which took about 30 minutes. A thunderstorm was rolling in across the hills, but luckily, we missed it!


Needles Highway
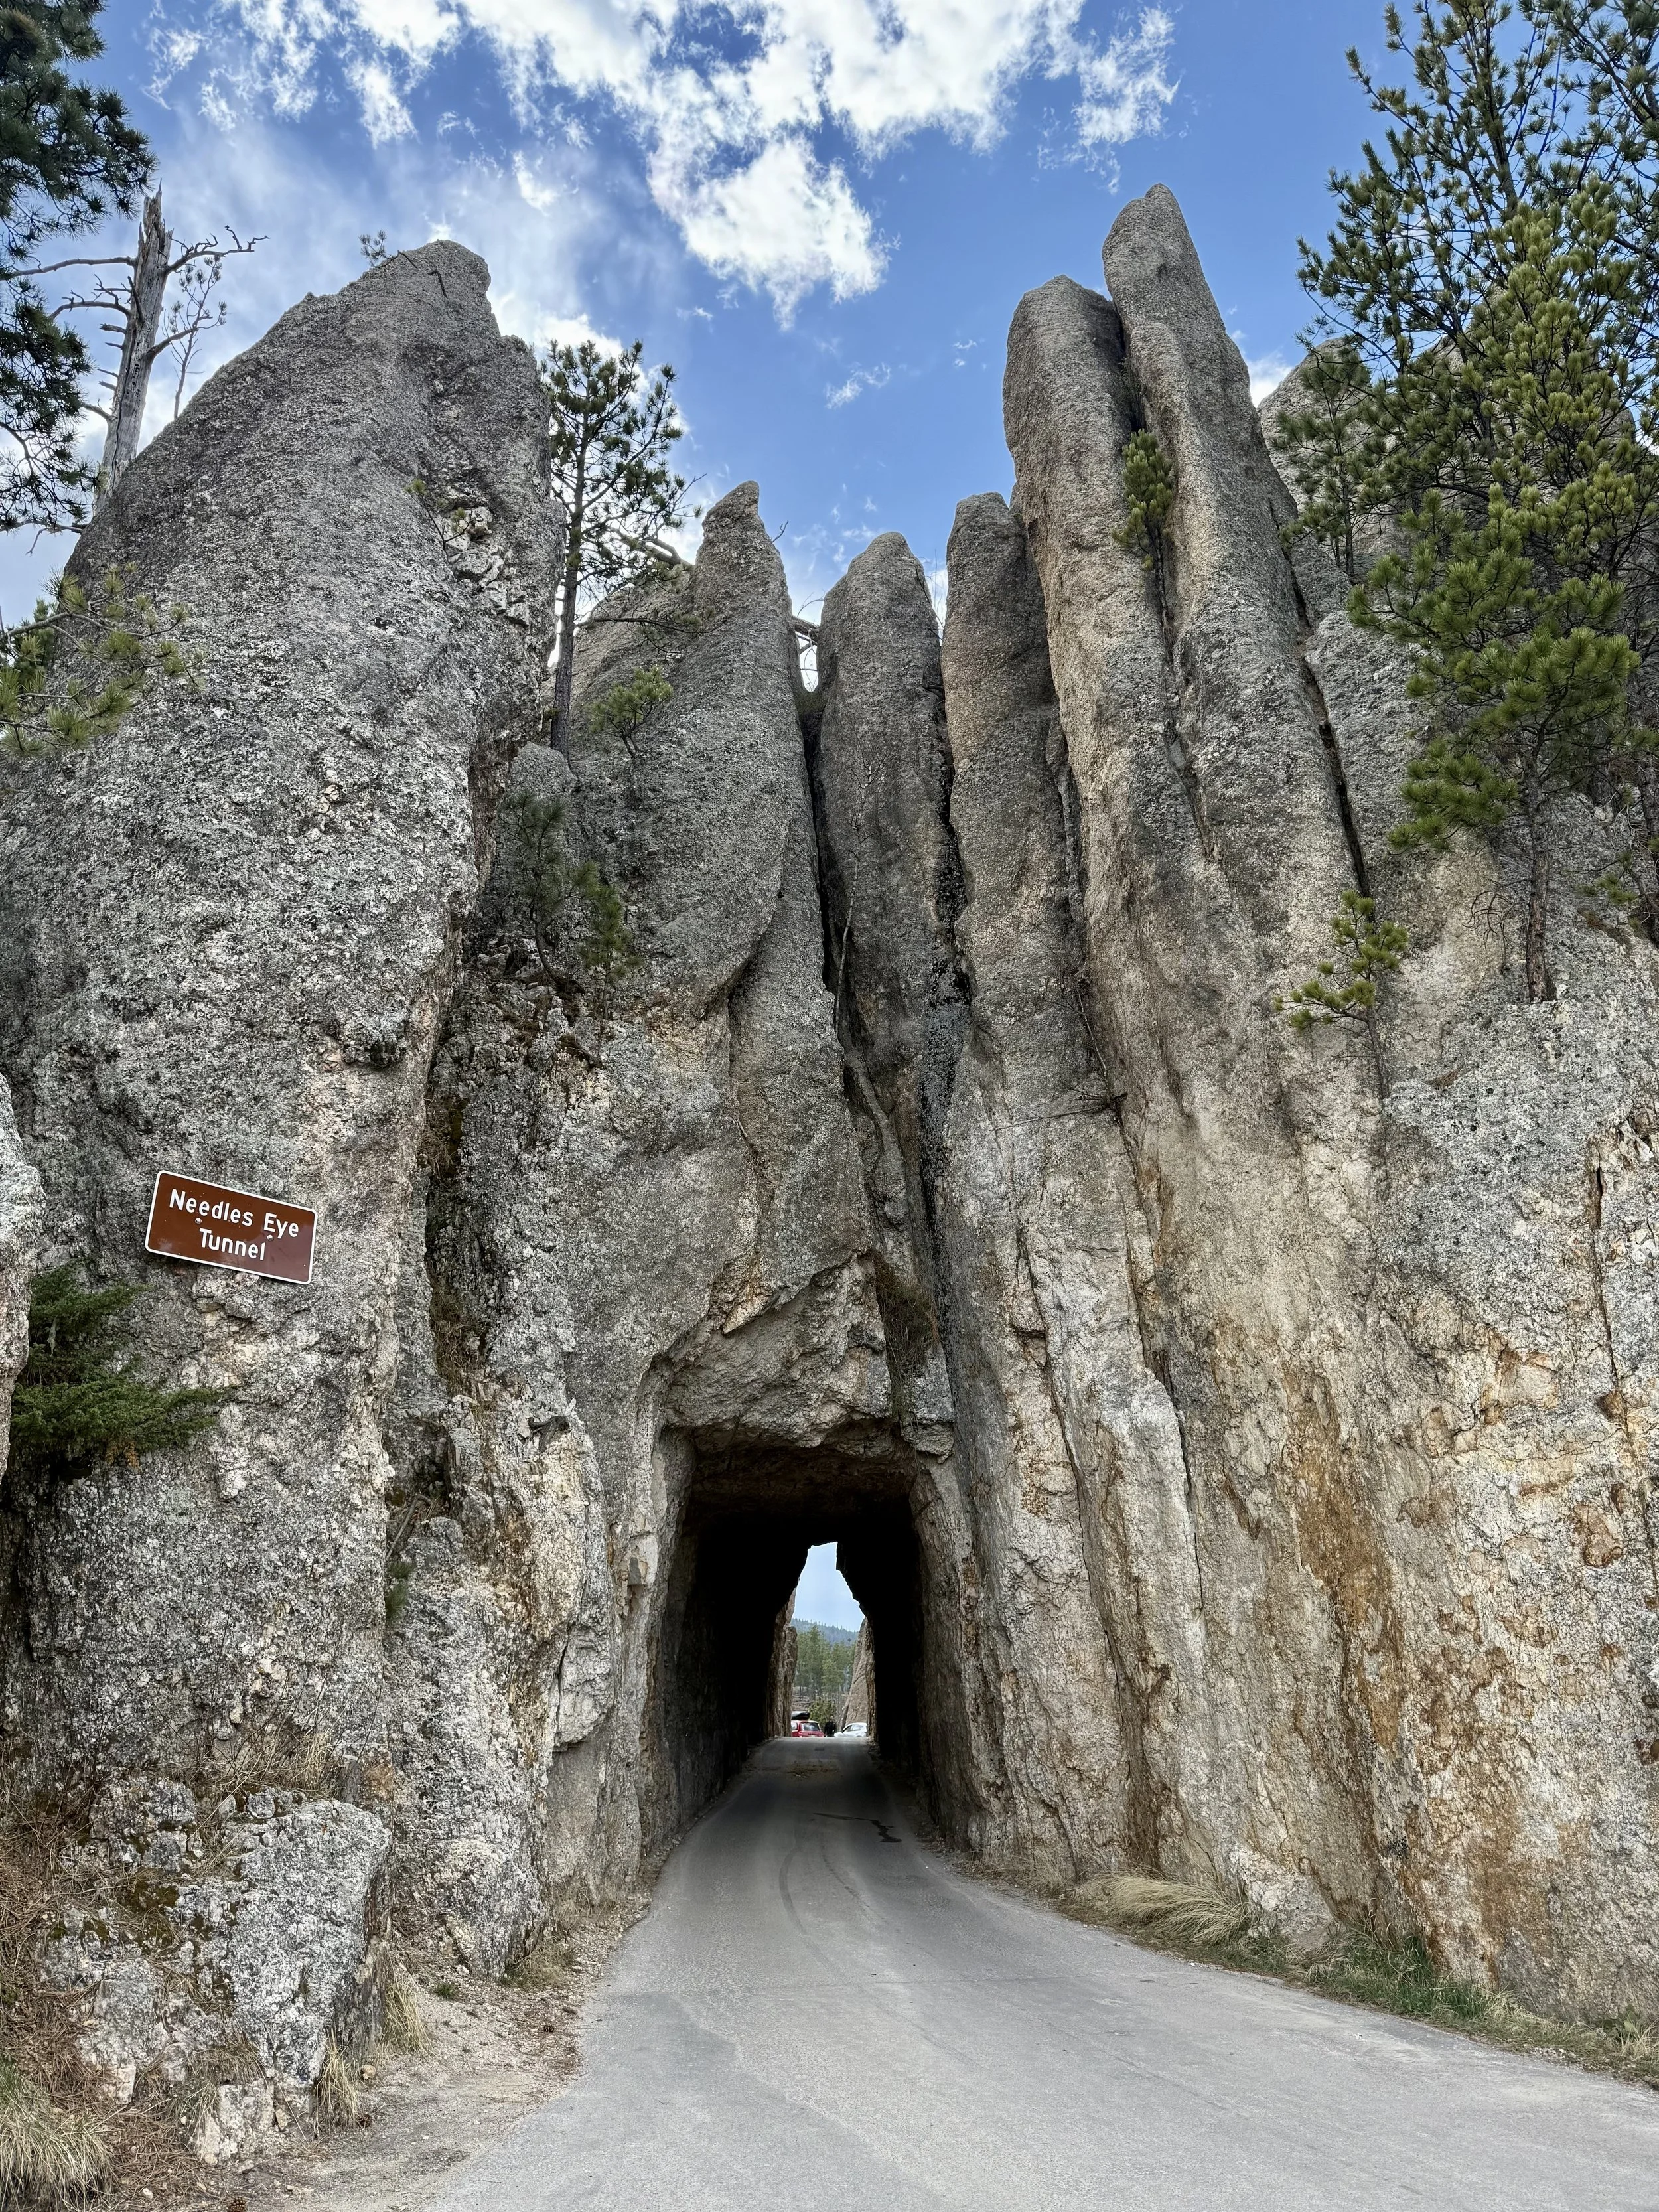
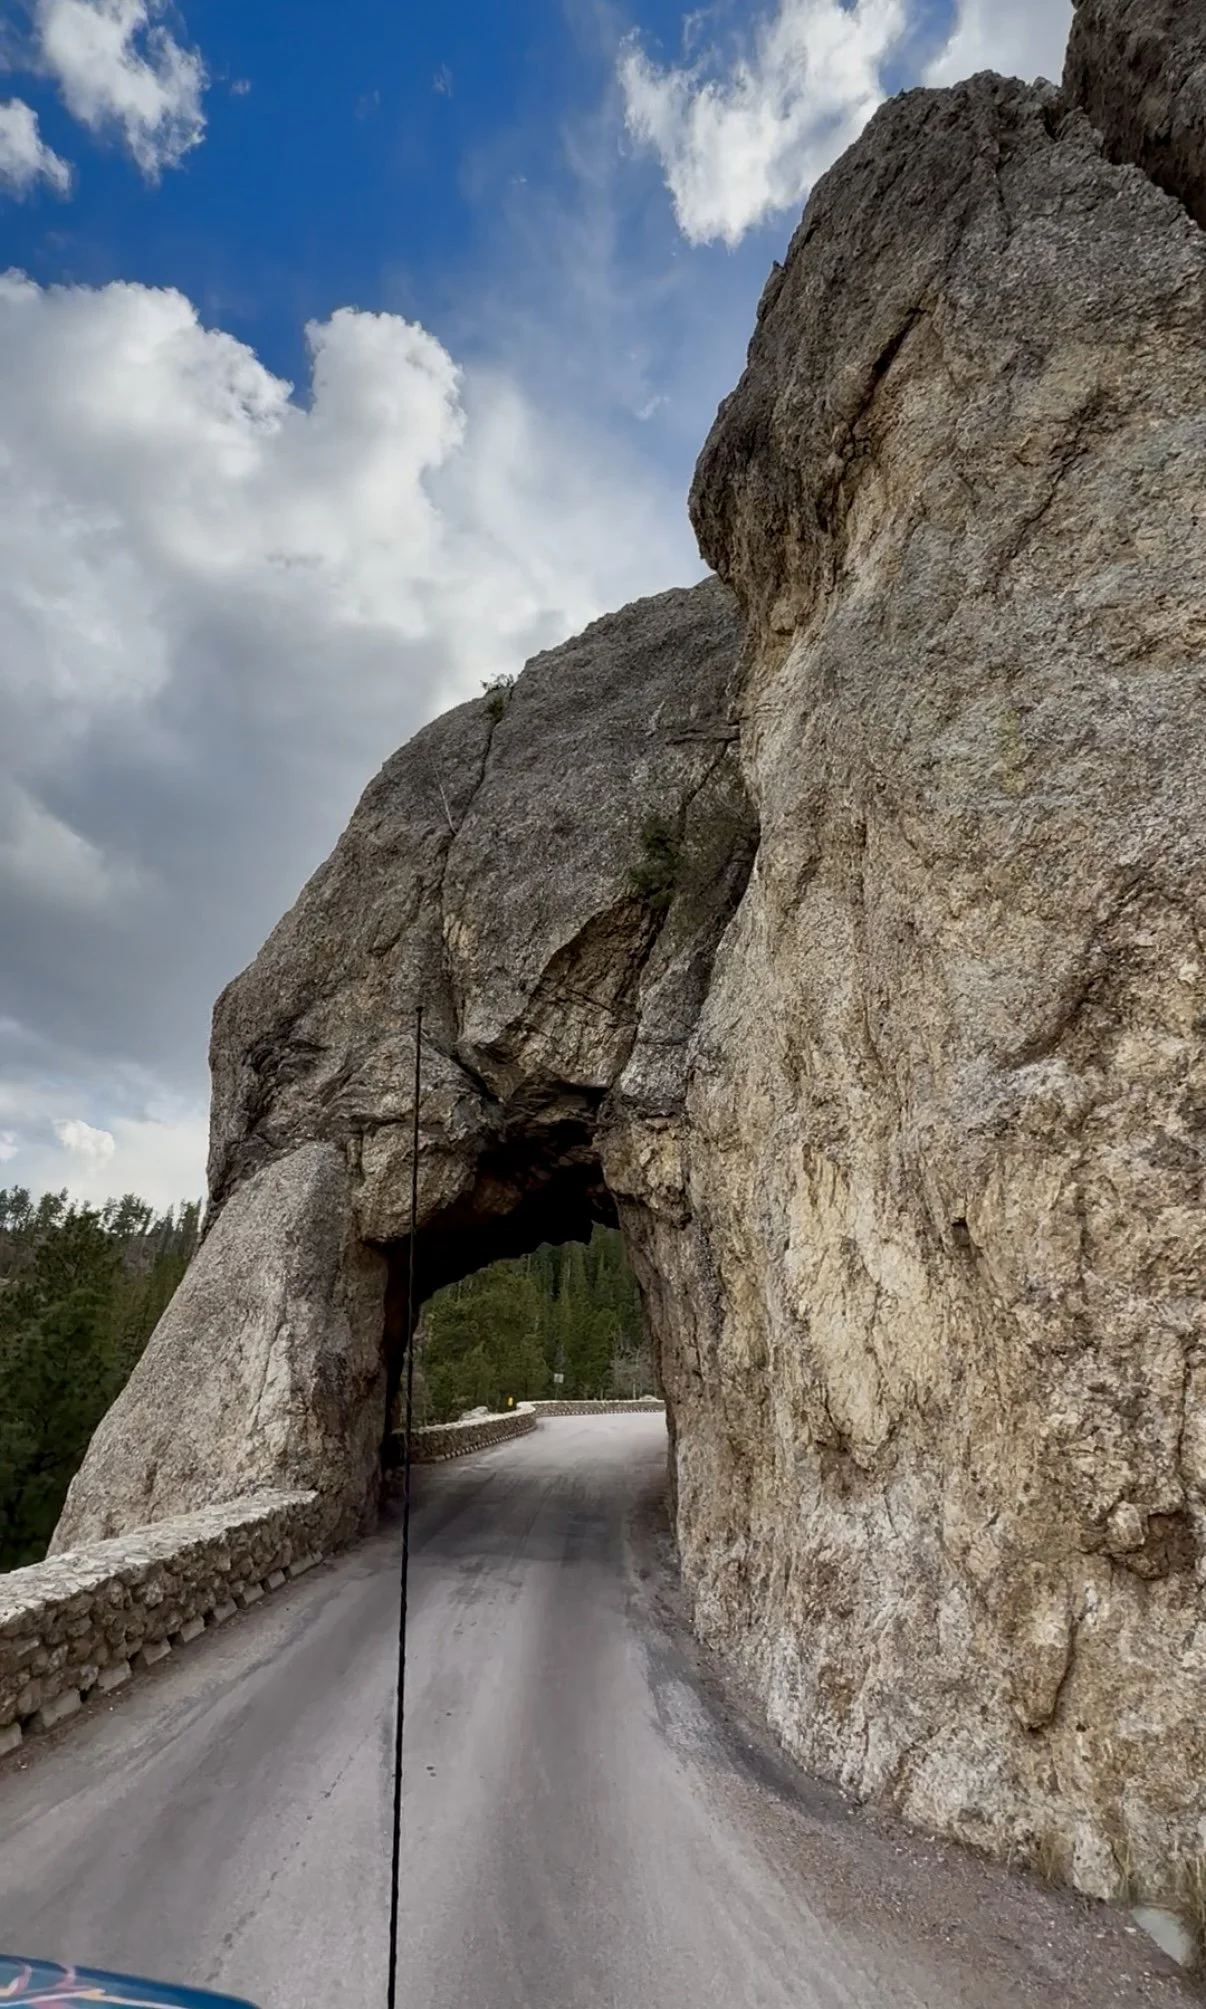
From Mount Rushmore, we went to Custer State Park to explore Needles Highway. At the entrance, we picked up a 7-day park pass—super easy to get with a credit card at the kiosk, just remember to display the pass on your dashboard whenever you park at a trailhead. One of the highlights was driving through the famous Needle’s Eye Tunnel, a tight squeeze that definitely tested the limits of our large campervan. Along the way, we stopped at several viewpoints to admire the striking rock formations jutting out of the landscape, sparkling with a glittering mineral we later learned was mica.
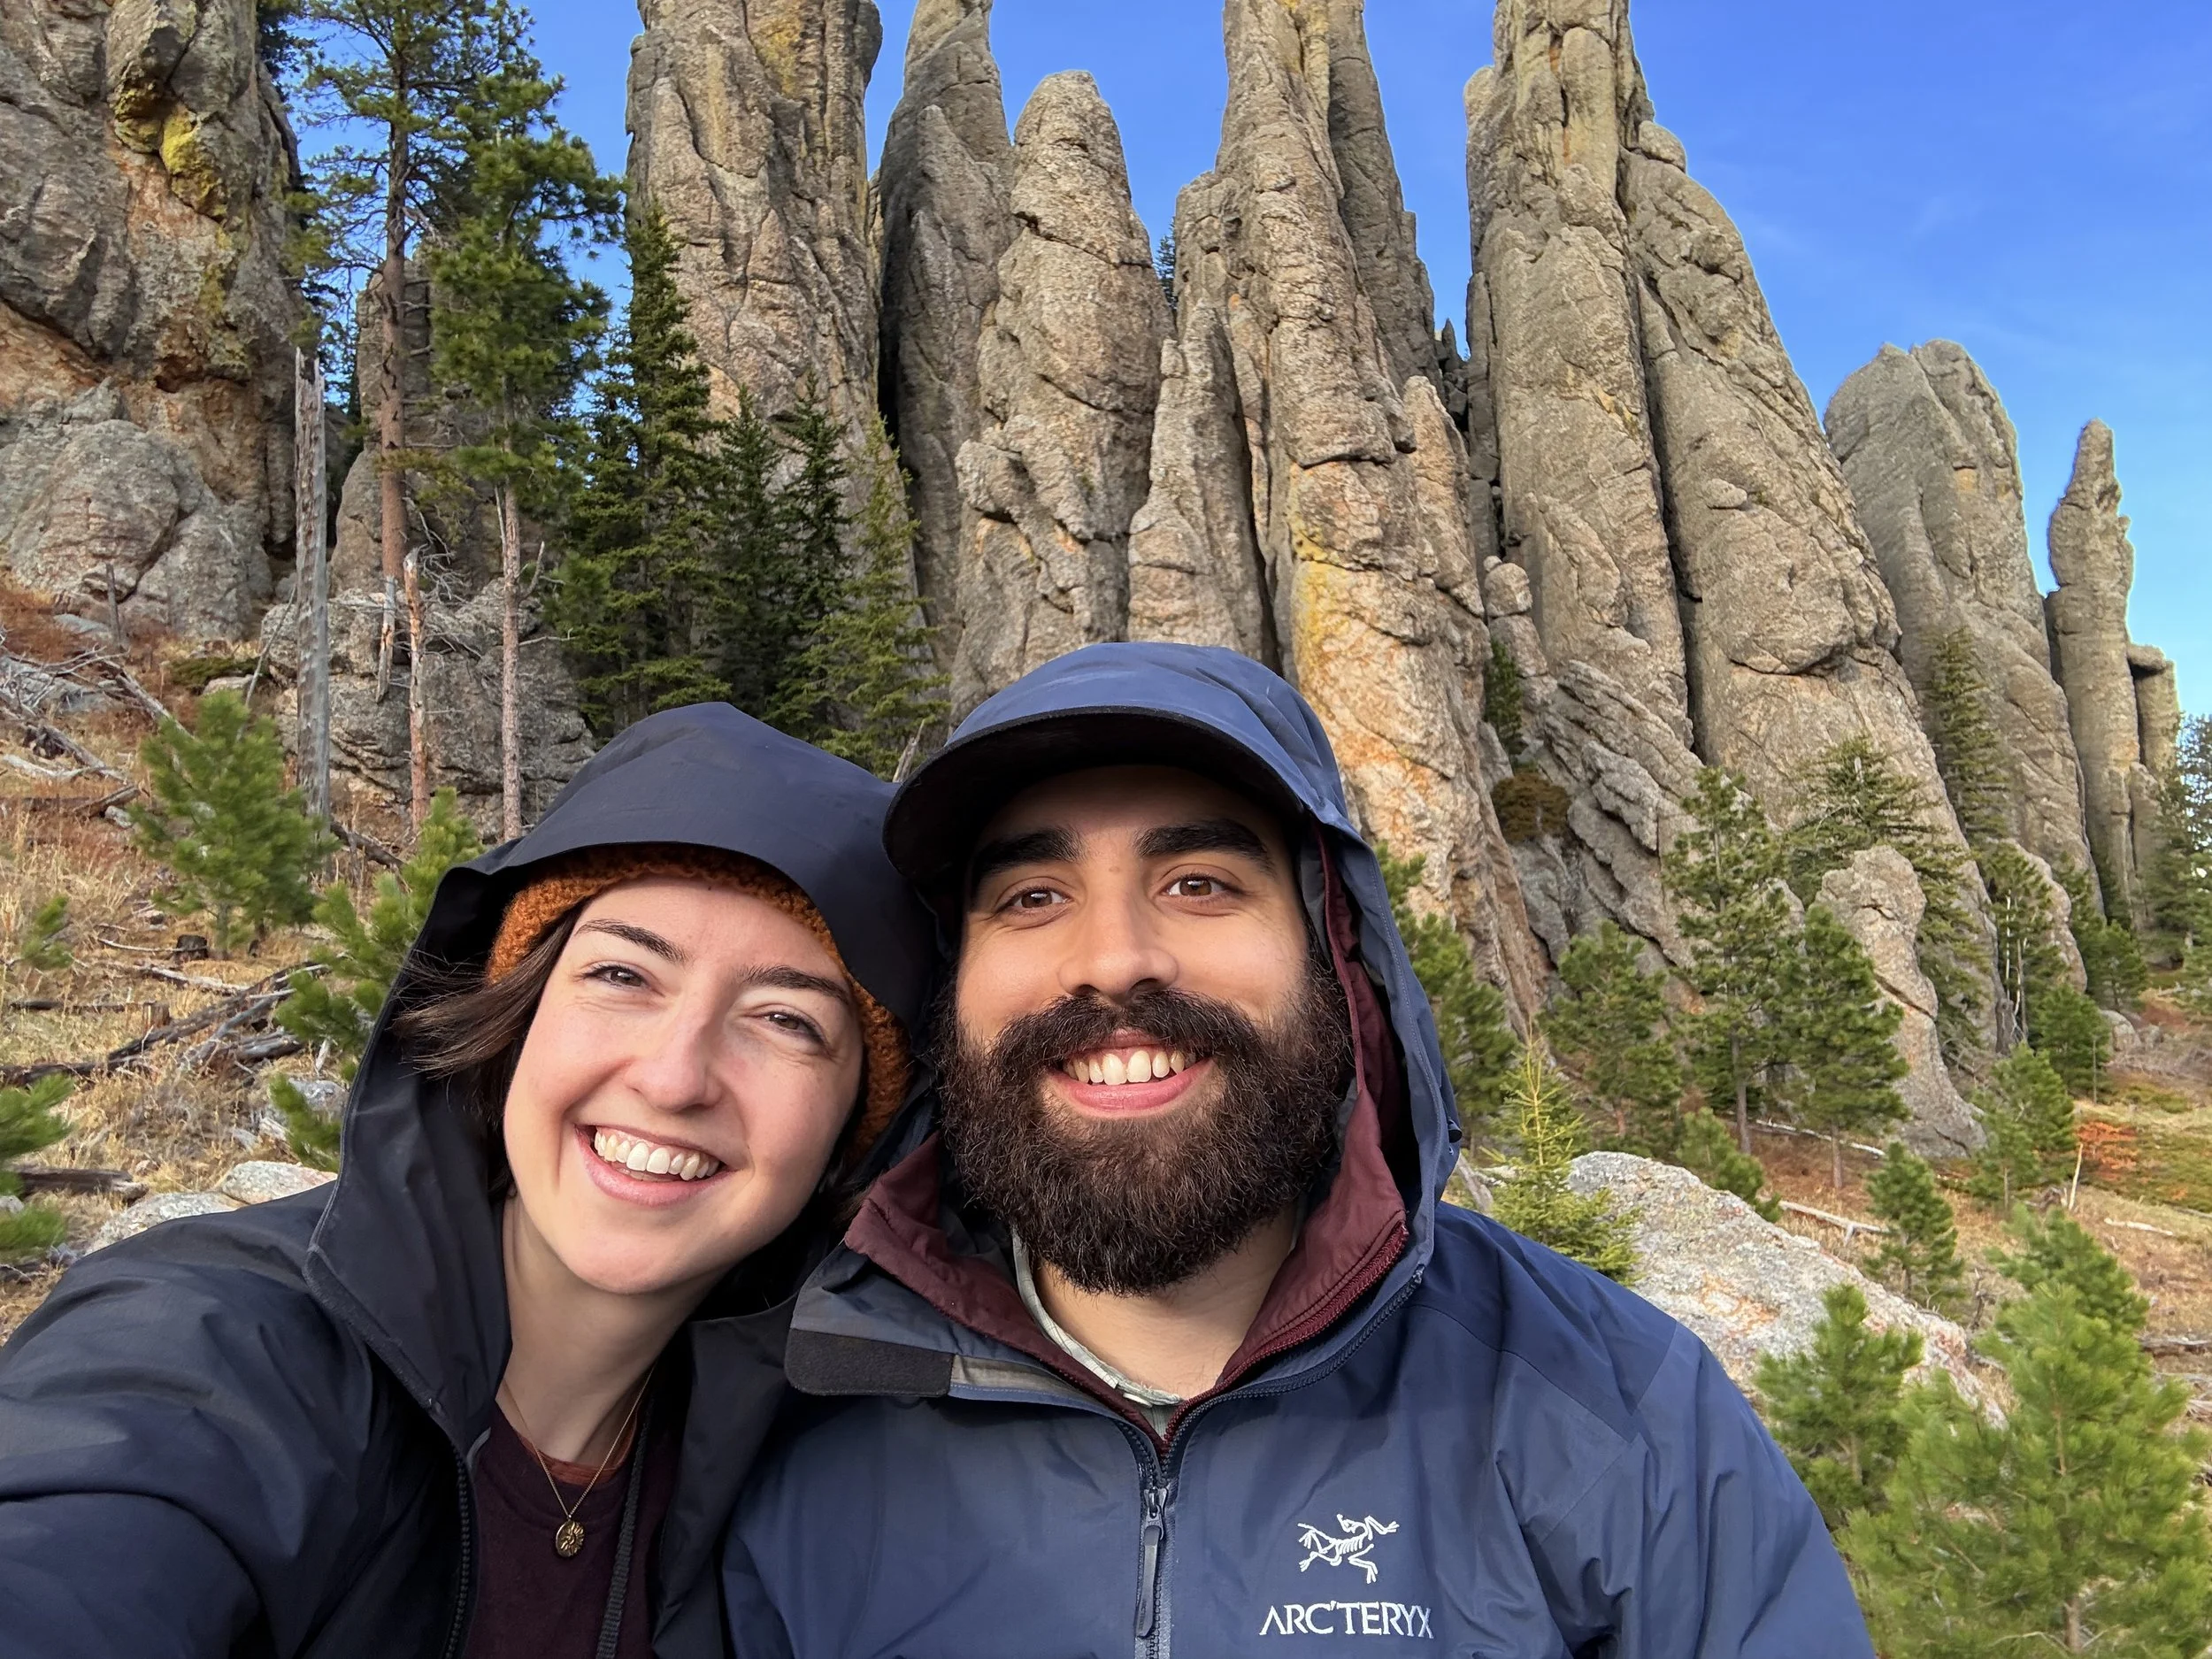
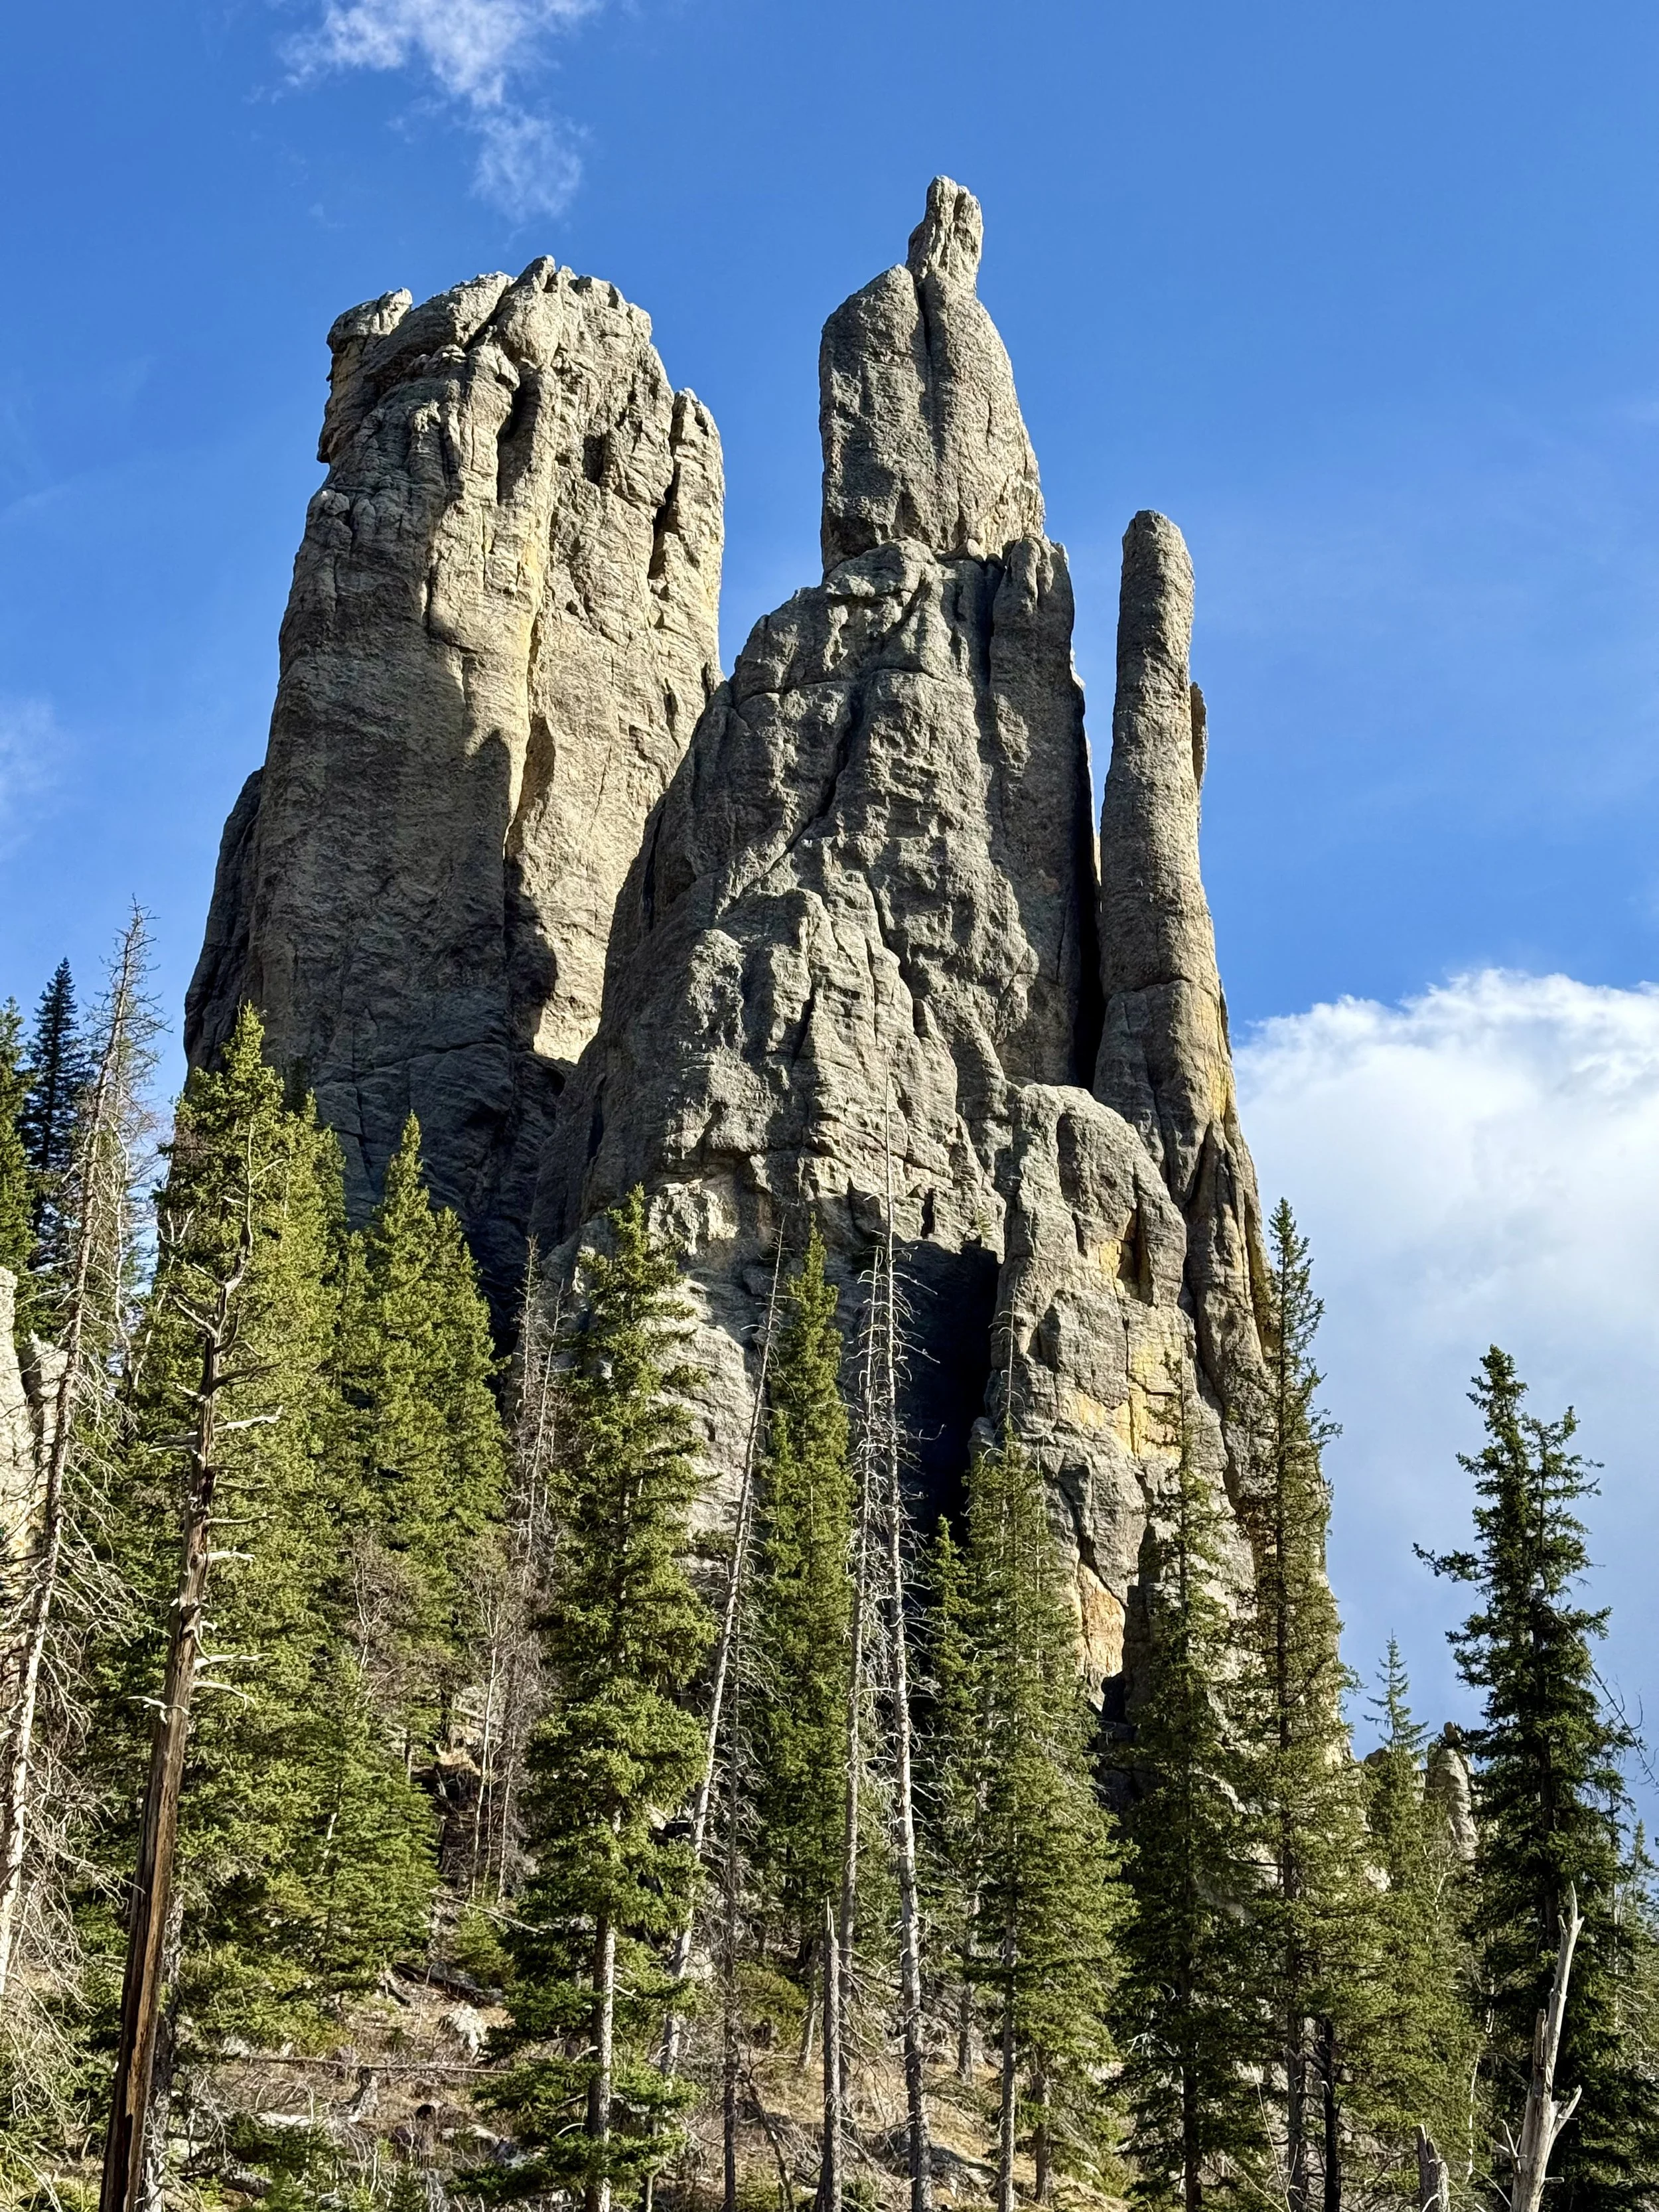


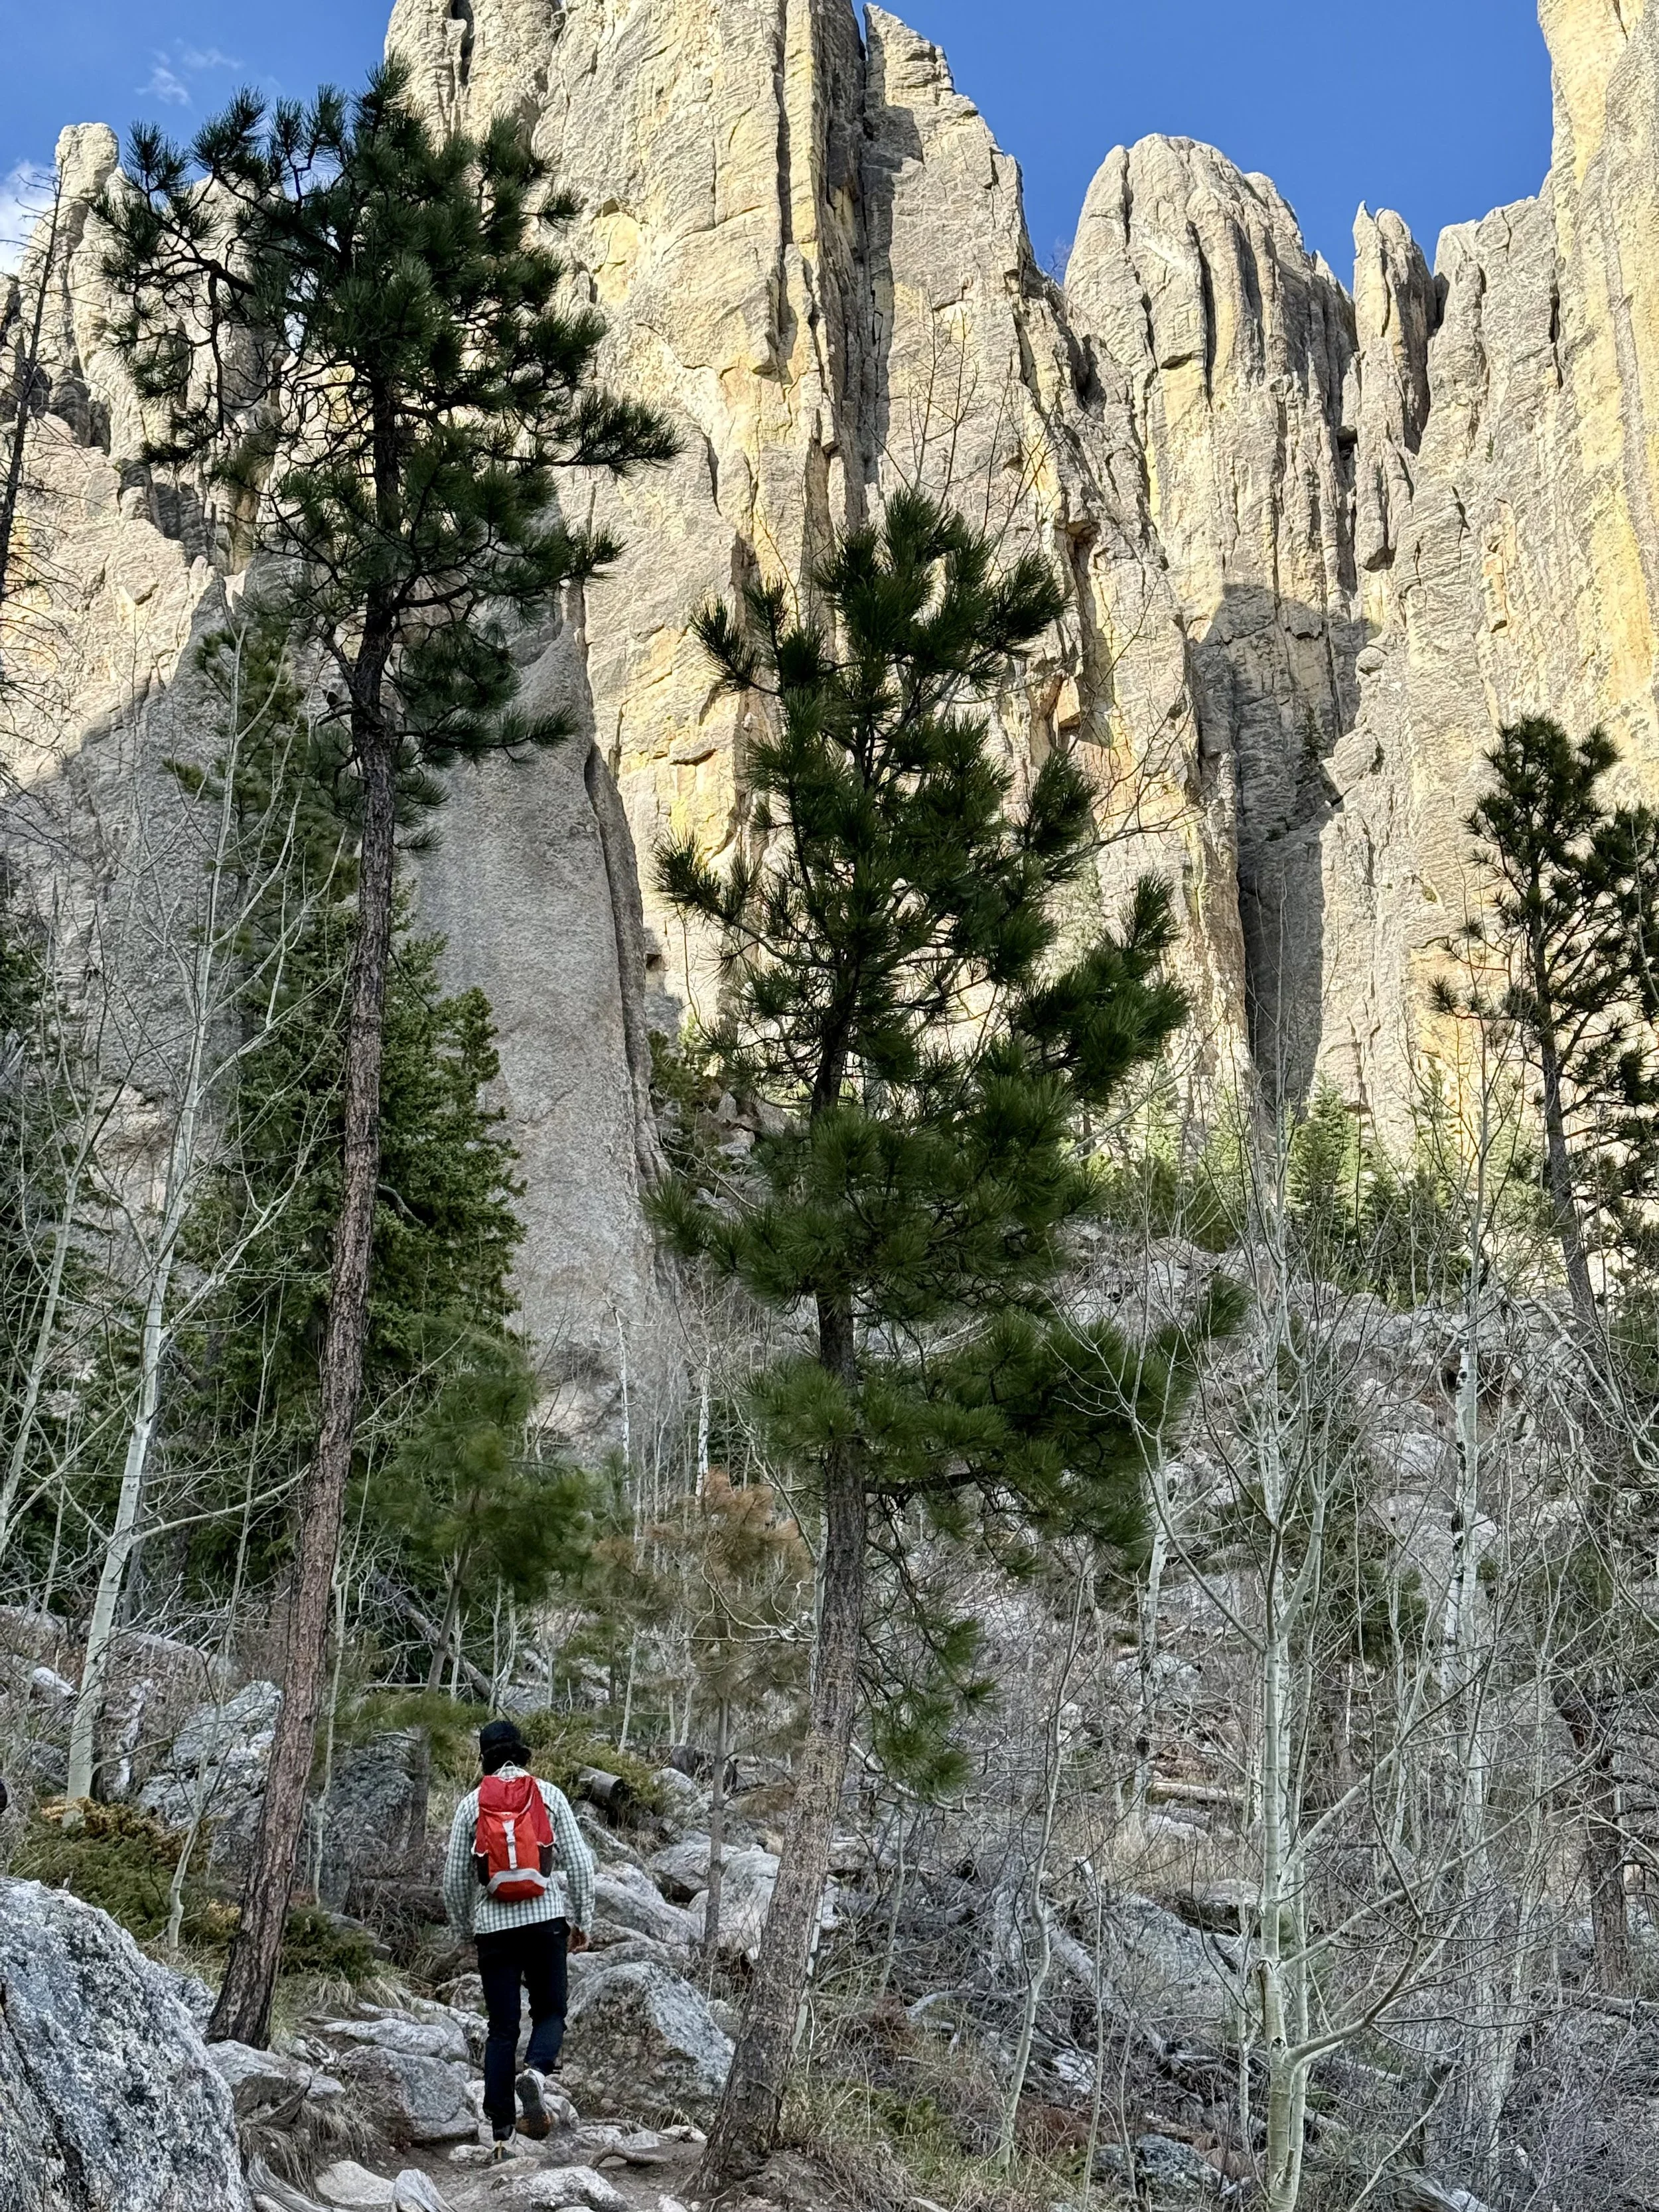
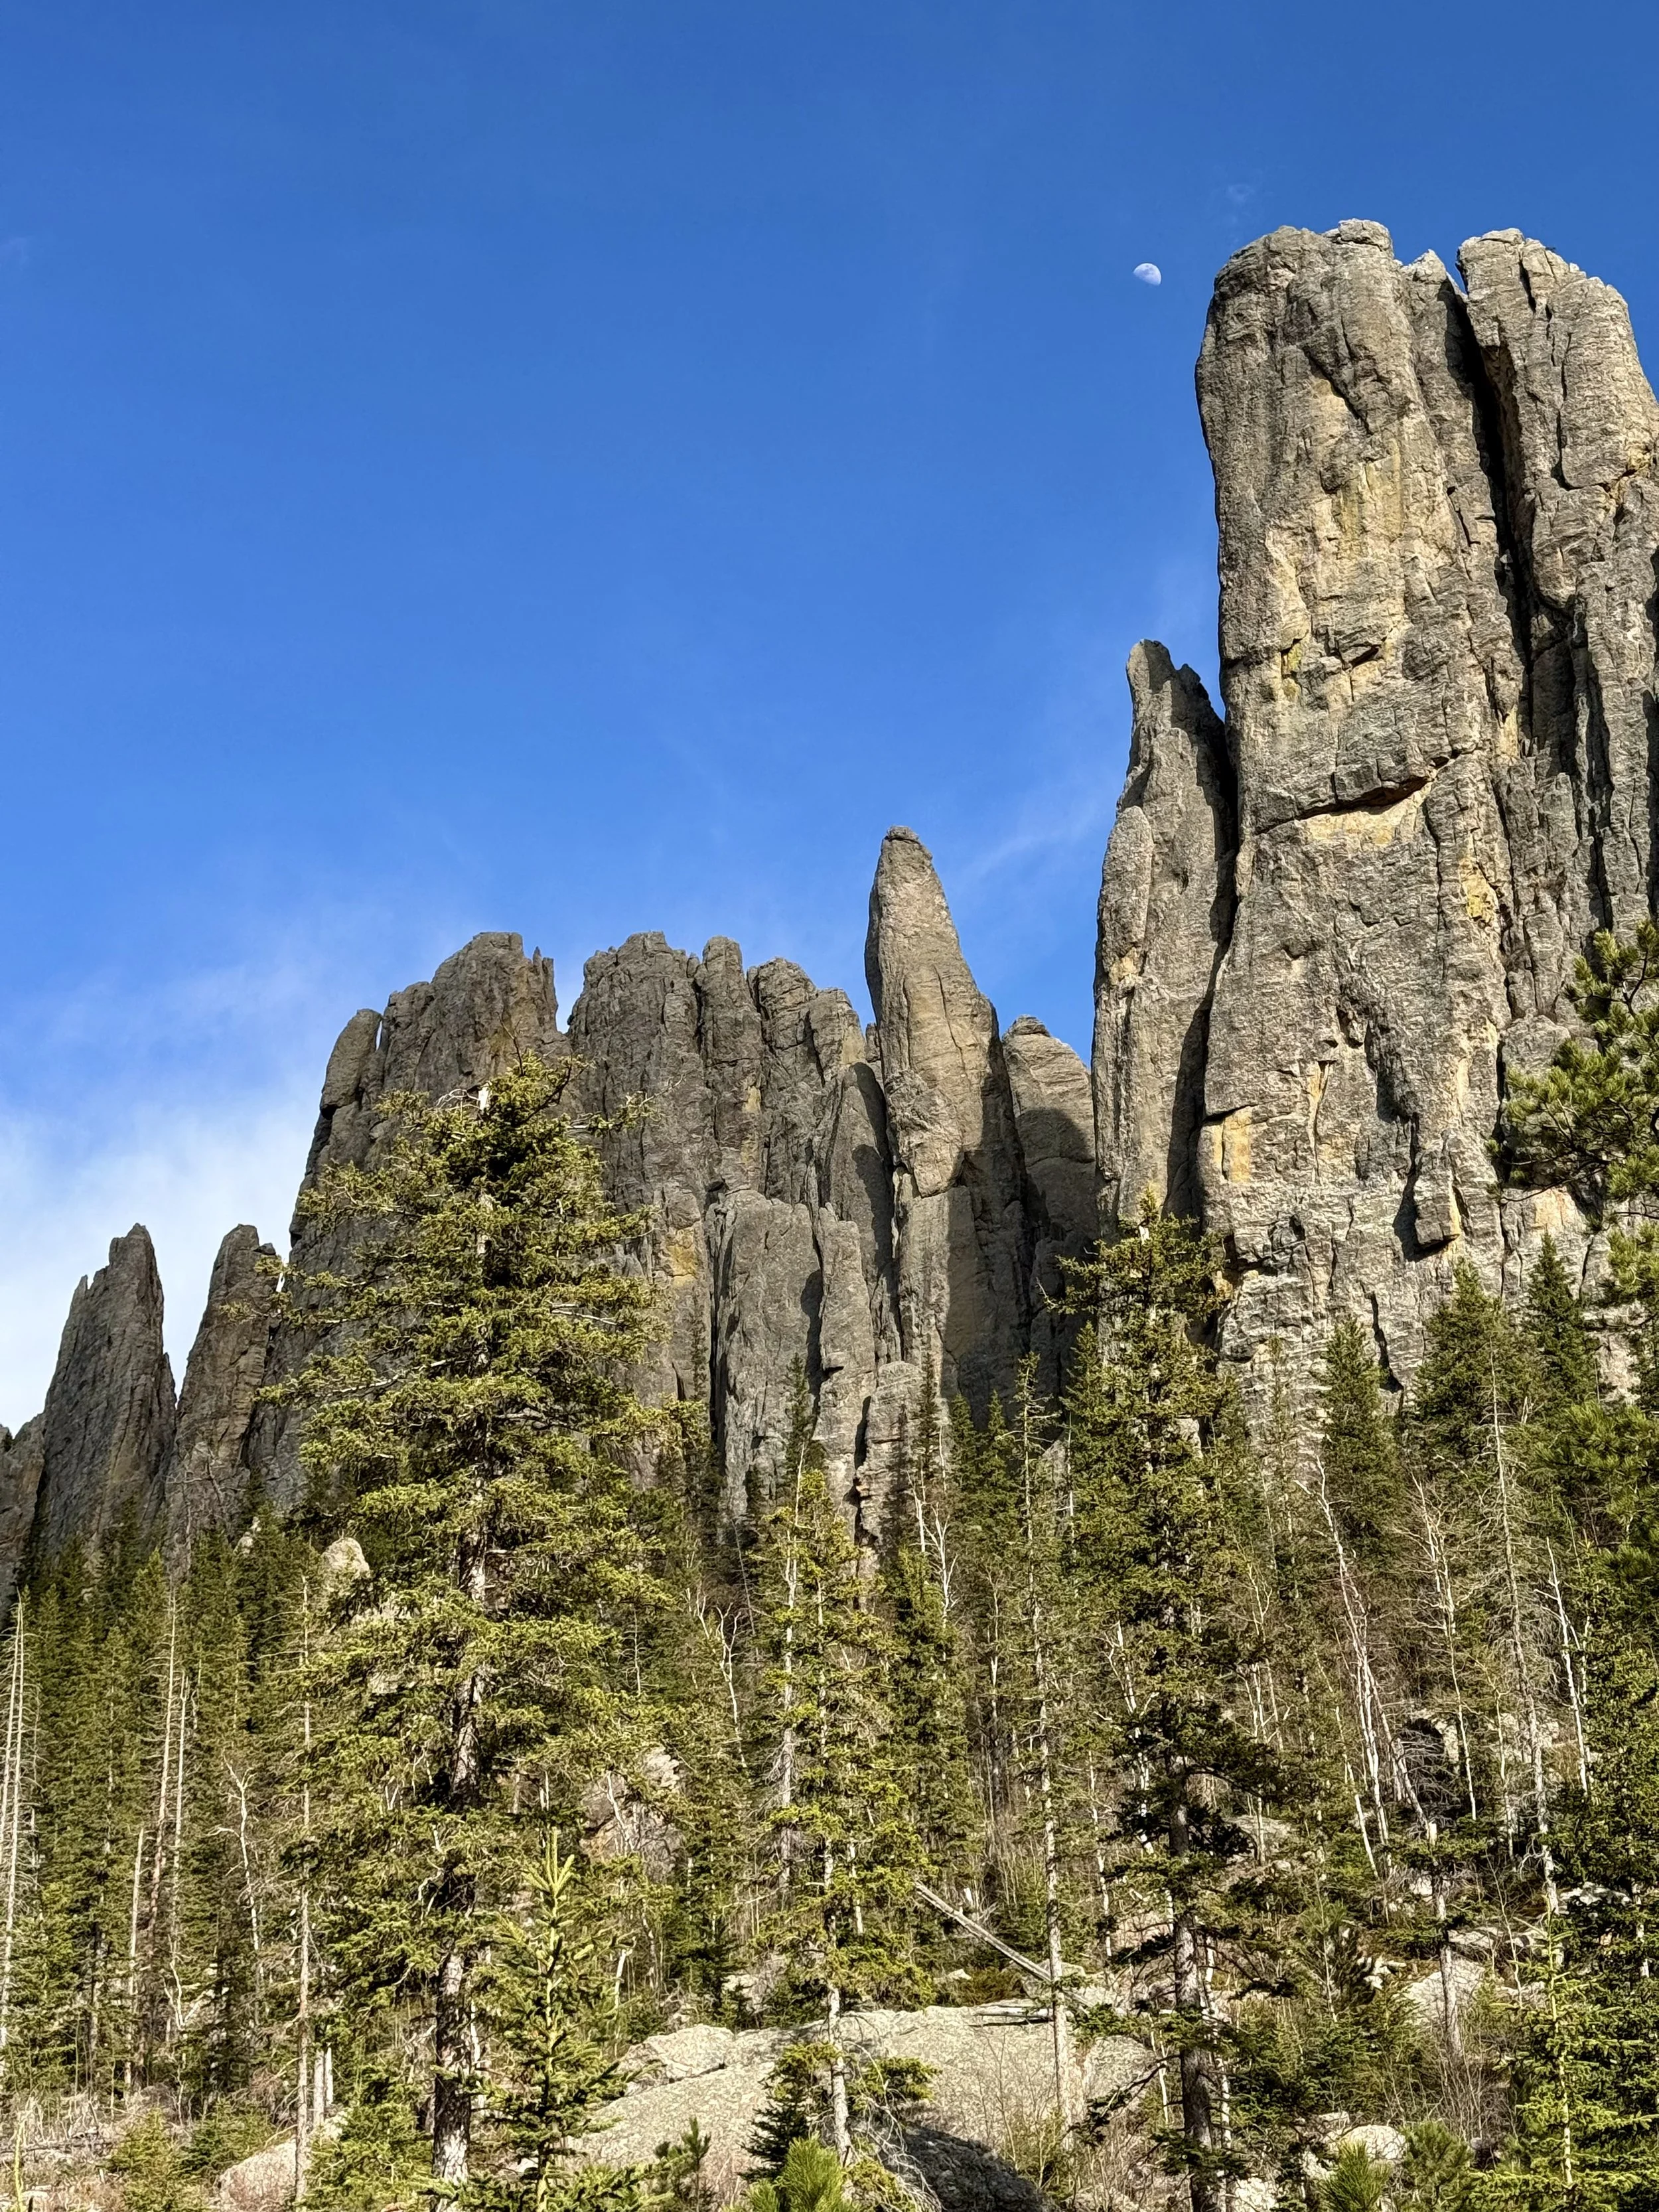
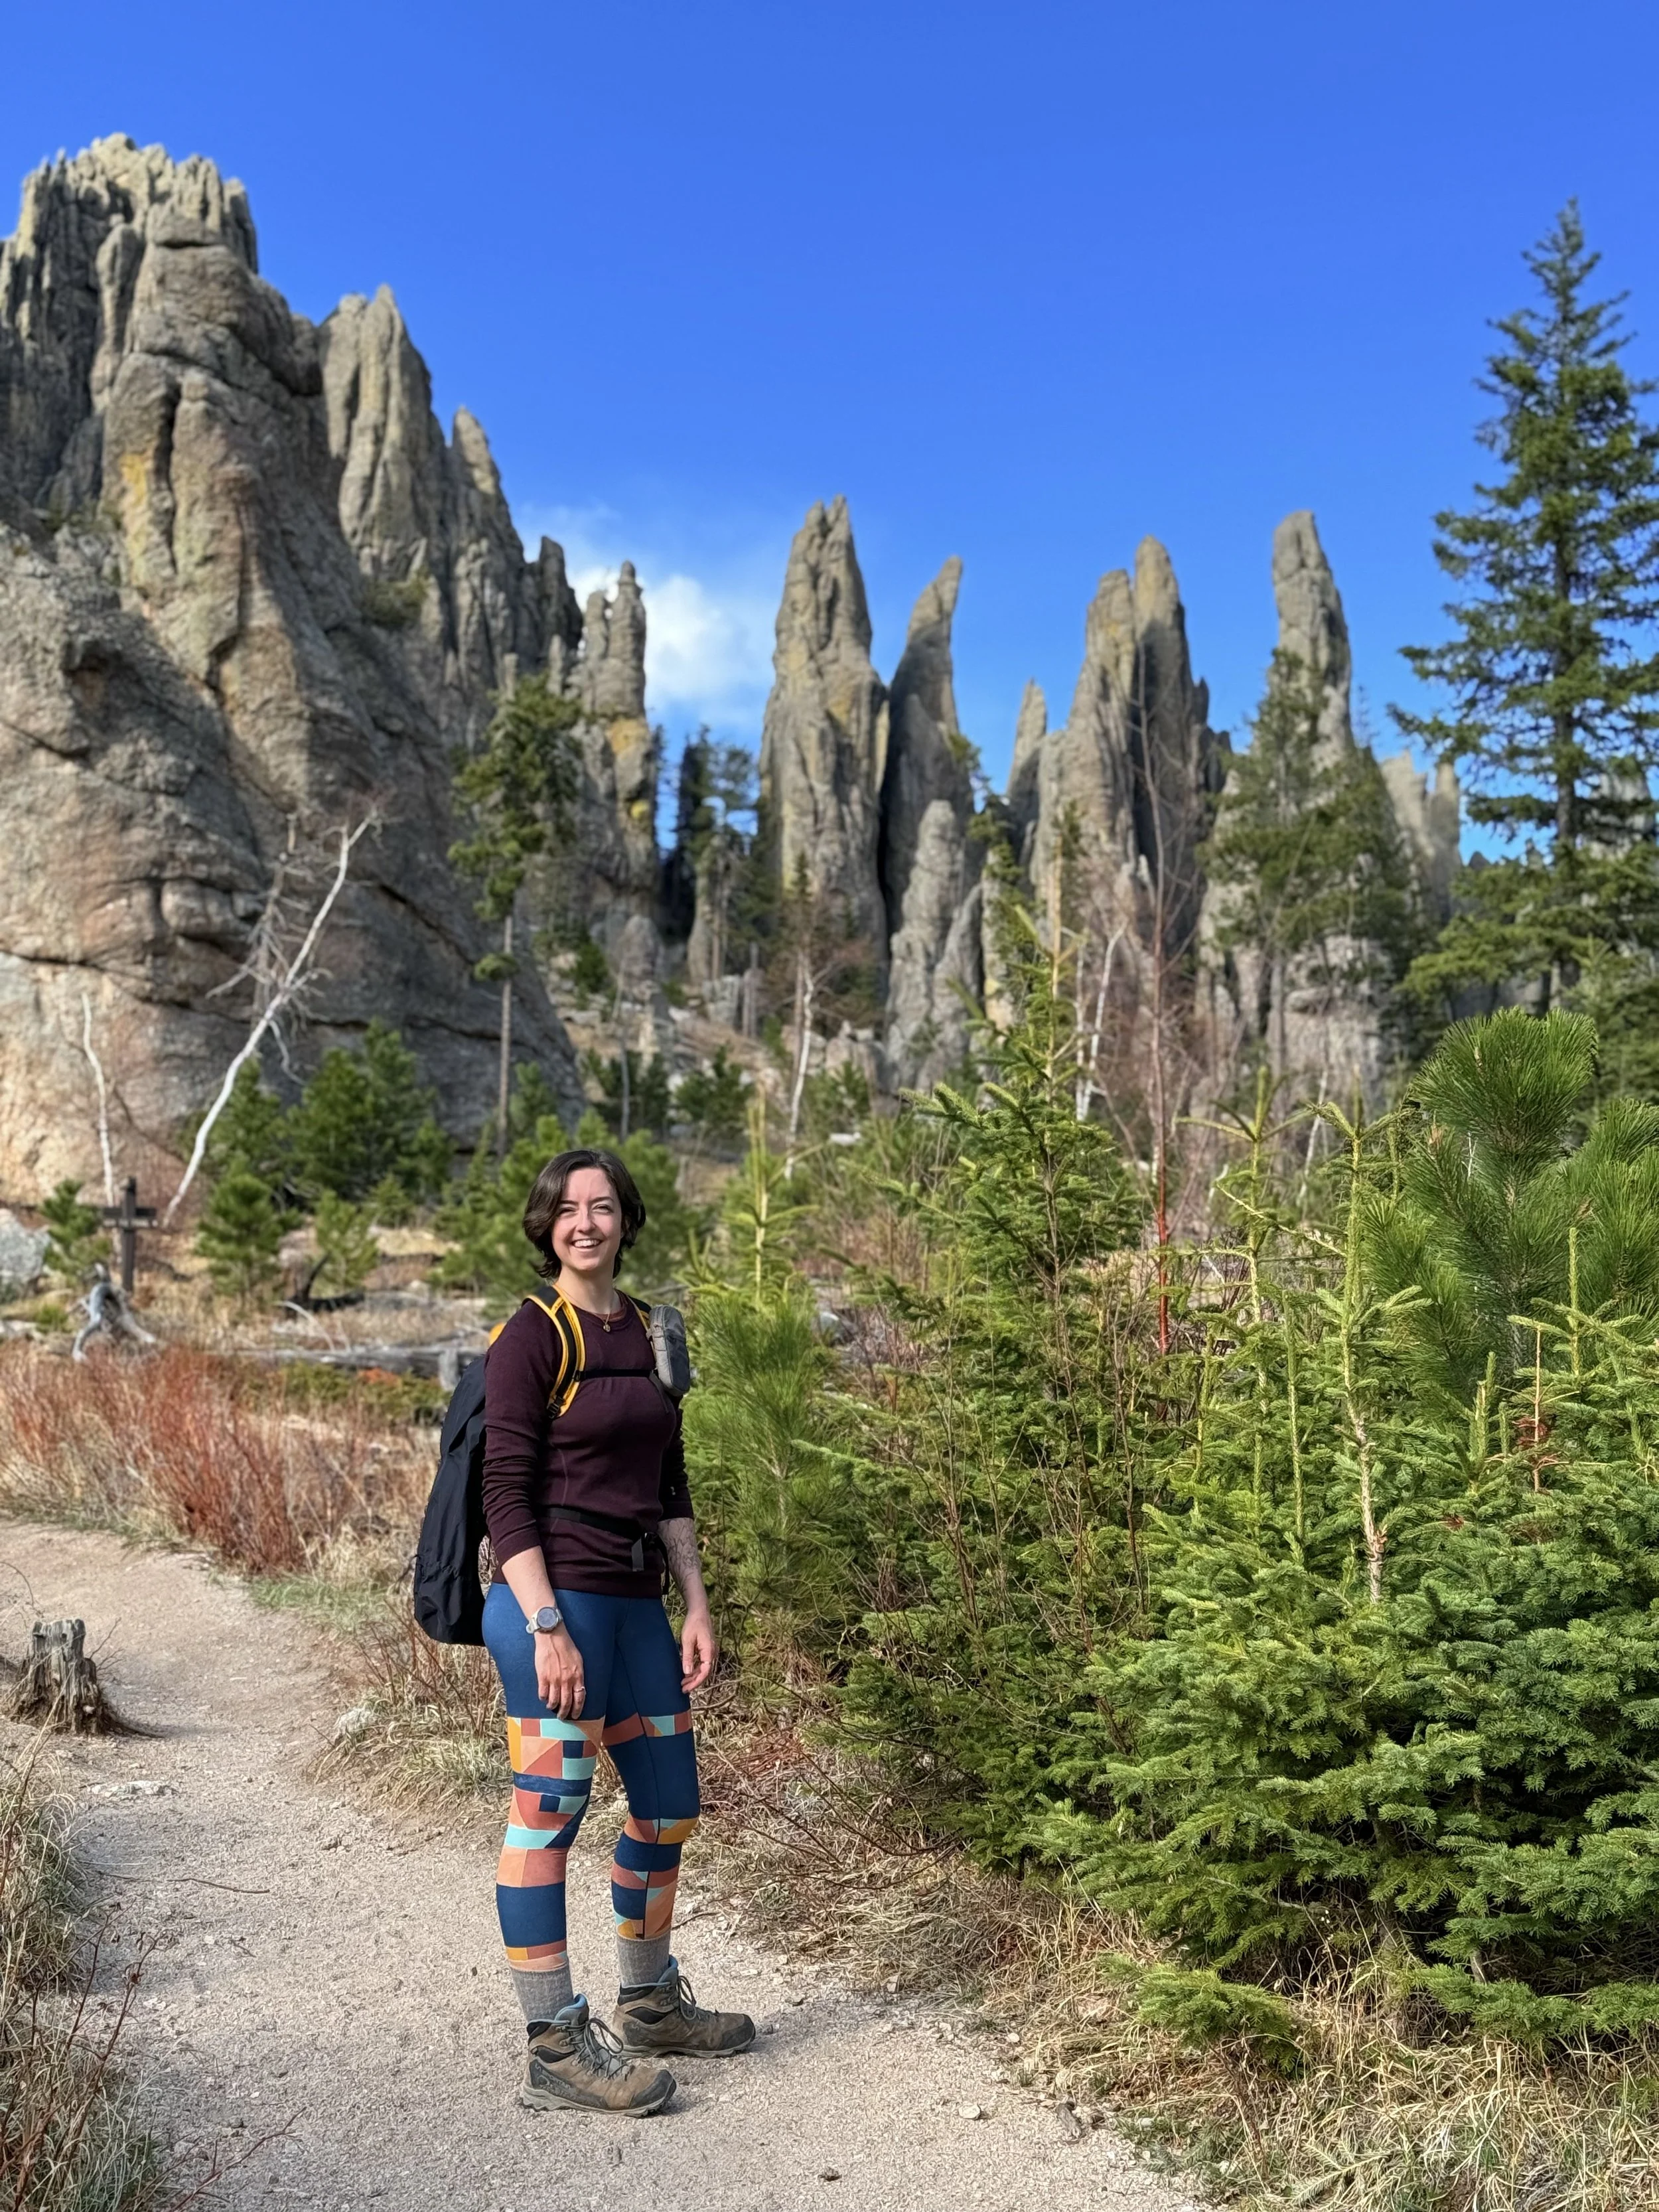
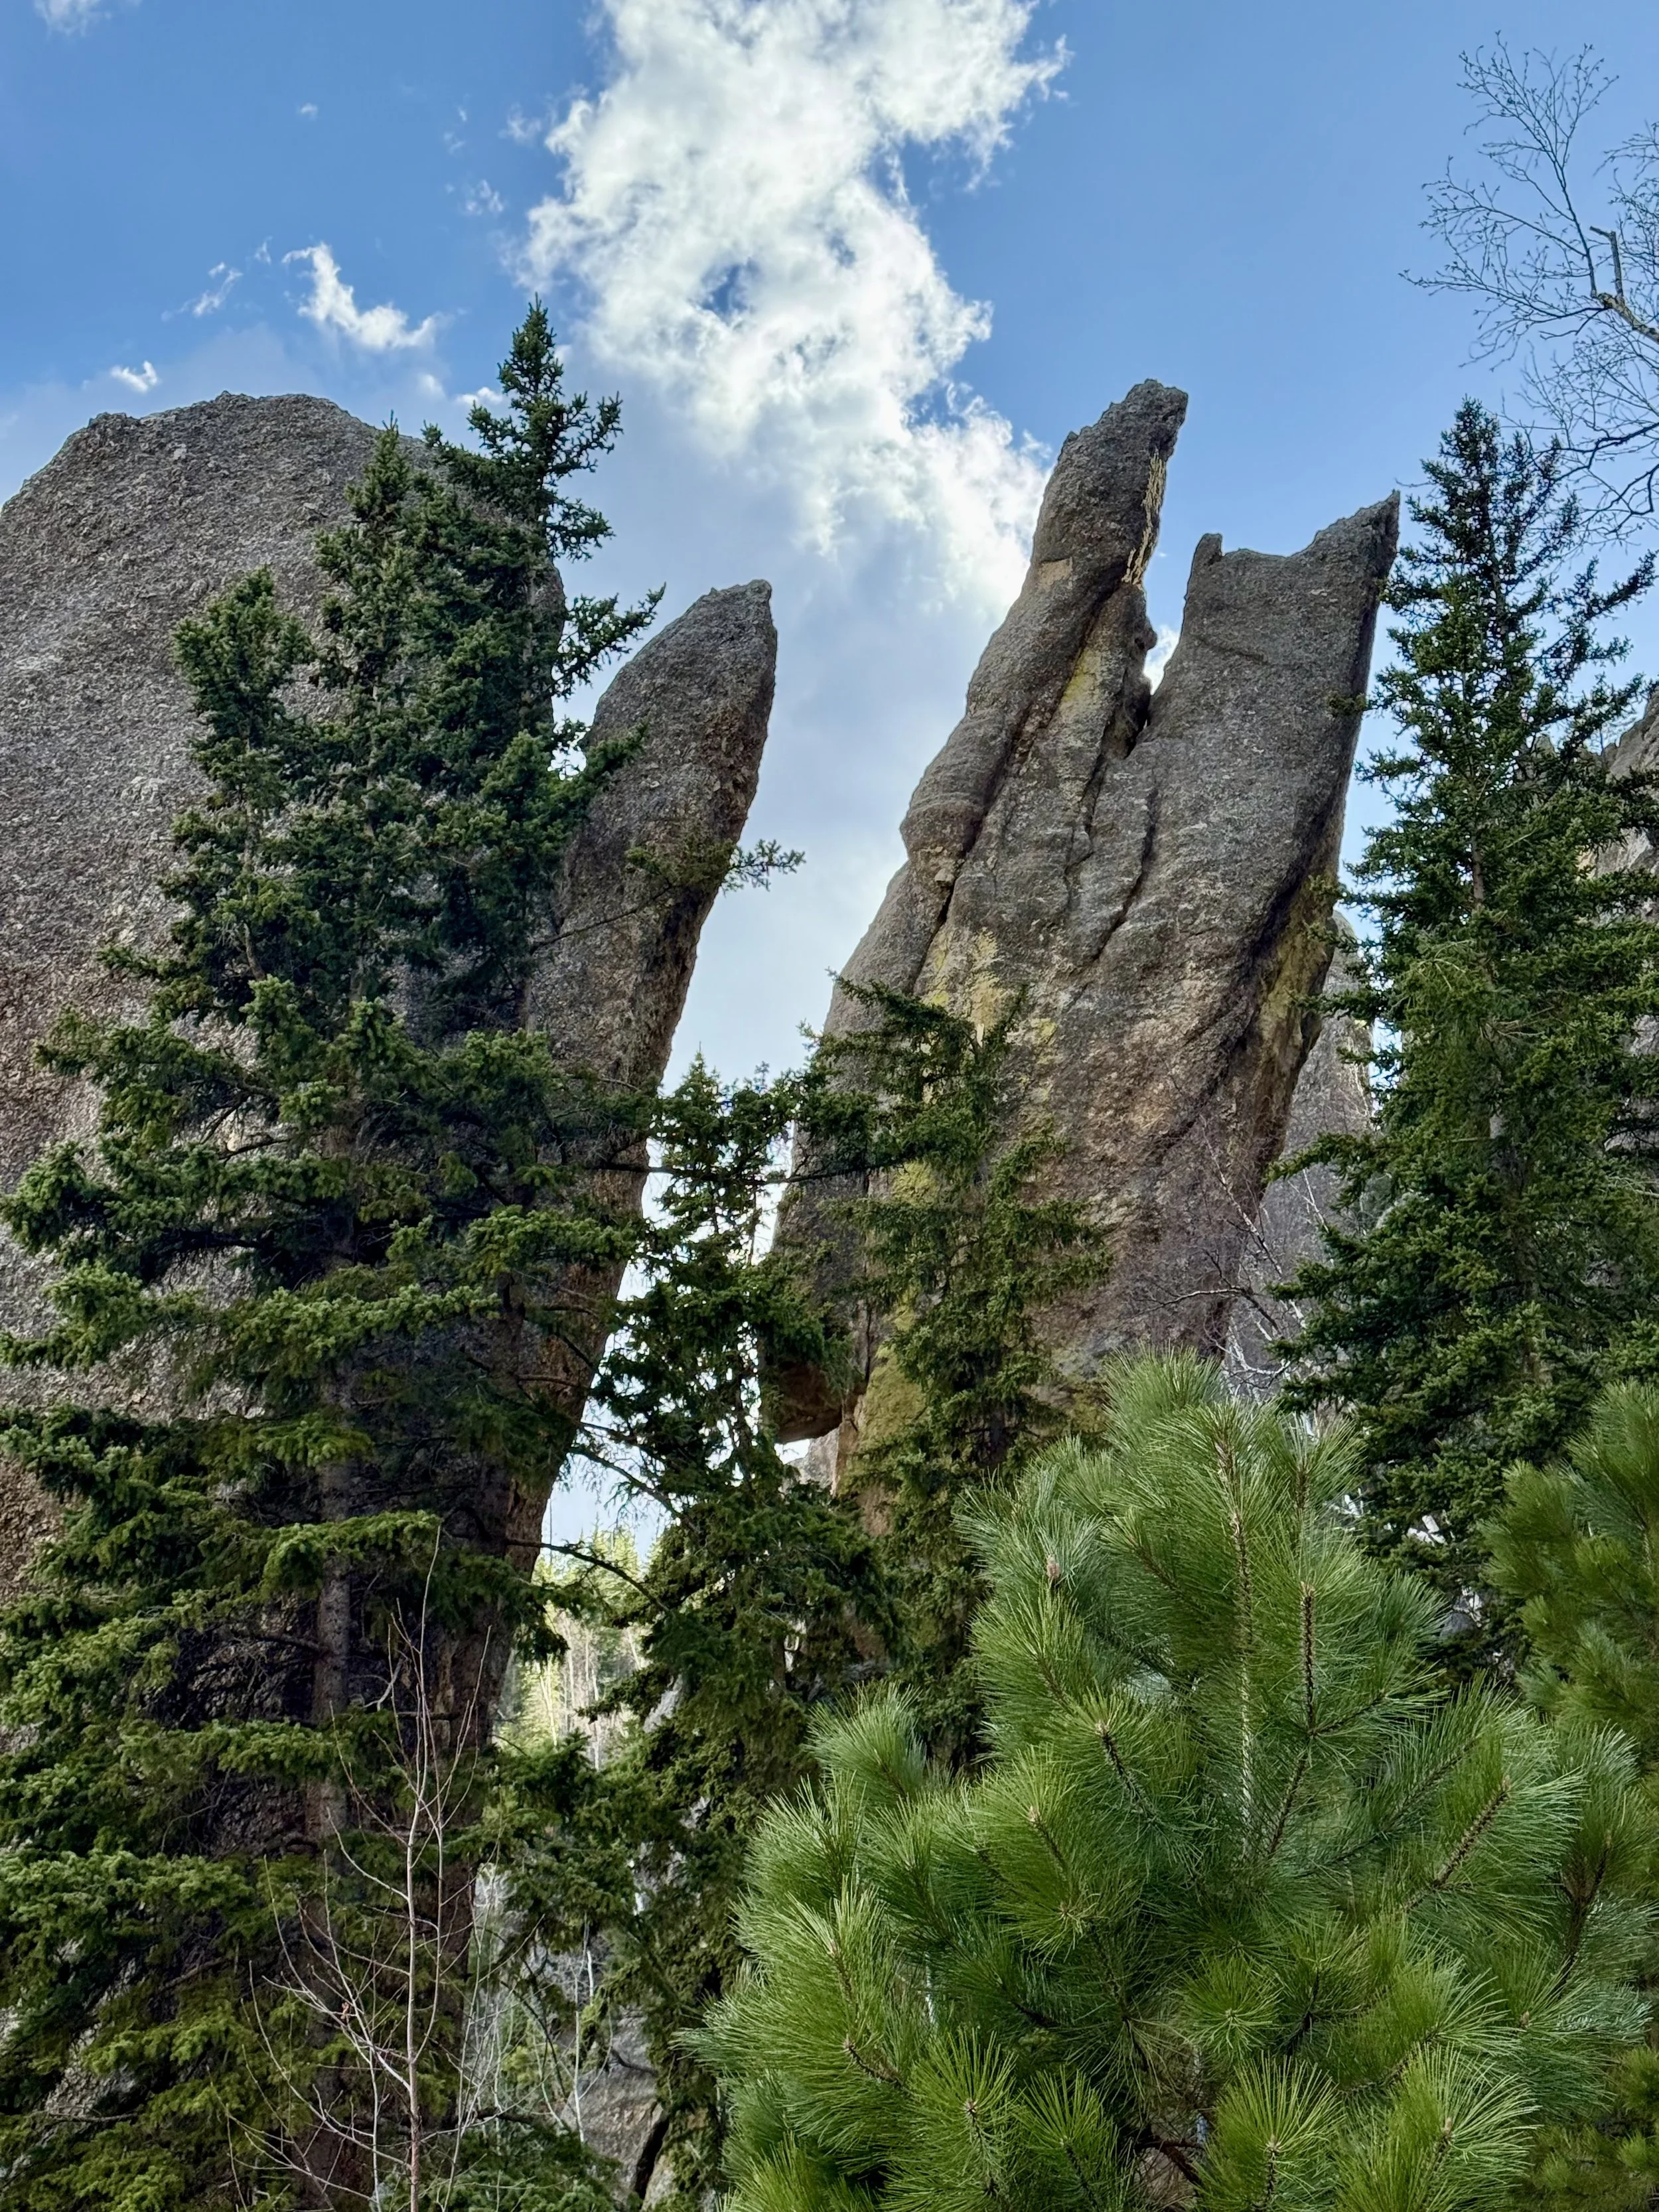

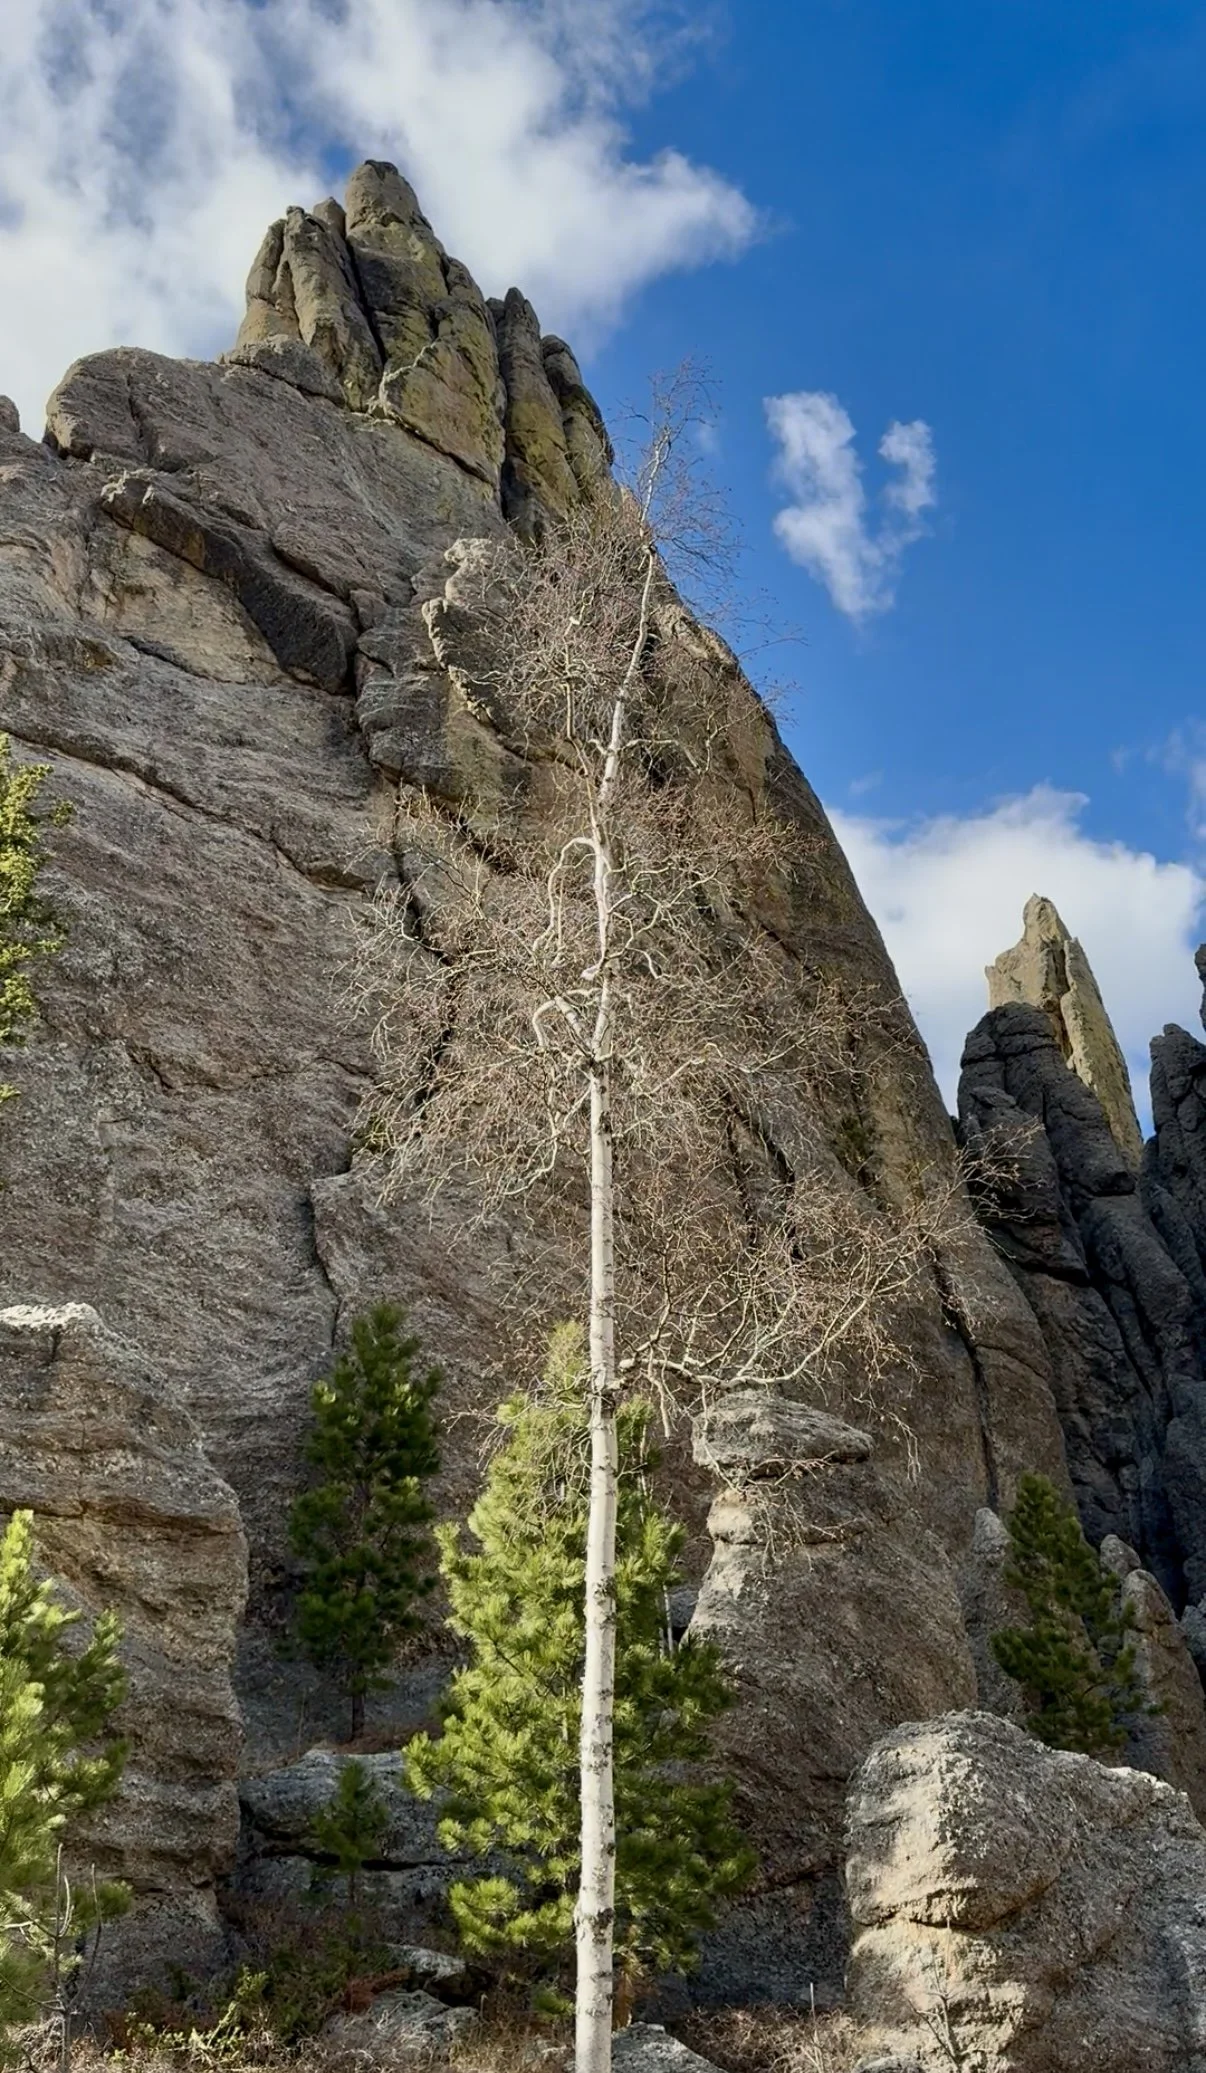
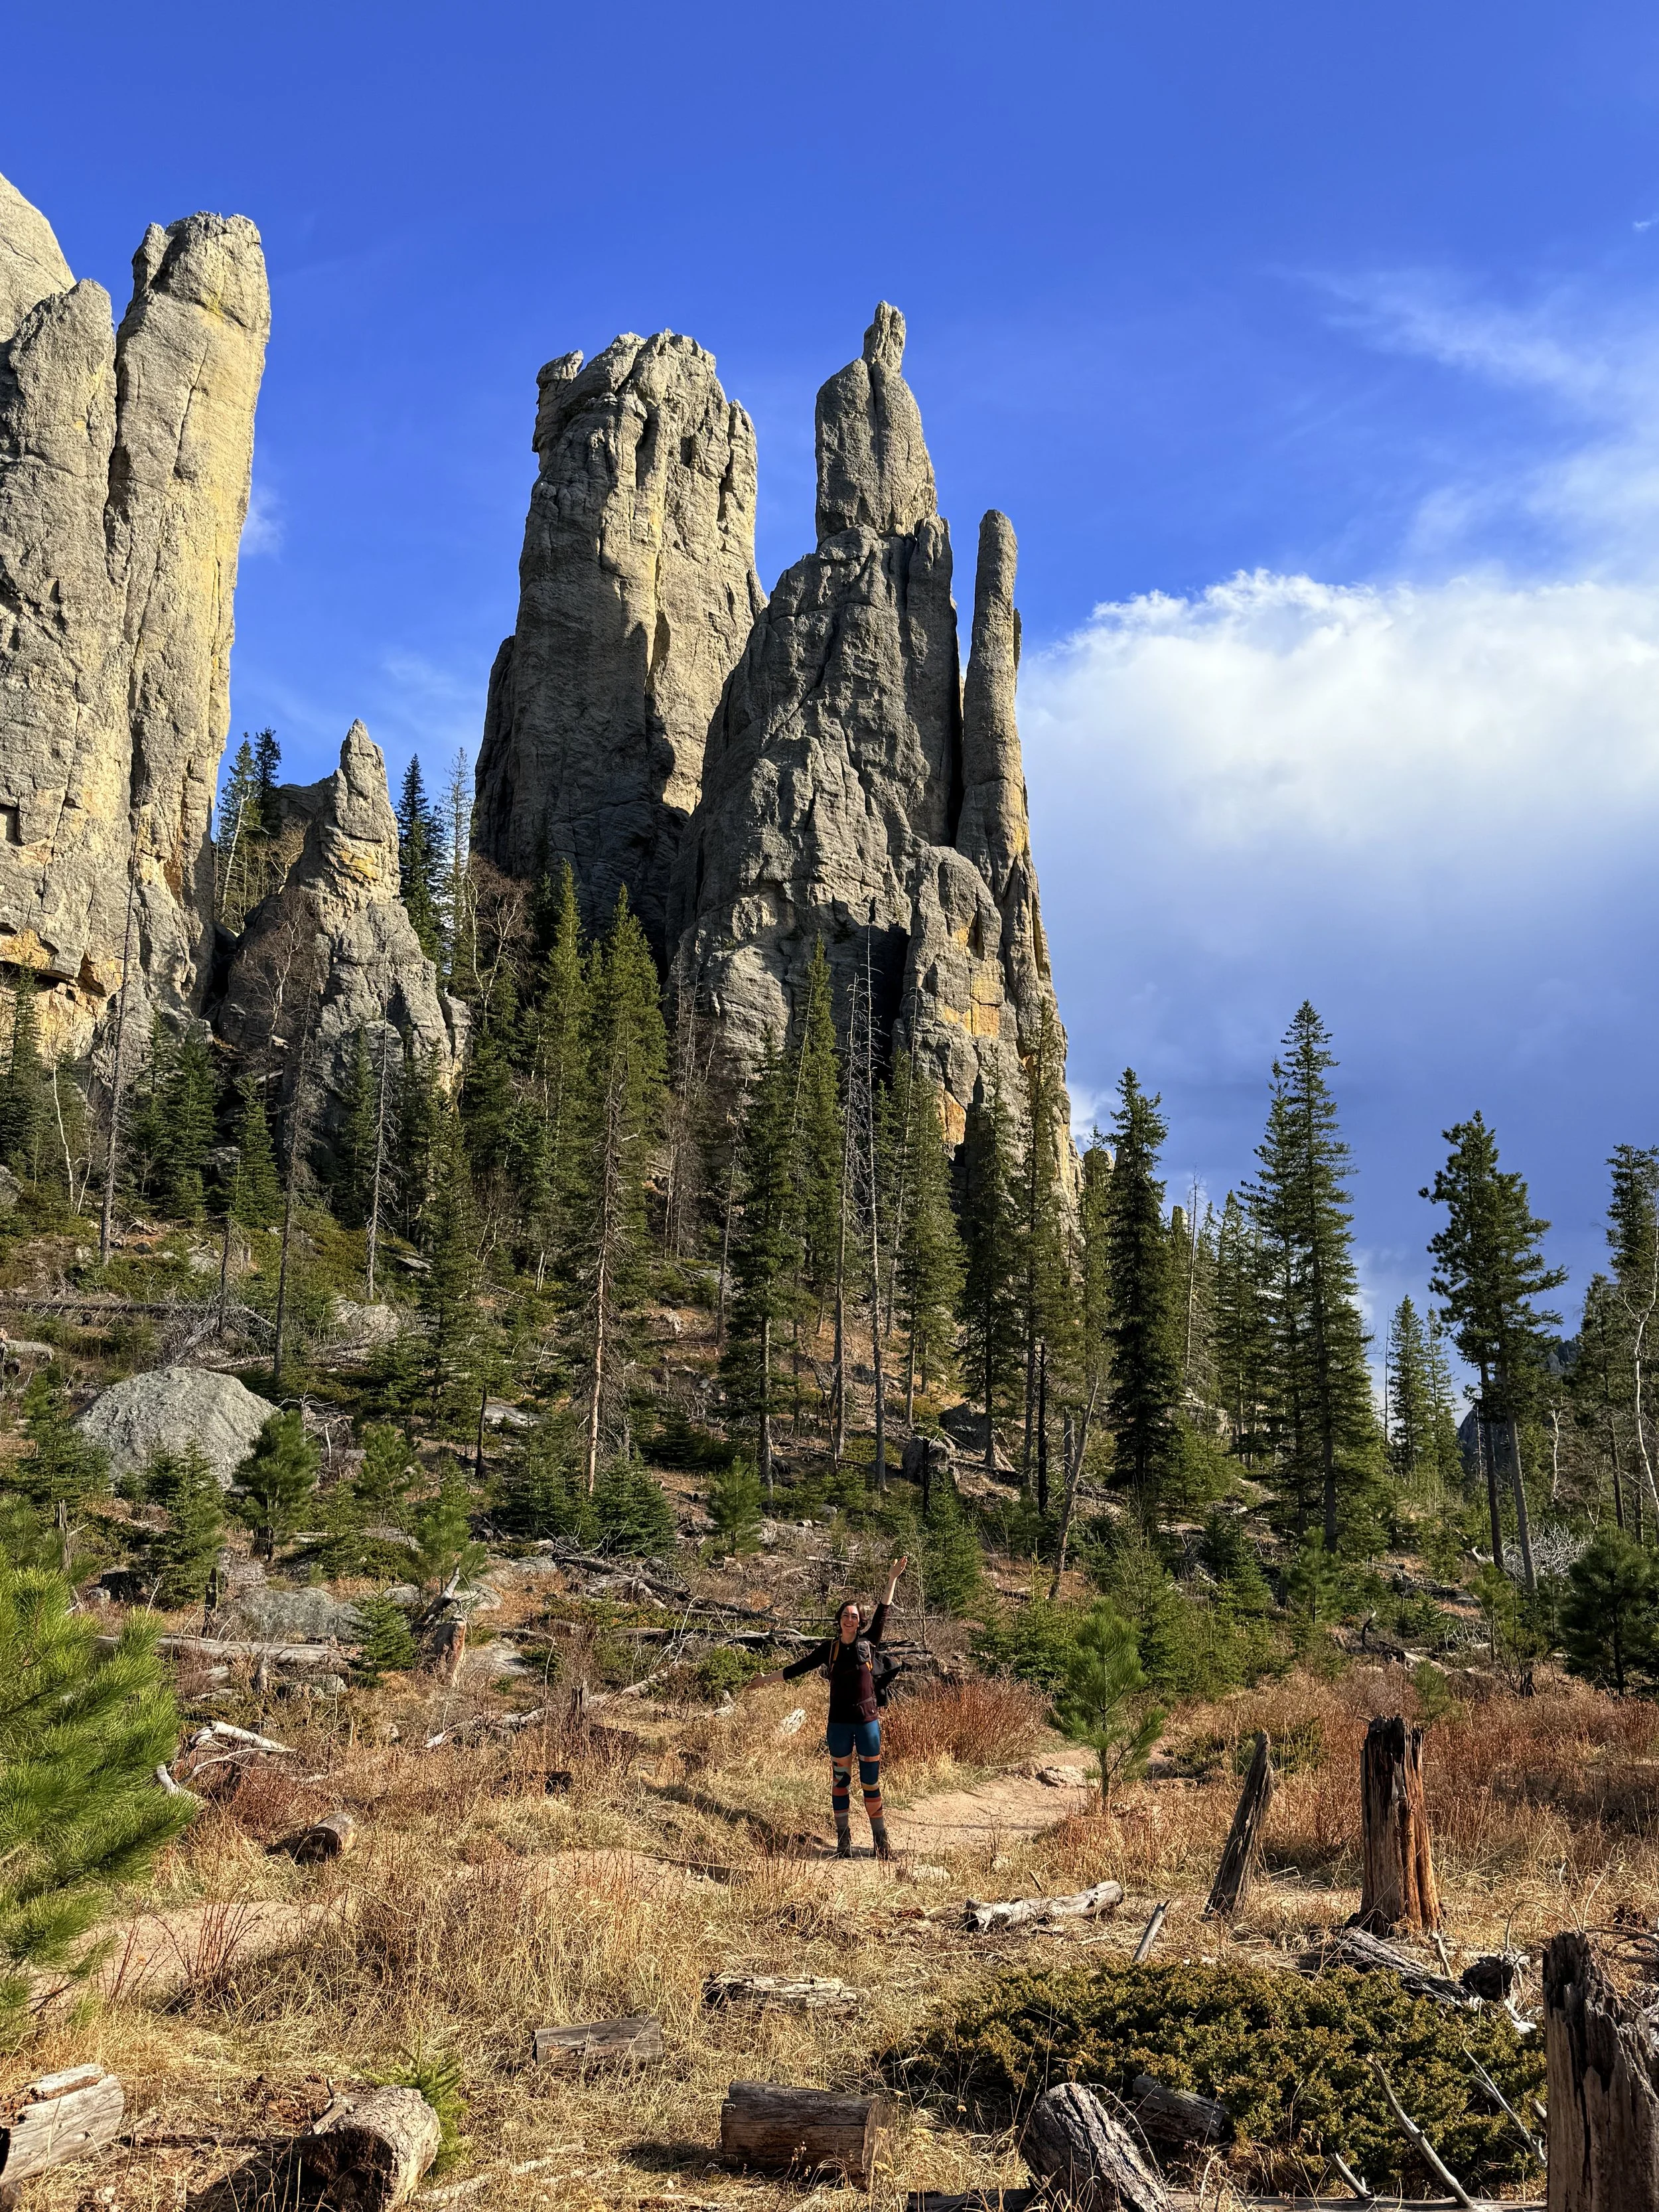
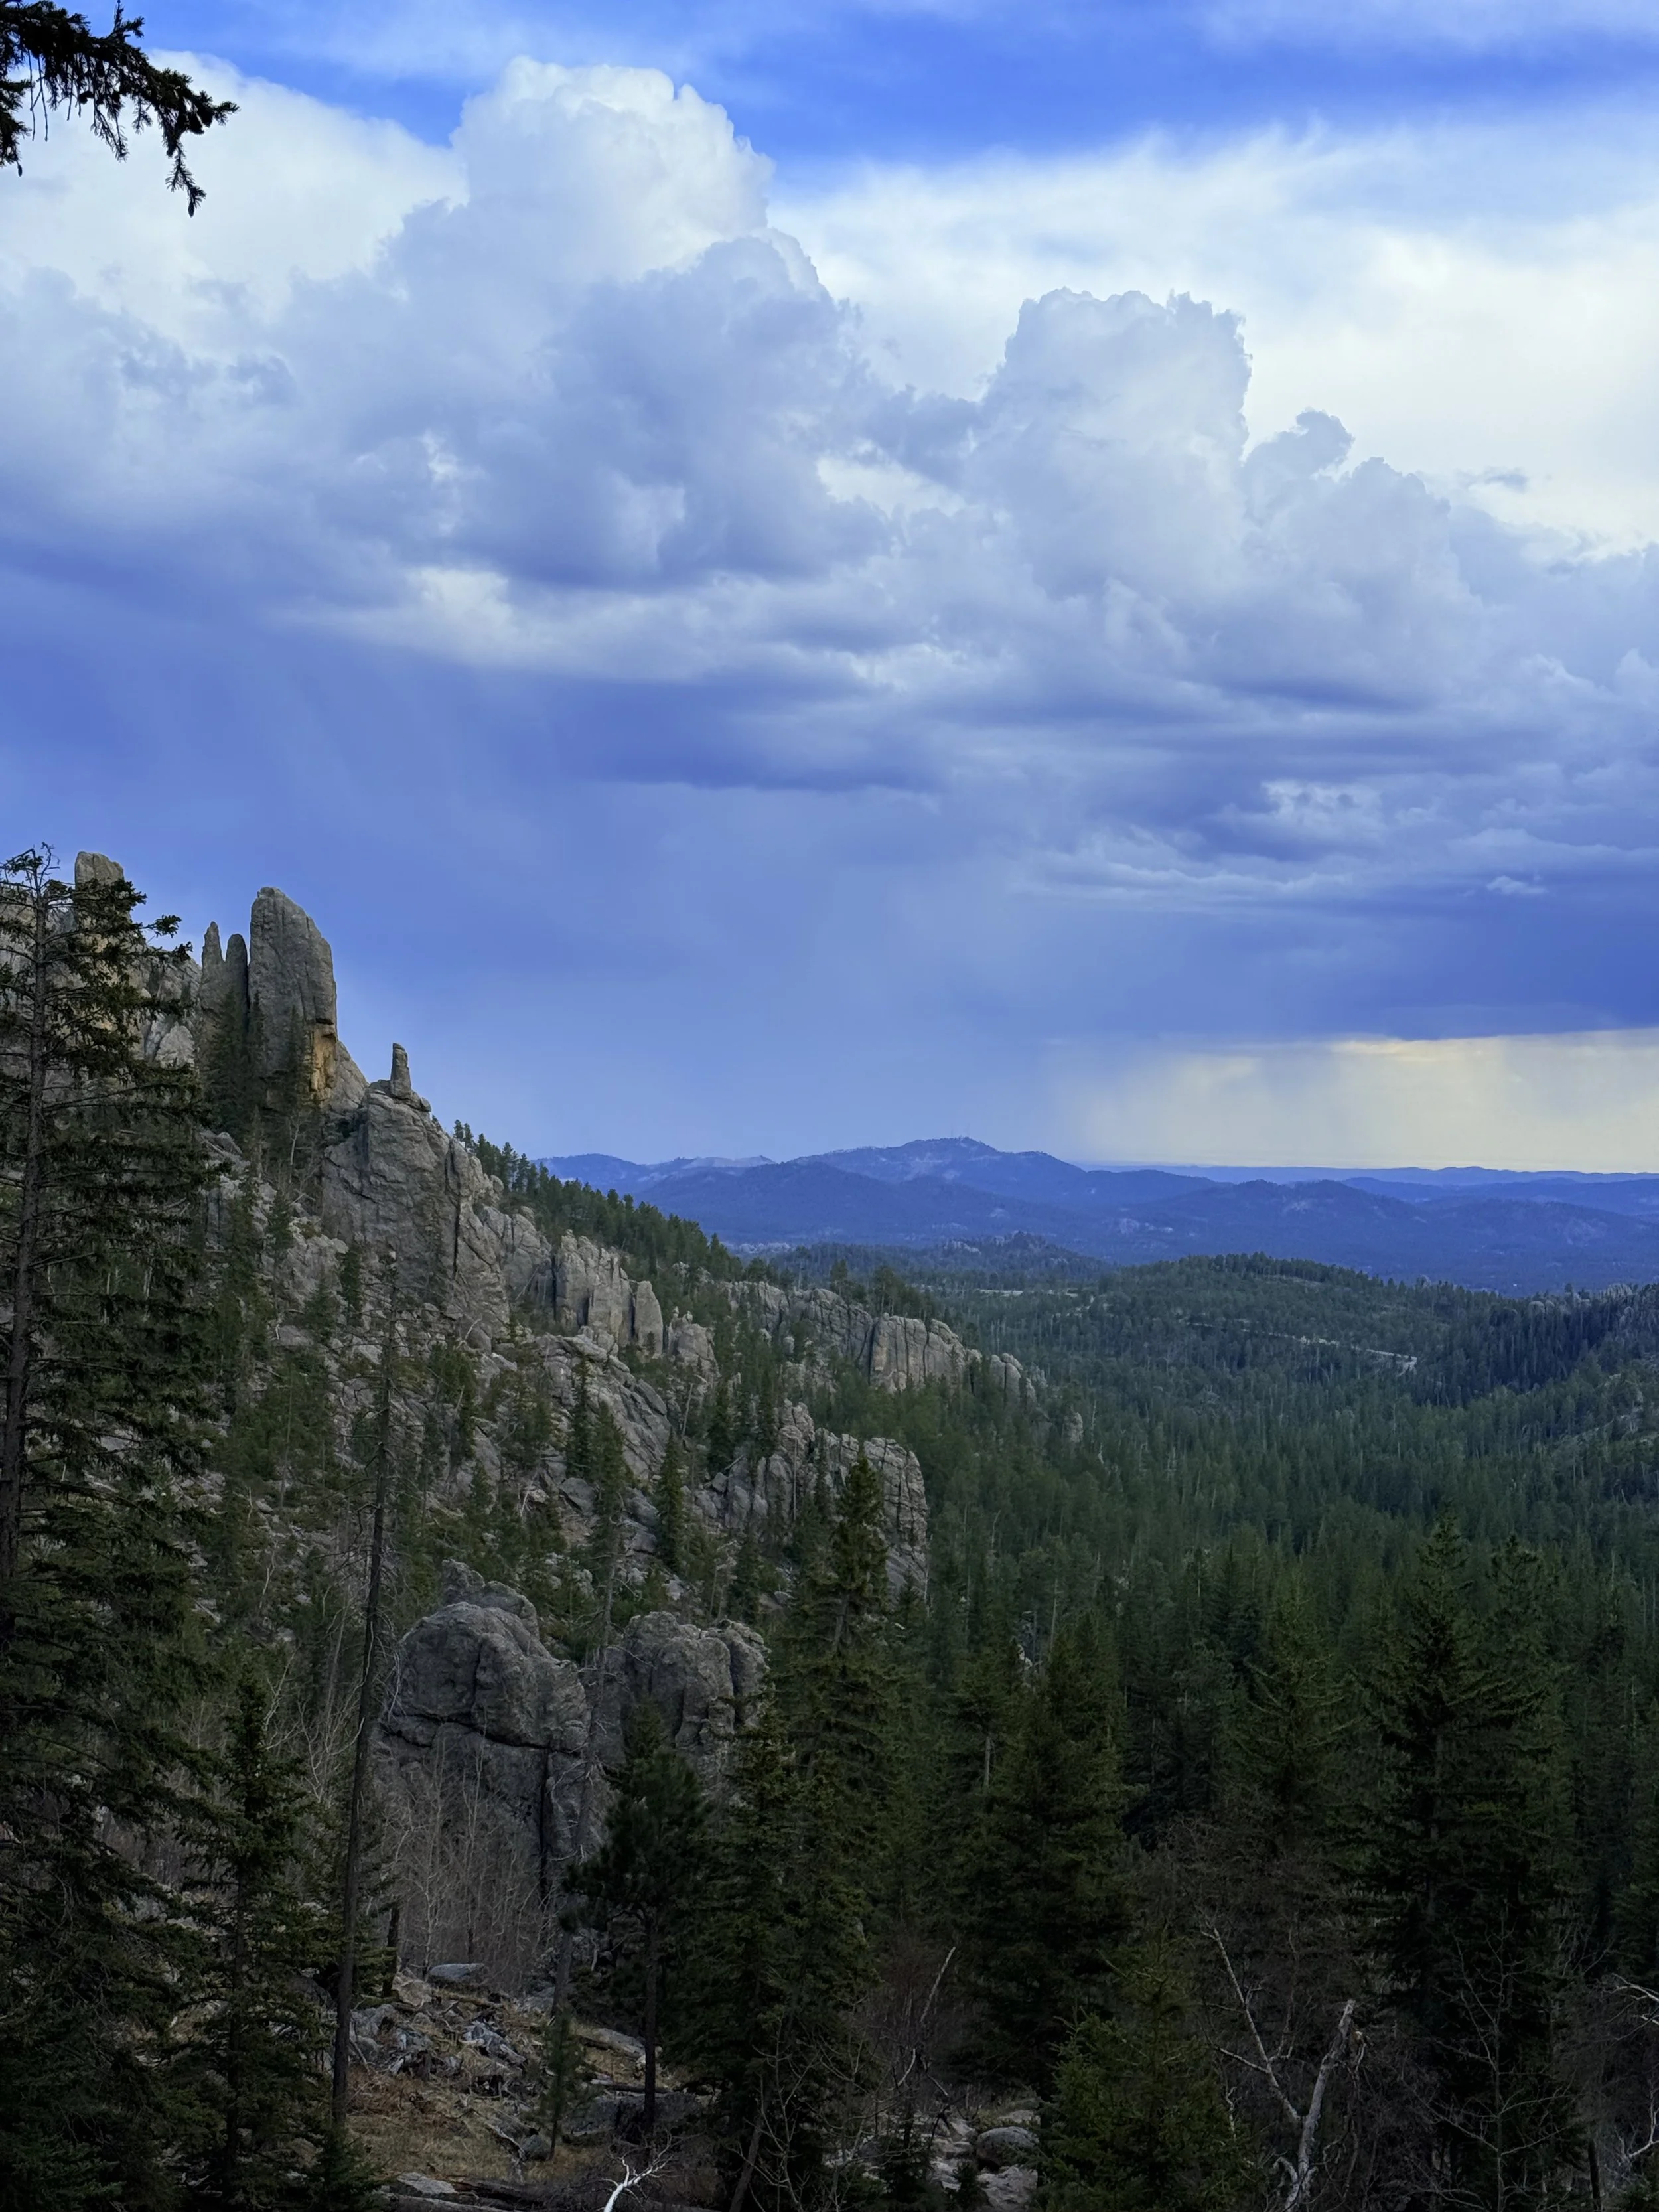
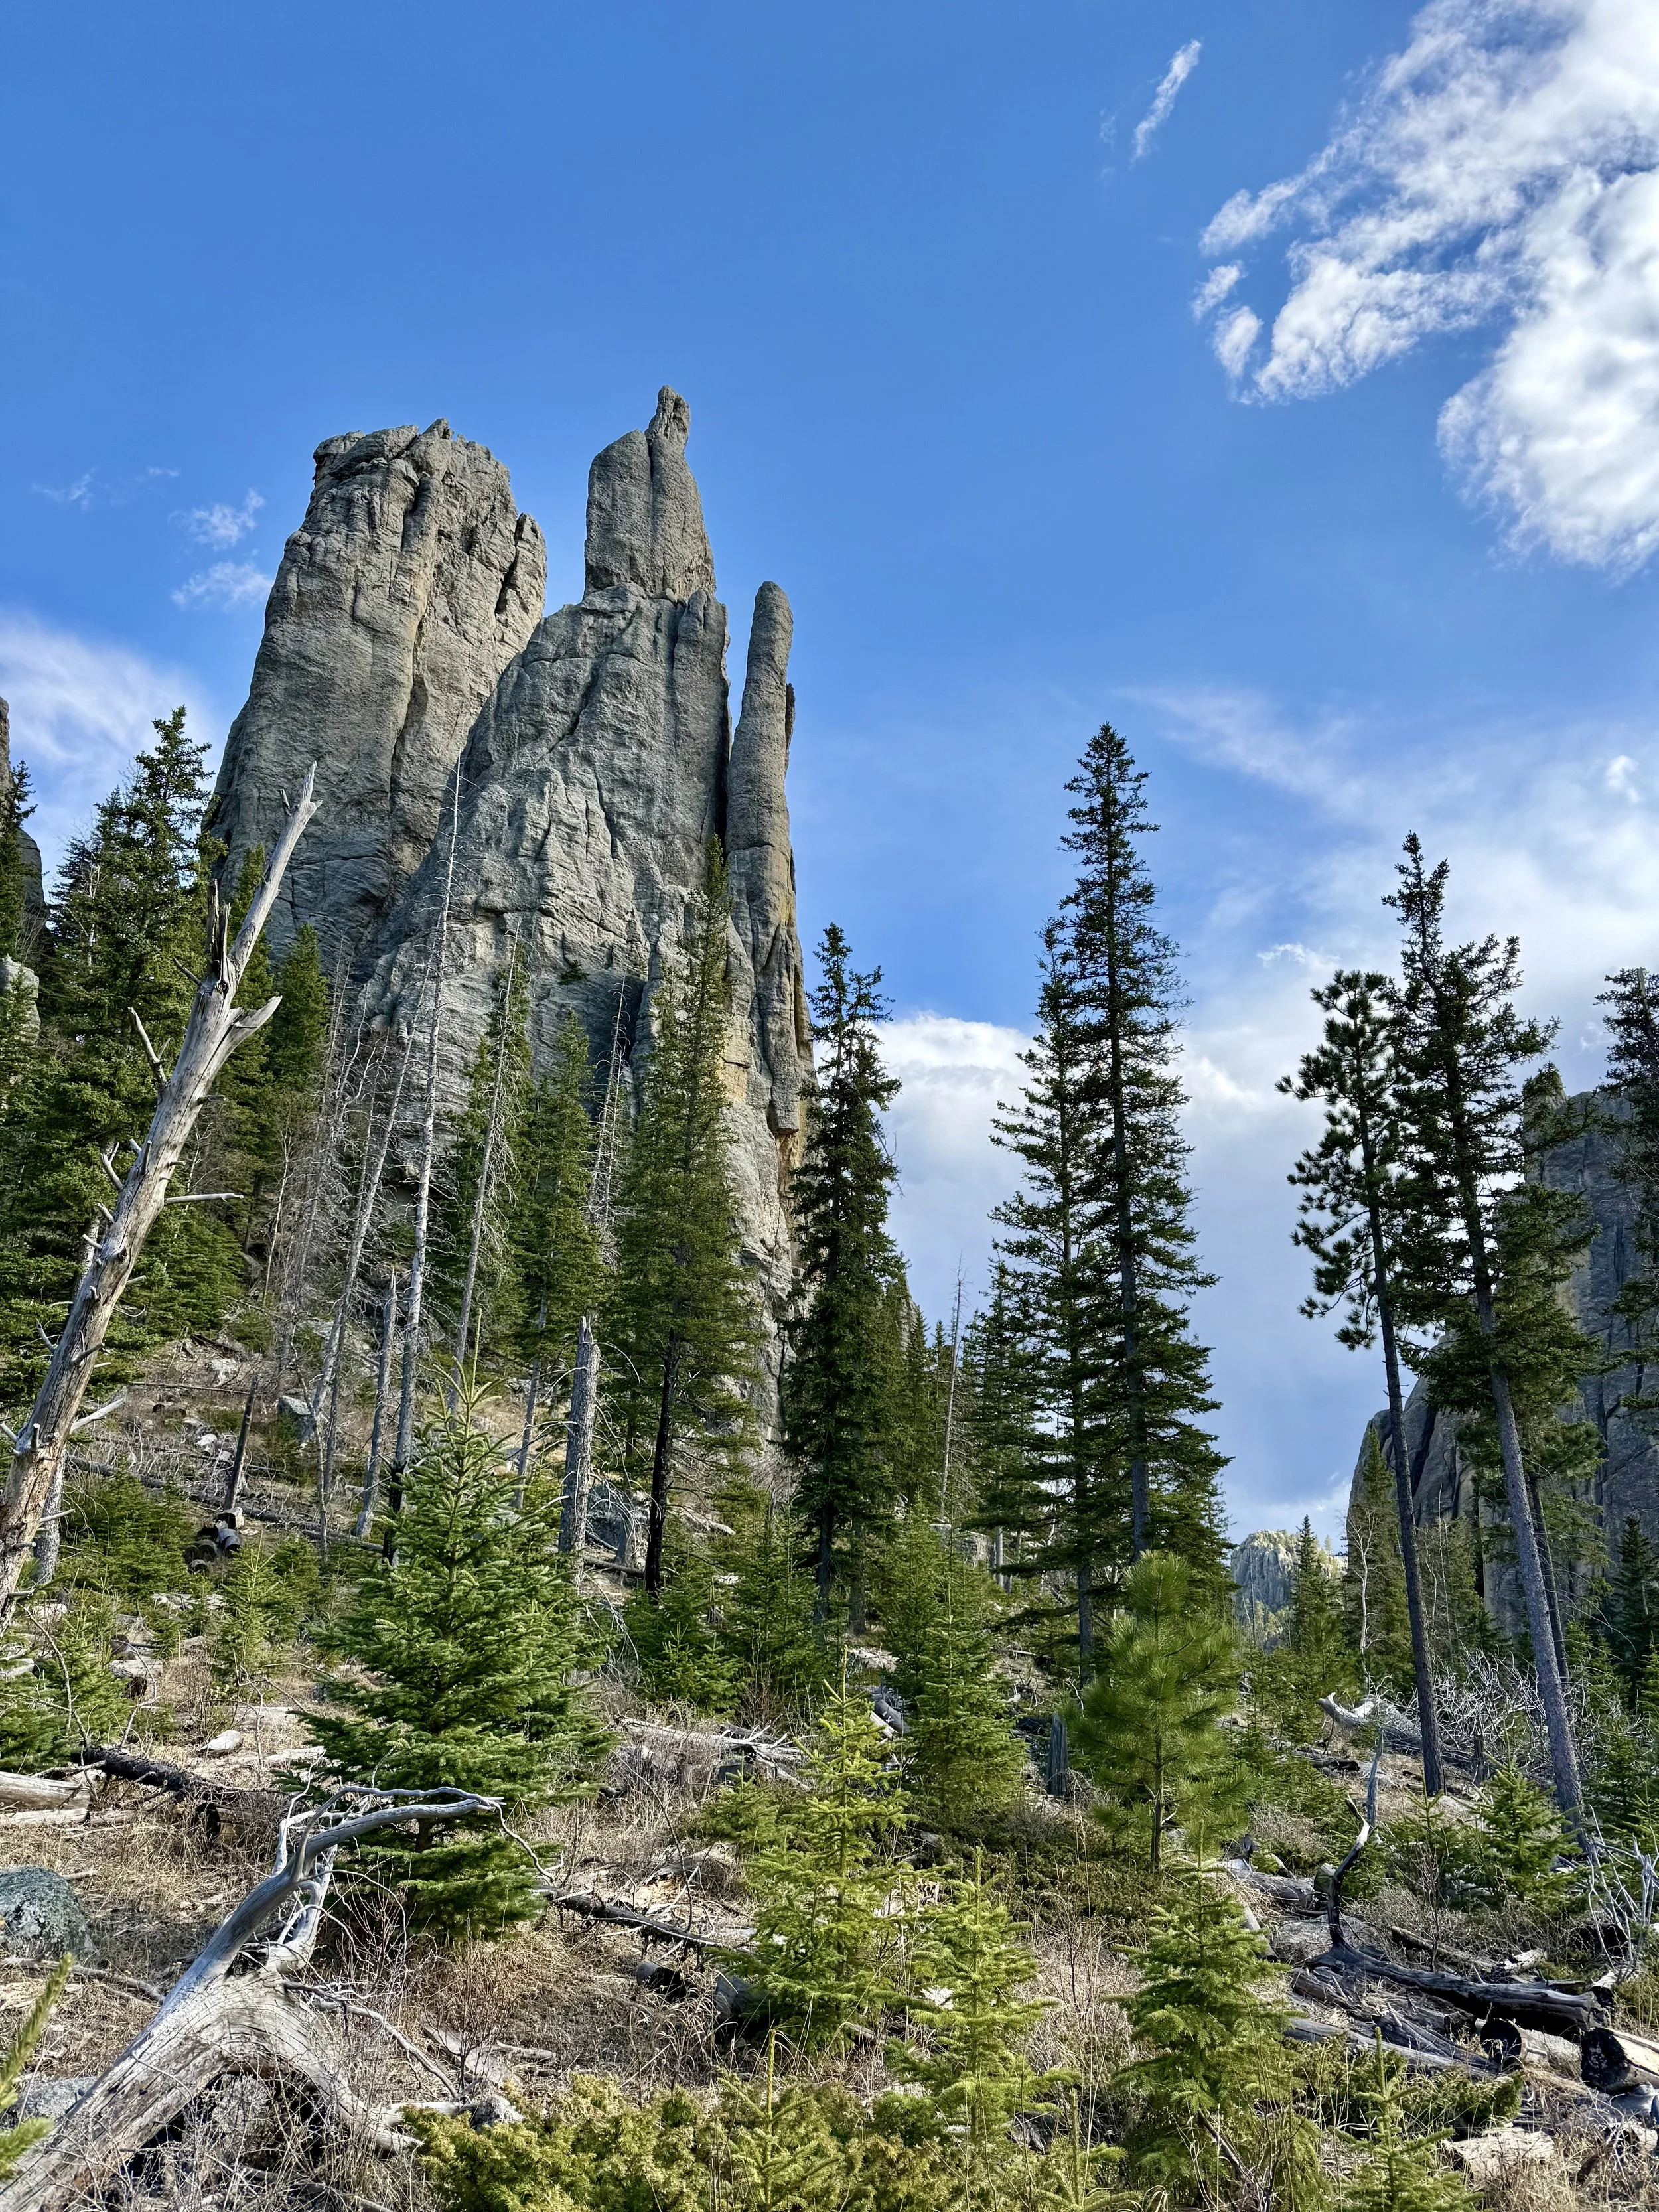
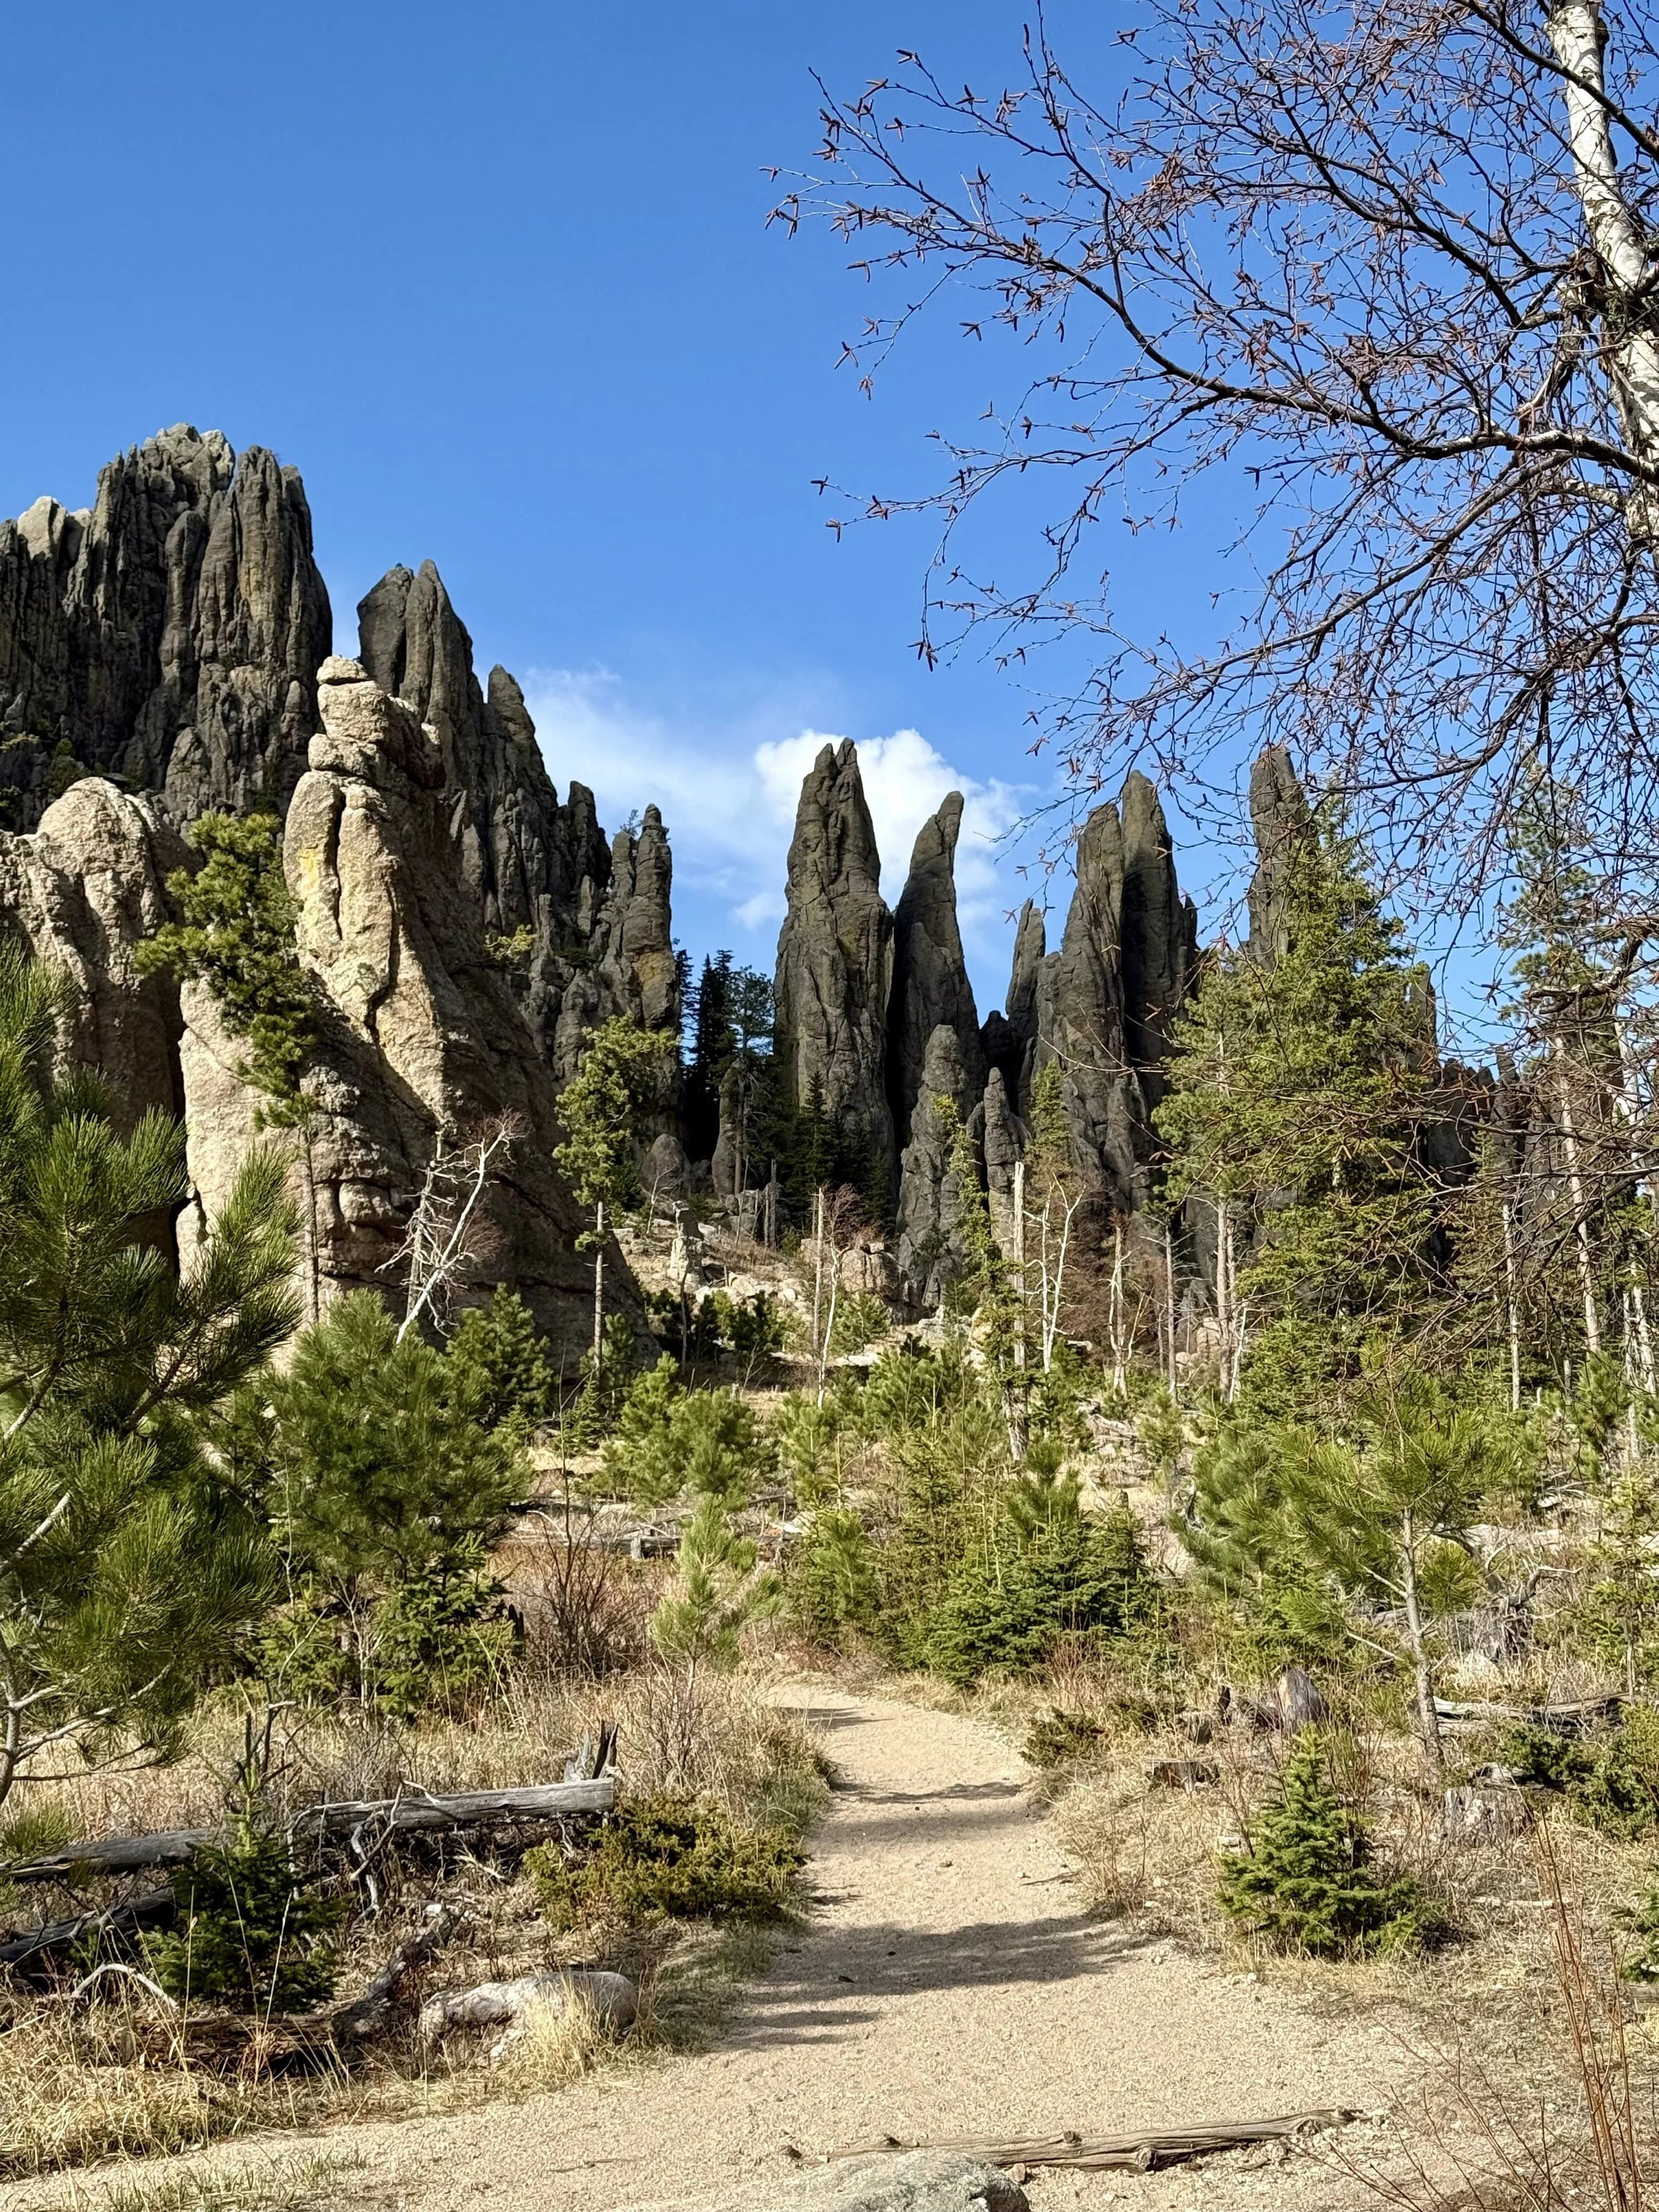
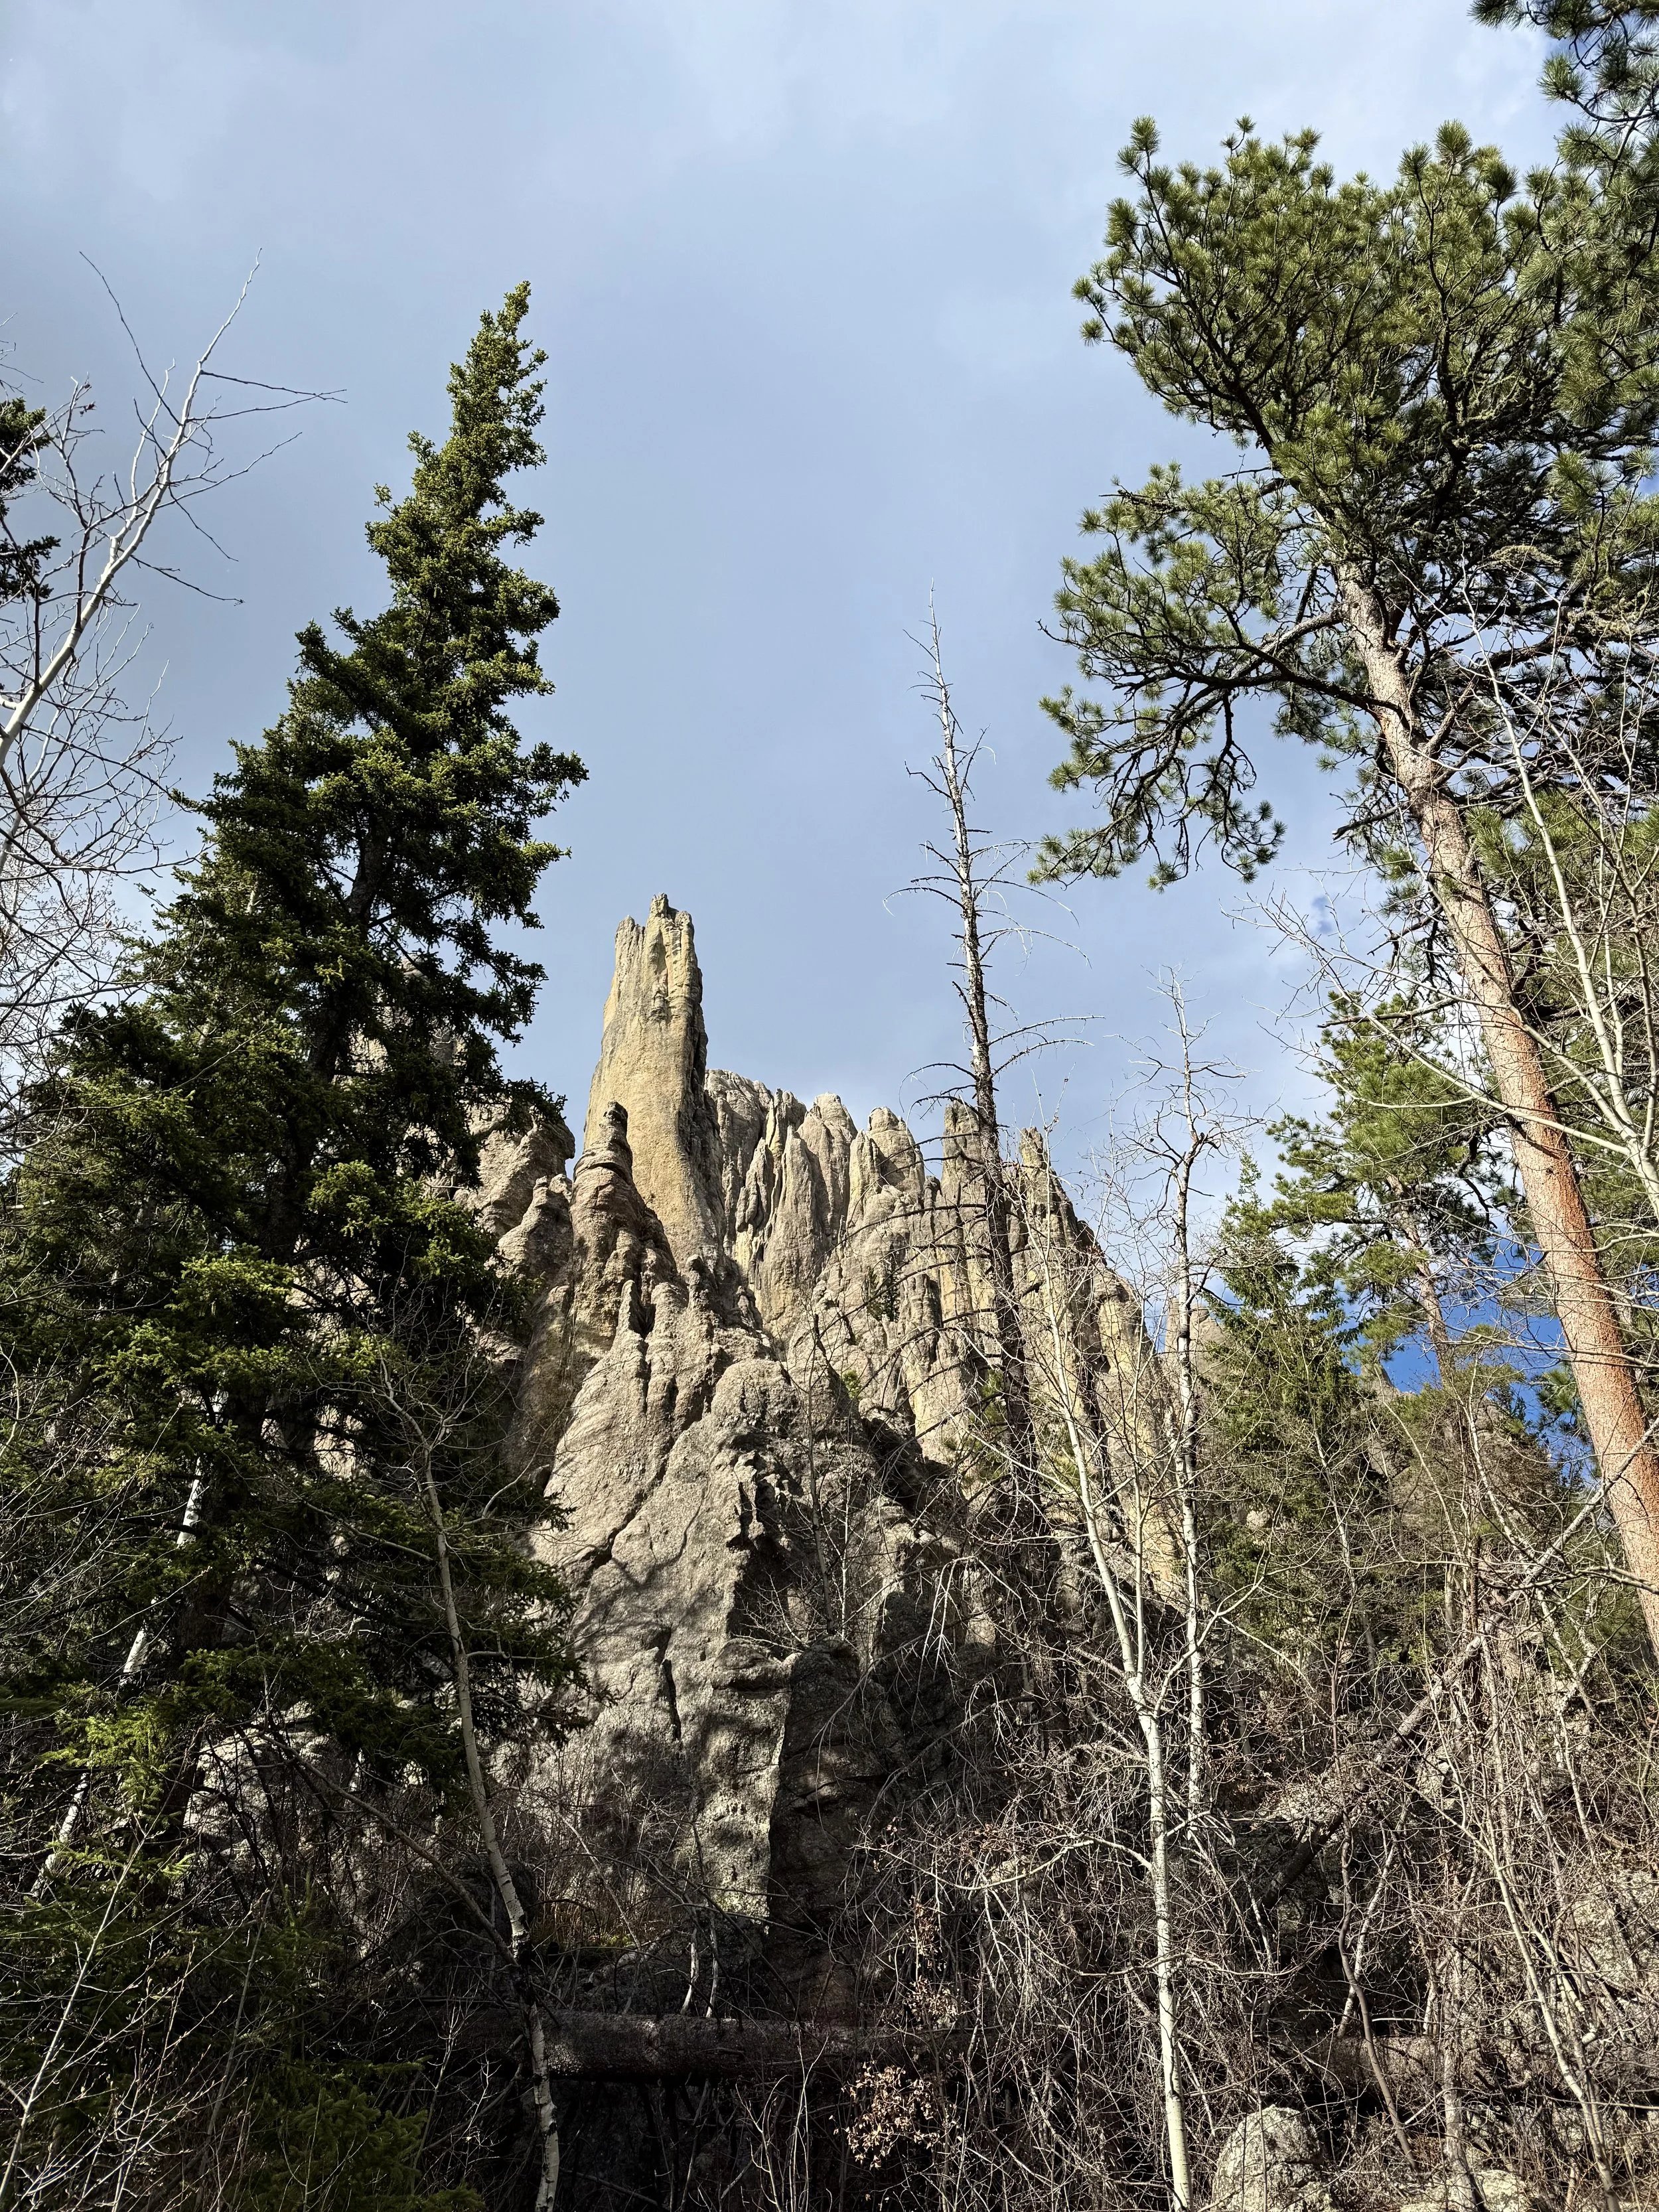

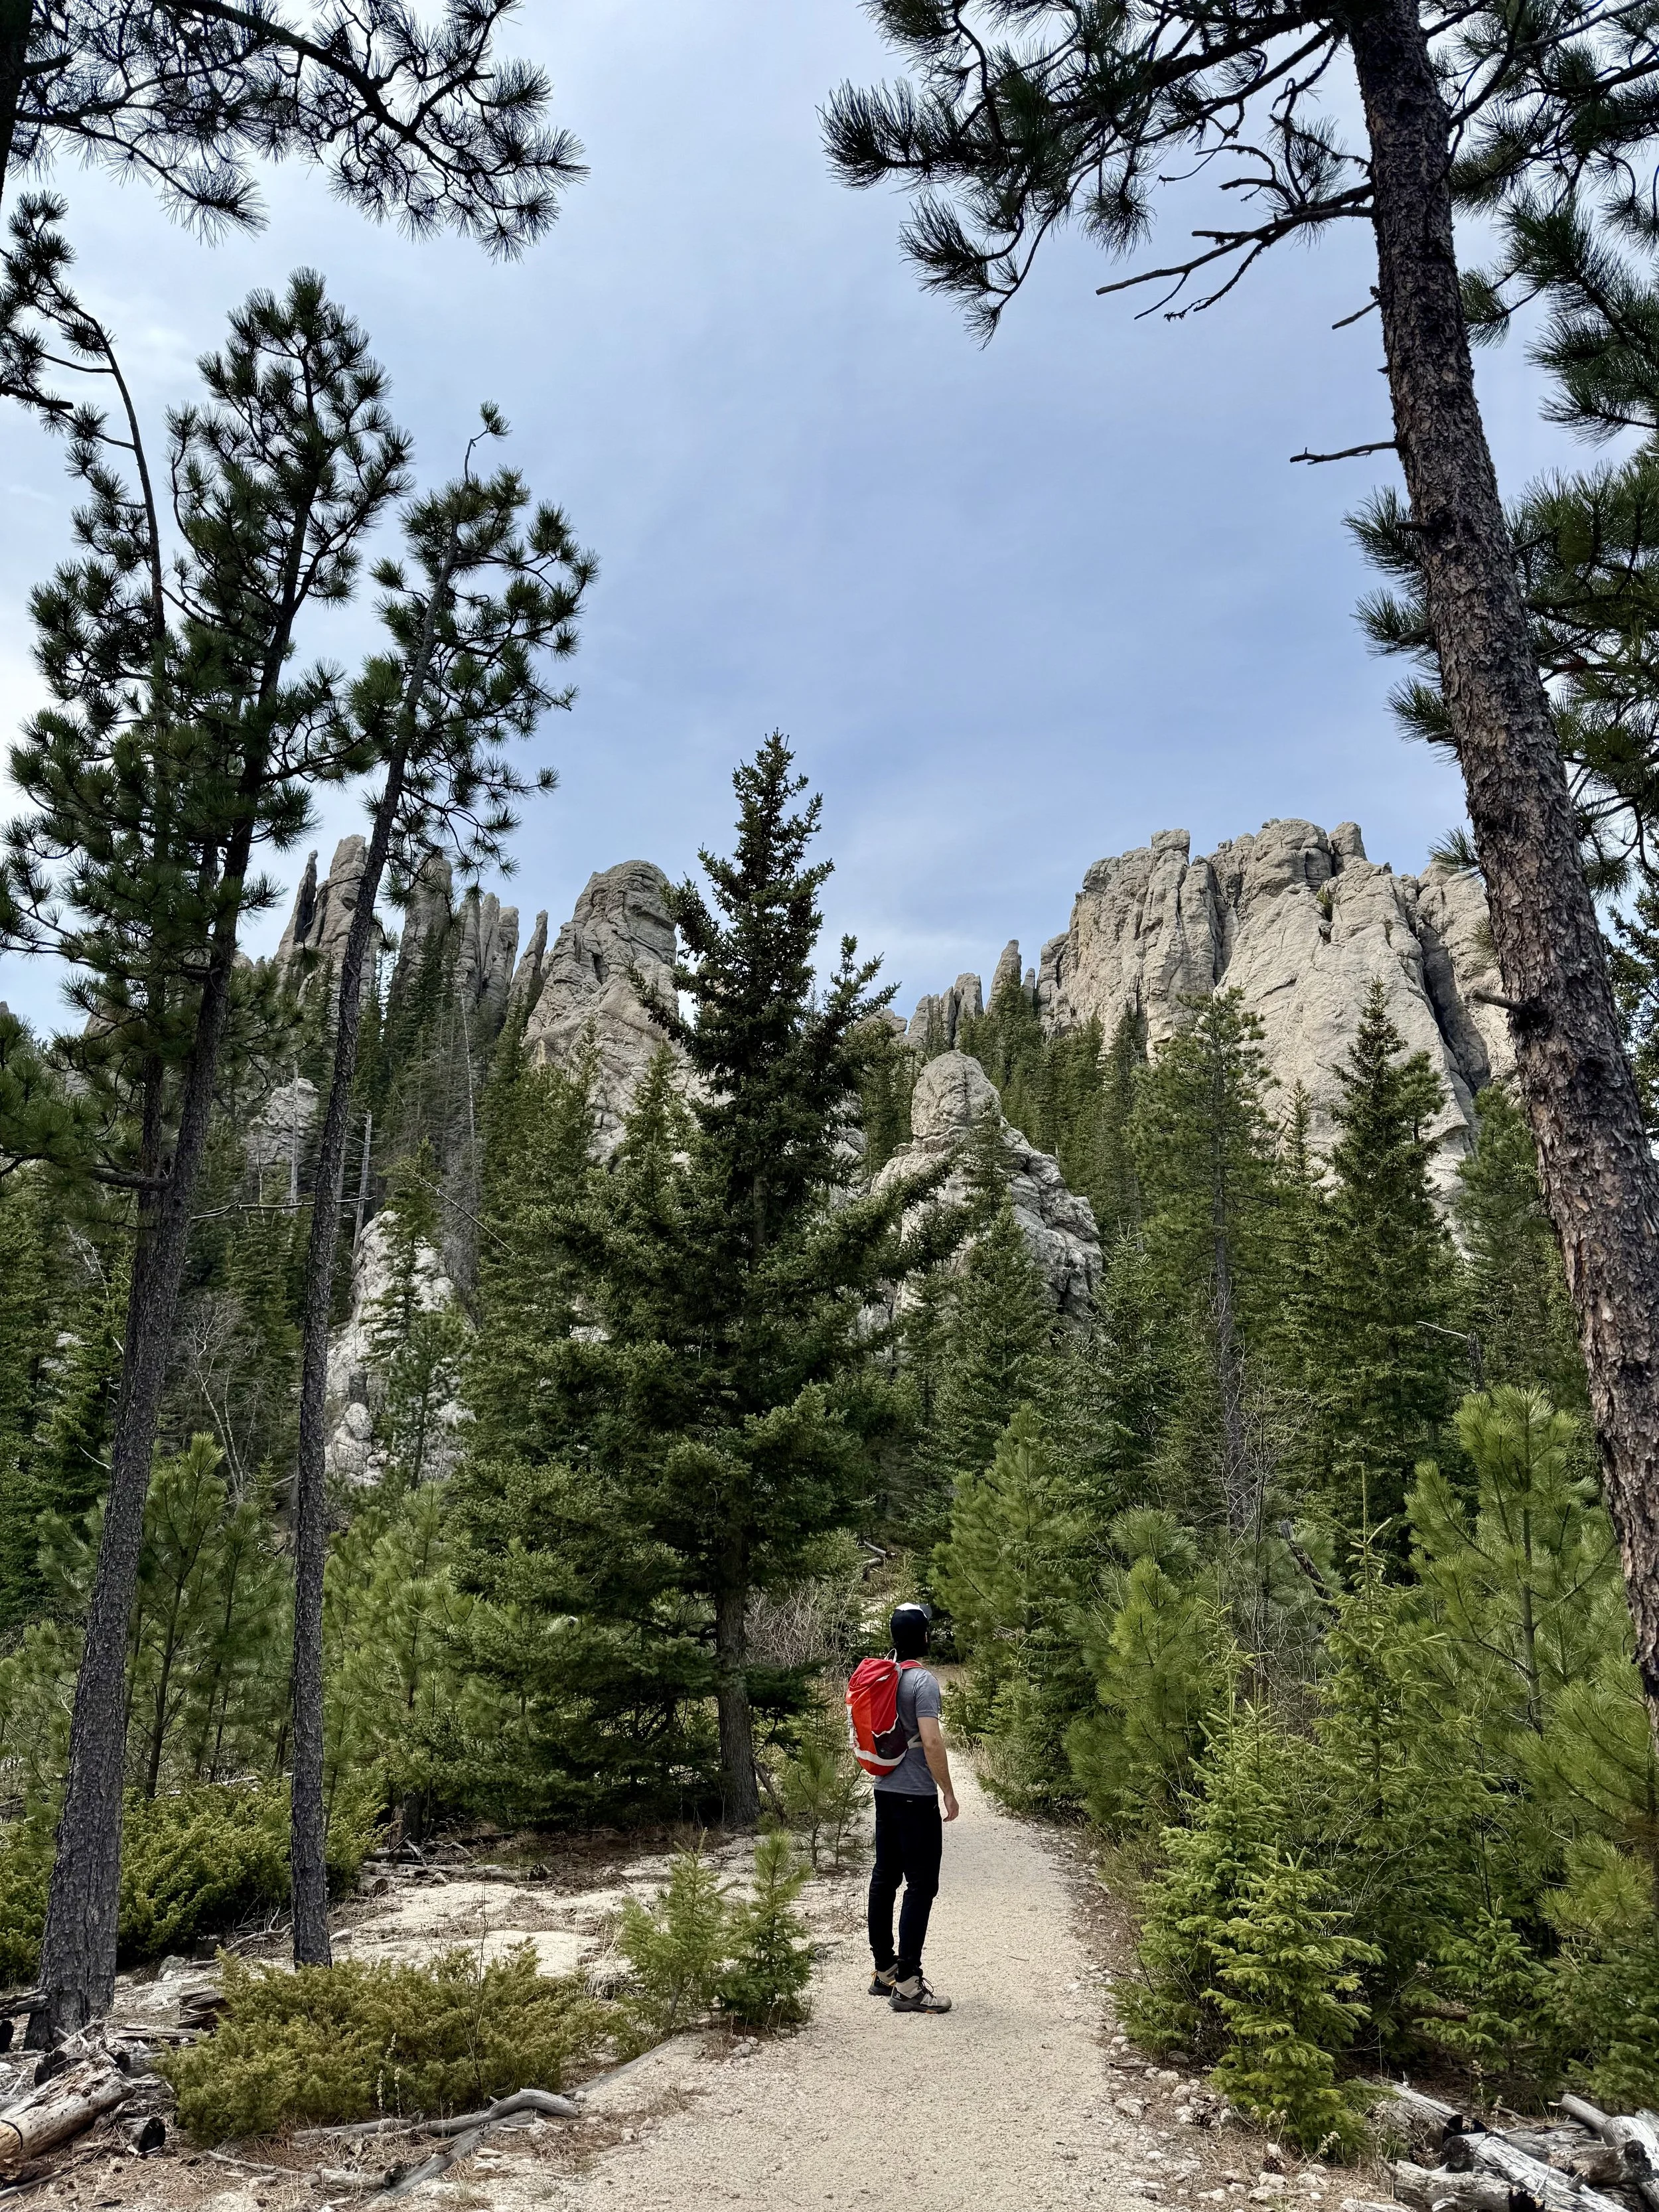
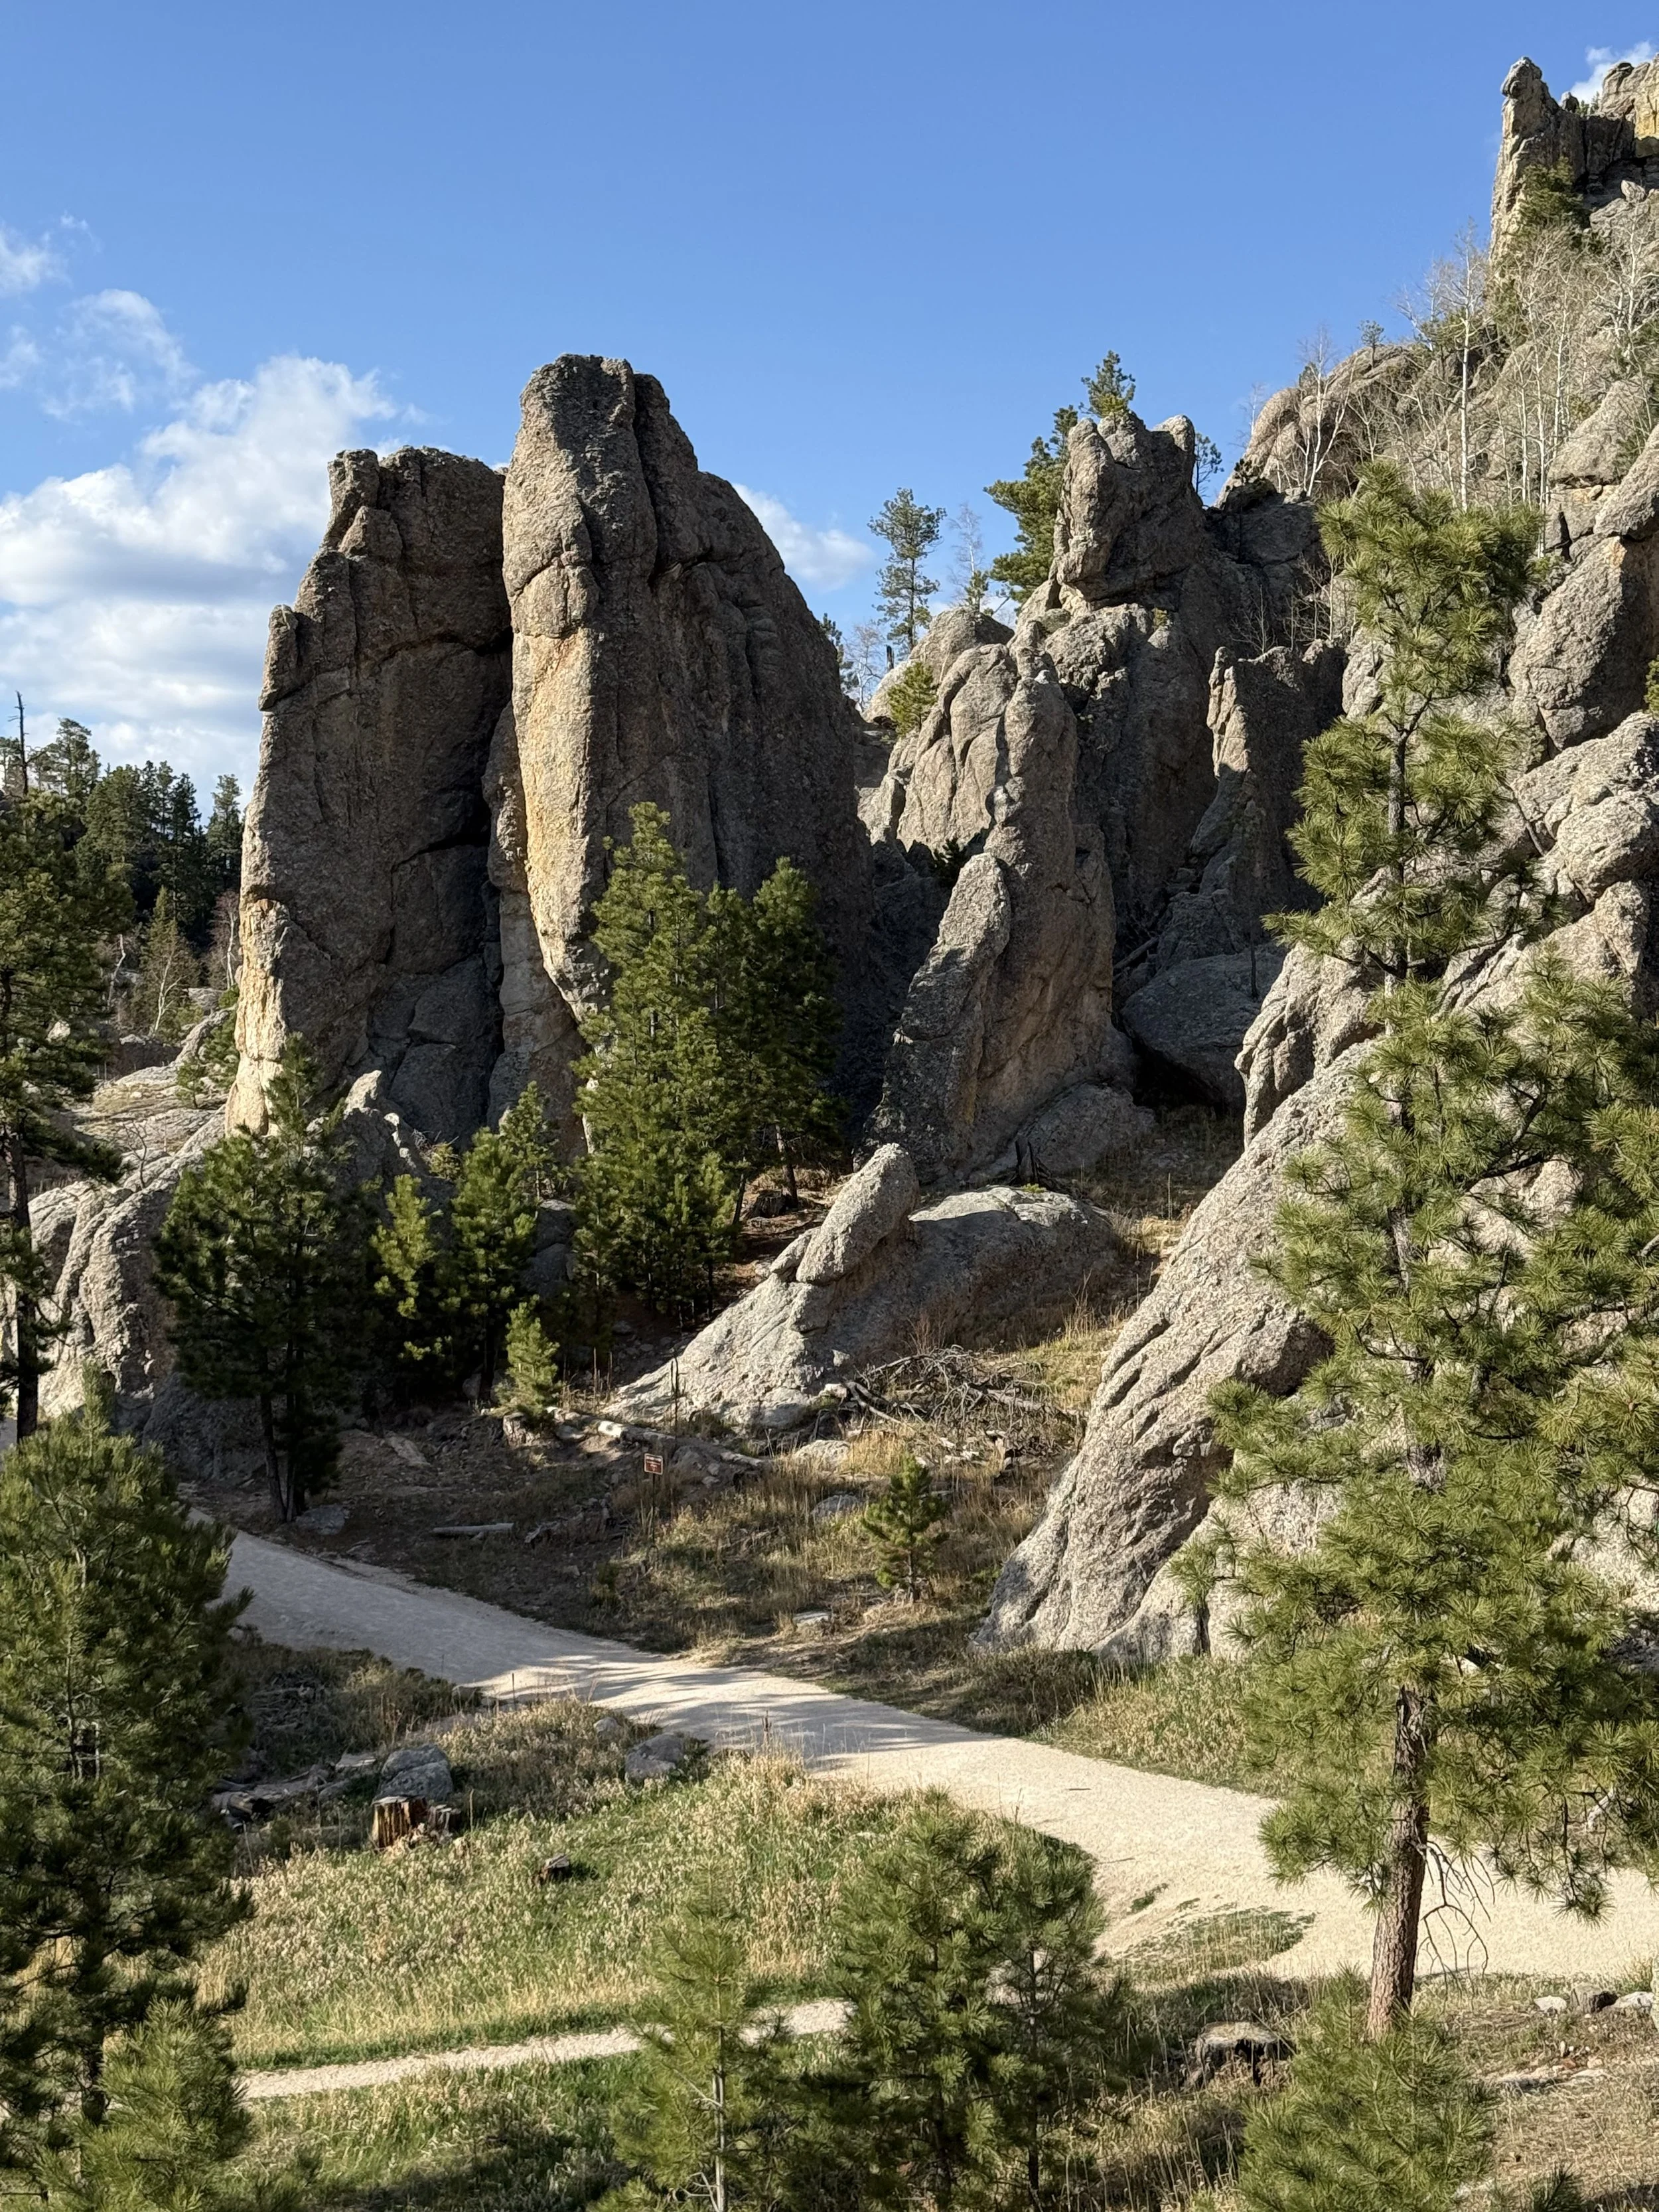
Cathedral Spires Trail
The Cathedral Spires Trail was a nice, short hike that rewarded us with stunning views. It’s about 1.9 miles and took around an hour and 15 minutes to complete. The unique rock spires reminded me of wizards in cloaks, and we scrambled over some boulders to check things out. We enjoyed lunch sitting atop one of the rocks, watching a groundhog scurry nearby. While the main viewpoint and little valley were quiet—just us for a while—we did see a few other hikers coming and going. The rain helped keep crowds down, and we somehow perfectly timed our hike between showers. Literally just as we got back to the parking lot, it started pouring.

Drive to Camp
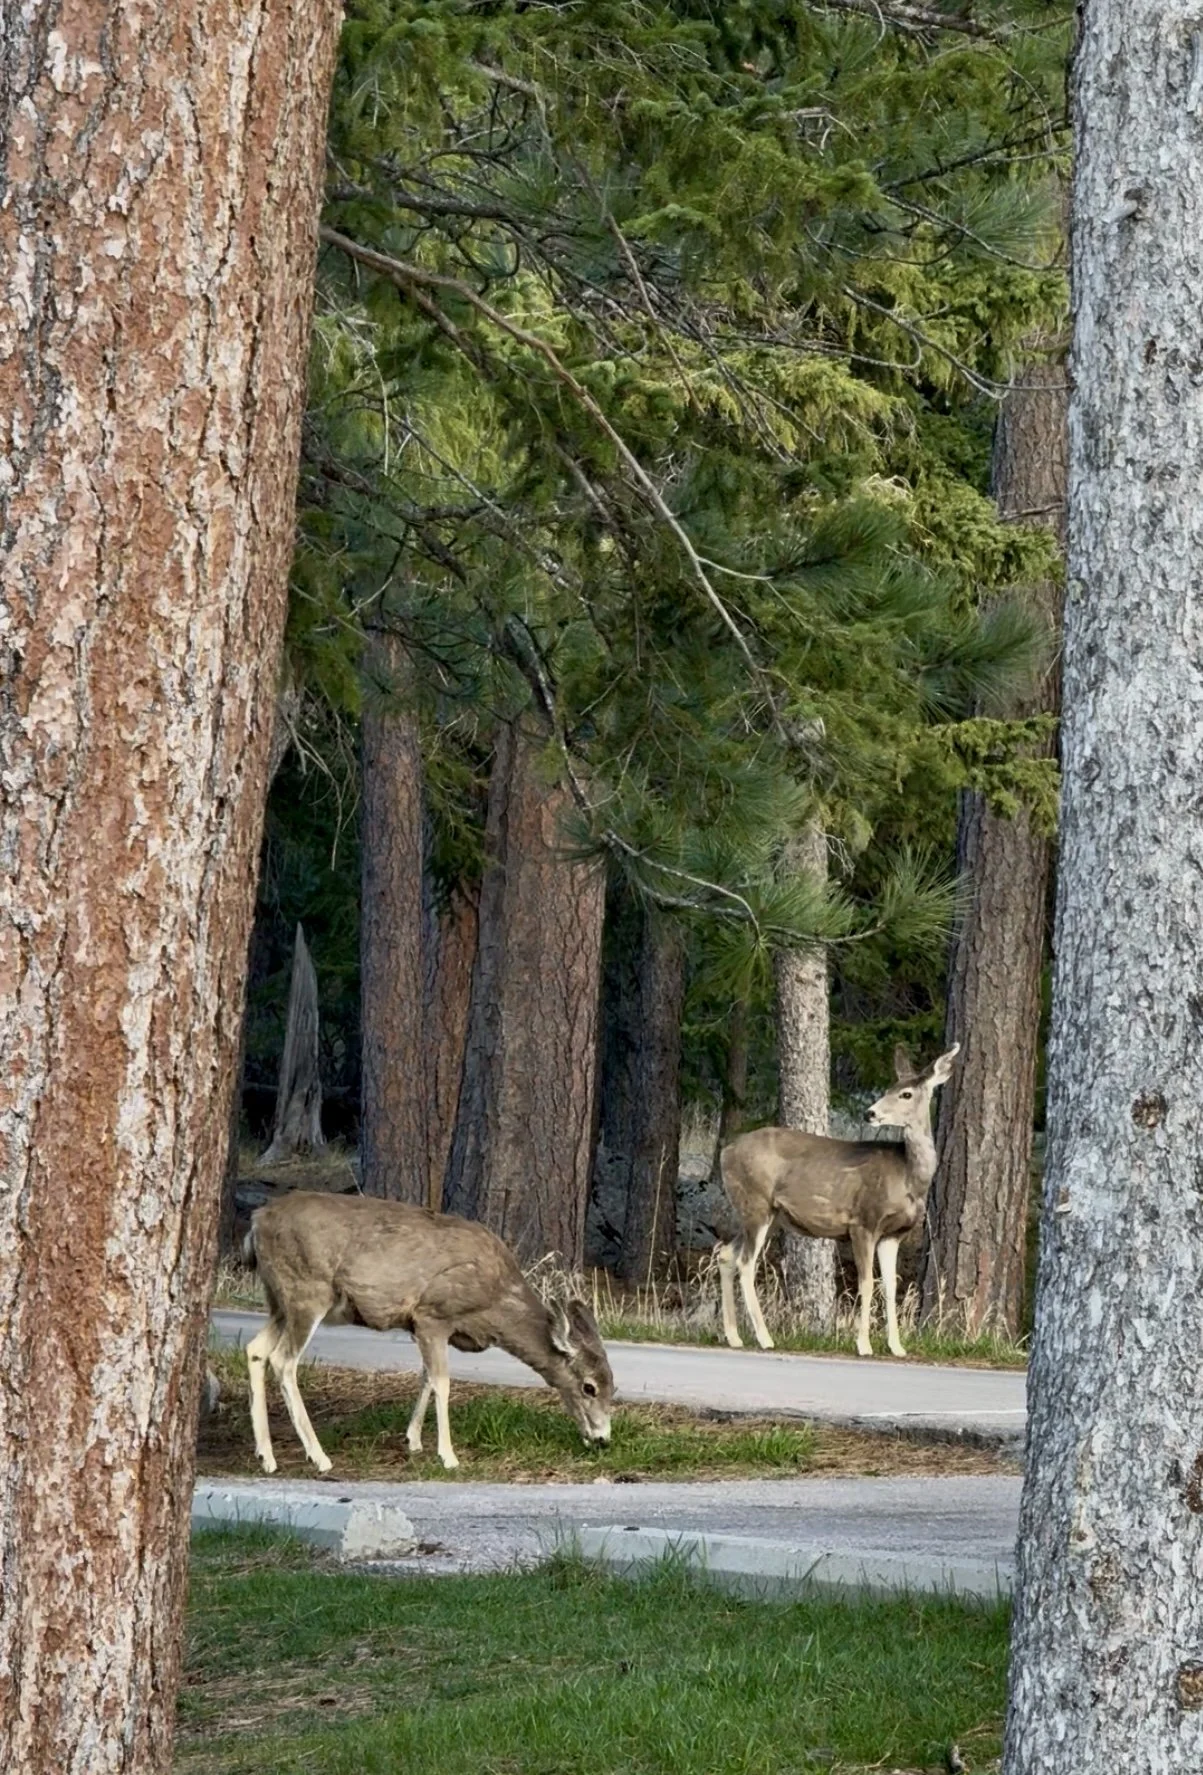
After finishing up at Cathedral Spires, we continued our drive to the campground, winding through even more of those narrow, carved-out tunnels. We spotted plenty of deer and turkeys roaming through the trees. Close to our destination, we had a bit of a scare thinking we’d popped a tire, but a quick call to Escape Campervan’s roadside assistance (who were super helpful) revealed it was just a tire pressure sensor acting up—phew! We finally rolled into camp safe and sound, and just in time for the rain to let up while we cooked a yummy yellow chicken curry for dinner.
Where to stay in Custer State Park: Blue Bell Campground
We stayed at Blue Bell Campground in Custer State Park, tucked in a beautiful wooded area. Our site was 17E and cost $23 a night. By the time we booked it, availability was limited so we didn’t have many options. We’d definitely recommend a different site if you’re in a campervan. It had a bit of an incline, which made backing in a bit of a puzzle each time, but it was manageable. The campground had great, free shower facilities (which we ironically never ended up using), a potable water fill, and a dump station. The only downside was the lack of a dishwashing station, but overall it was a solid spot to call home for a couple of nights.
Day 5
〰️
Day 5 〰️
Day 5 South Dakota Parks Itinerary:
Exploring Wind Cave (and Jewel Cave)


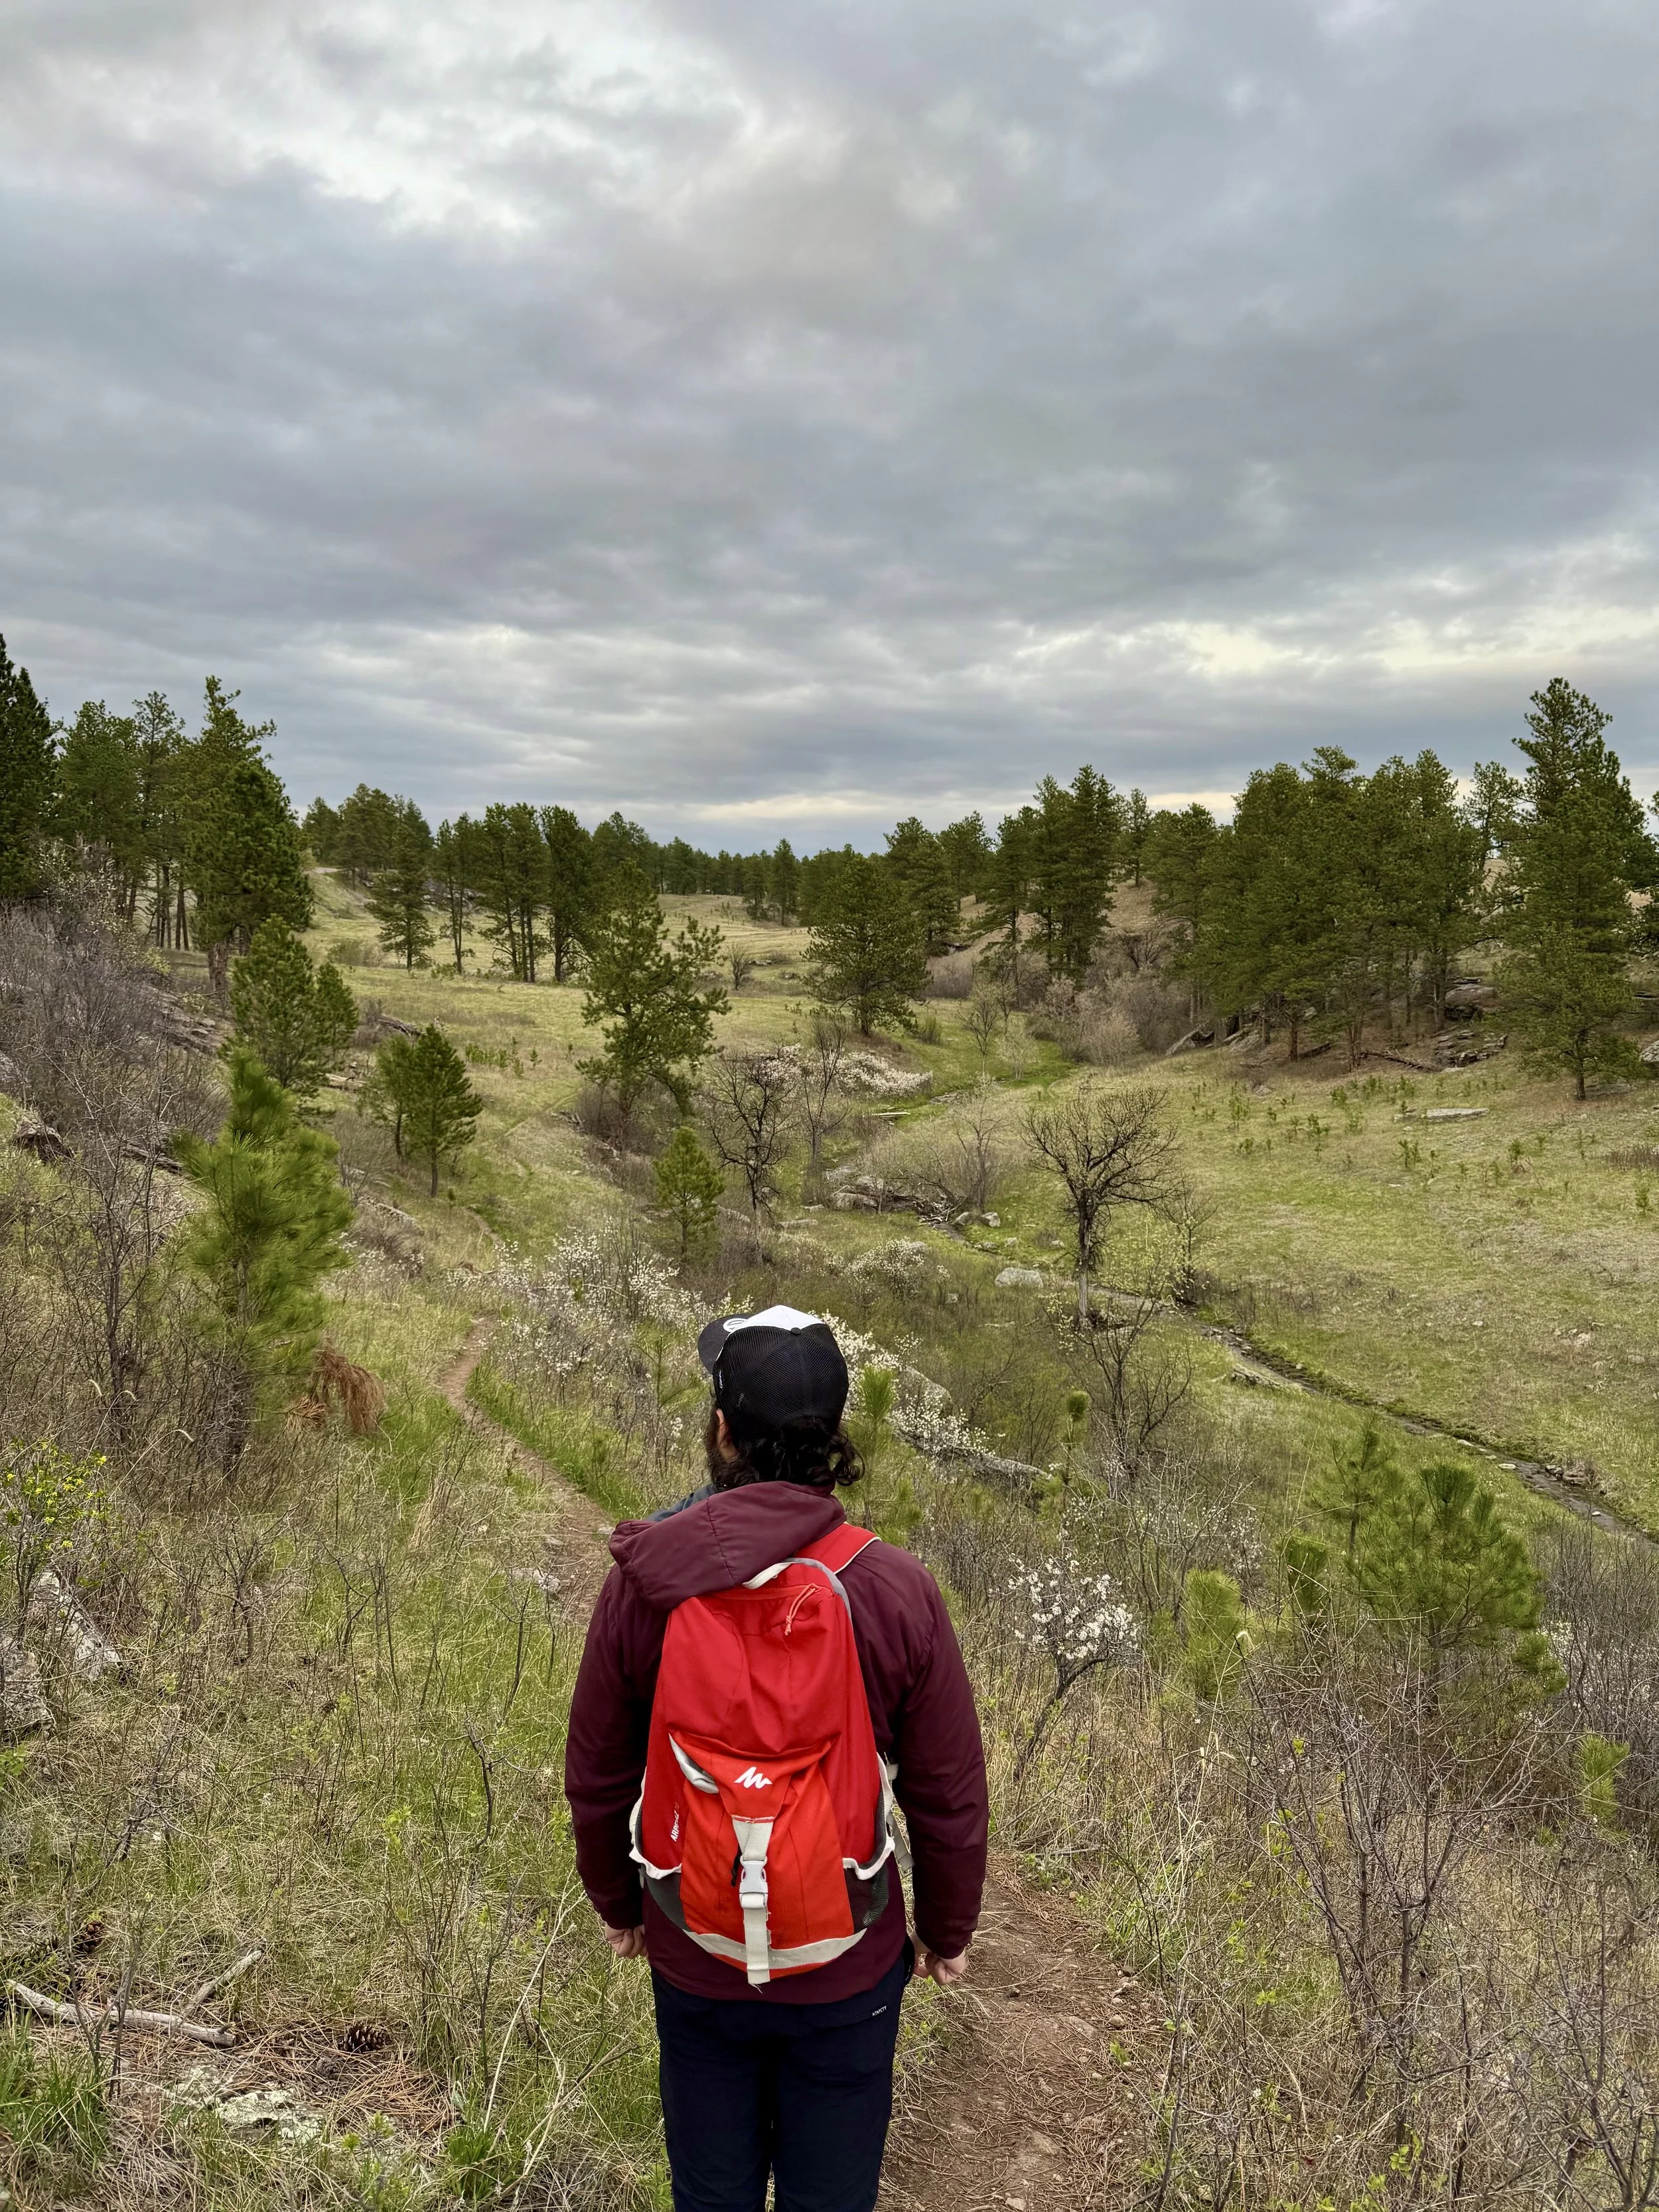
Wind Cave National Park
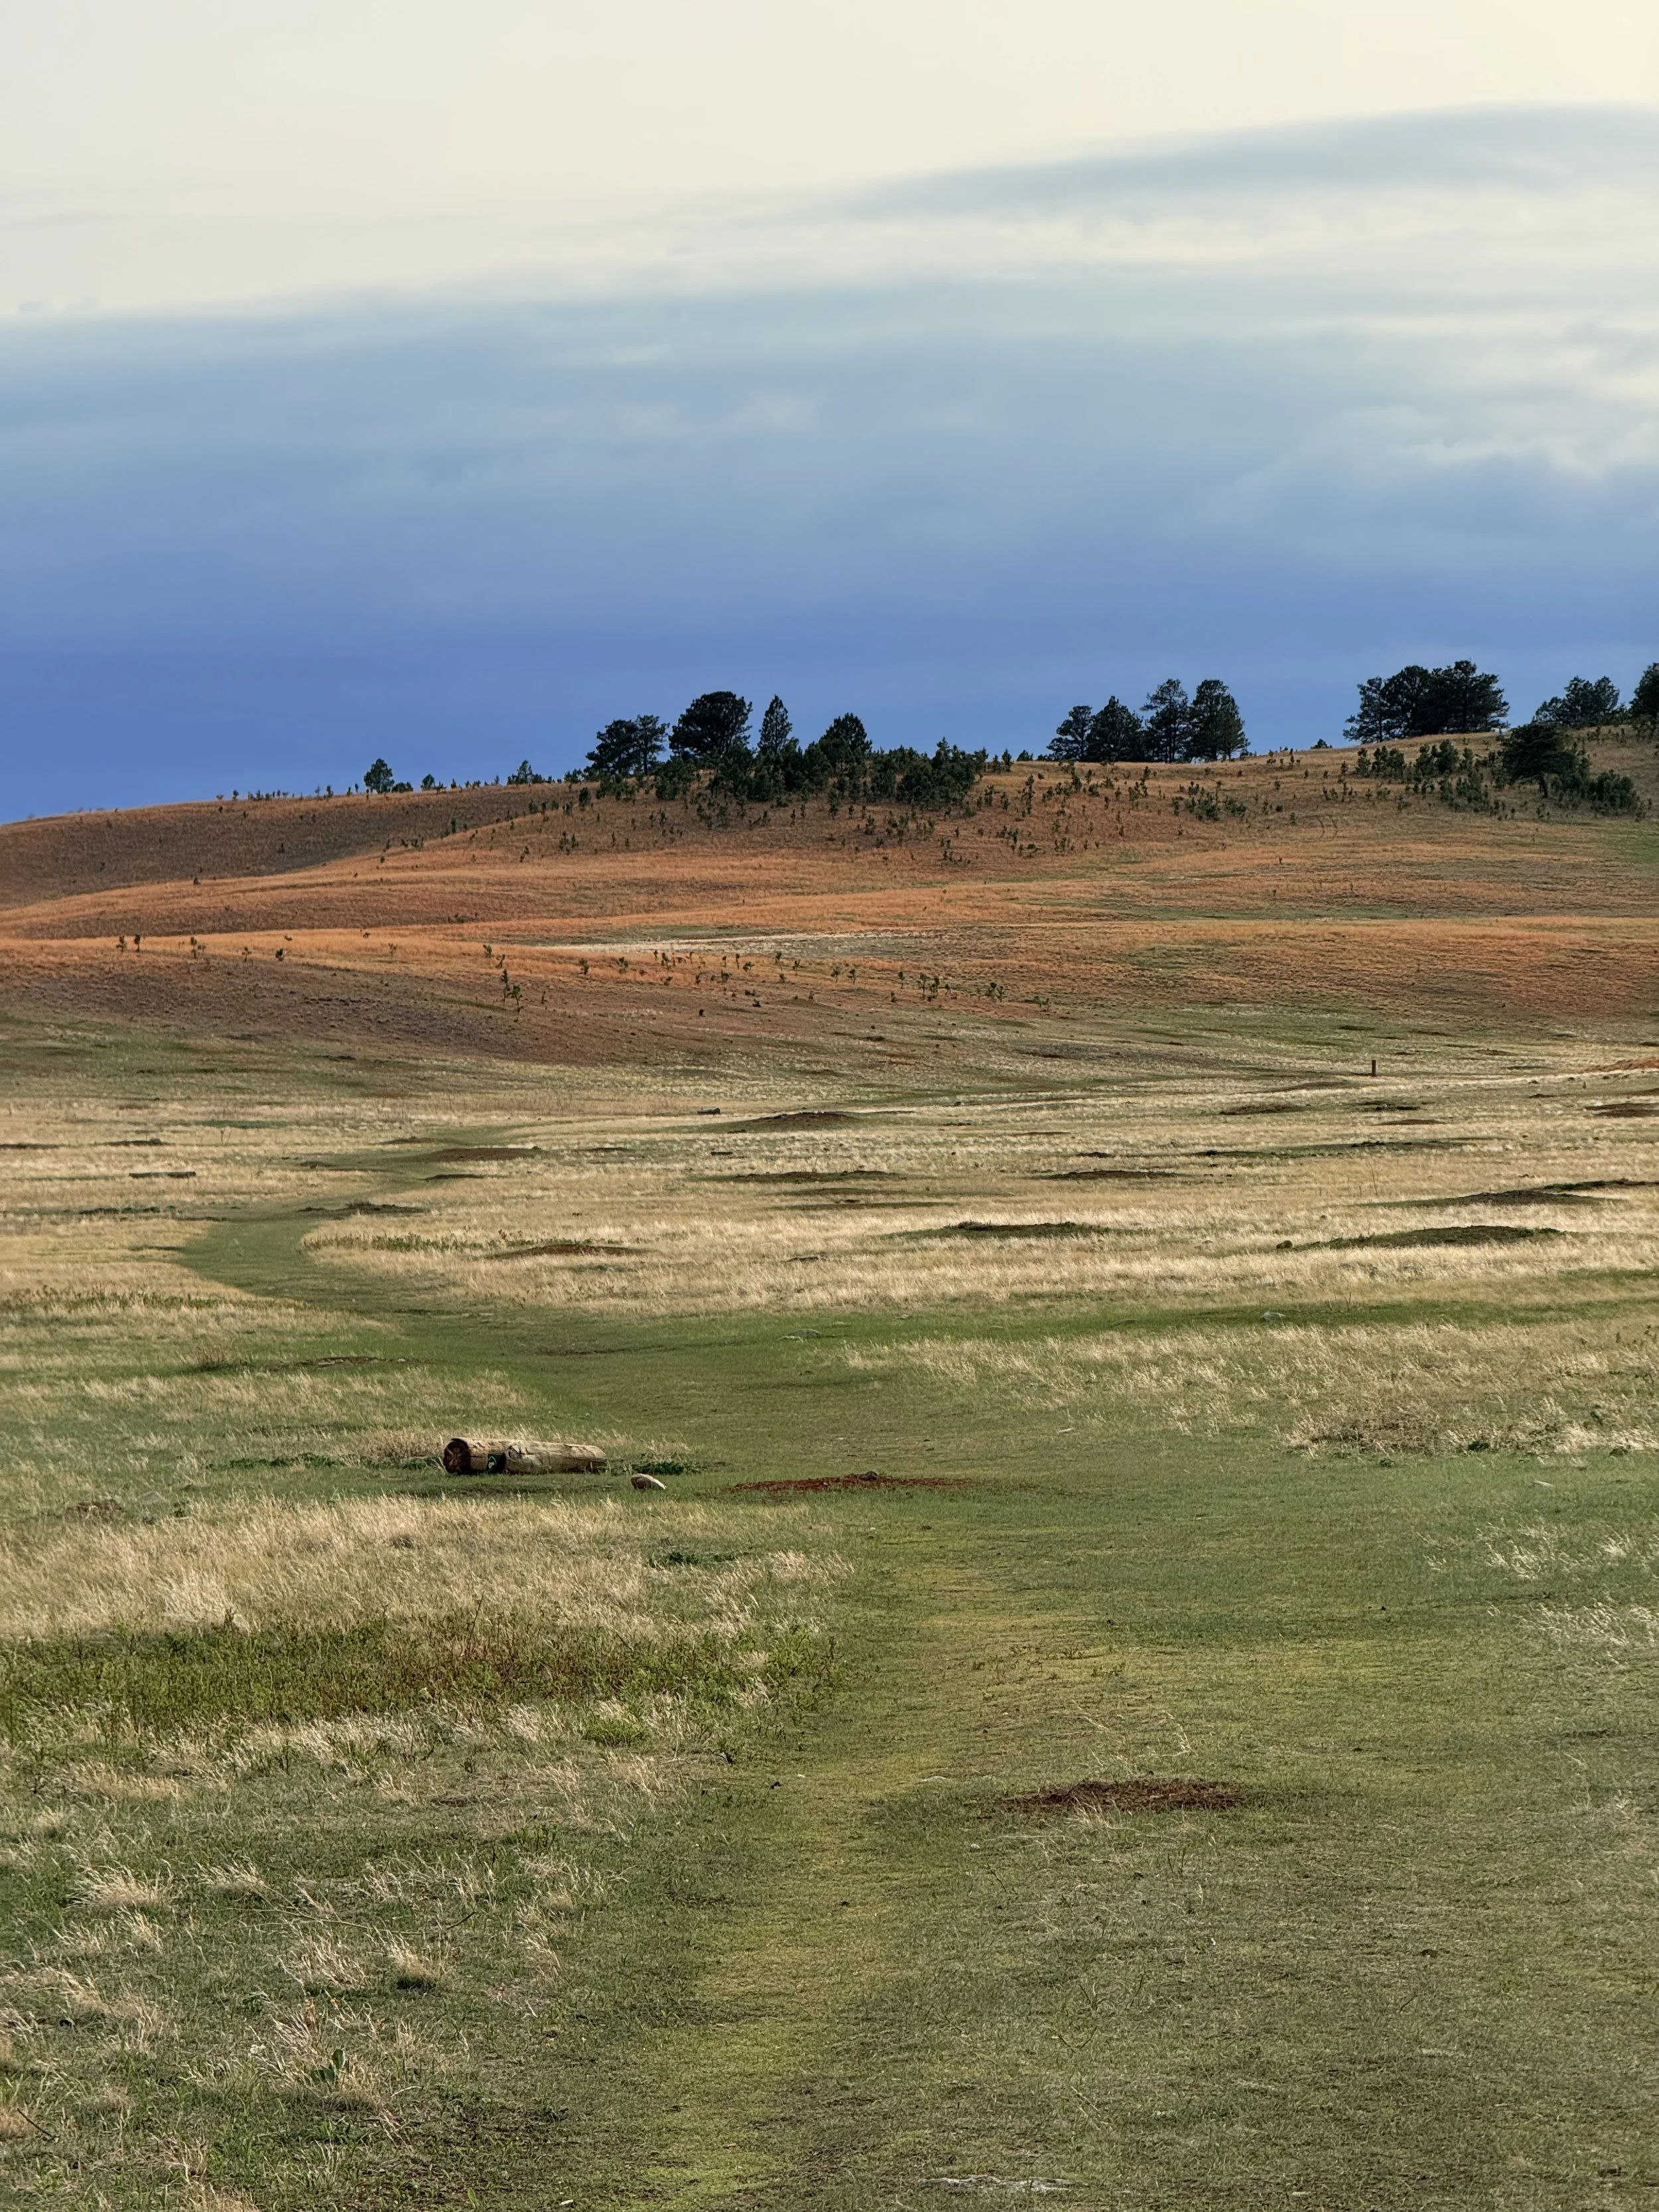
While we were in the area, Wind Cave was experiencing an unfortunate two-week elevator outage, so cave tours there were off the table. Instead, we opted to explore above ground and hiked the Rankin Ridge Interpretive Trail—a short 1-mile loop that took about 30 minutes. The trail was bursting with color, from vibrant purple and yellow wildflowers to electric green lichen glowing on the rocks. At the top, there’s a fire tower (closed to visitors), but the views are still stunning, and on a clear day, you can even spot the Badlands off in the distance. We did the loop clockwise, which made for a gentler climb and saved the steeper section for the descent. On the drive to the trailhead, we were greeted by open grasslands filled with bison and prairie dogs.


Jewel Cave National Monument
Since Wind Cave was closed for tours during our visit, we pivoted and booked a tour at Jewel Cave National Monument instead—and we’re so glad we did! Jewel Cave is the fifth largest cave system in the world, with over 200 miles of mapped passageways. Pro tip: book your tour ahead of time on recreation.gov (unlike us) so you can avoid the hassle of going in-person to reserve a spot for later in the day.
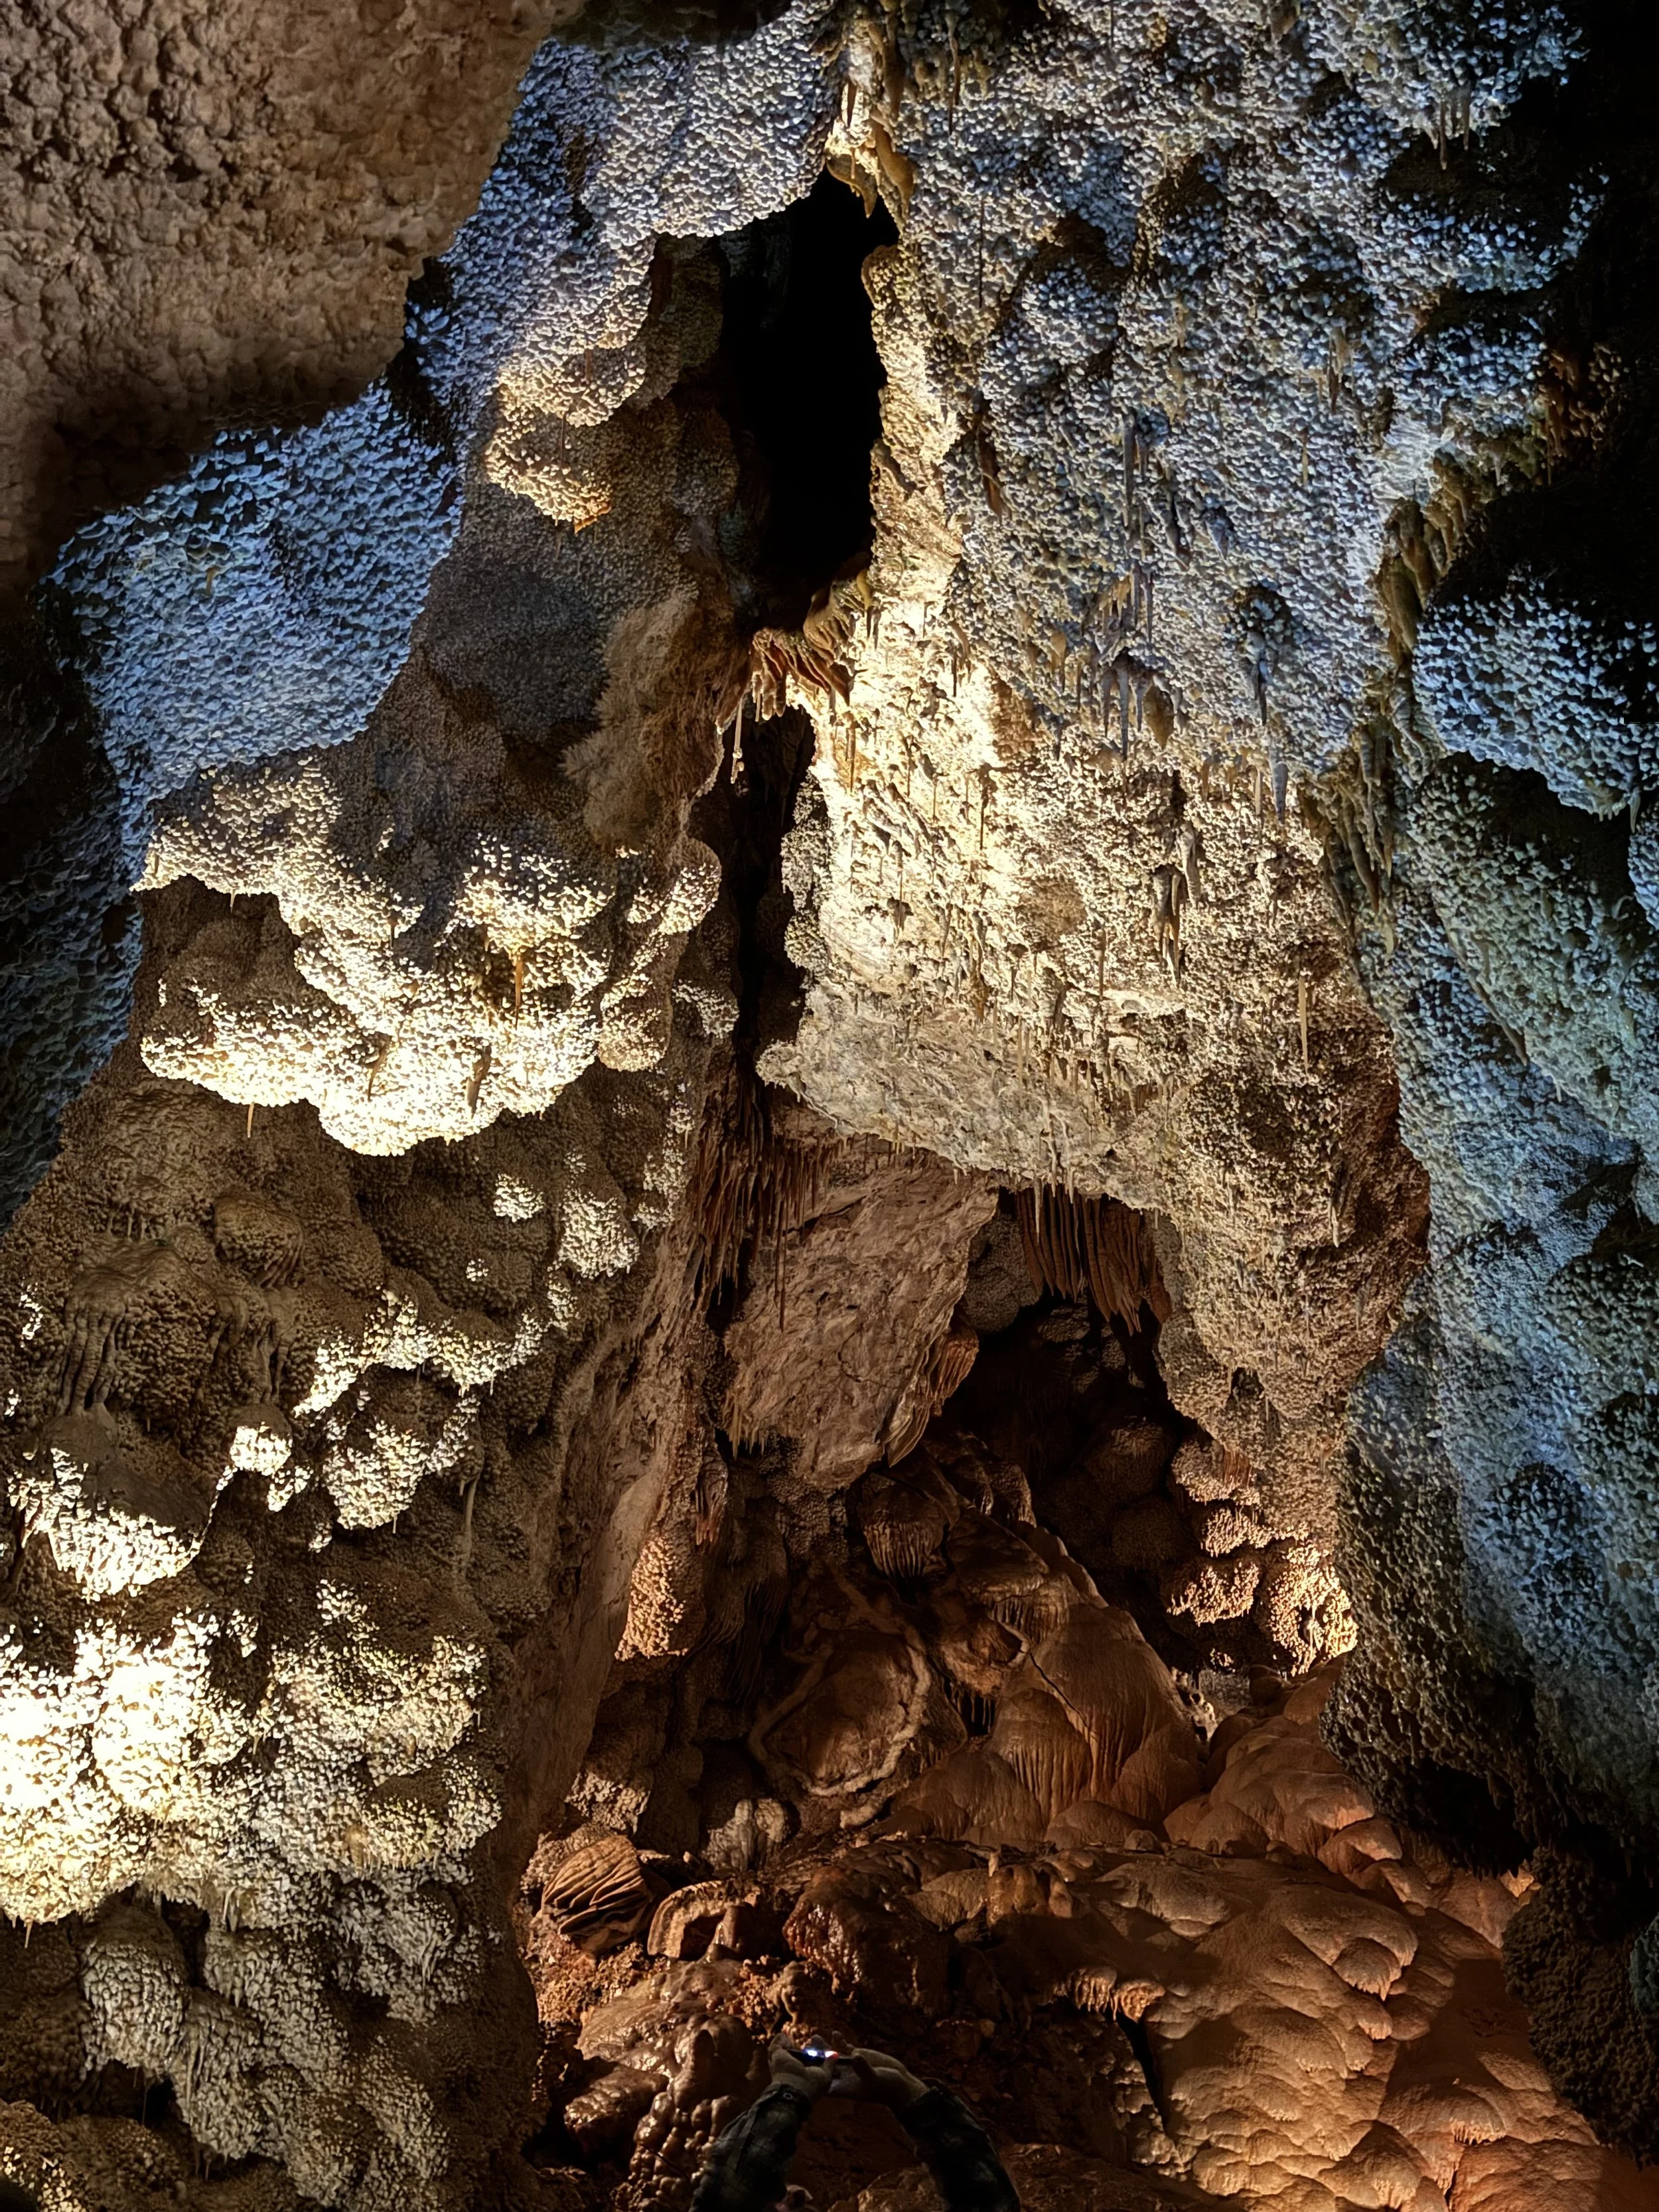
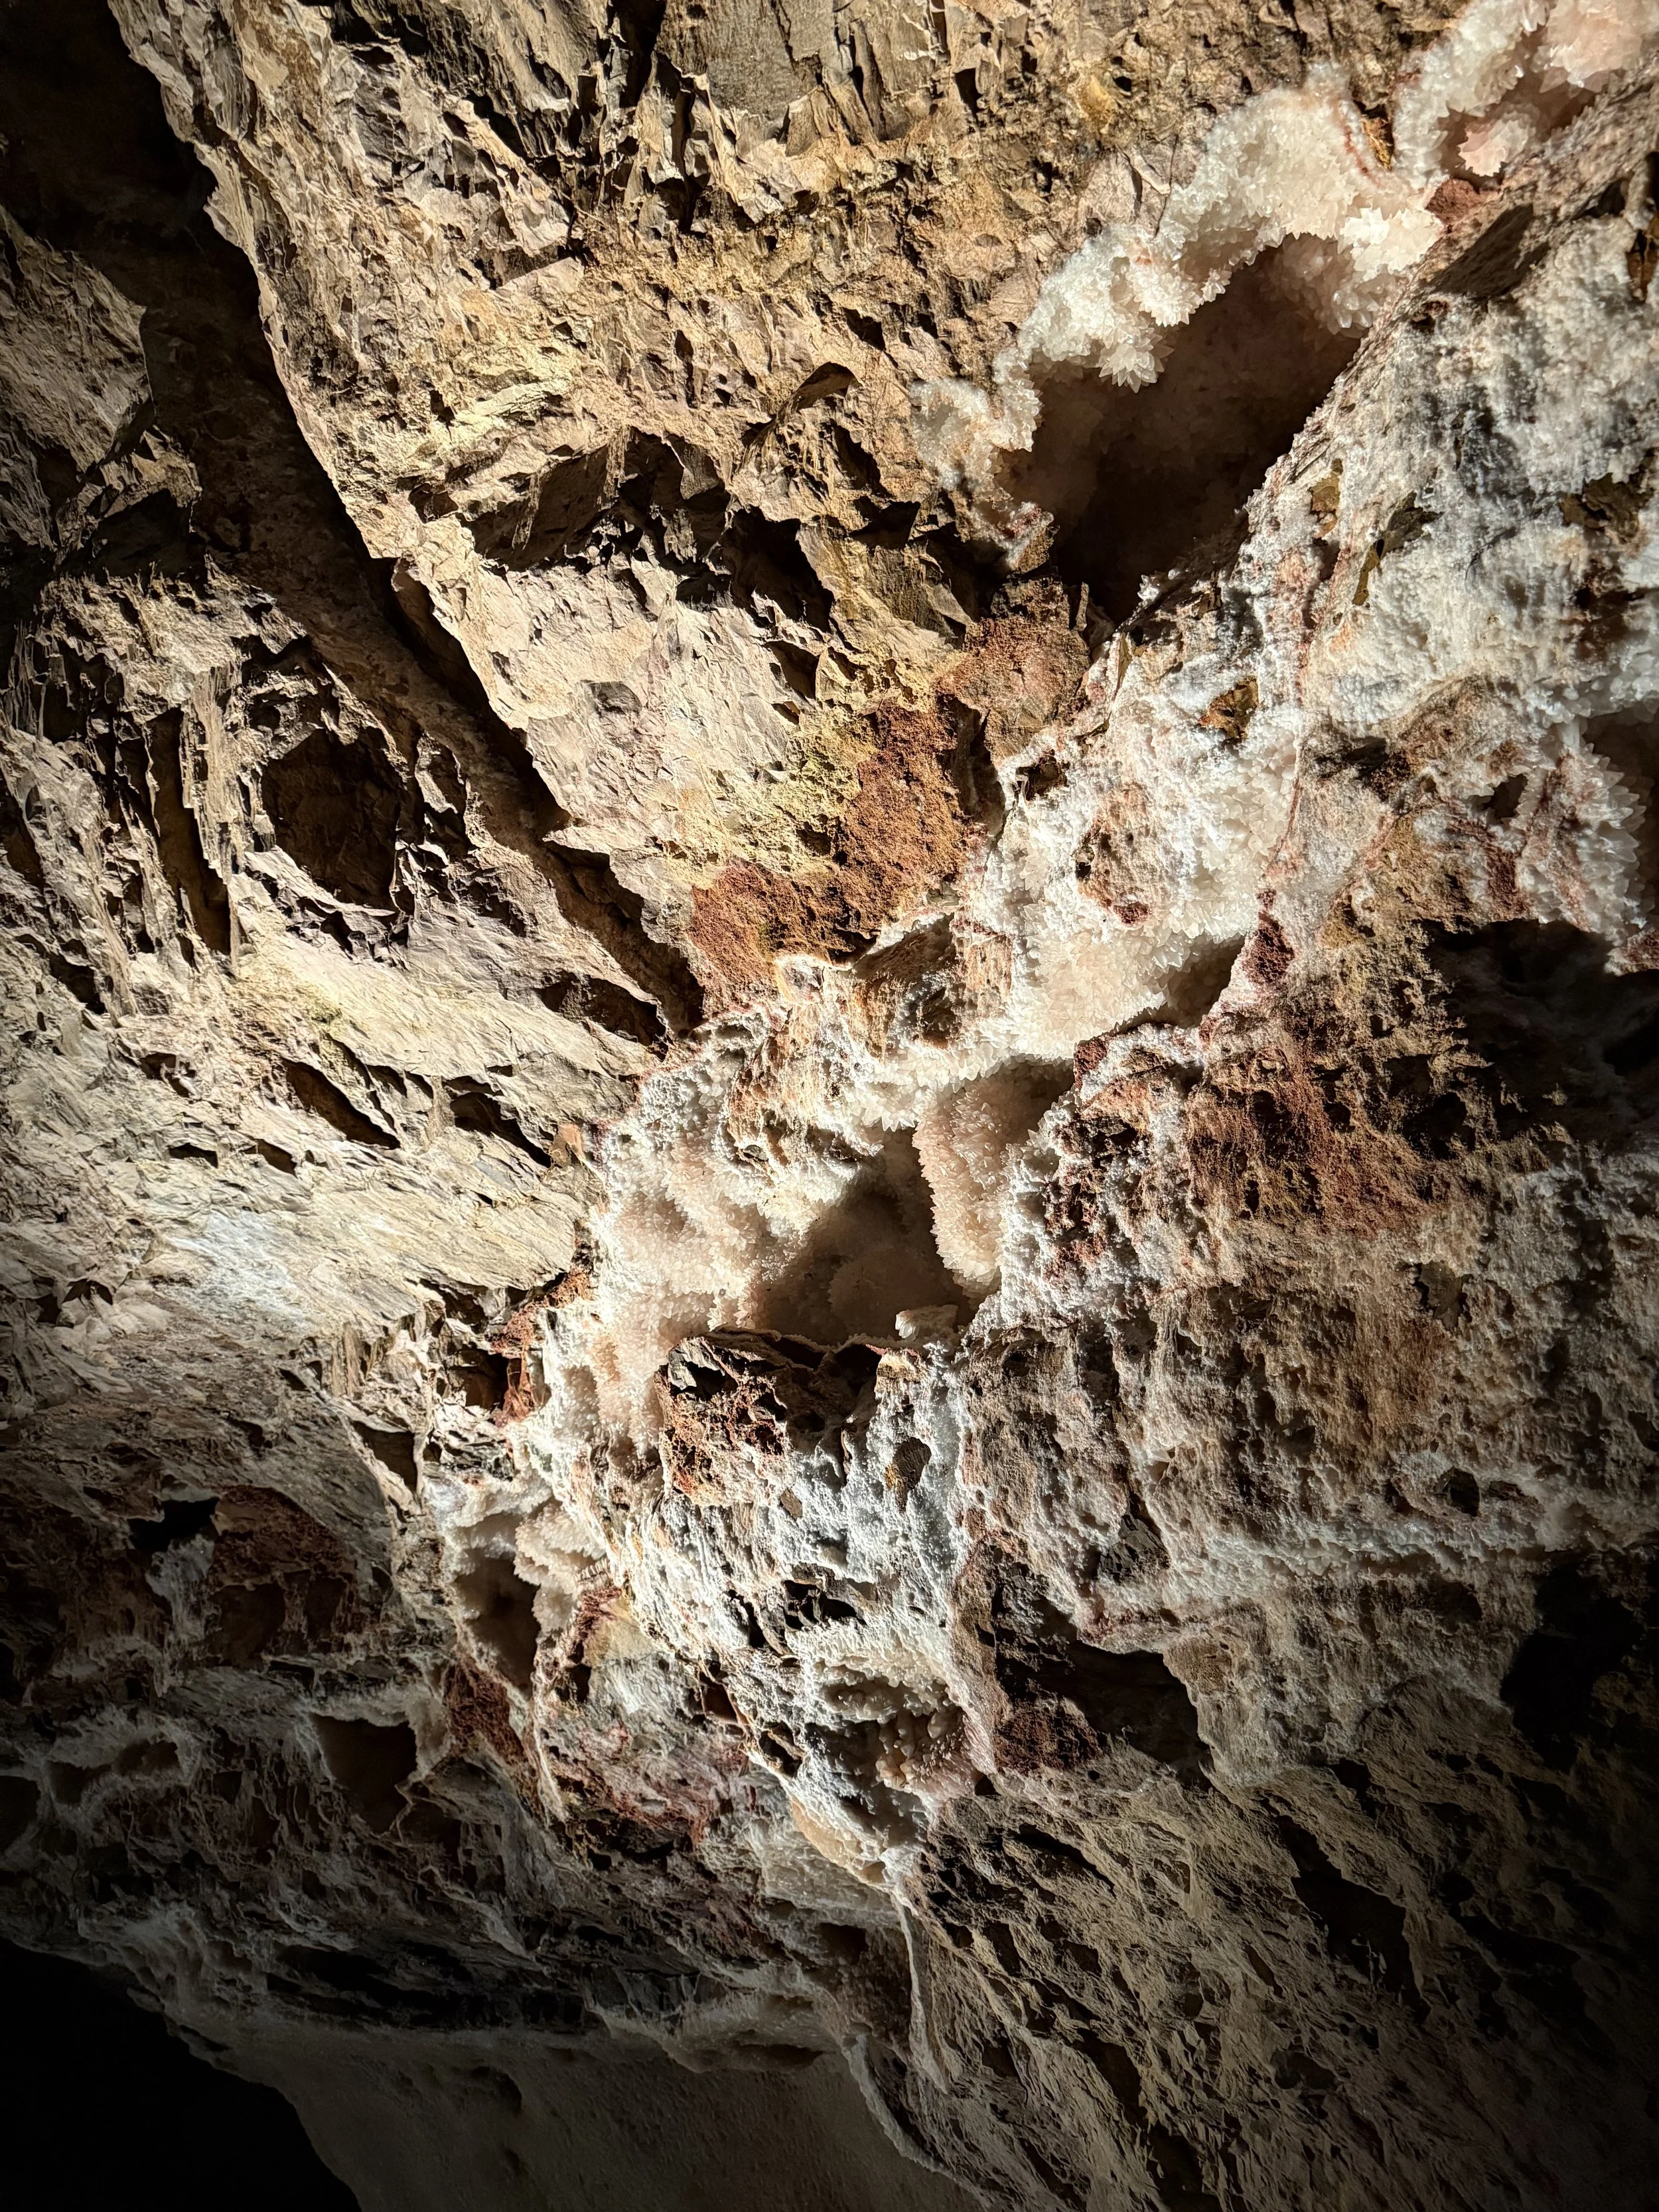
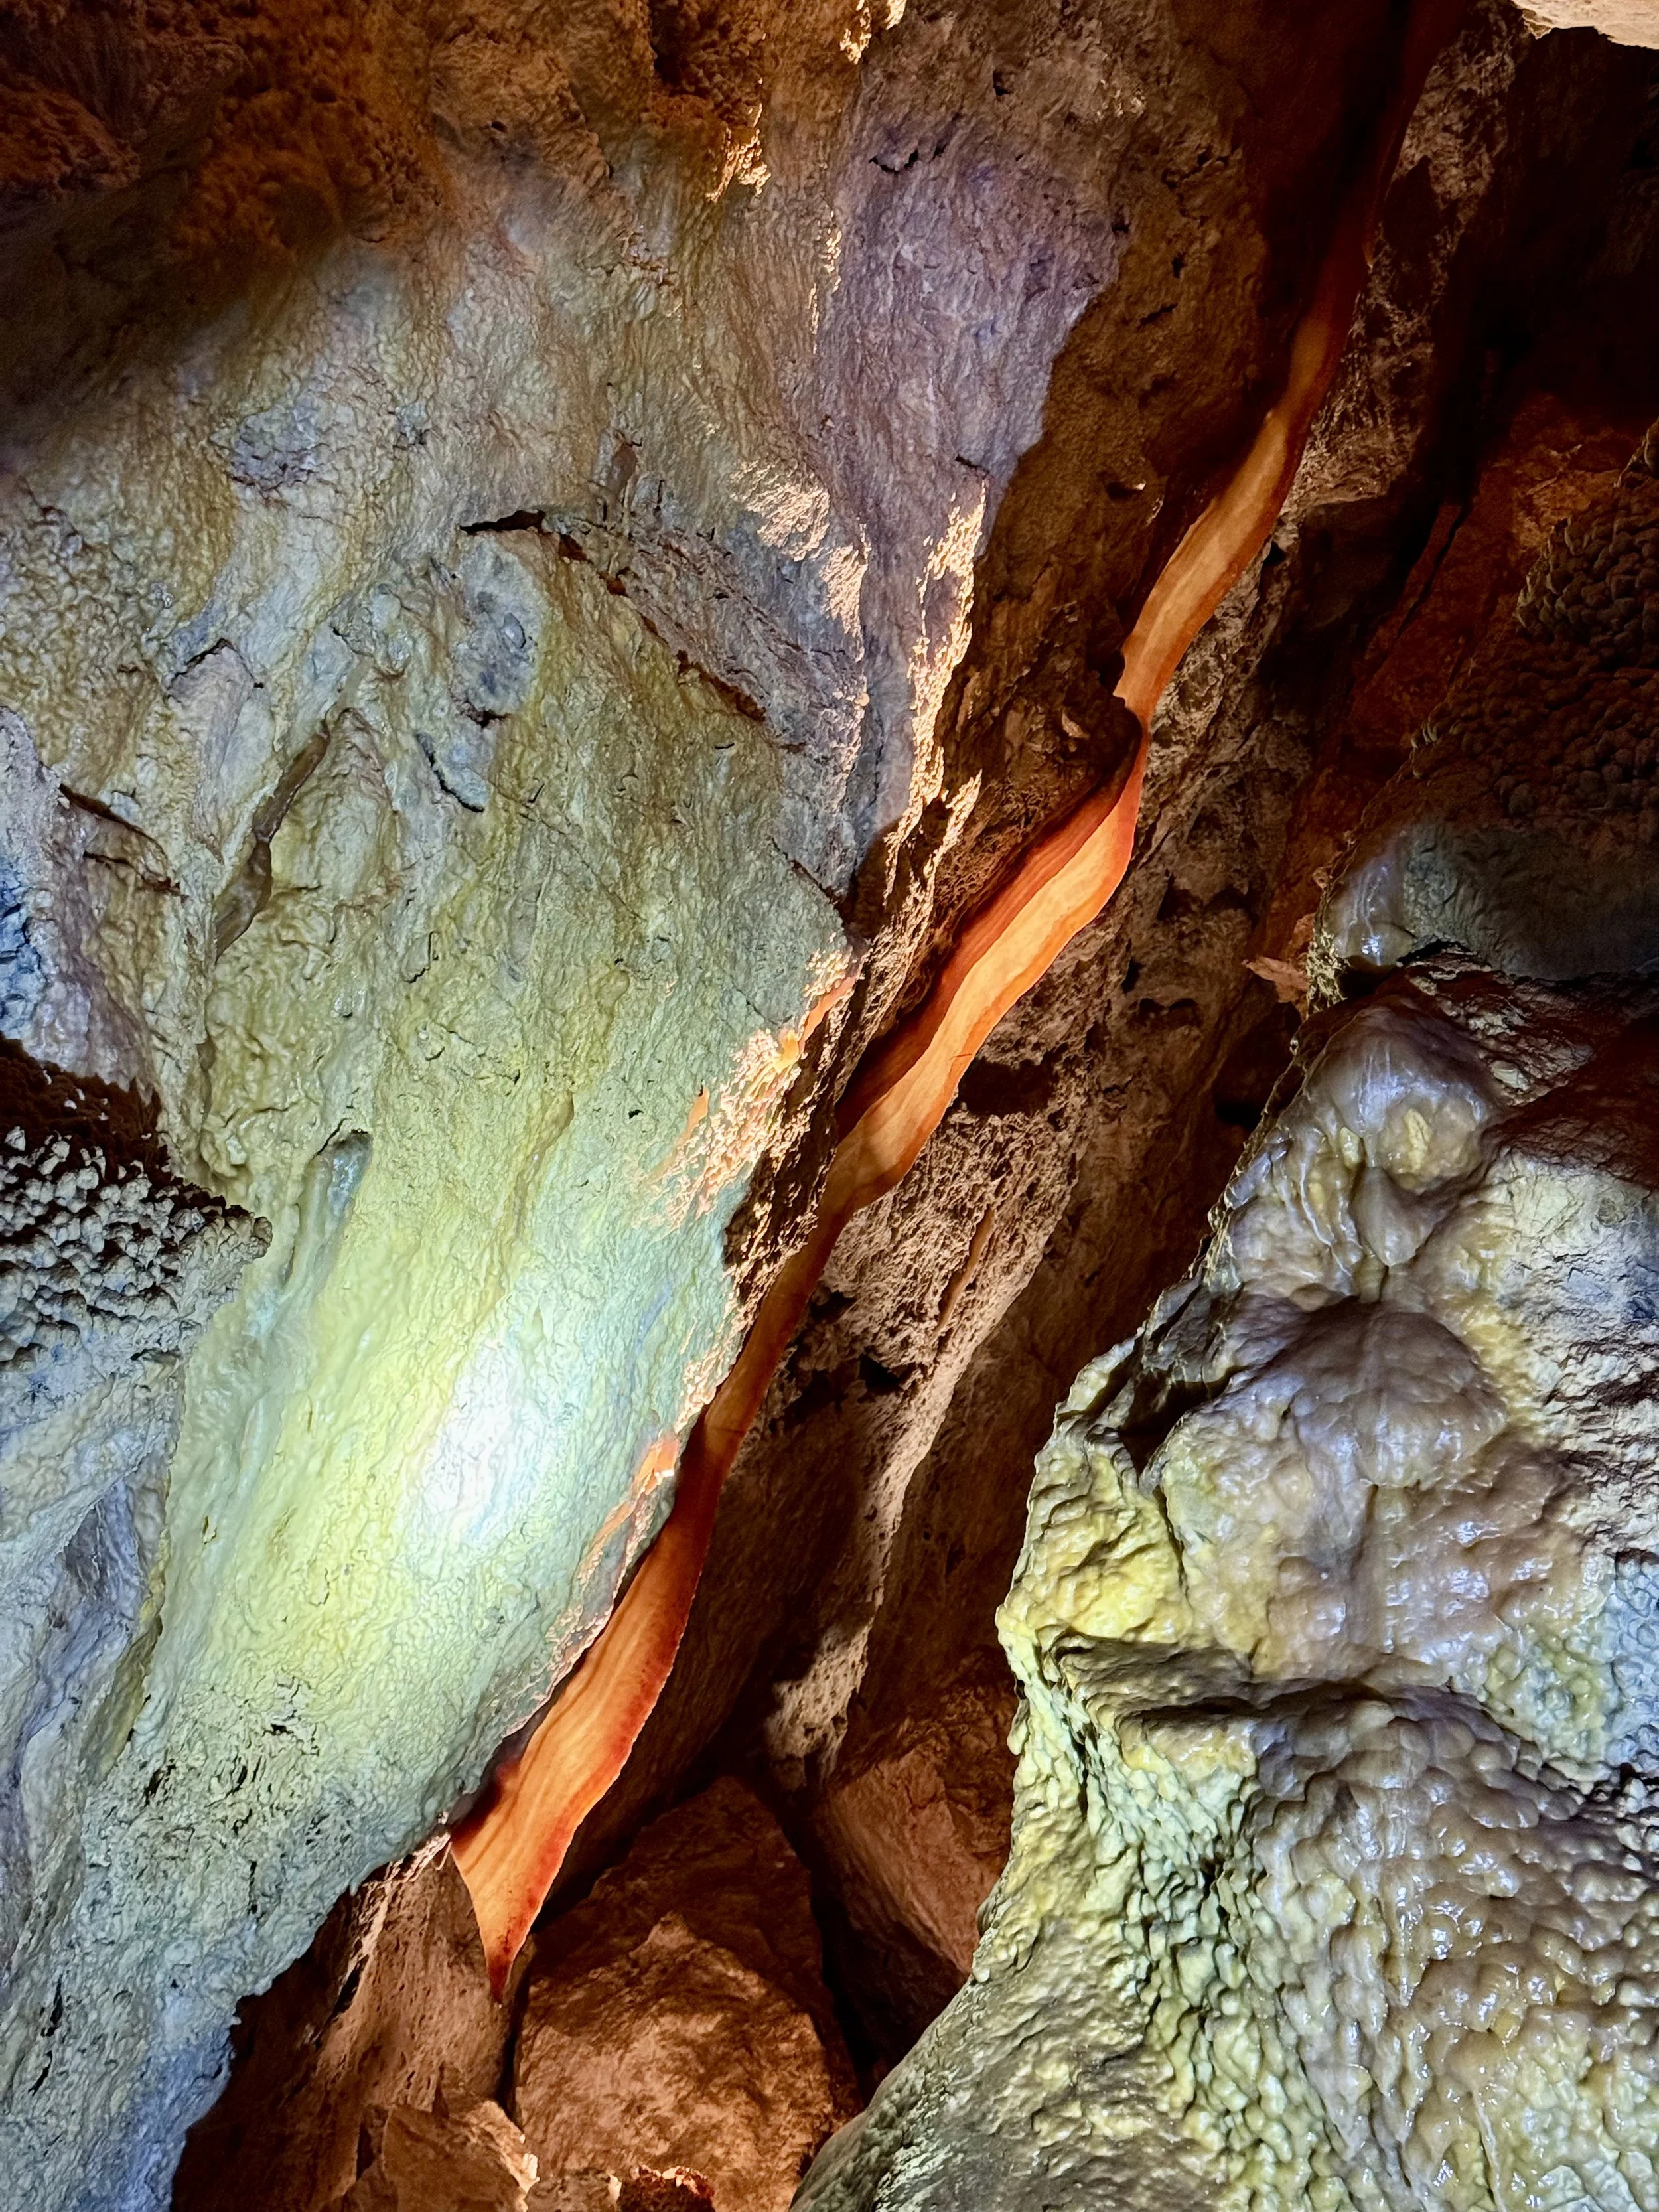
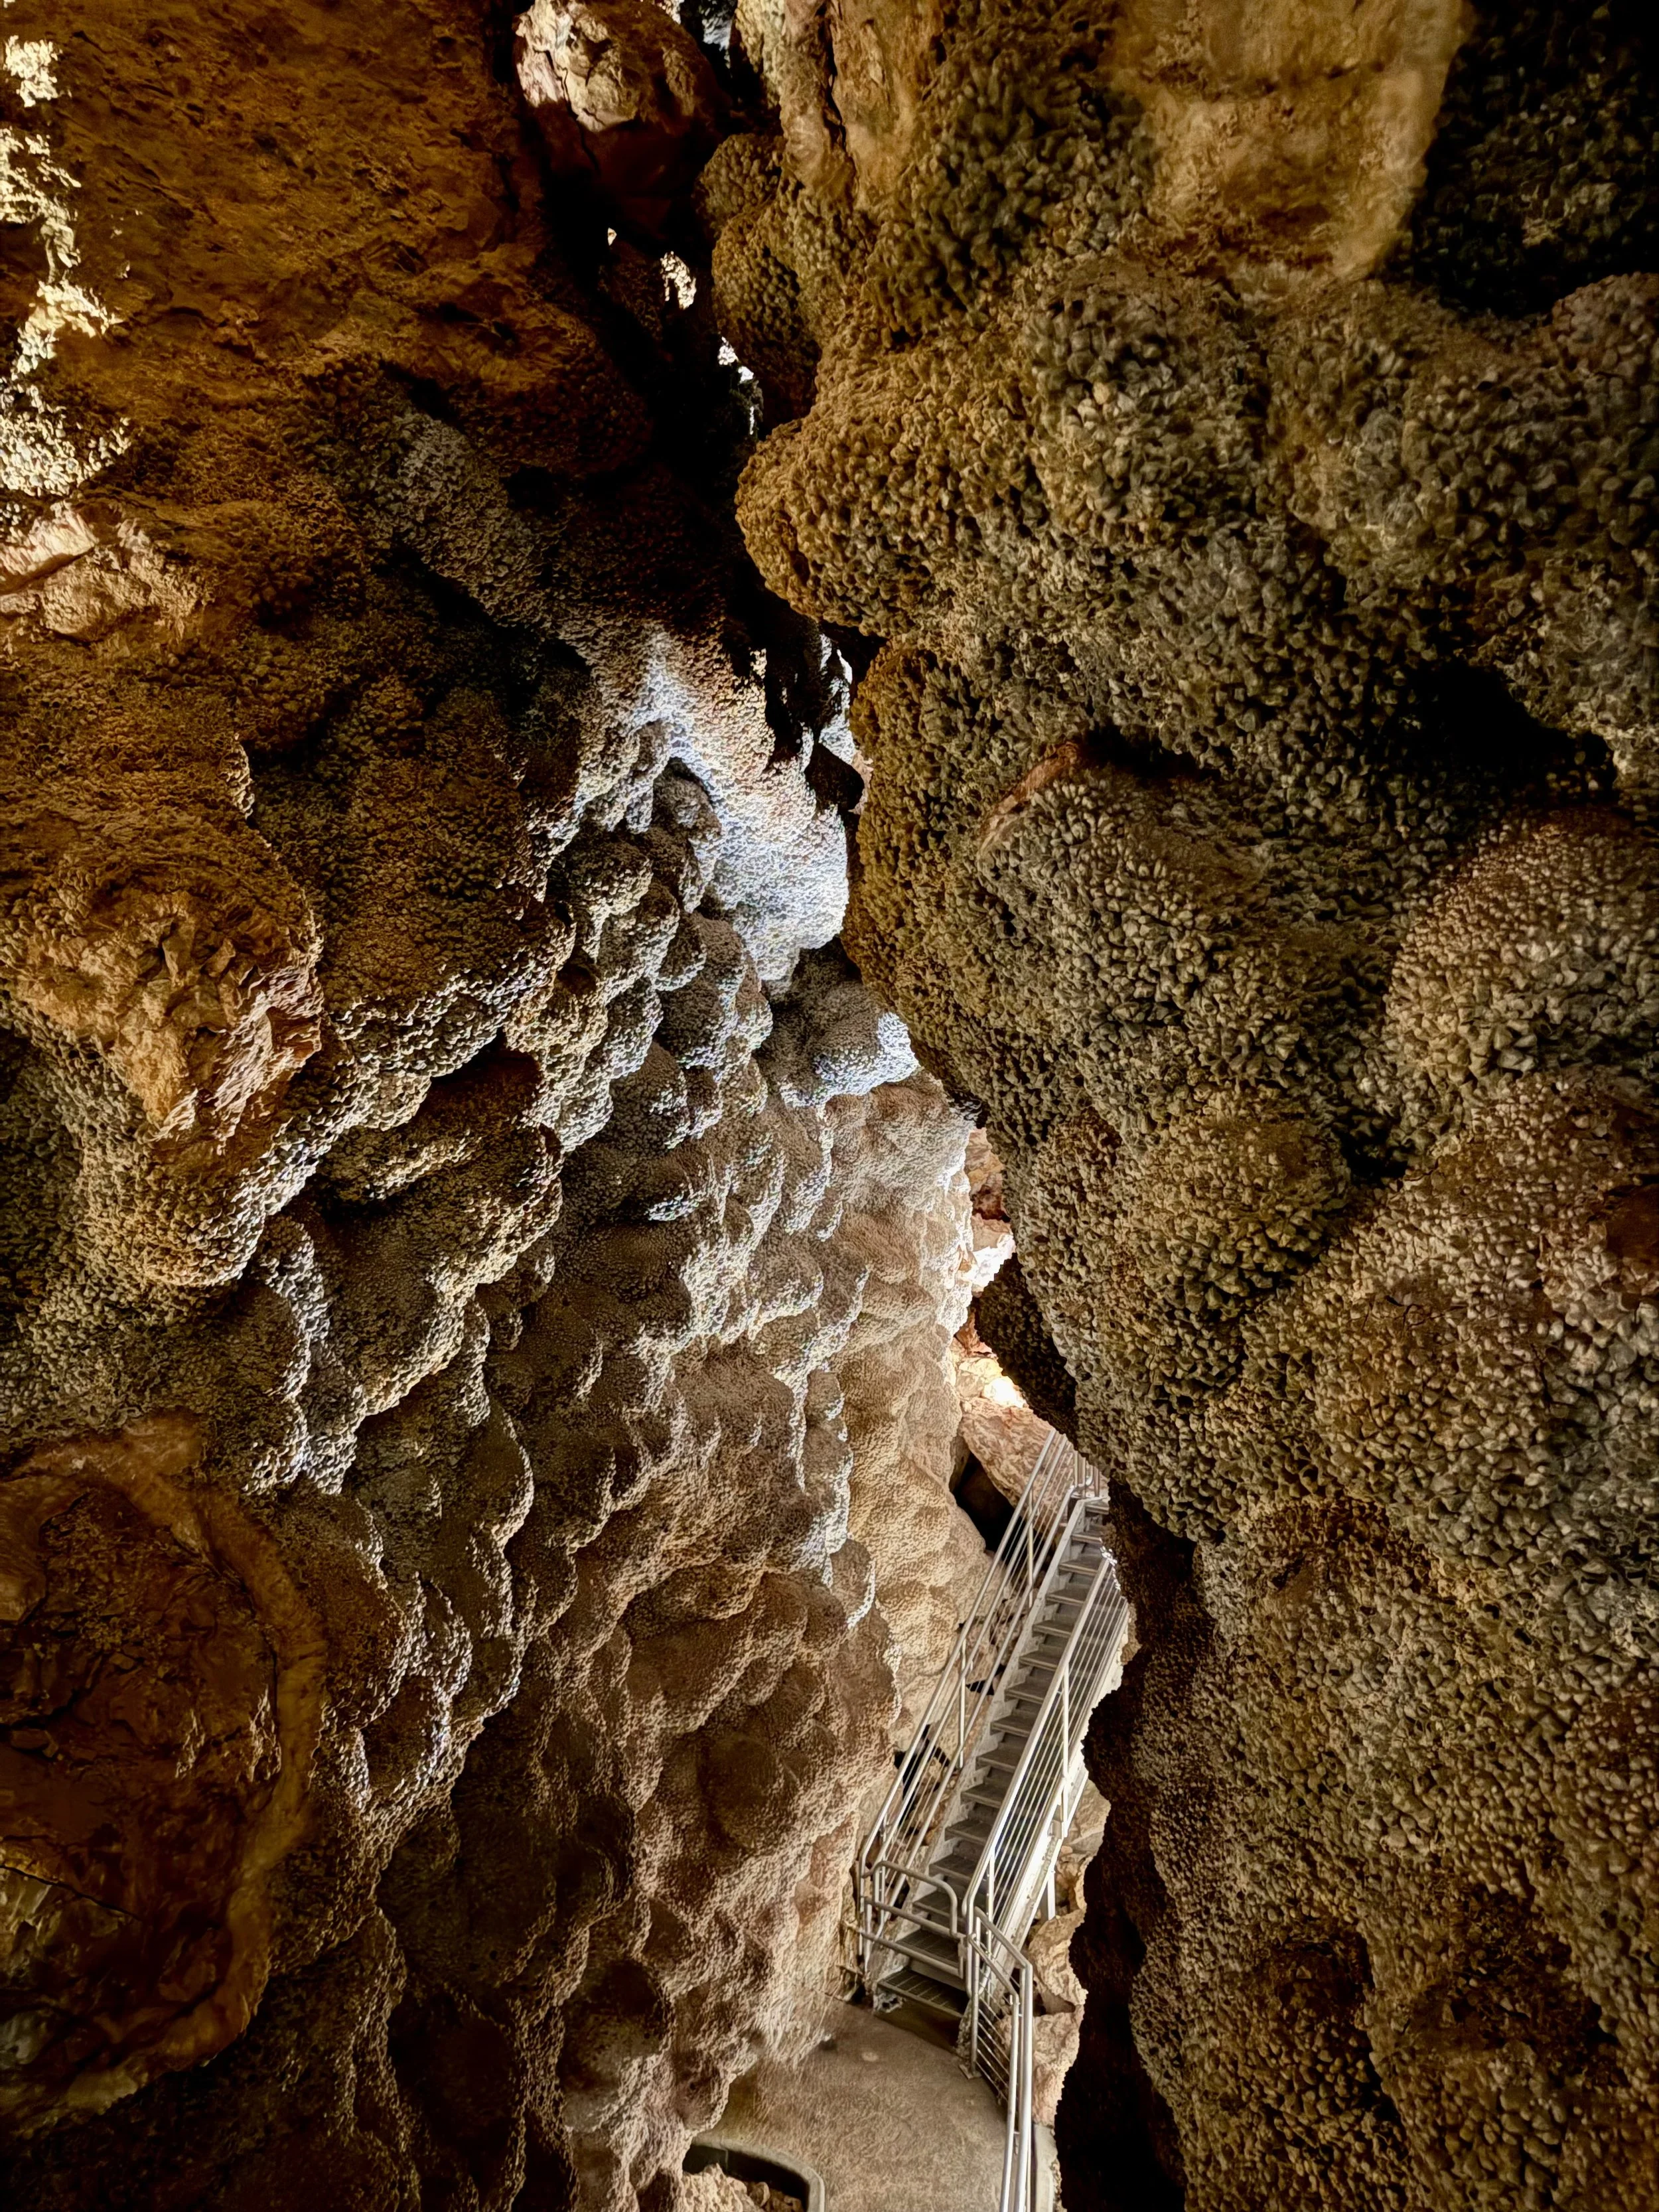
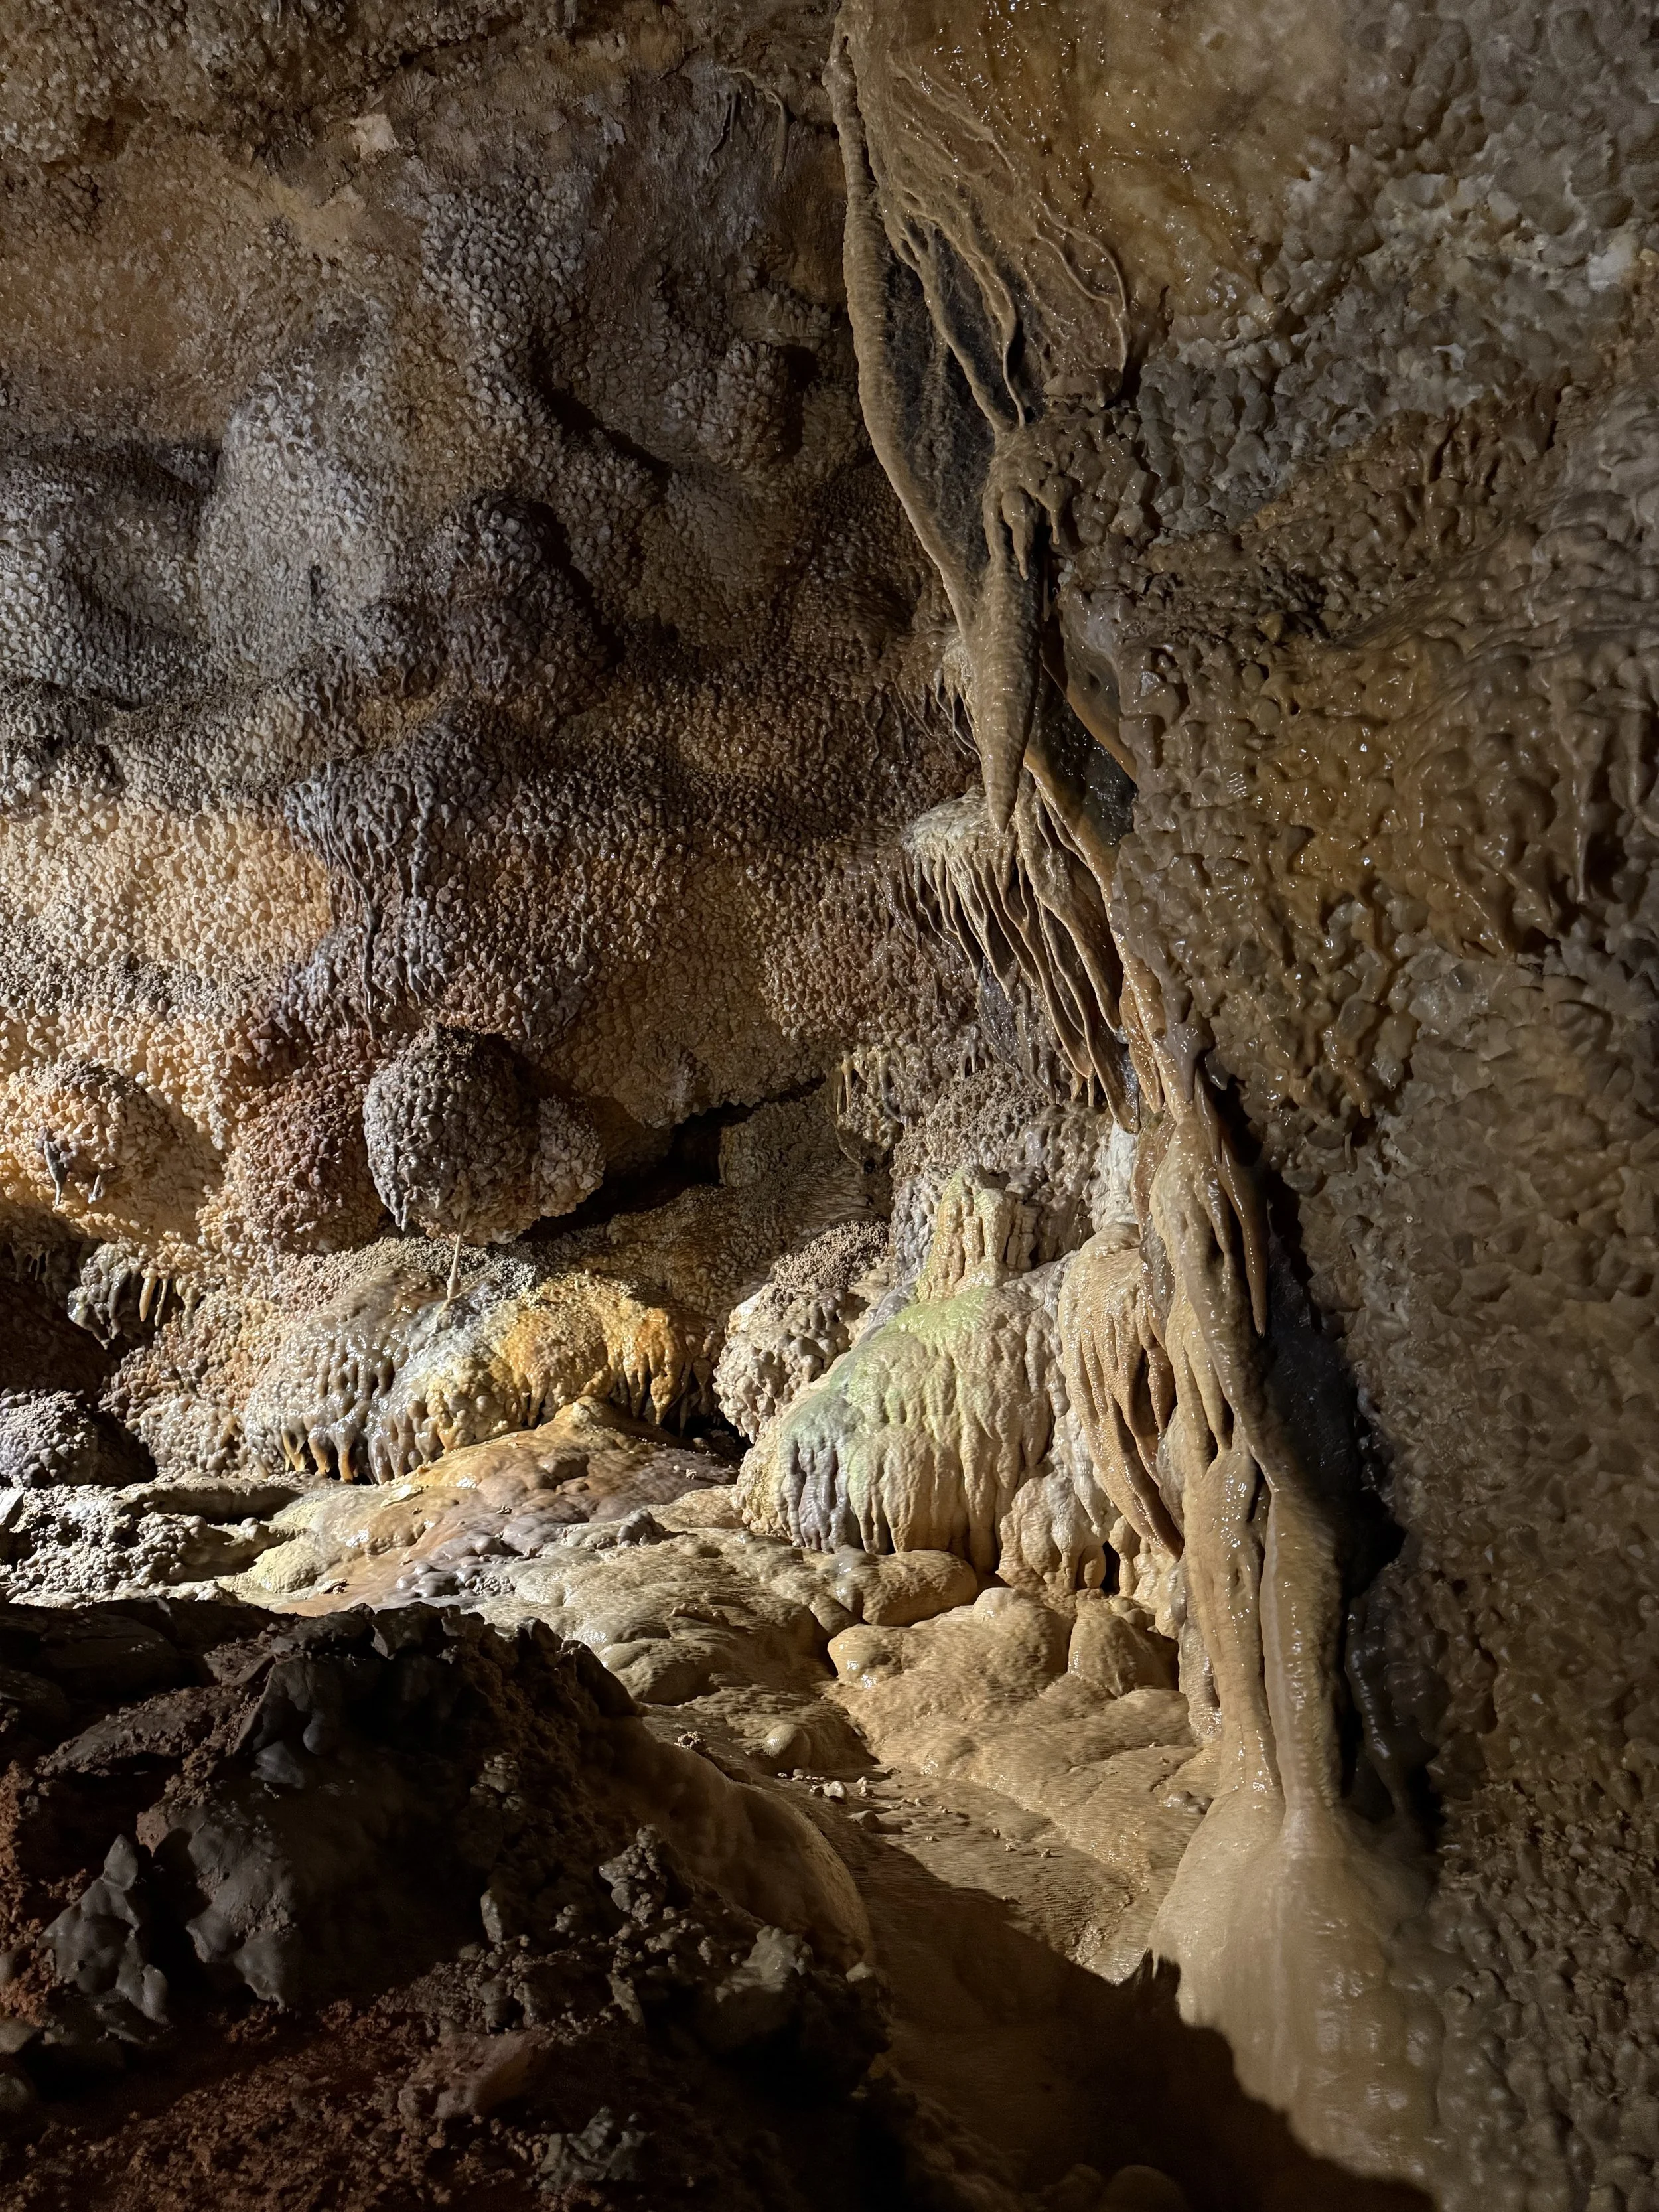
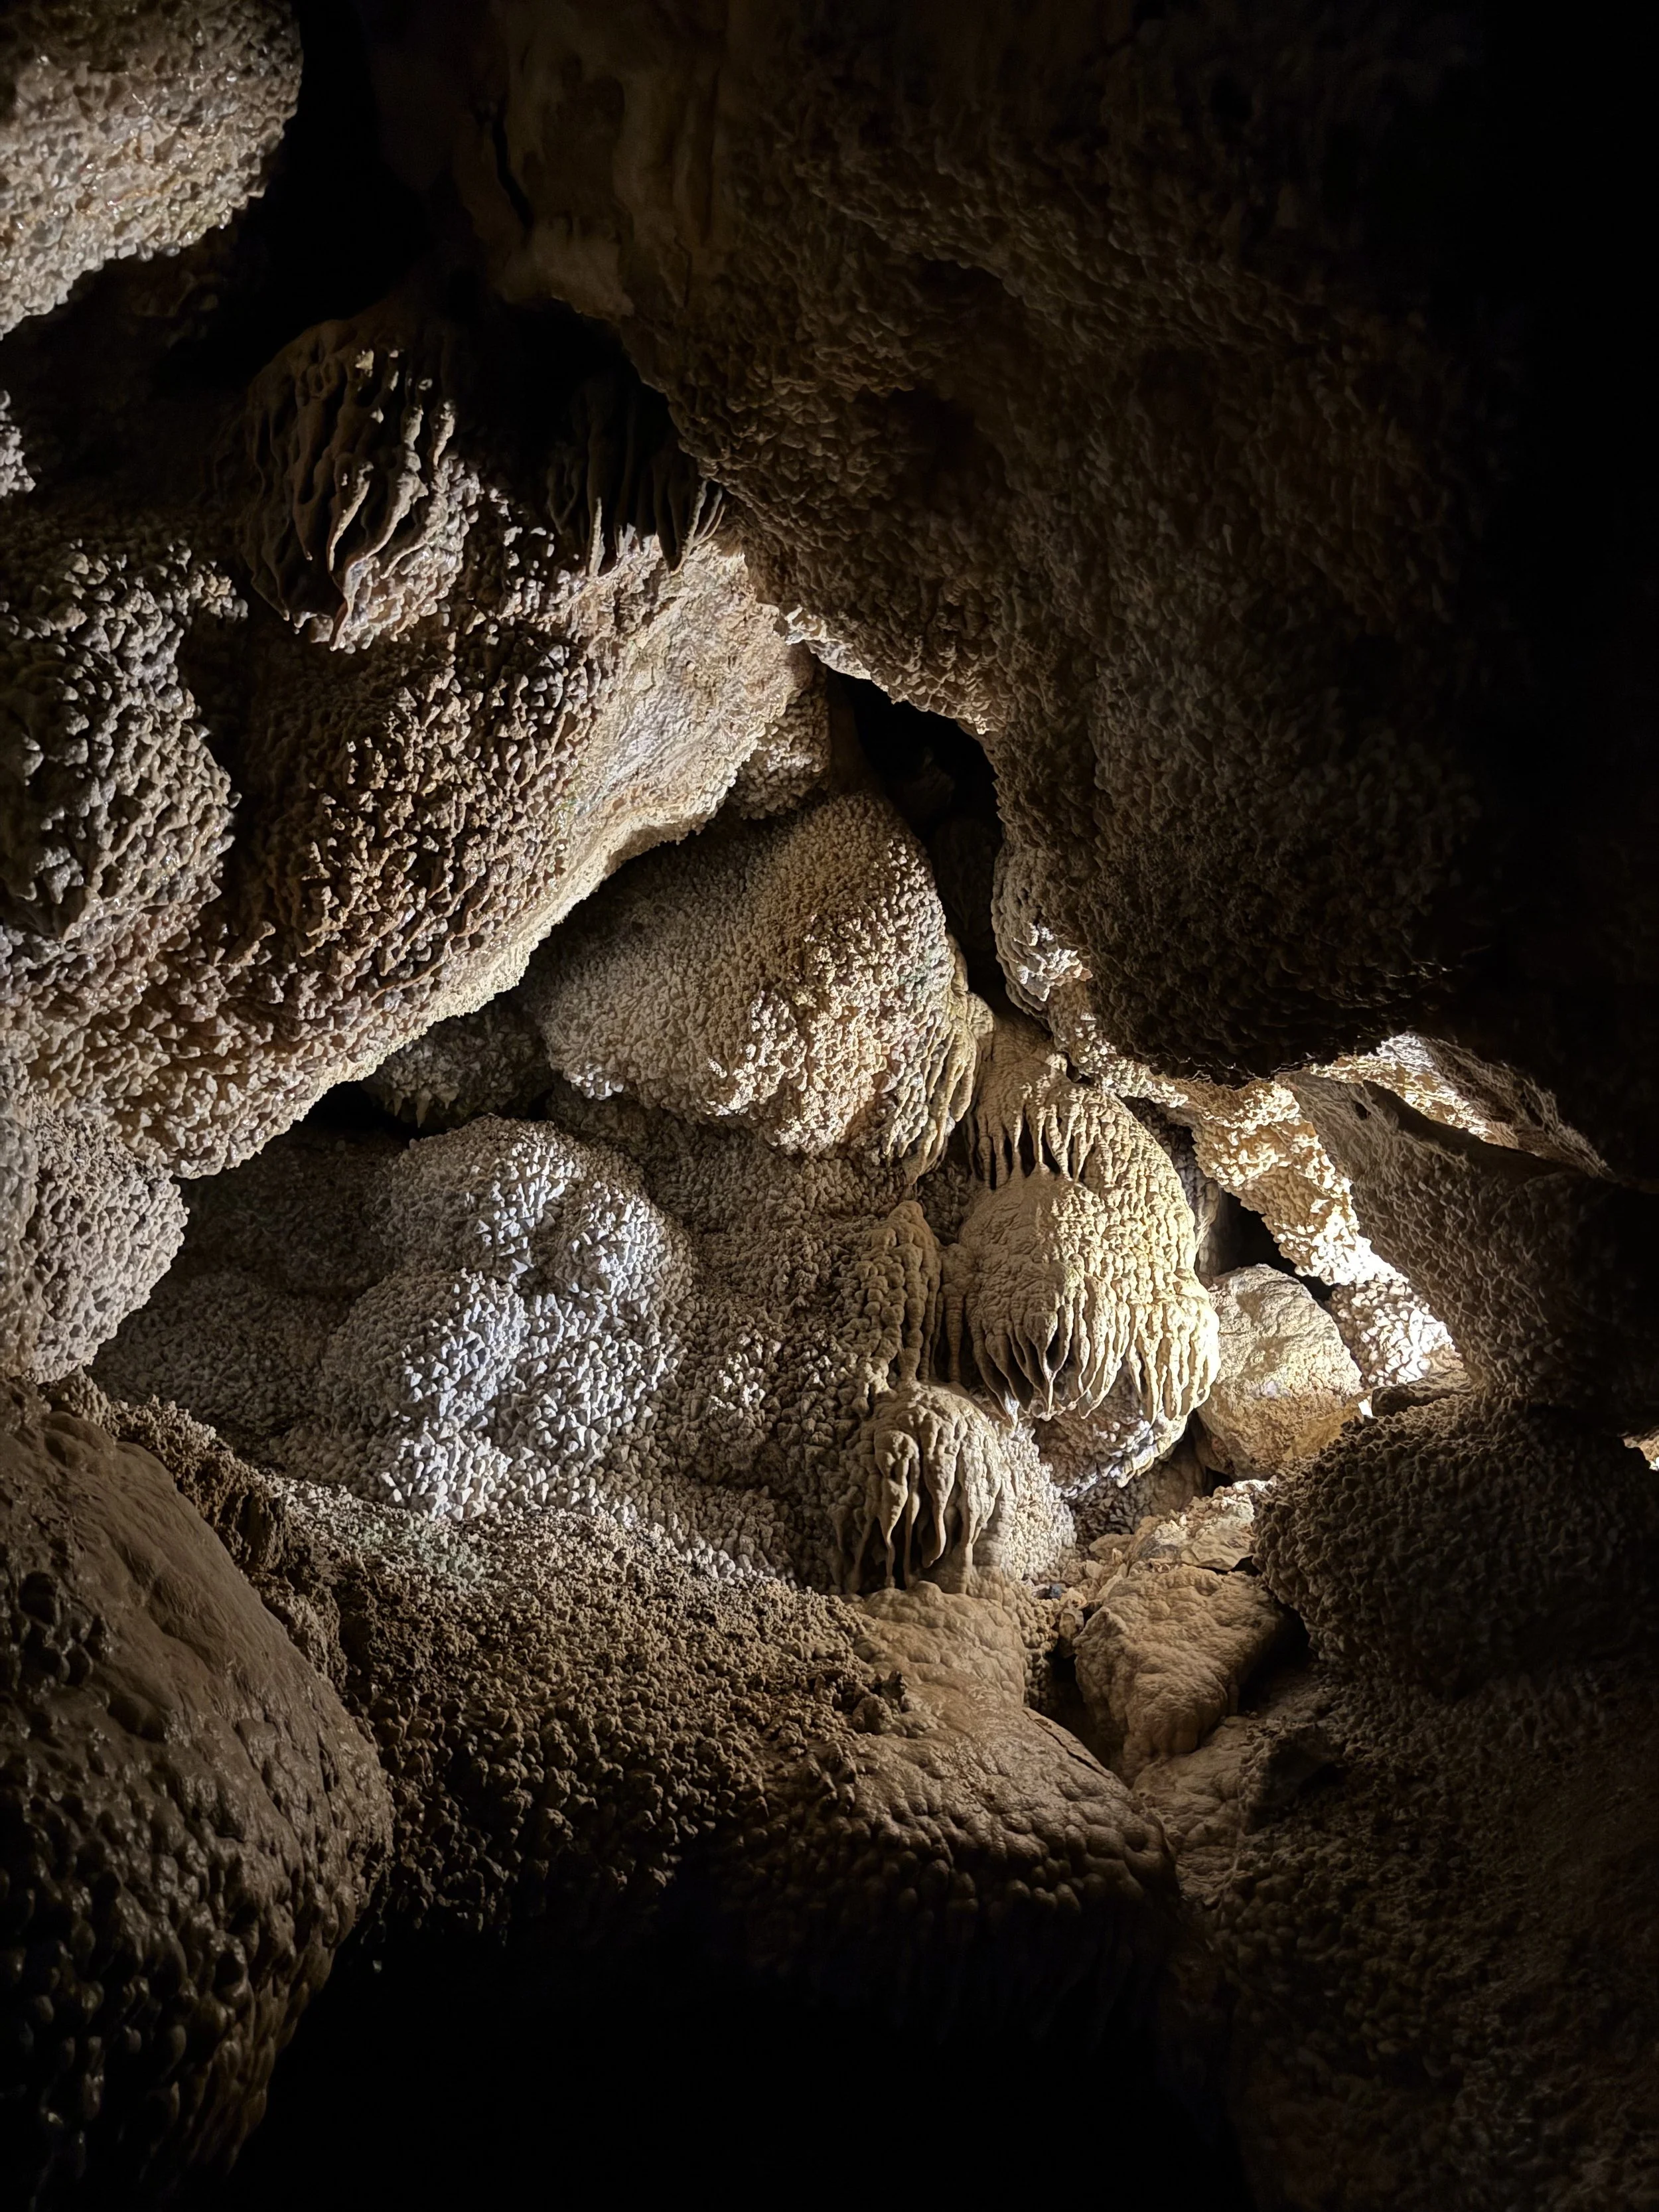
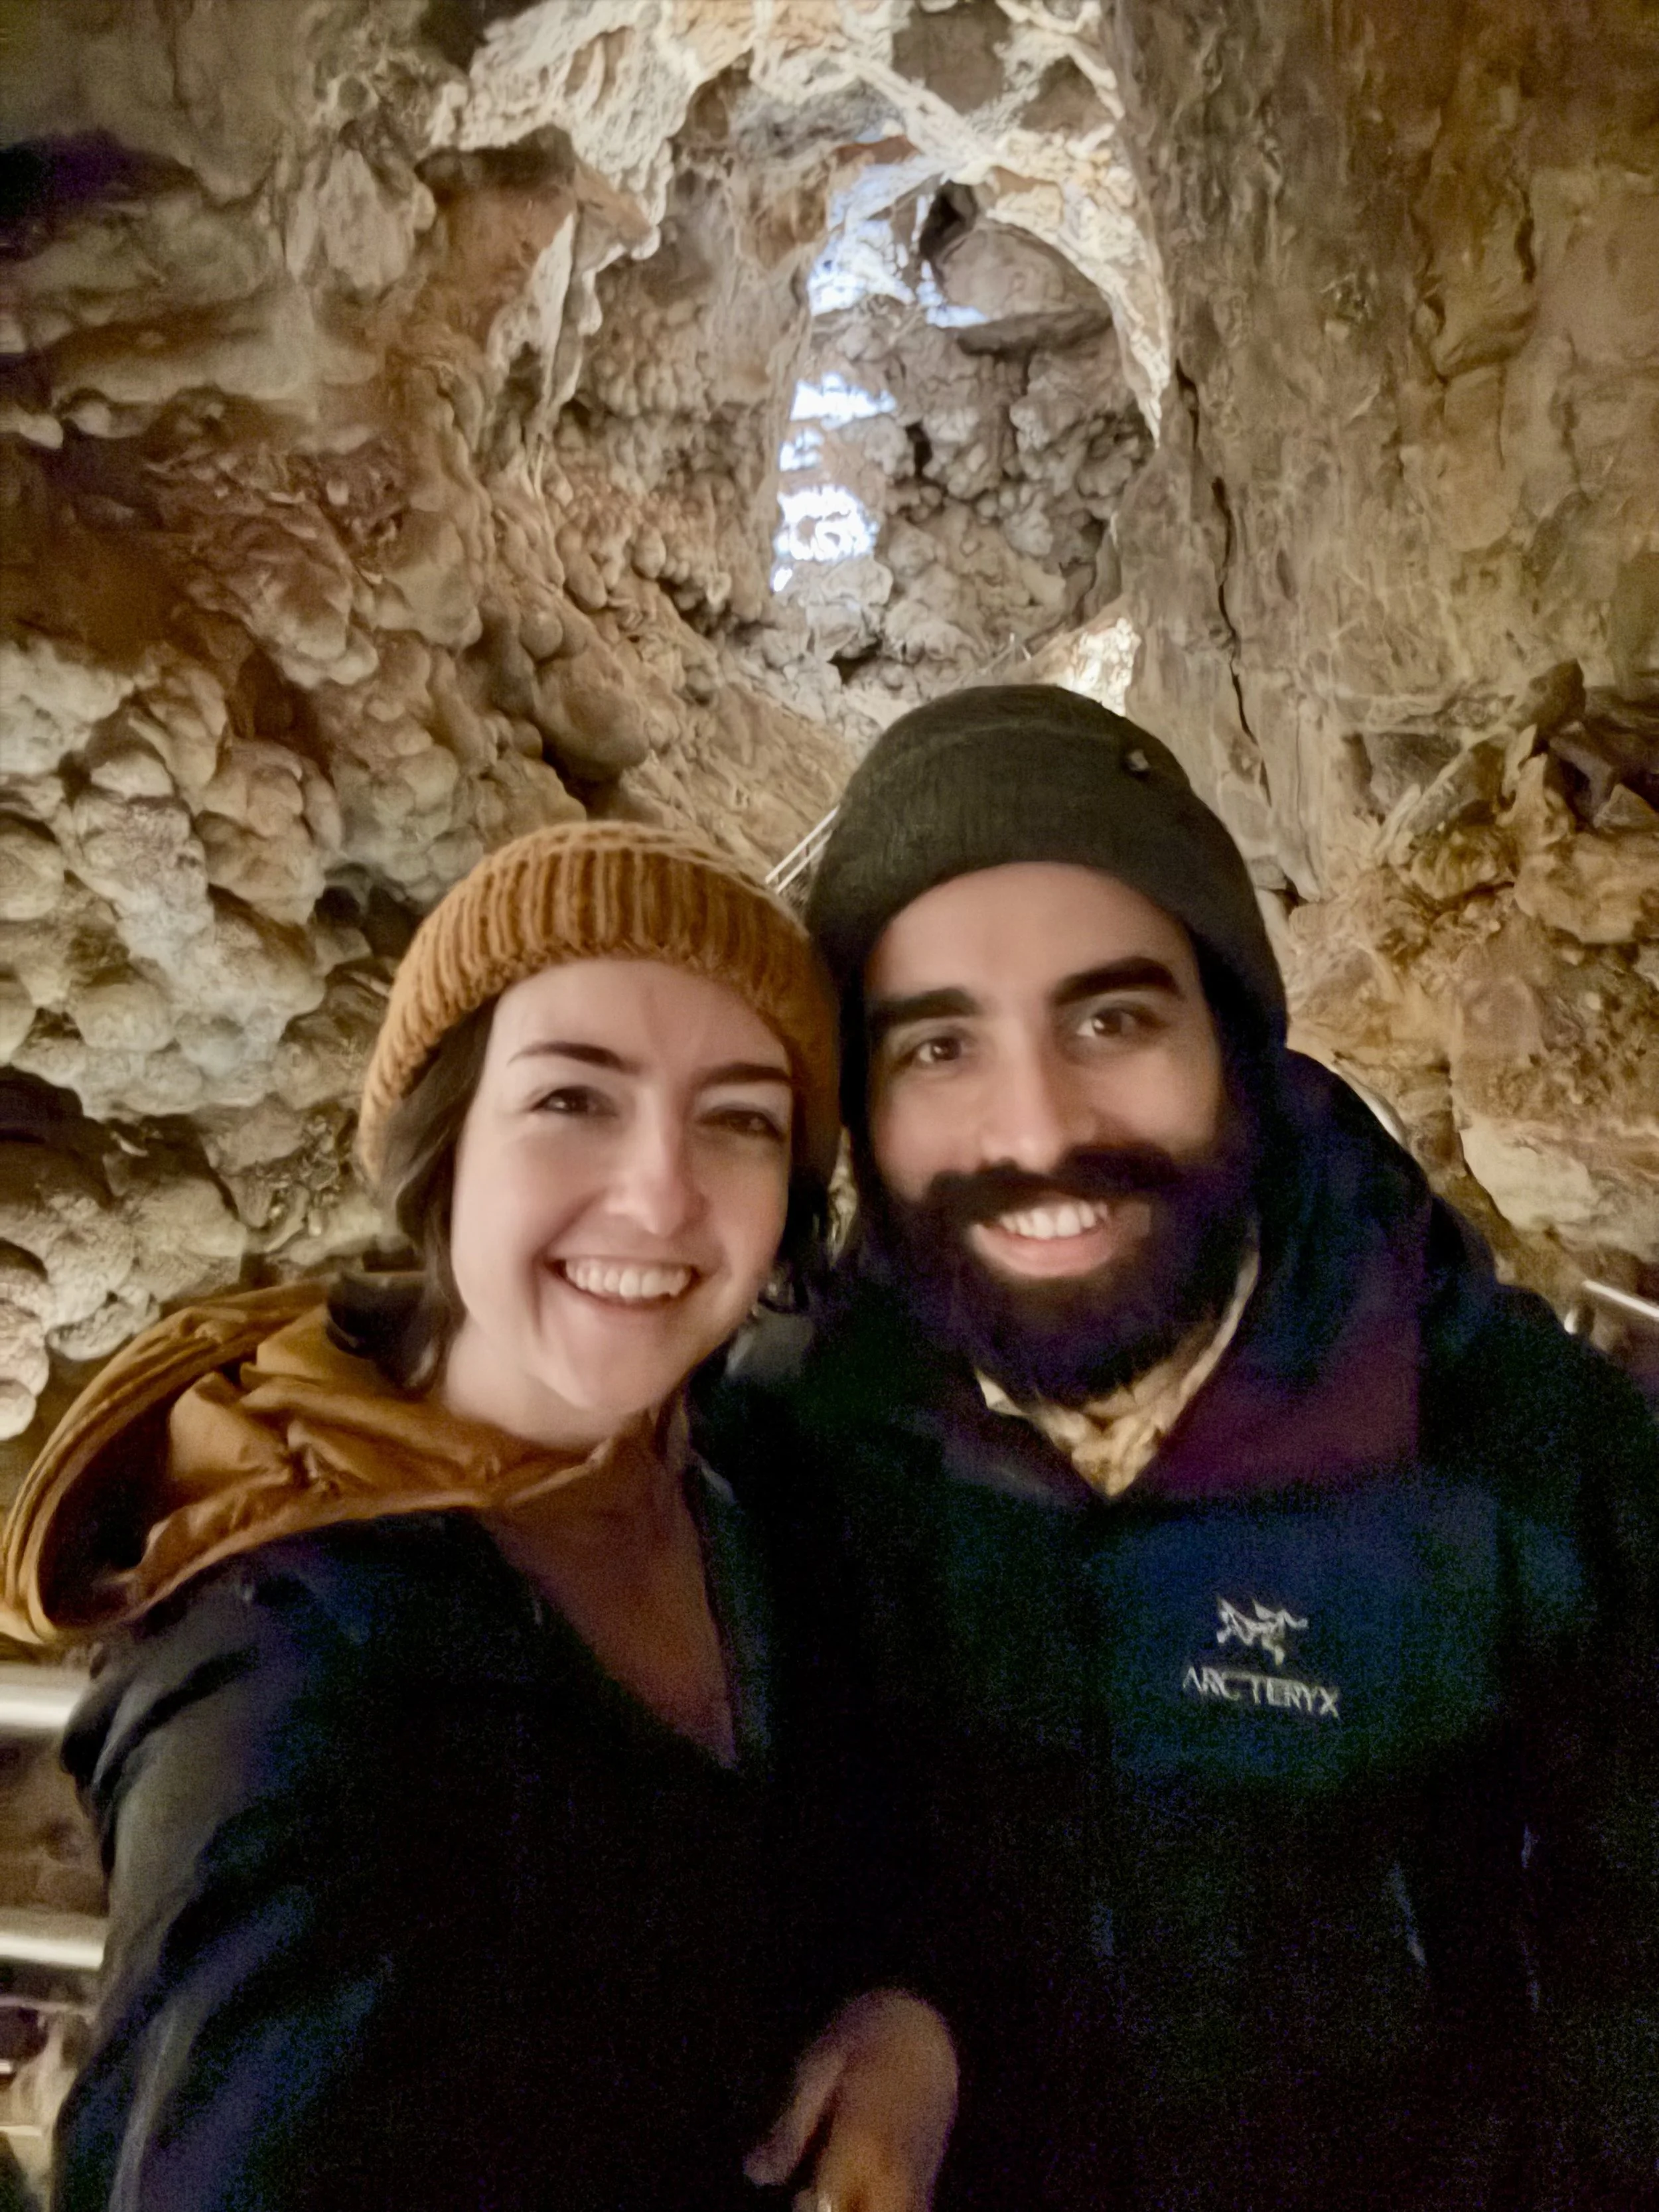
We ended up doing the Scenic Tour with Ranger Joyce, which lasted about 1 hour and 20 minutes. The tour starts with an elevator ride down from the visitor center (your ears will pop!) and follows a well-lit, paved path. There are quite a few stairwells, so watch your footing and be prepared for a little workout.
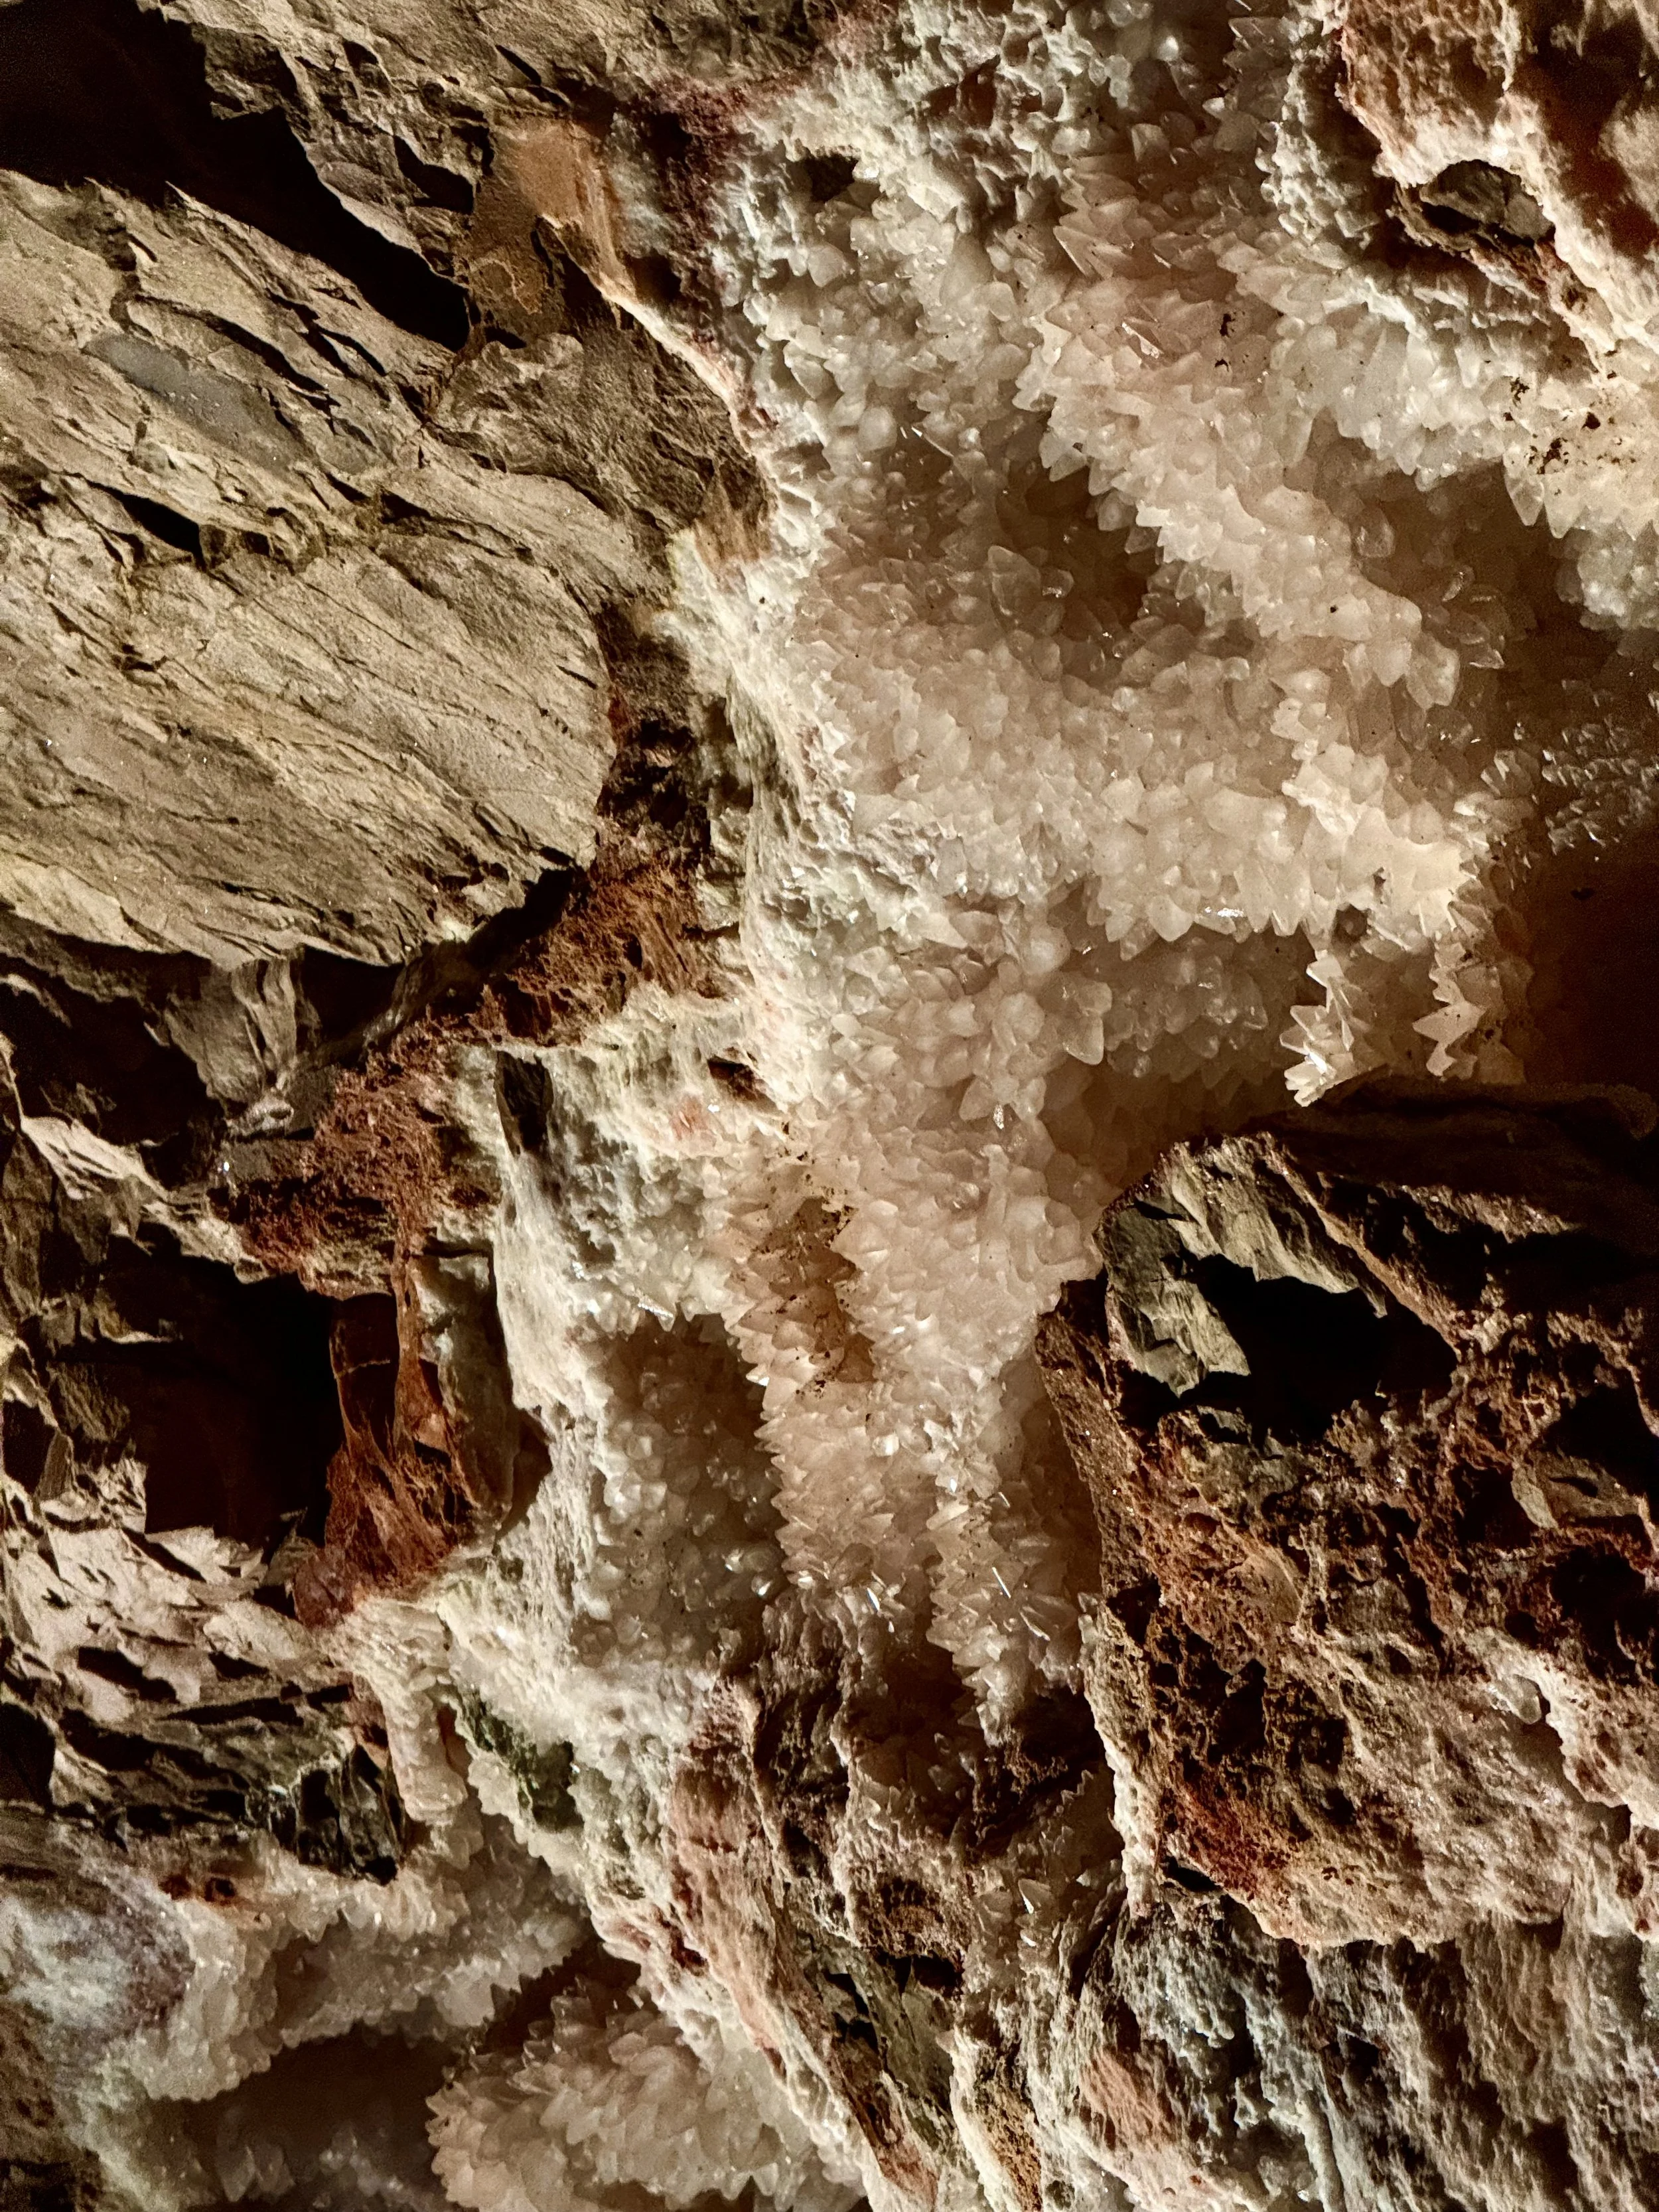
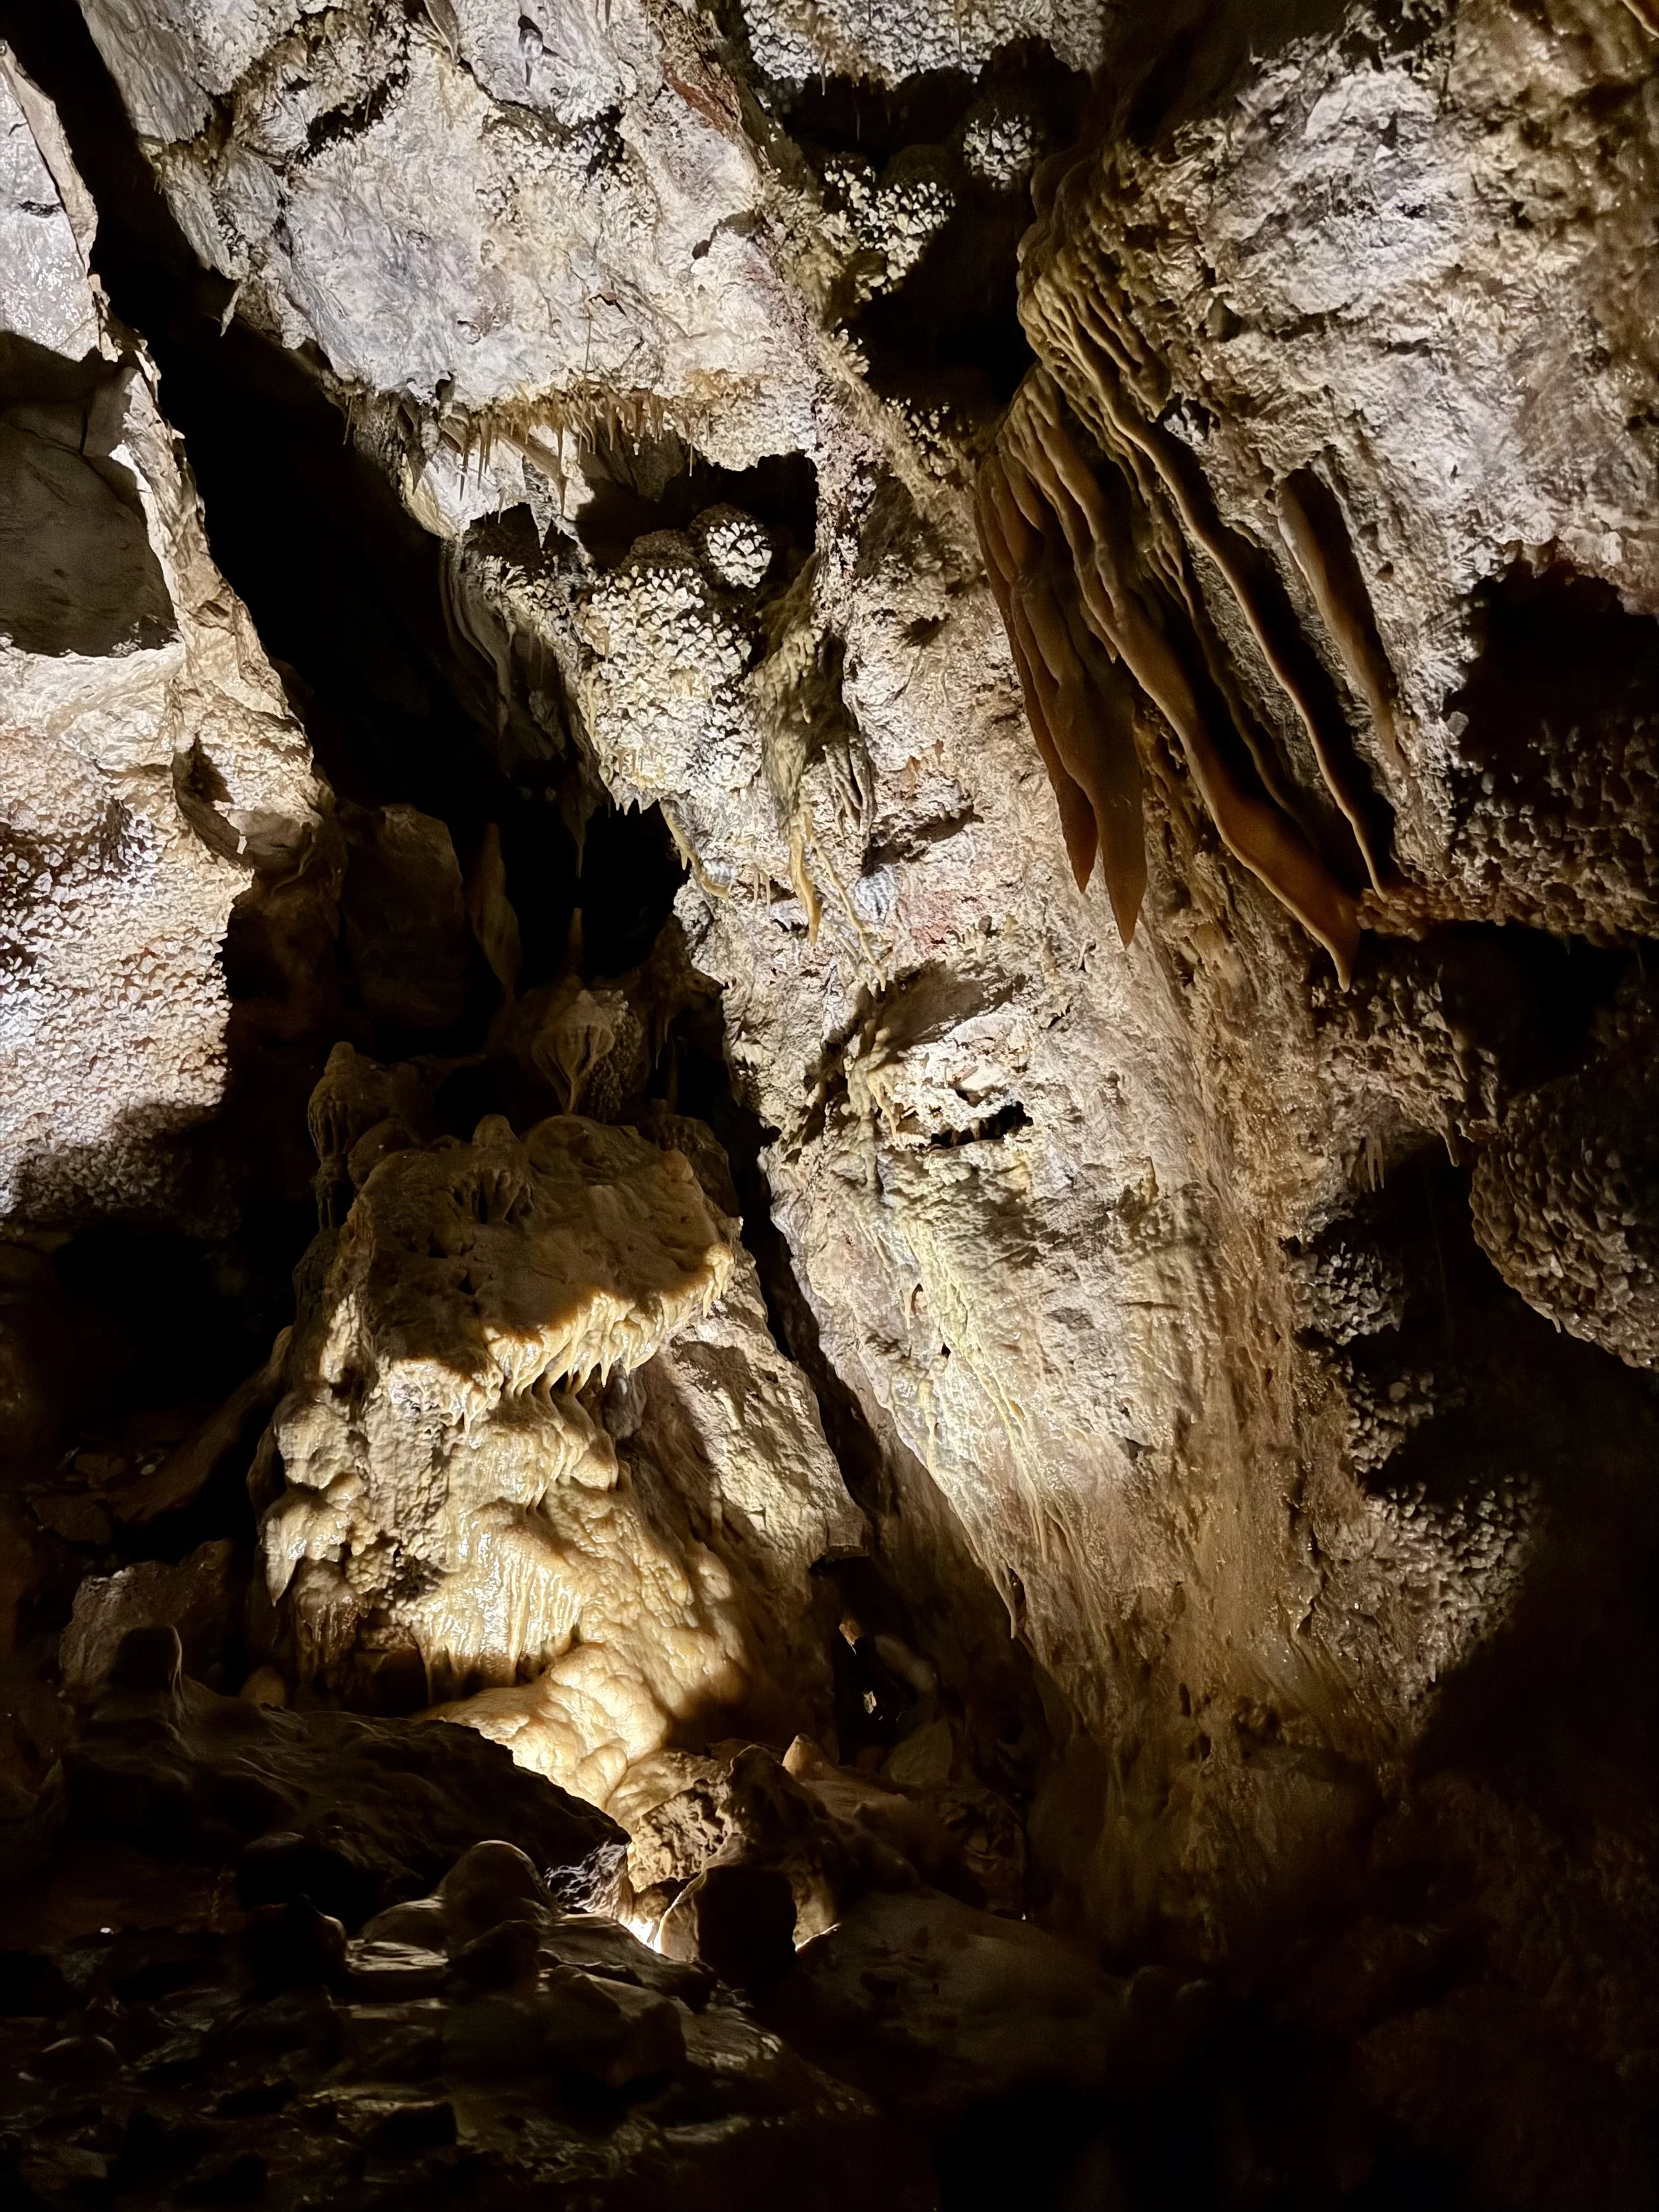
Inside, the cave was full of fascinating formations, including clouds of calcite crystals and a long ribbon of “cave bacon.” Ranger Joyce even turned off all the lights at one point so we could experience total darkness, then lit up a glowing mineral with her infrared flashlight. It’s a pretty large tour group, so we’d suggest volunteering to be the “kaboose” at the back. It gave us the space to move at our own pace and snap a few photos without the crowd.


Lookout Point Trail and Centennial Trail Loop
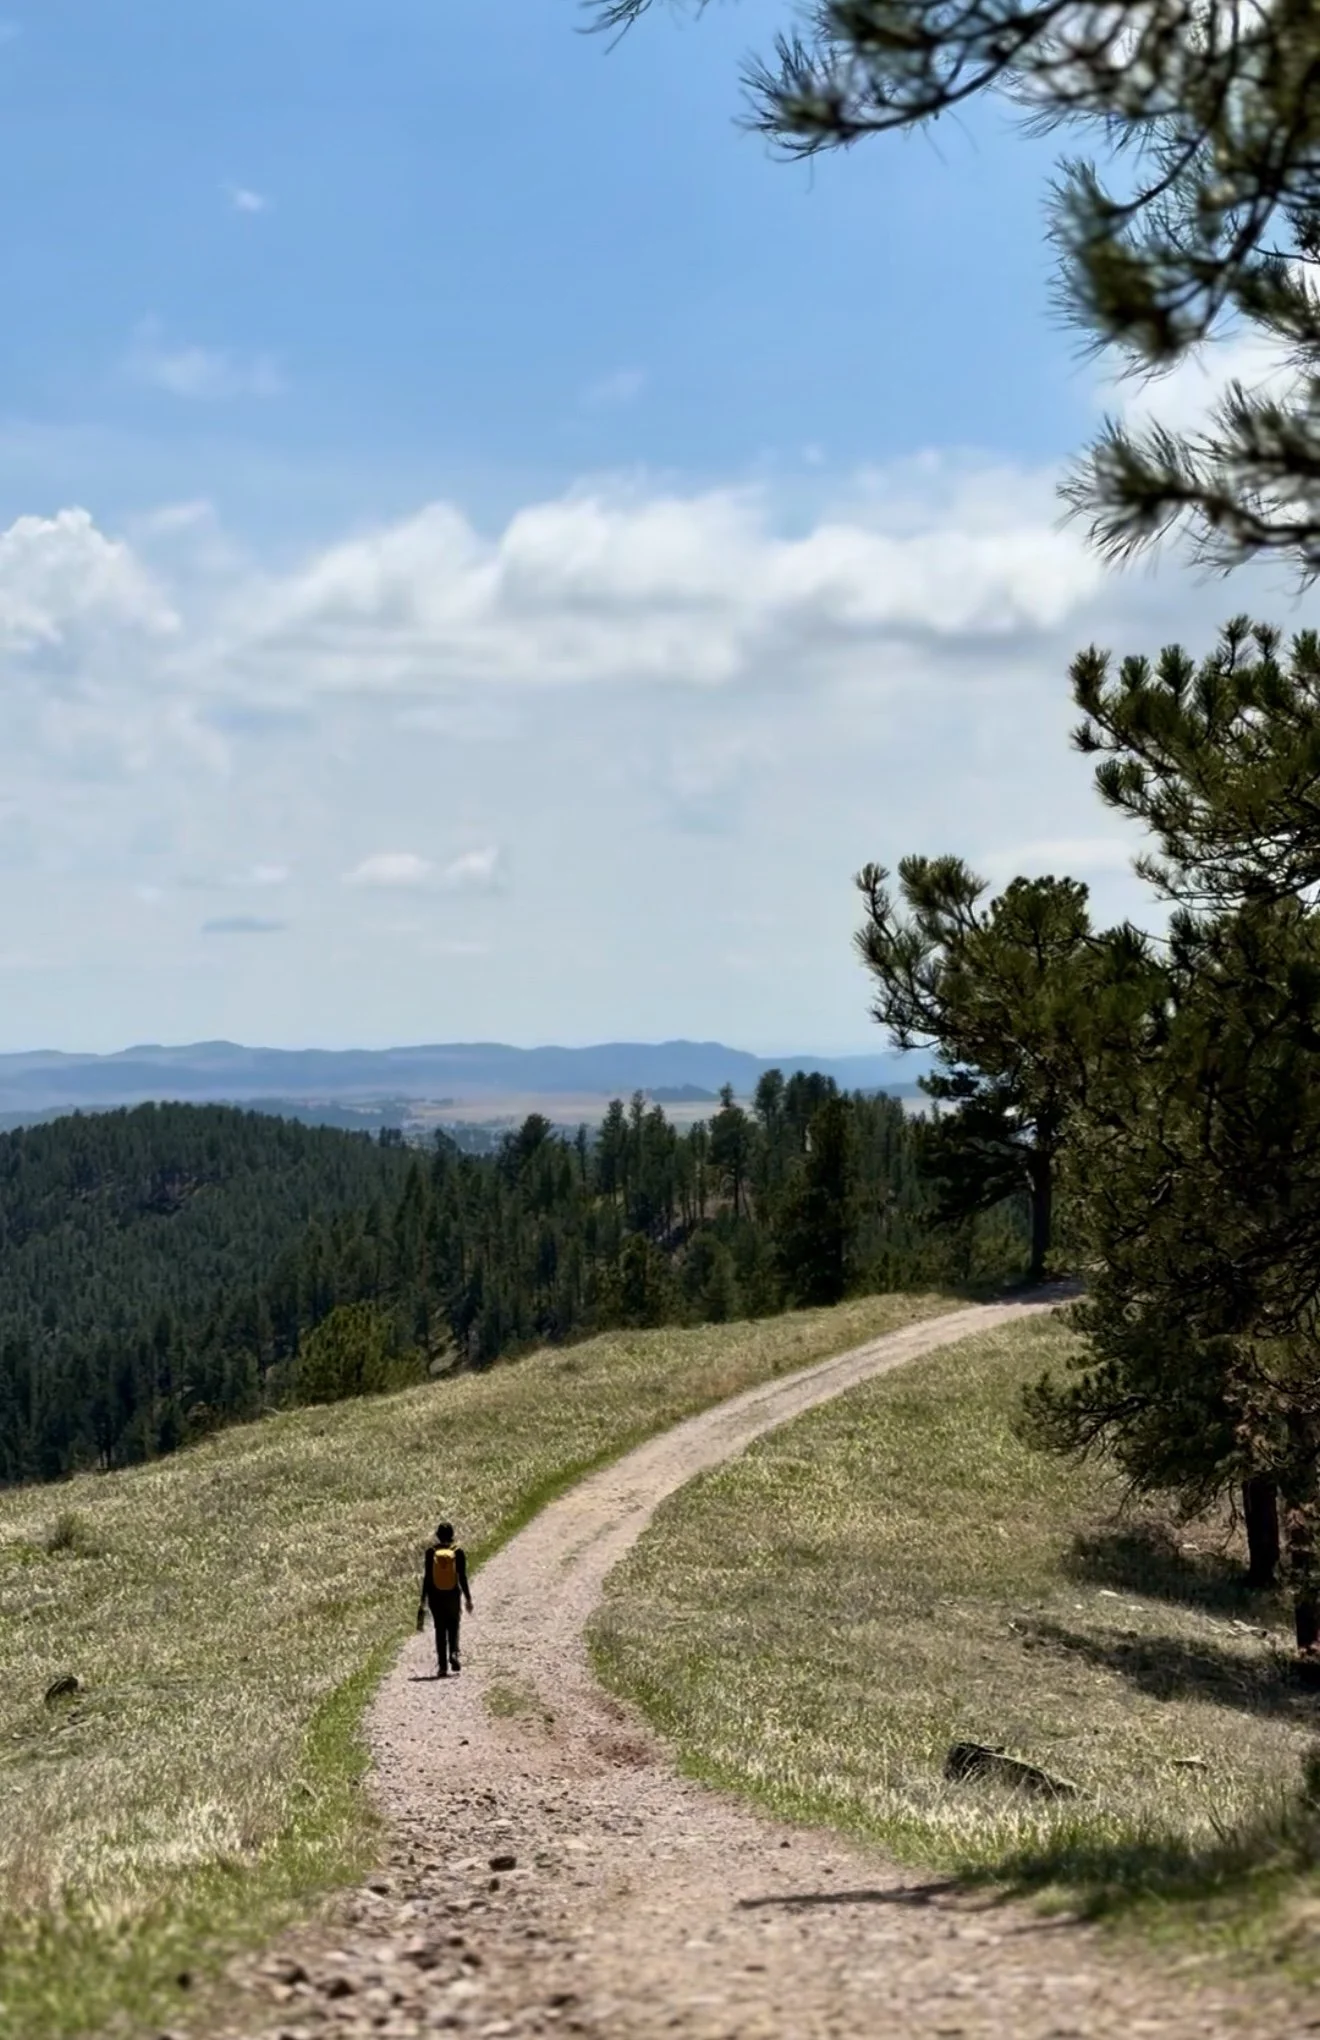
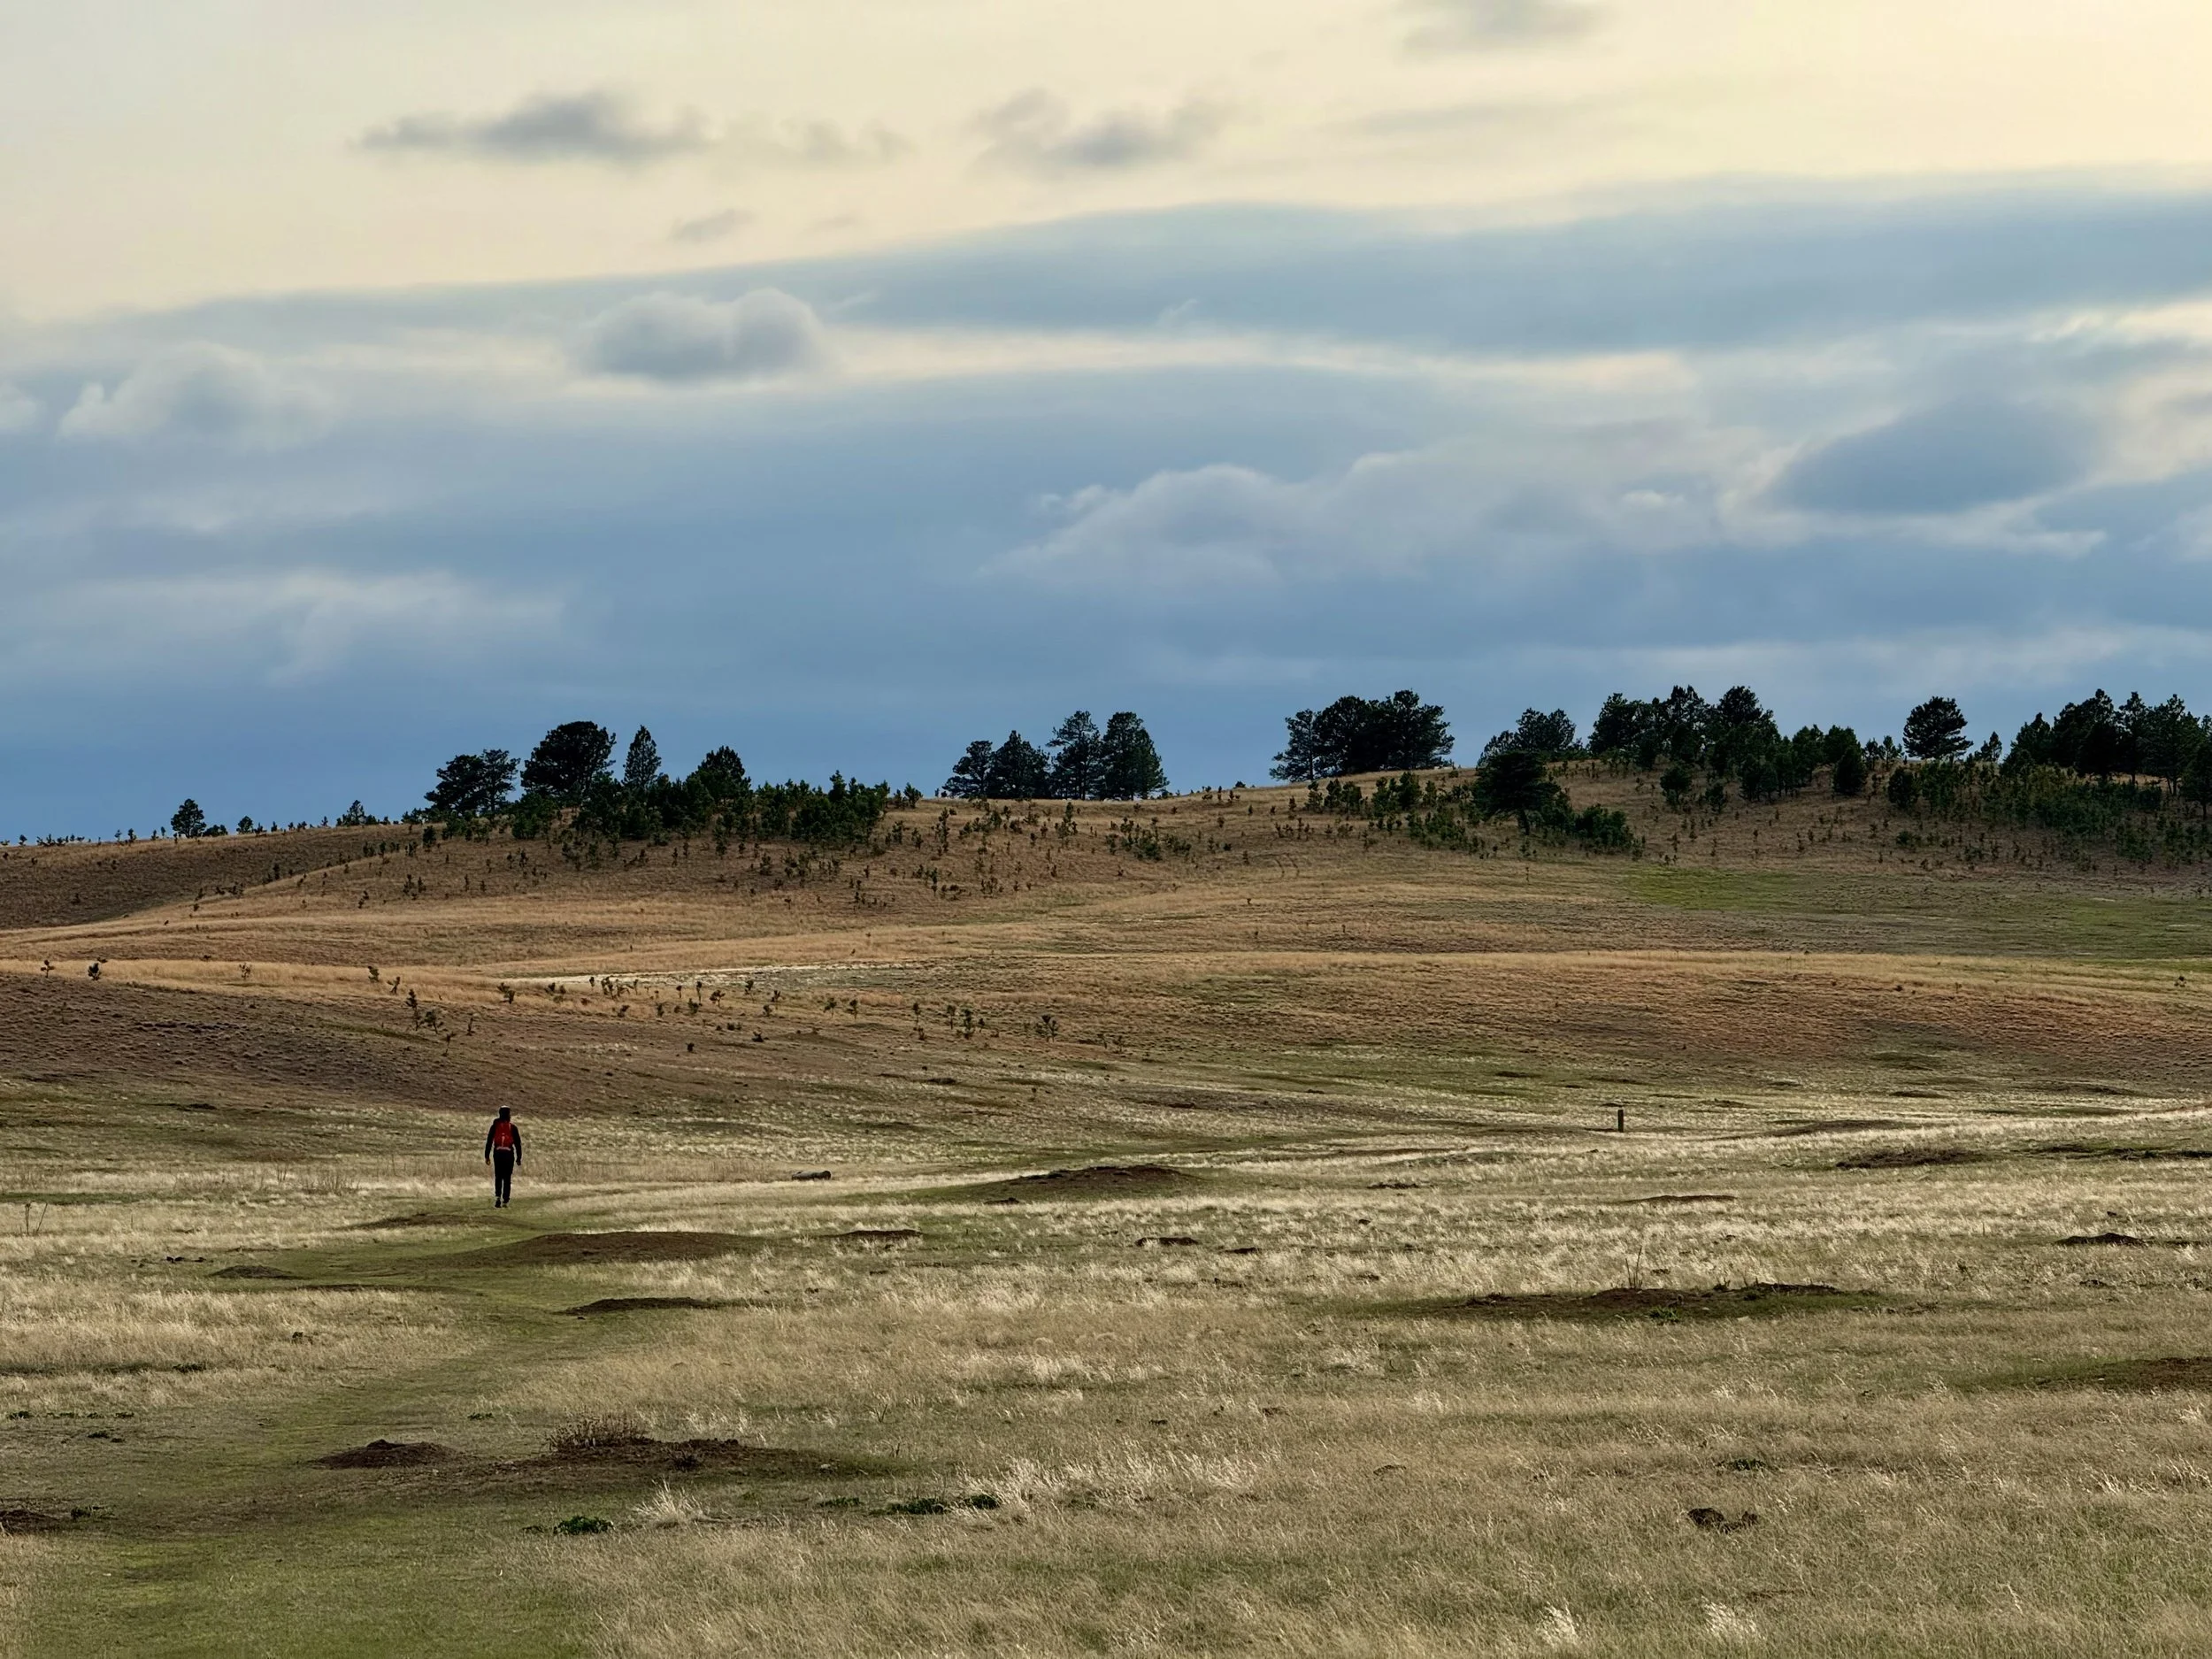
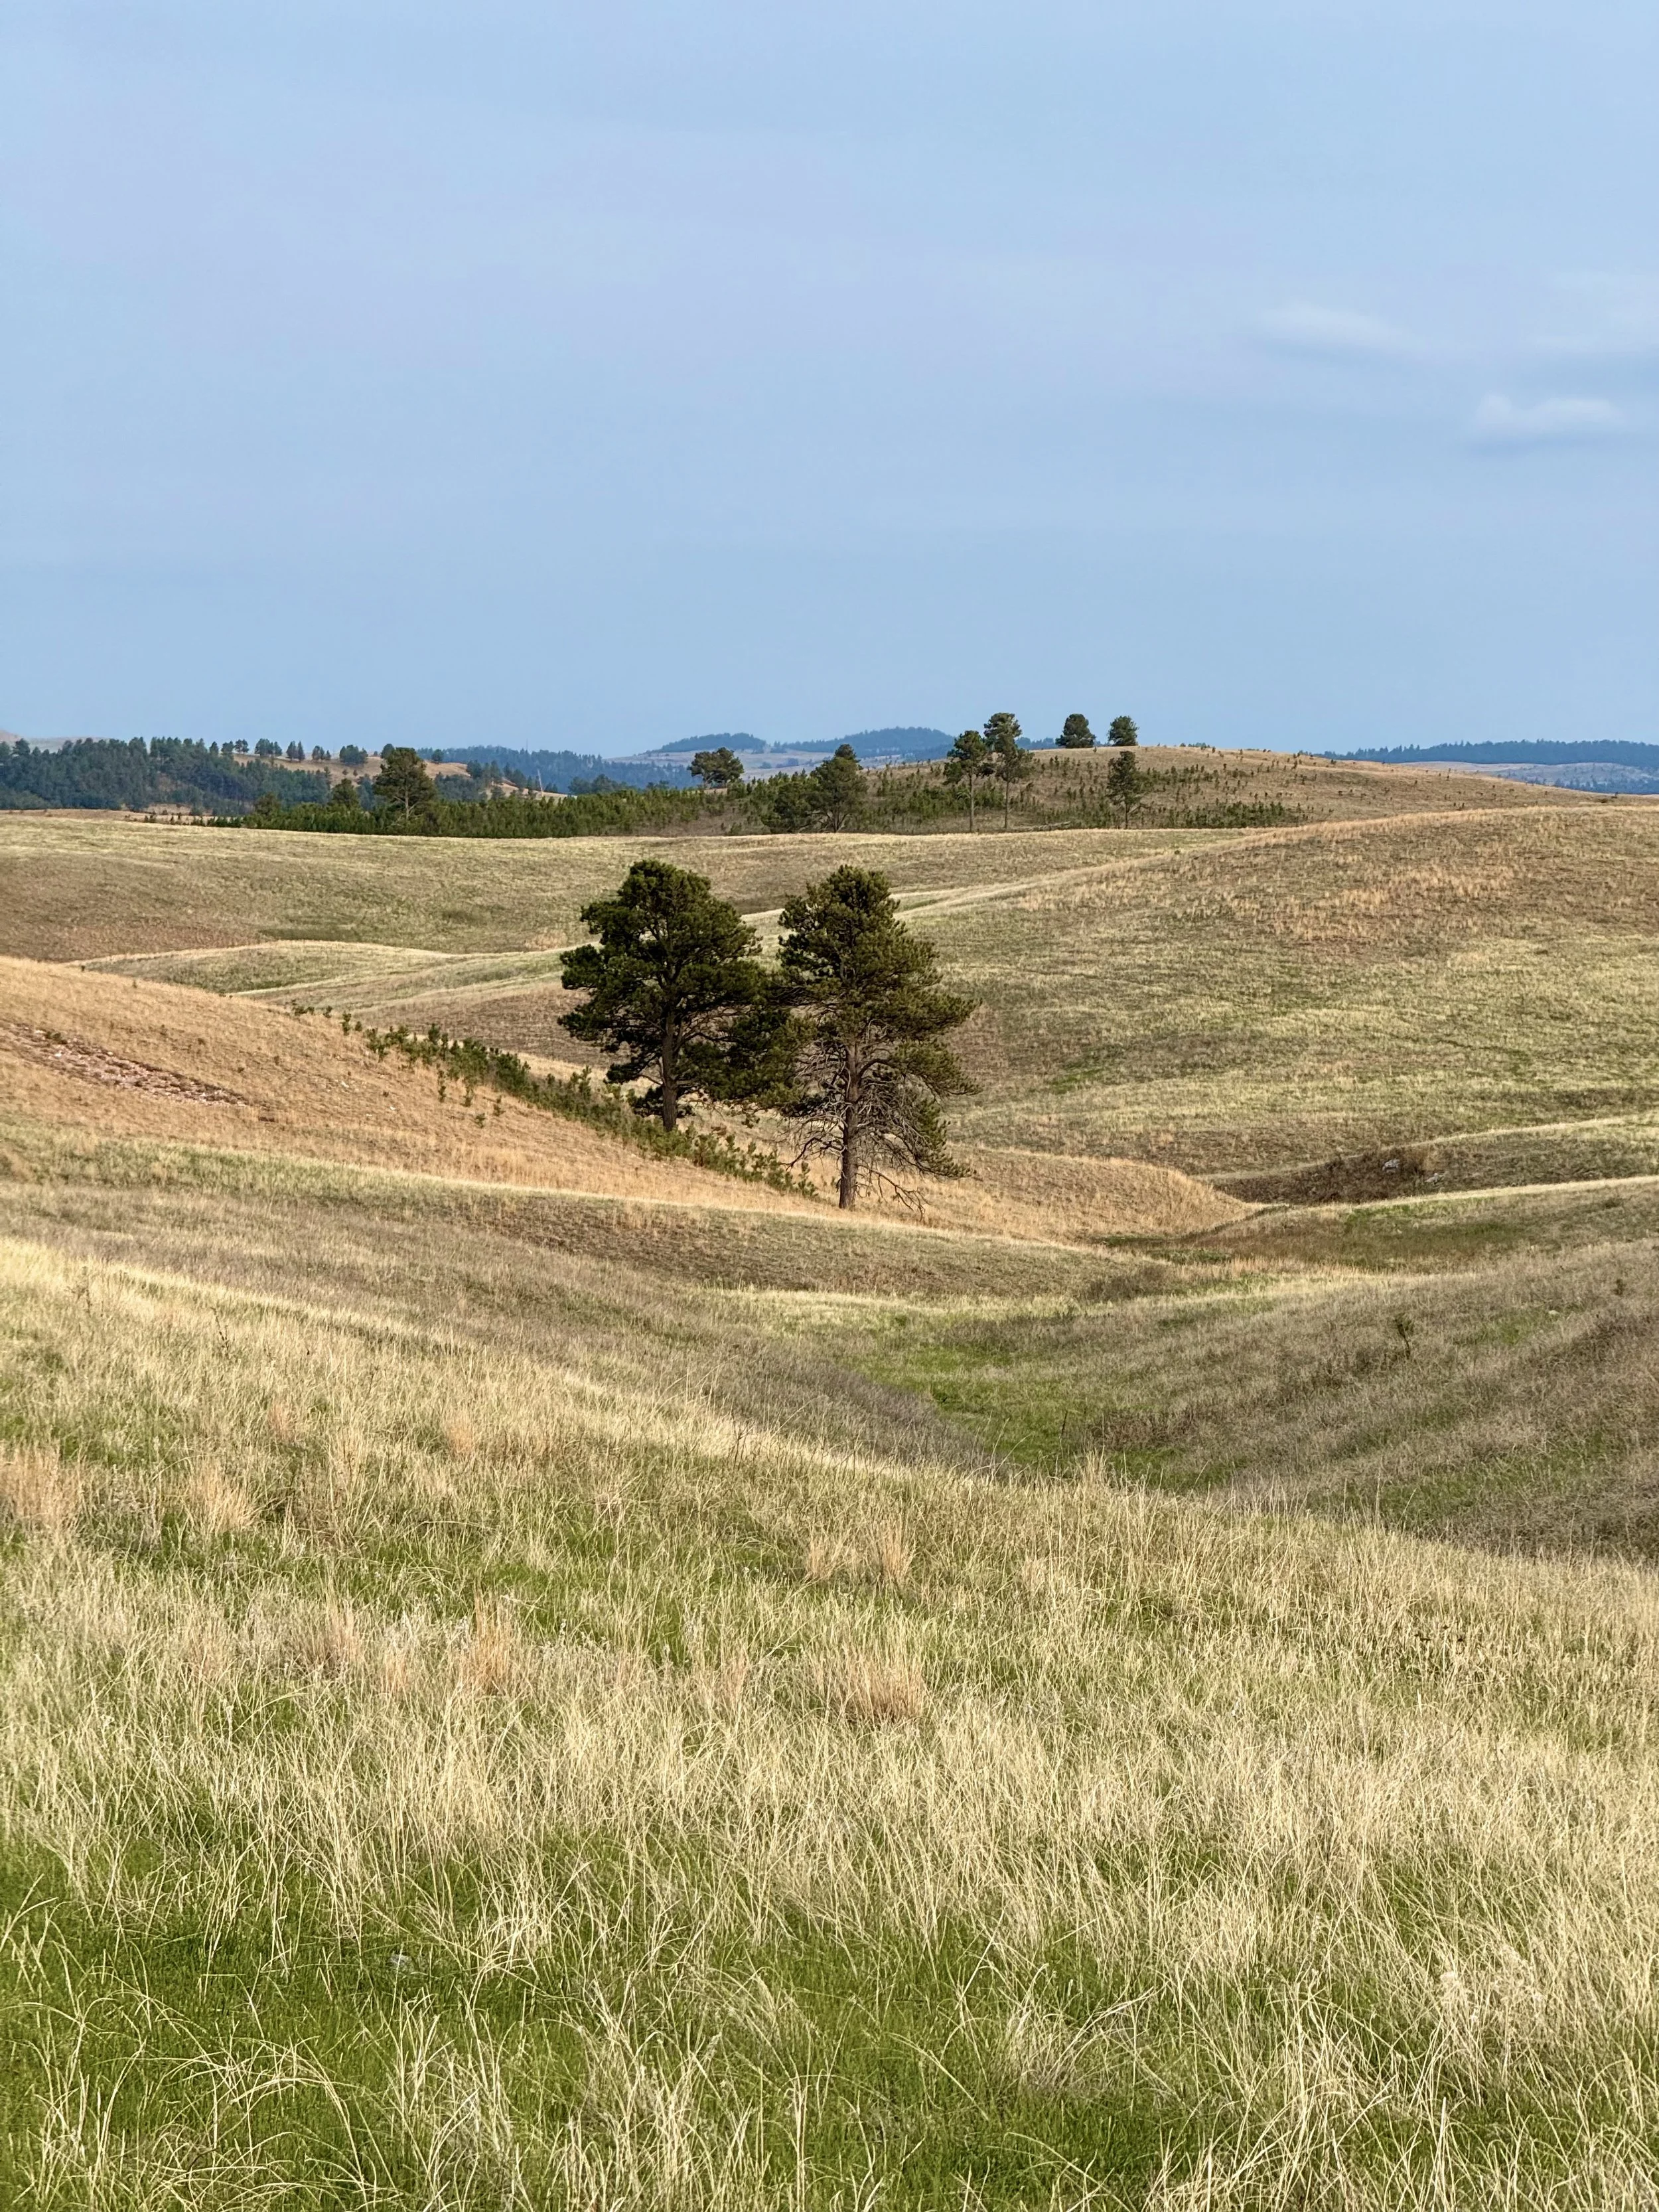
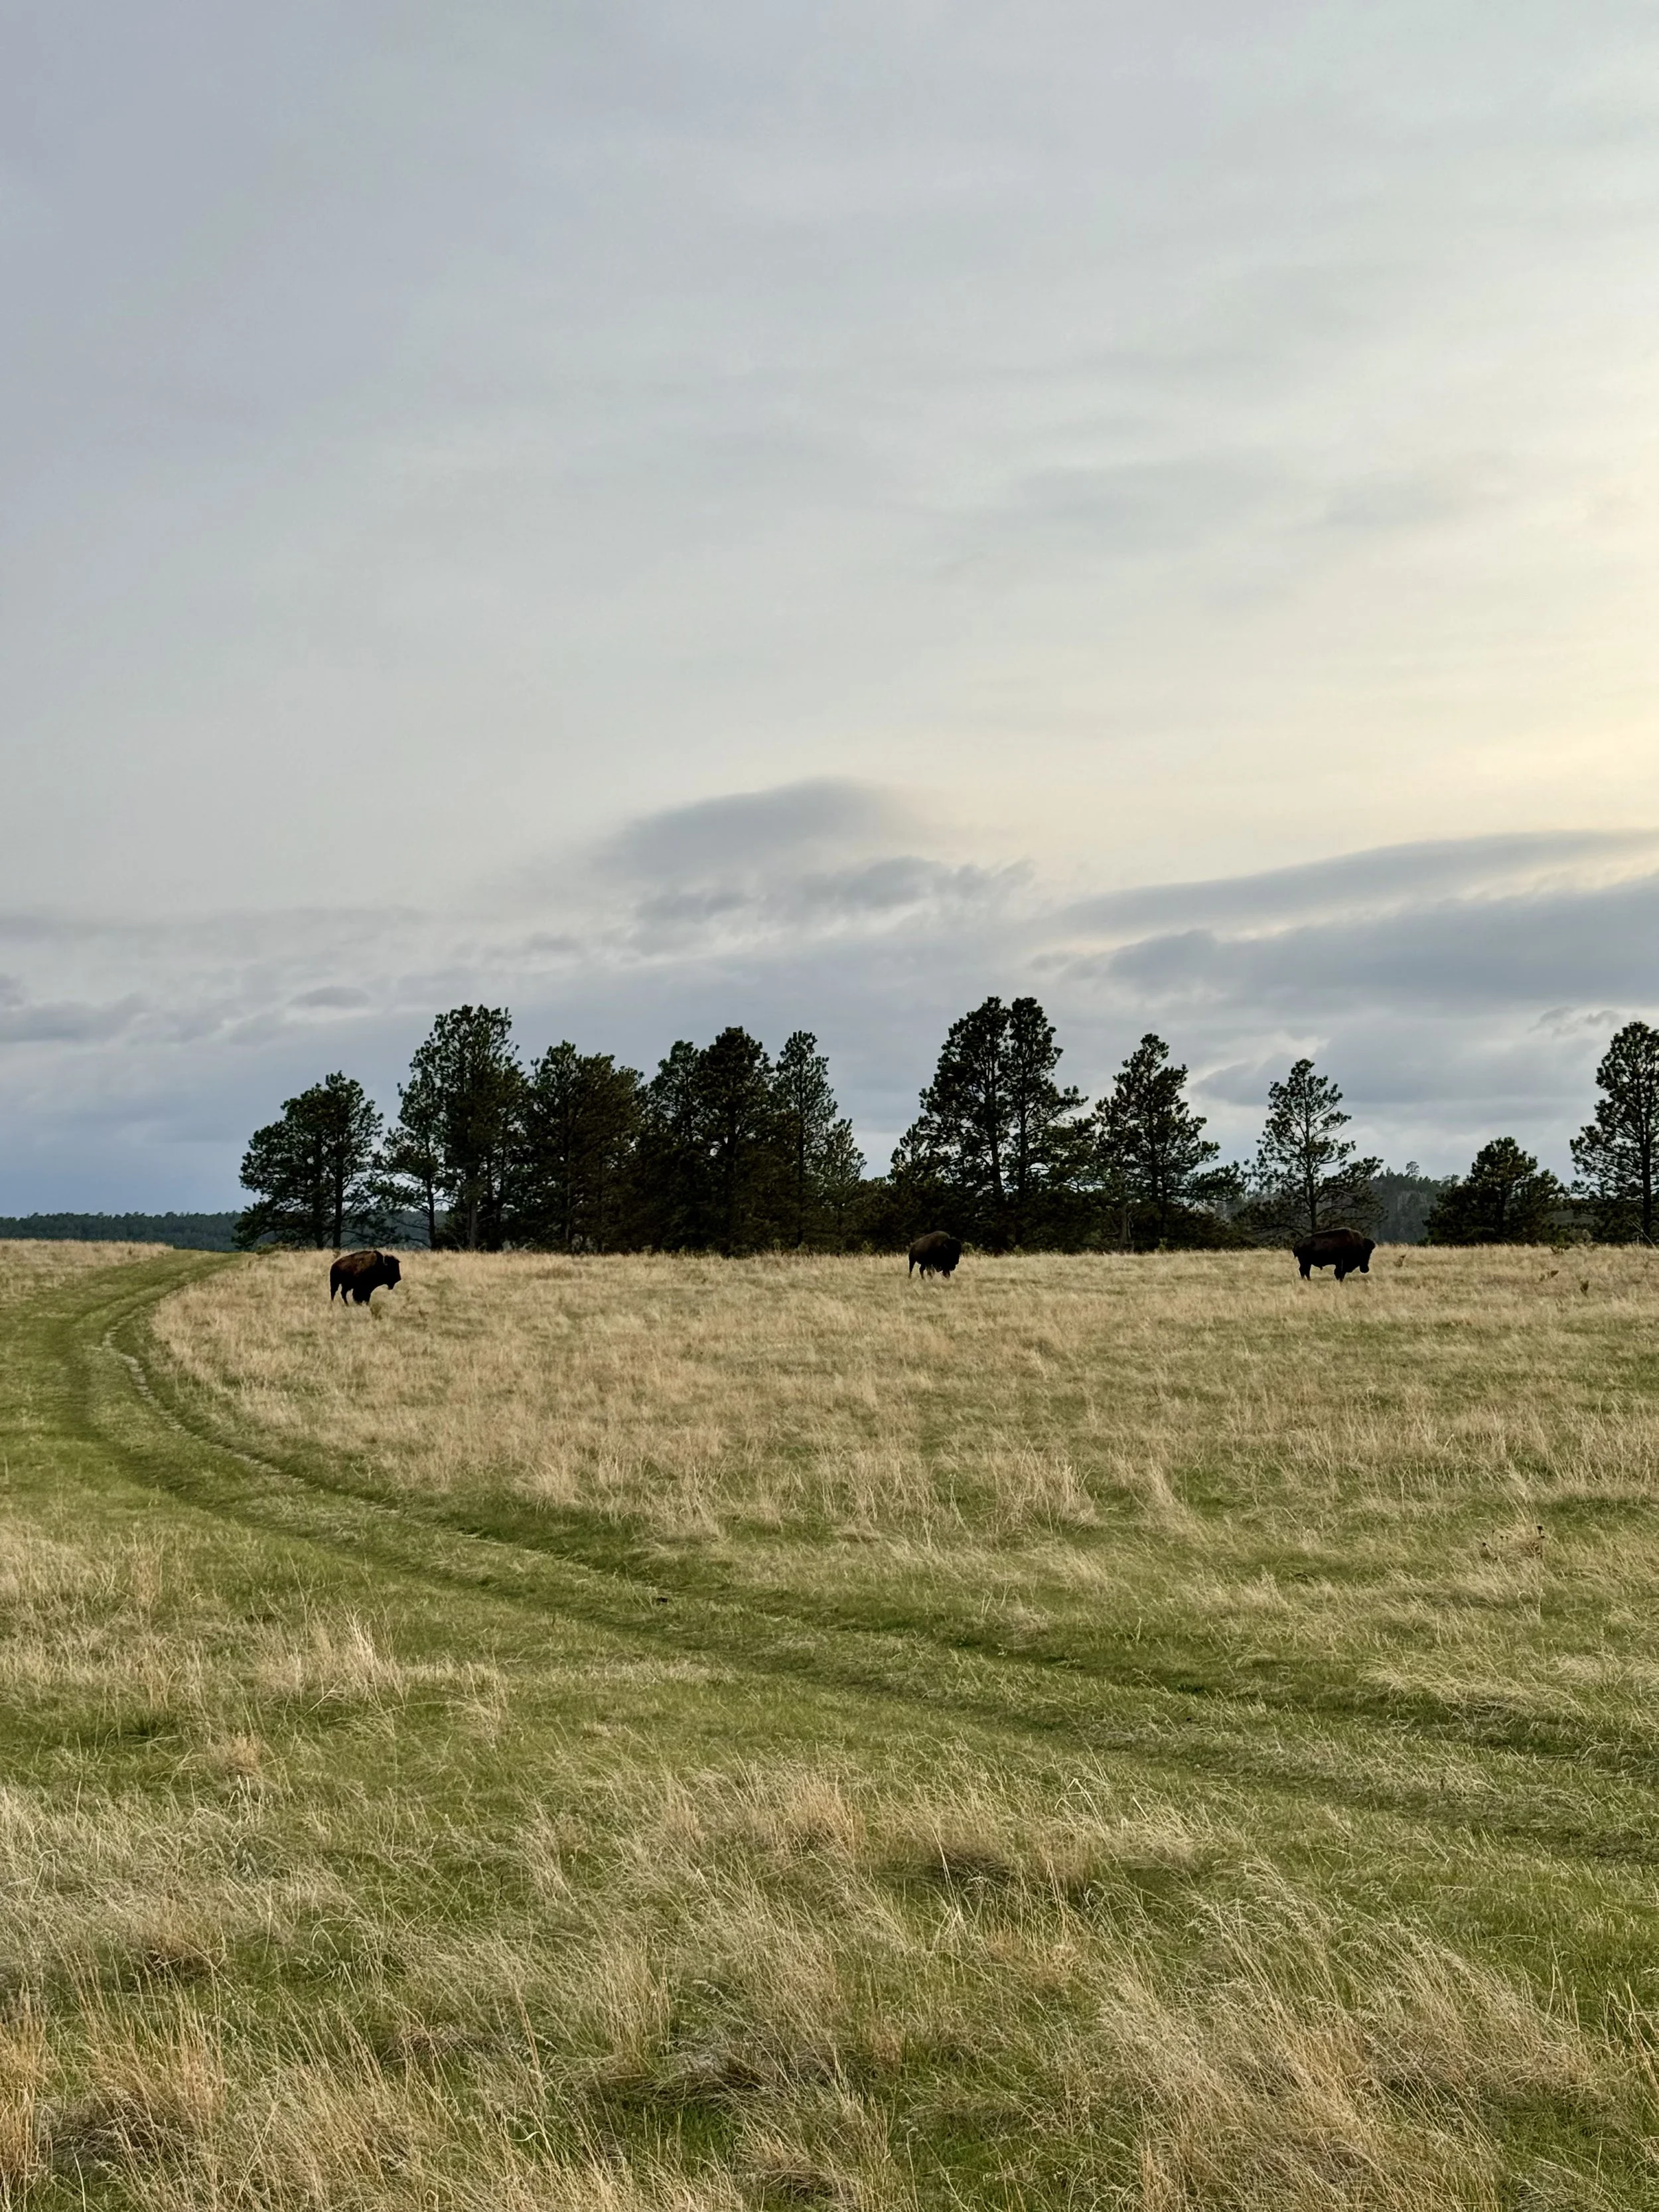
Following our Jewel Cave tour, we made our way back to Wind Cave National Park to hike the Lookout Point and Centennial Trail loop—a mellow 5-mile route that took us about 2.5 hours. The trail winds through open grasslands and rolling hills, with prairie dog towns stealing the show about halfway through. We paused for quite a while just watching them chirp, scurry, and pop in and out of their burrows.
As the sun dipped lower, the light brought out the richness in the landscape’s colors. We had seen plenty of bison “evidence” along the trail, but didn’t spot the real thing until the very end when three massive bison crested the hill we were walking towards. Being out there with them in the open (without a car to jump into!) was a little intimidating, but we gave them space and waited until they wandered off safely to continue our hike.
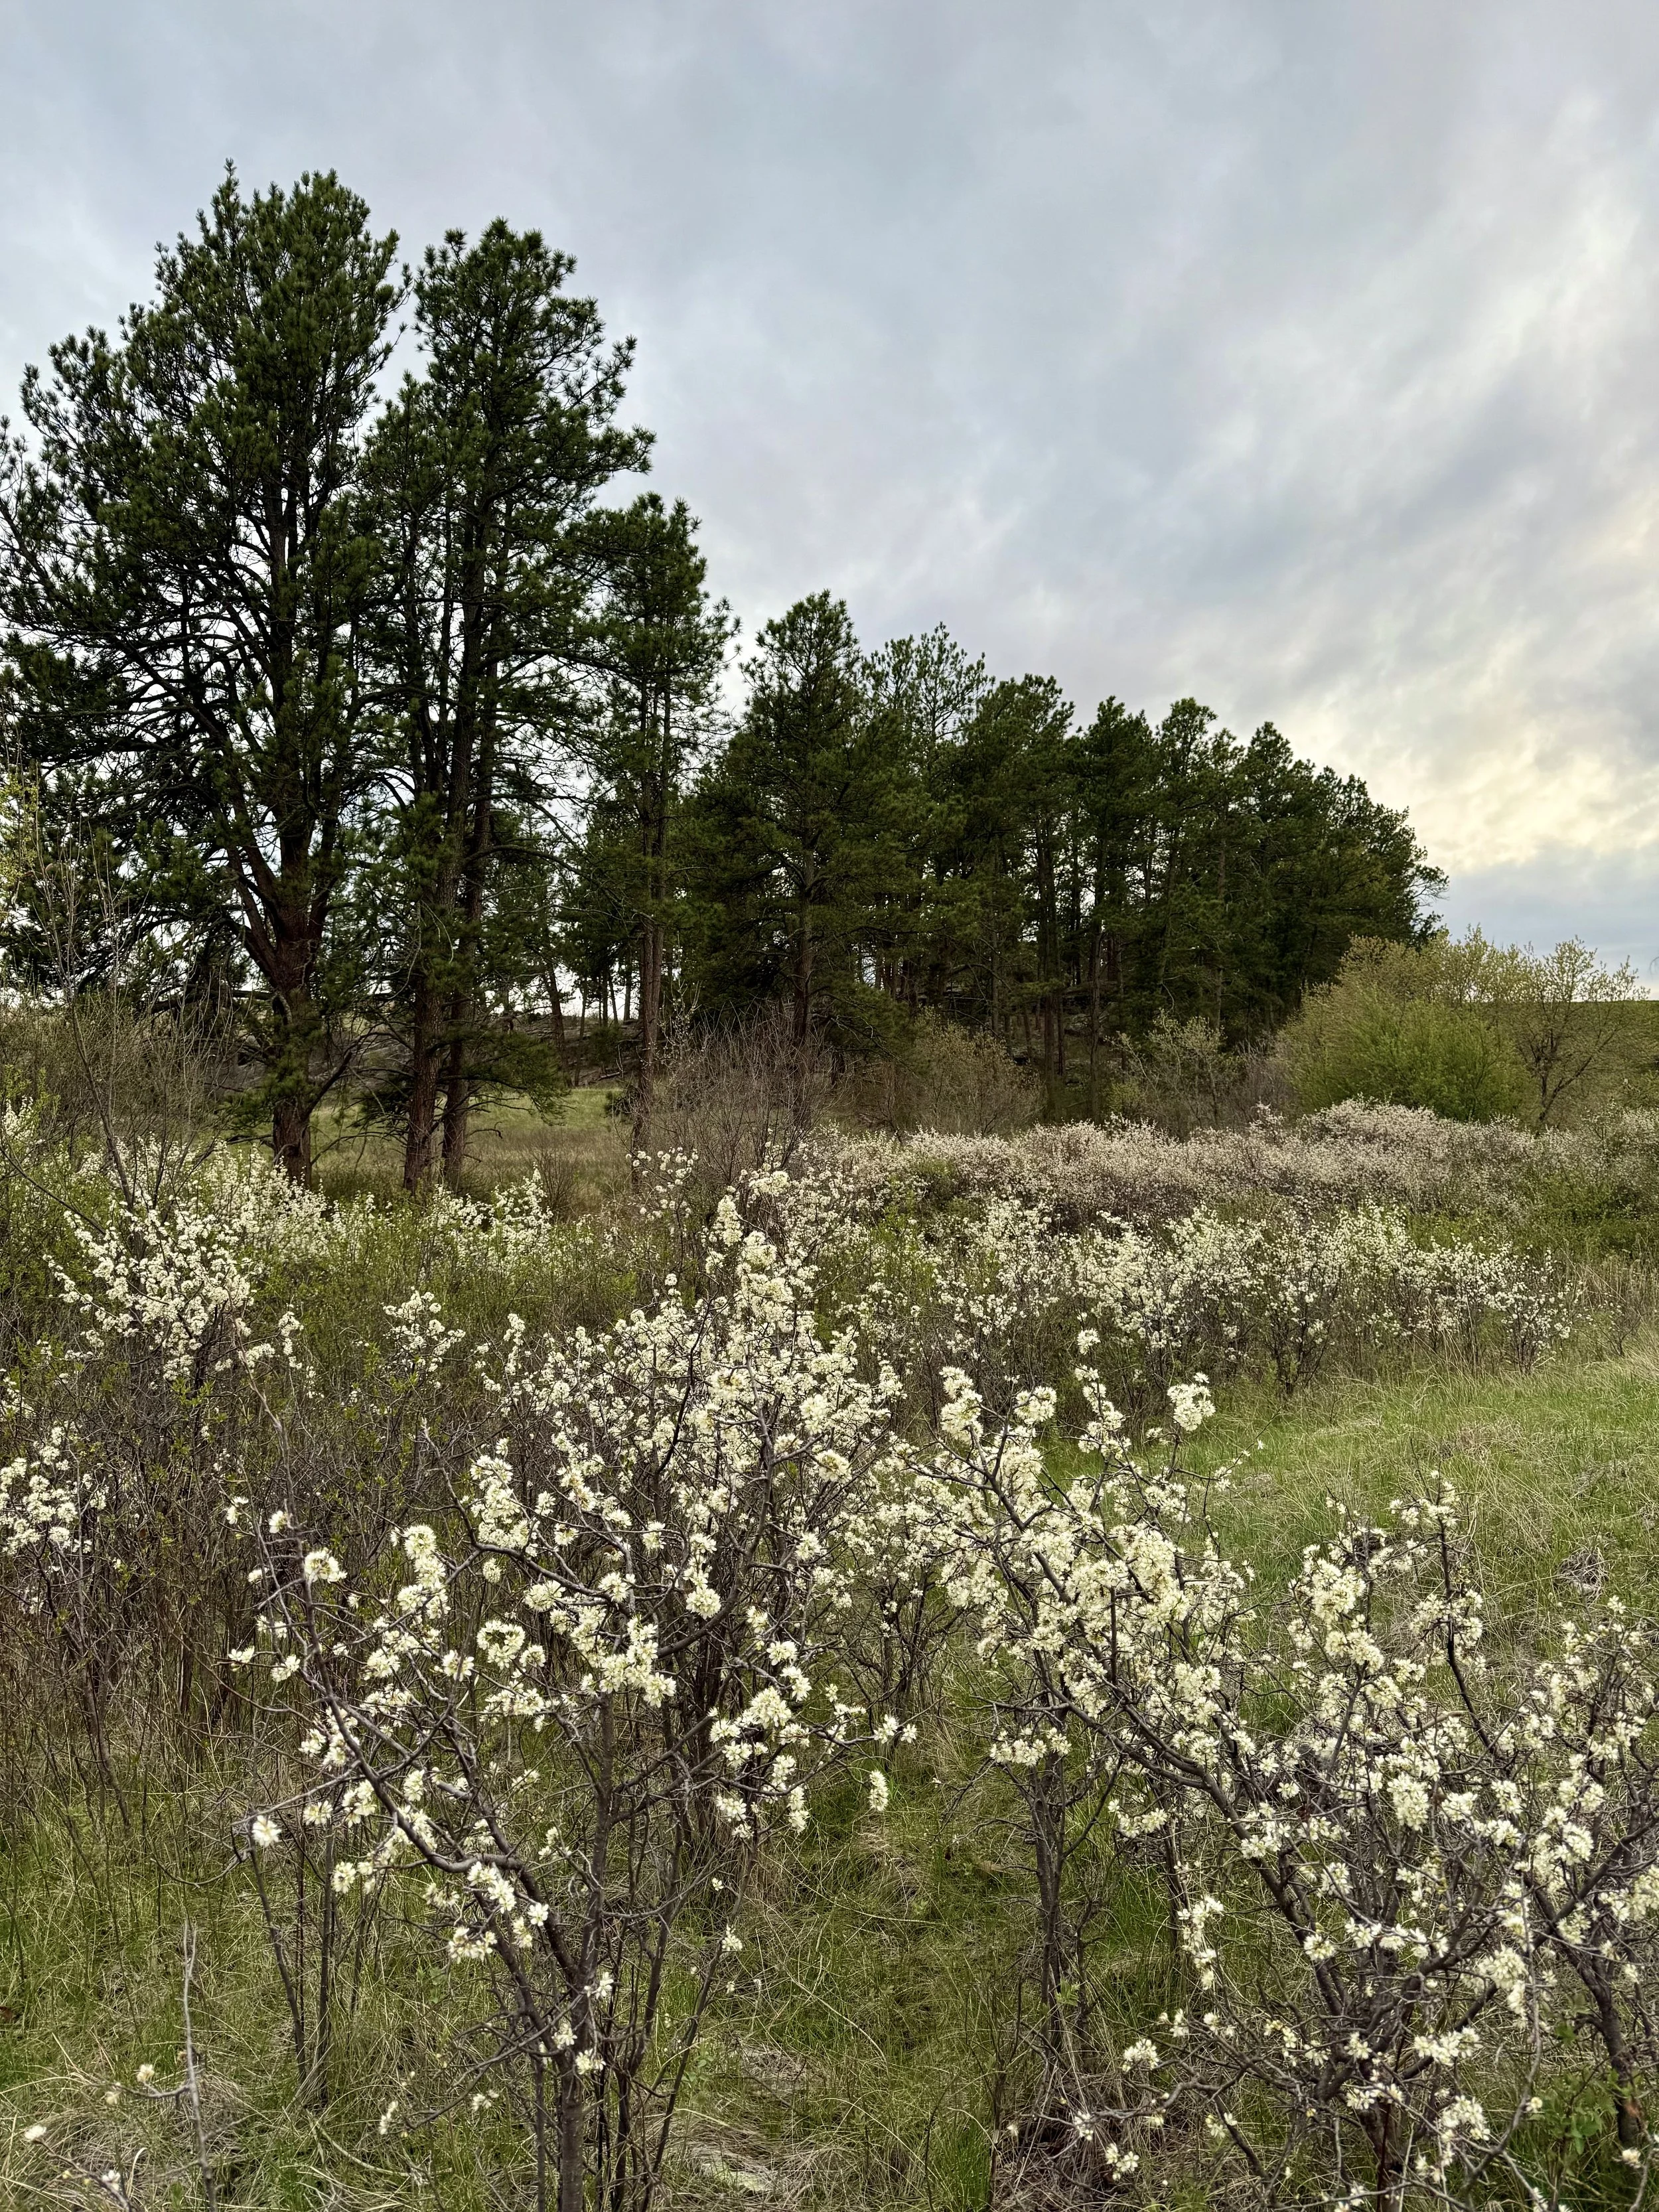
Toward the end of the loop, we passed through a stretch filled with white flowering shrubs that smelled amazing. On the drive back to camp, we spotted a herd of pronghorns and even more bison, closing out the day on a wild and peaceful note.
Day 6
〰️
Day 6 〰️
Day 6 South Dakota Parks Itinerary:
Exploring Custer State Park
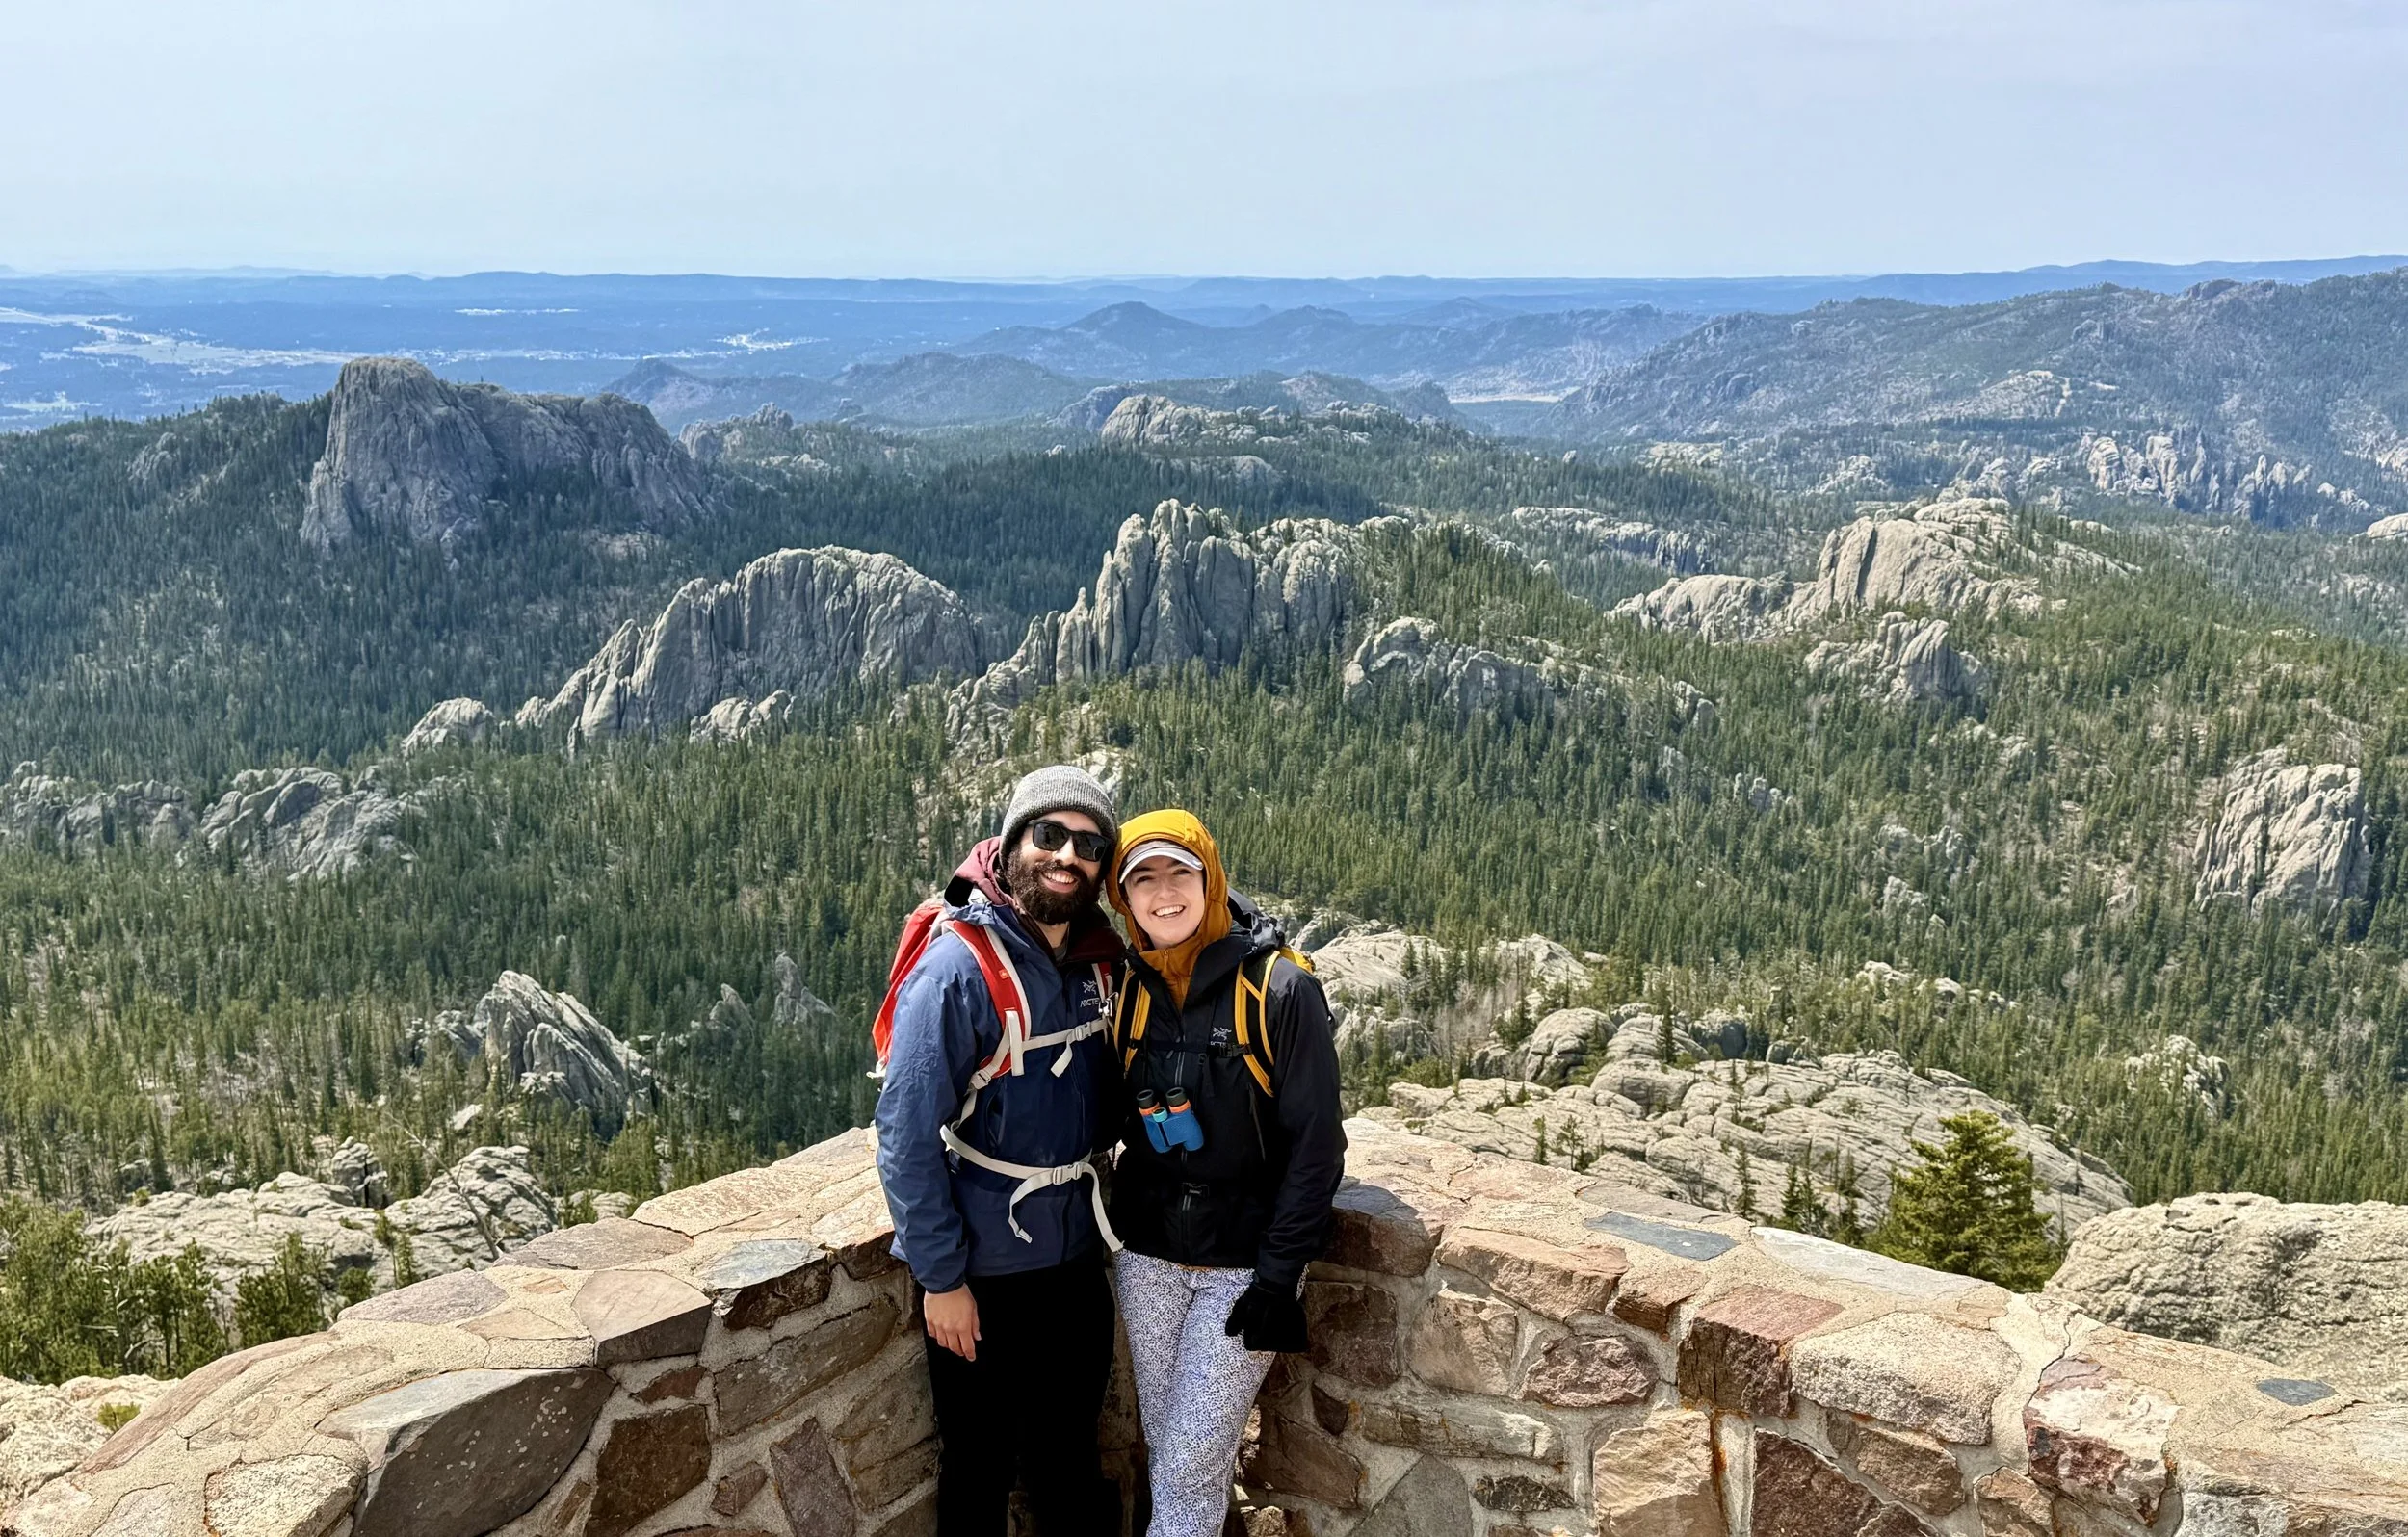
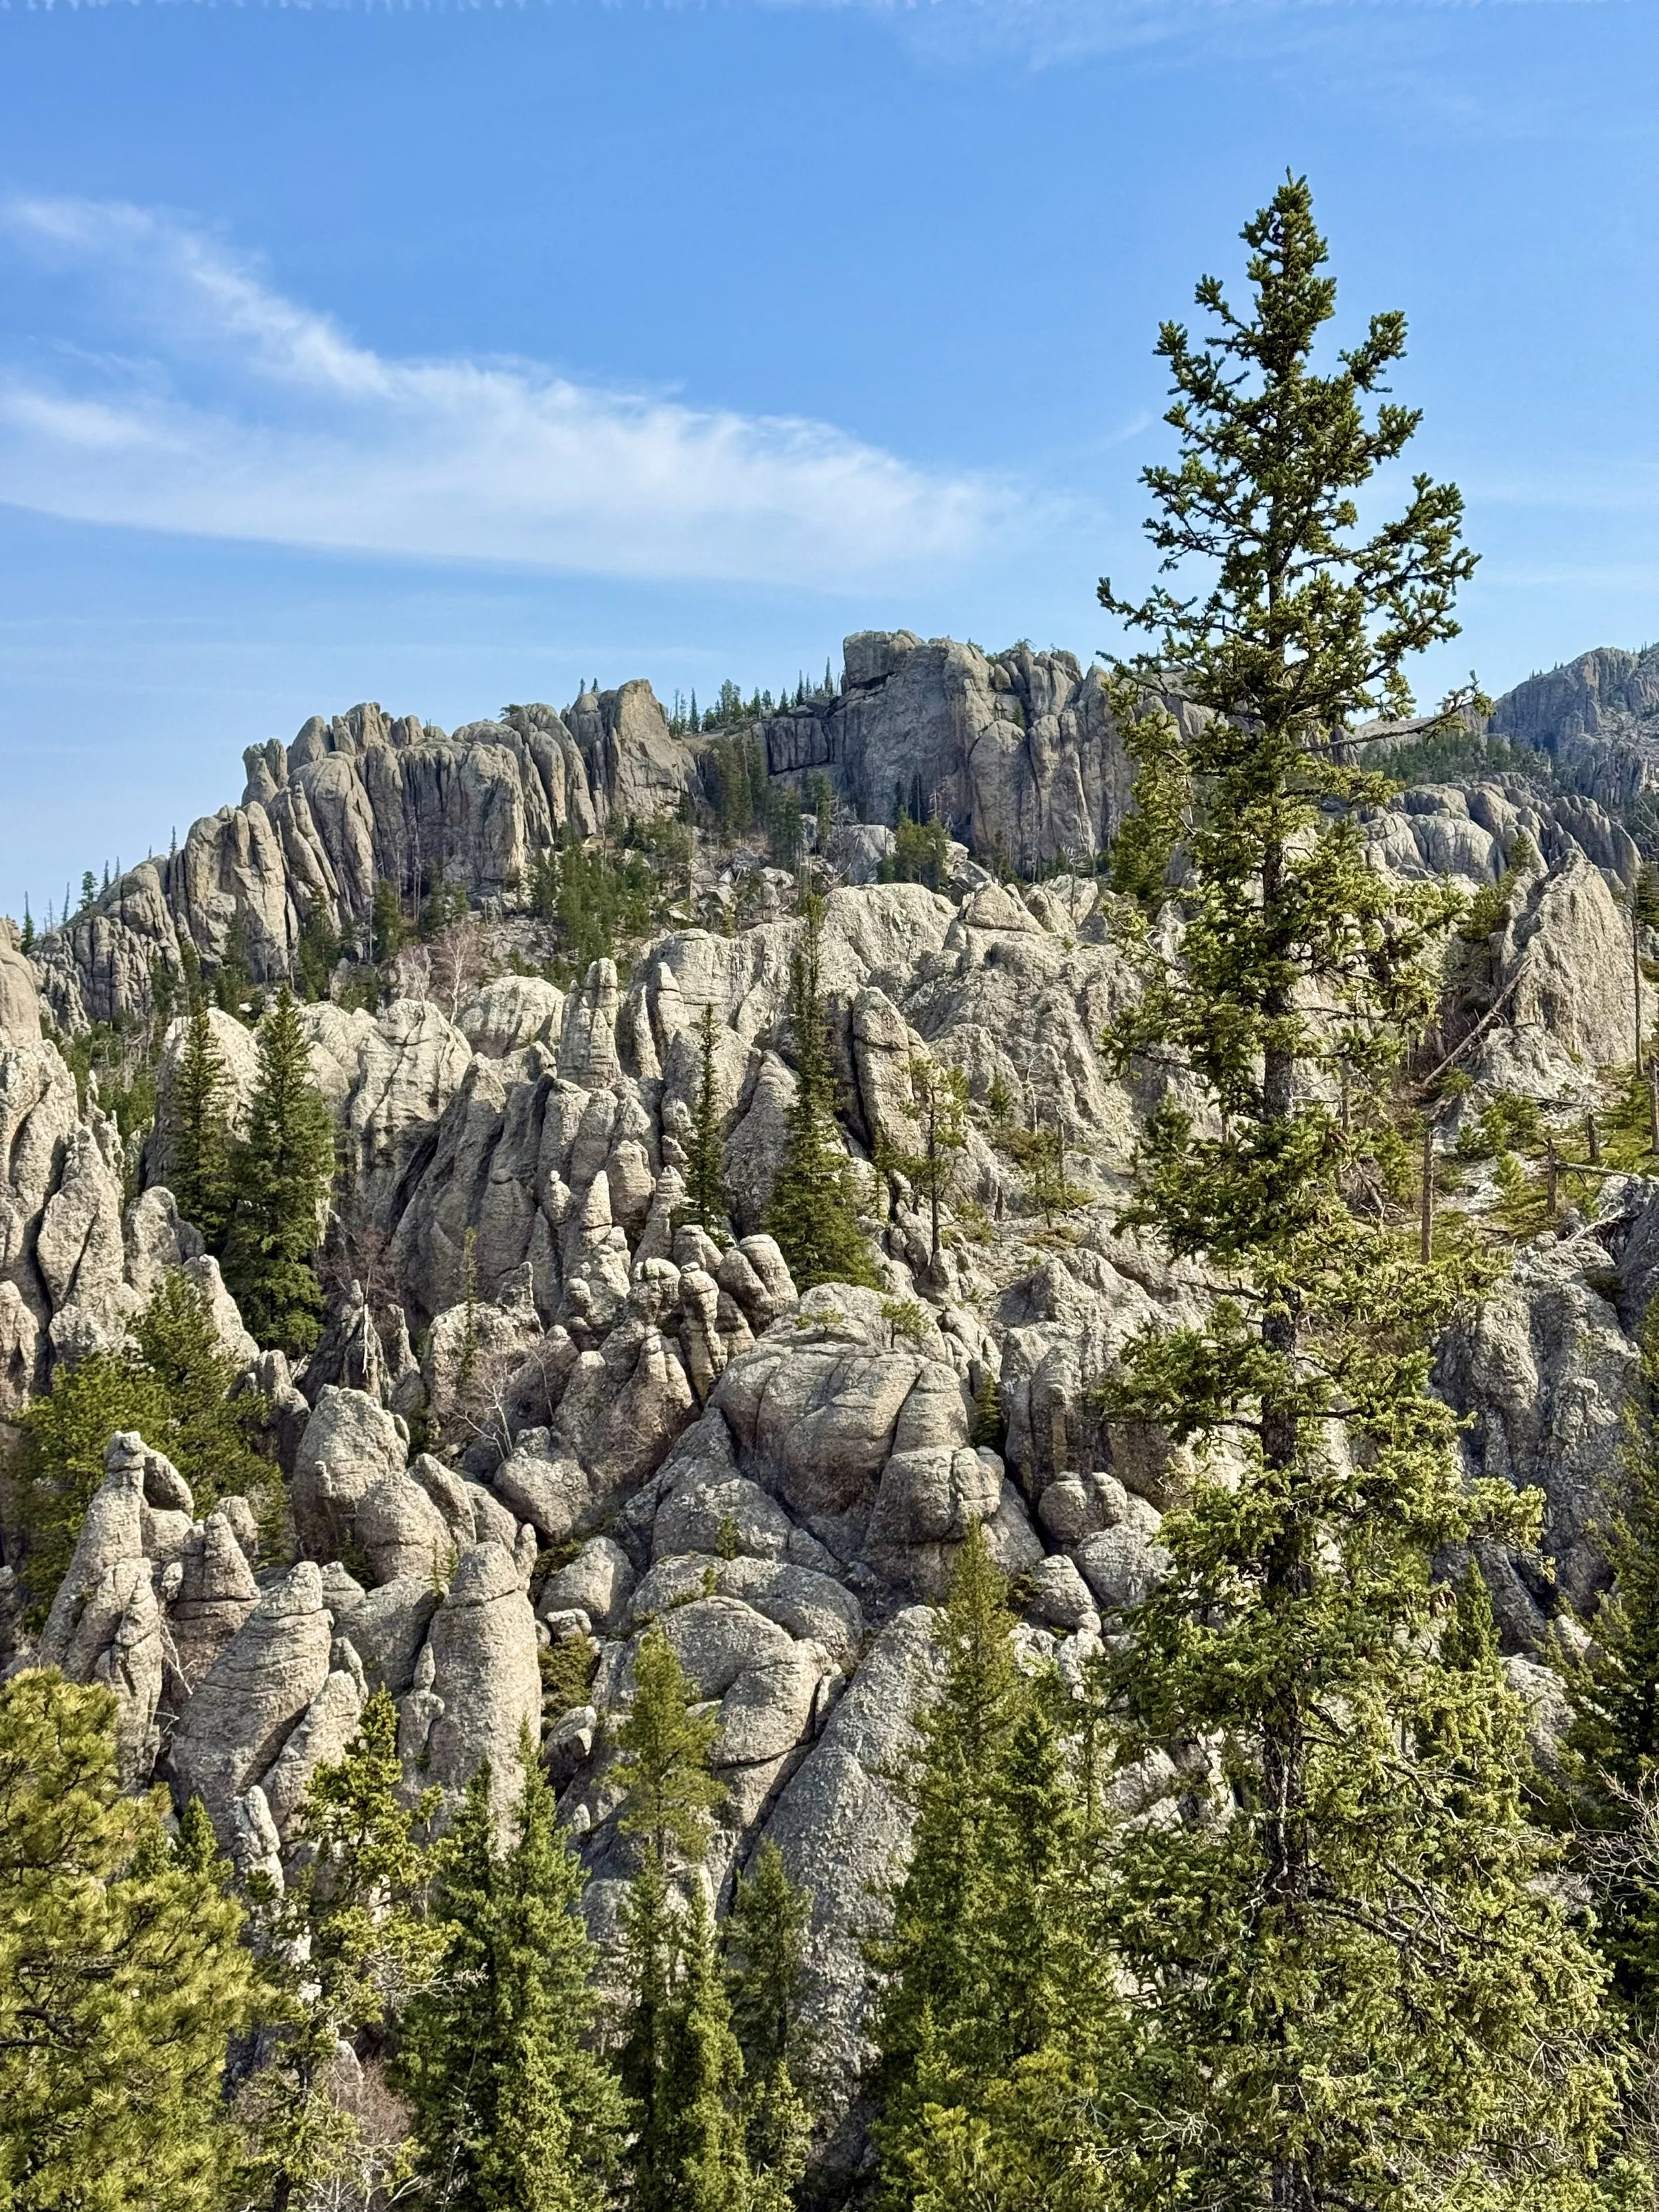


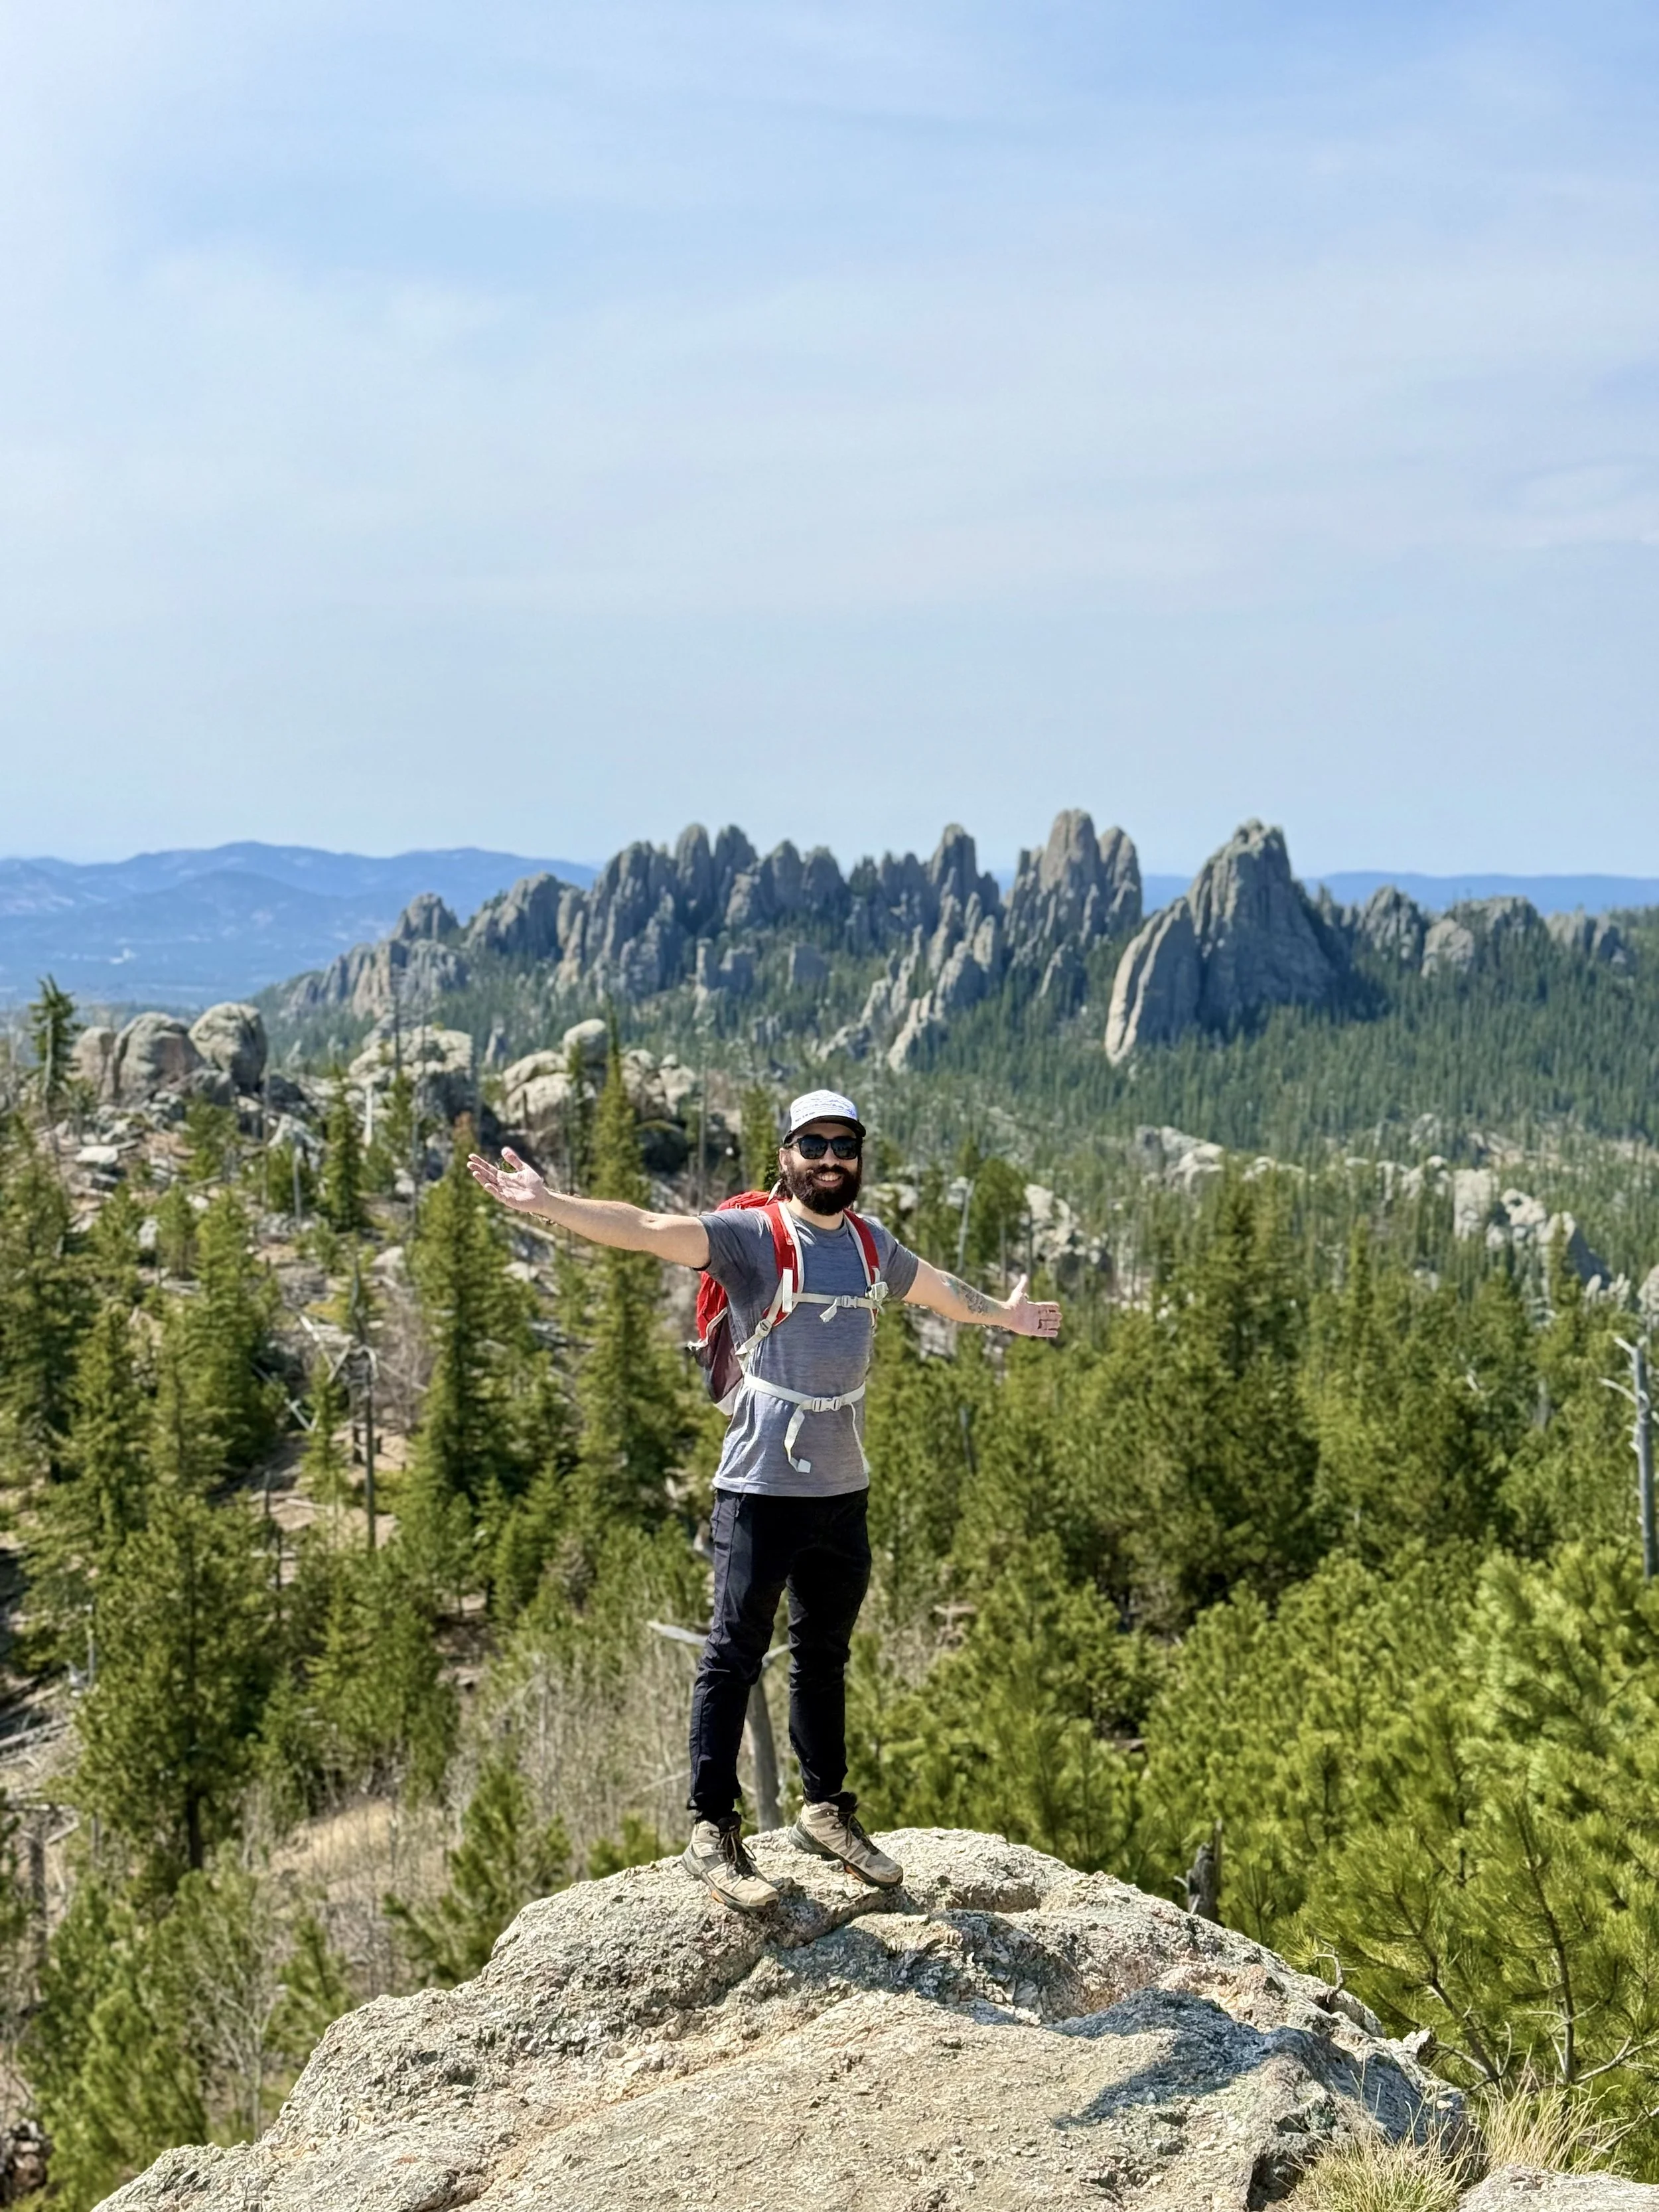


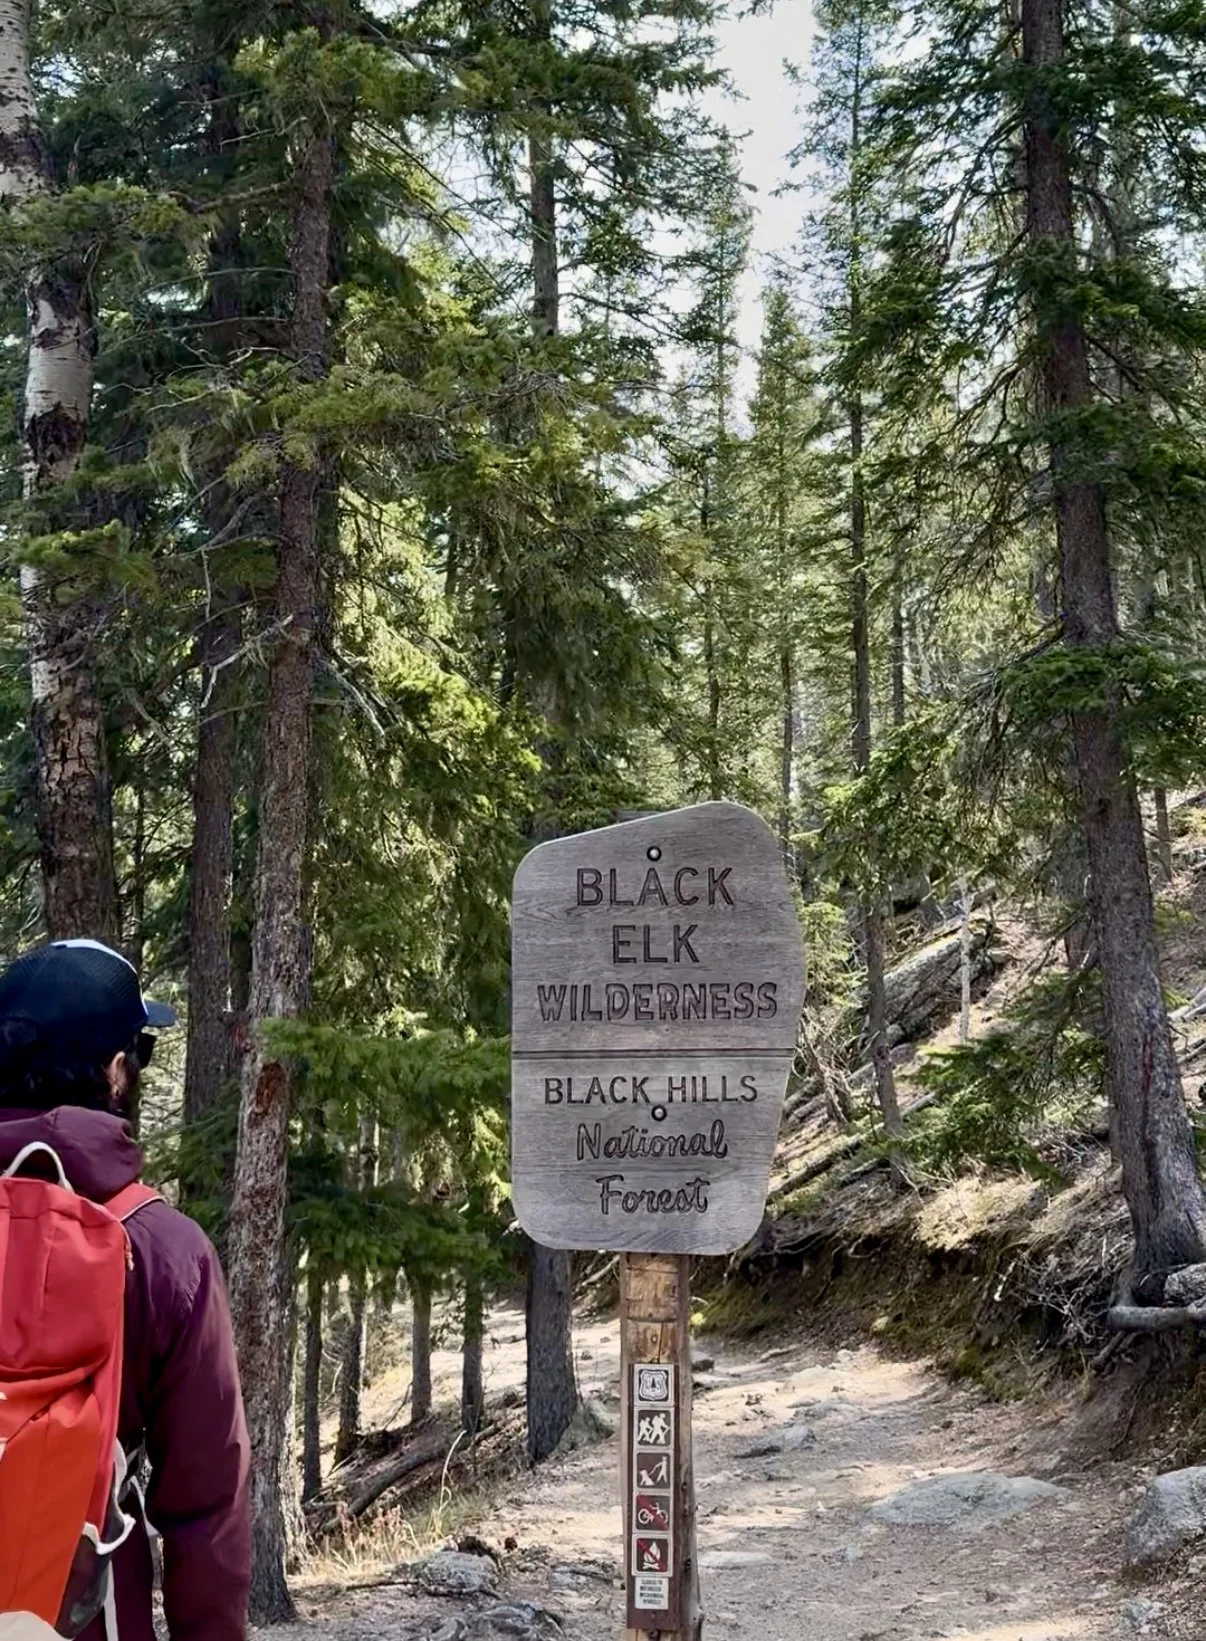


Black Elk Peak and Little Devils Tower Trail
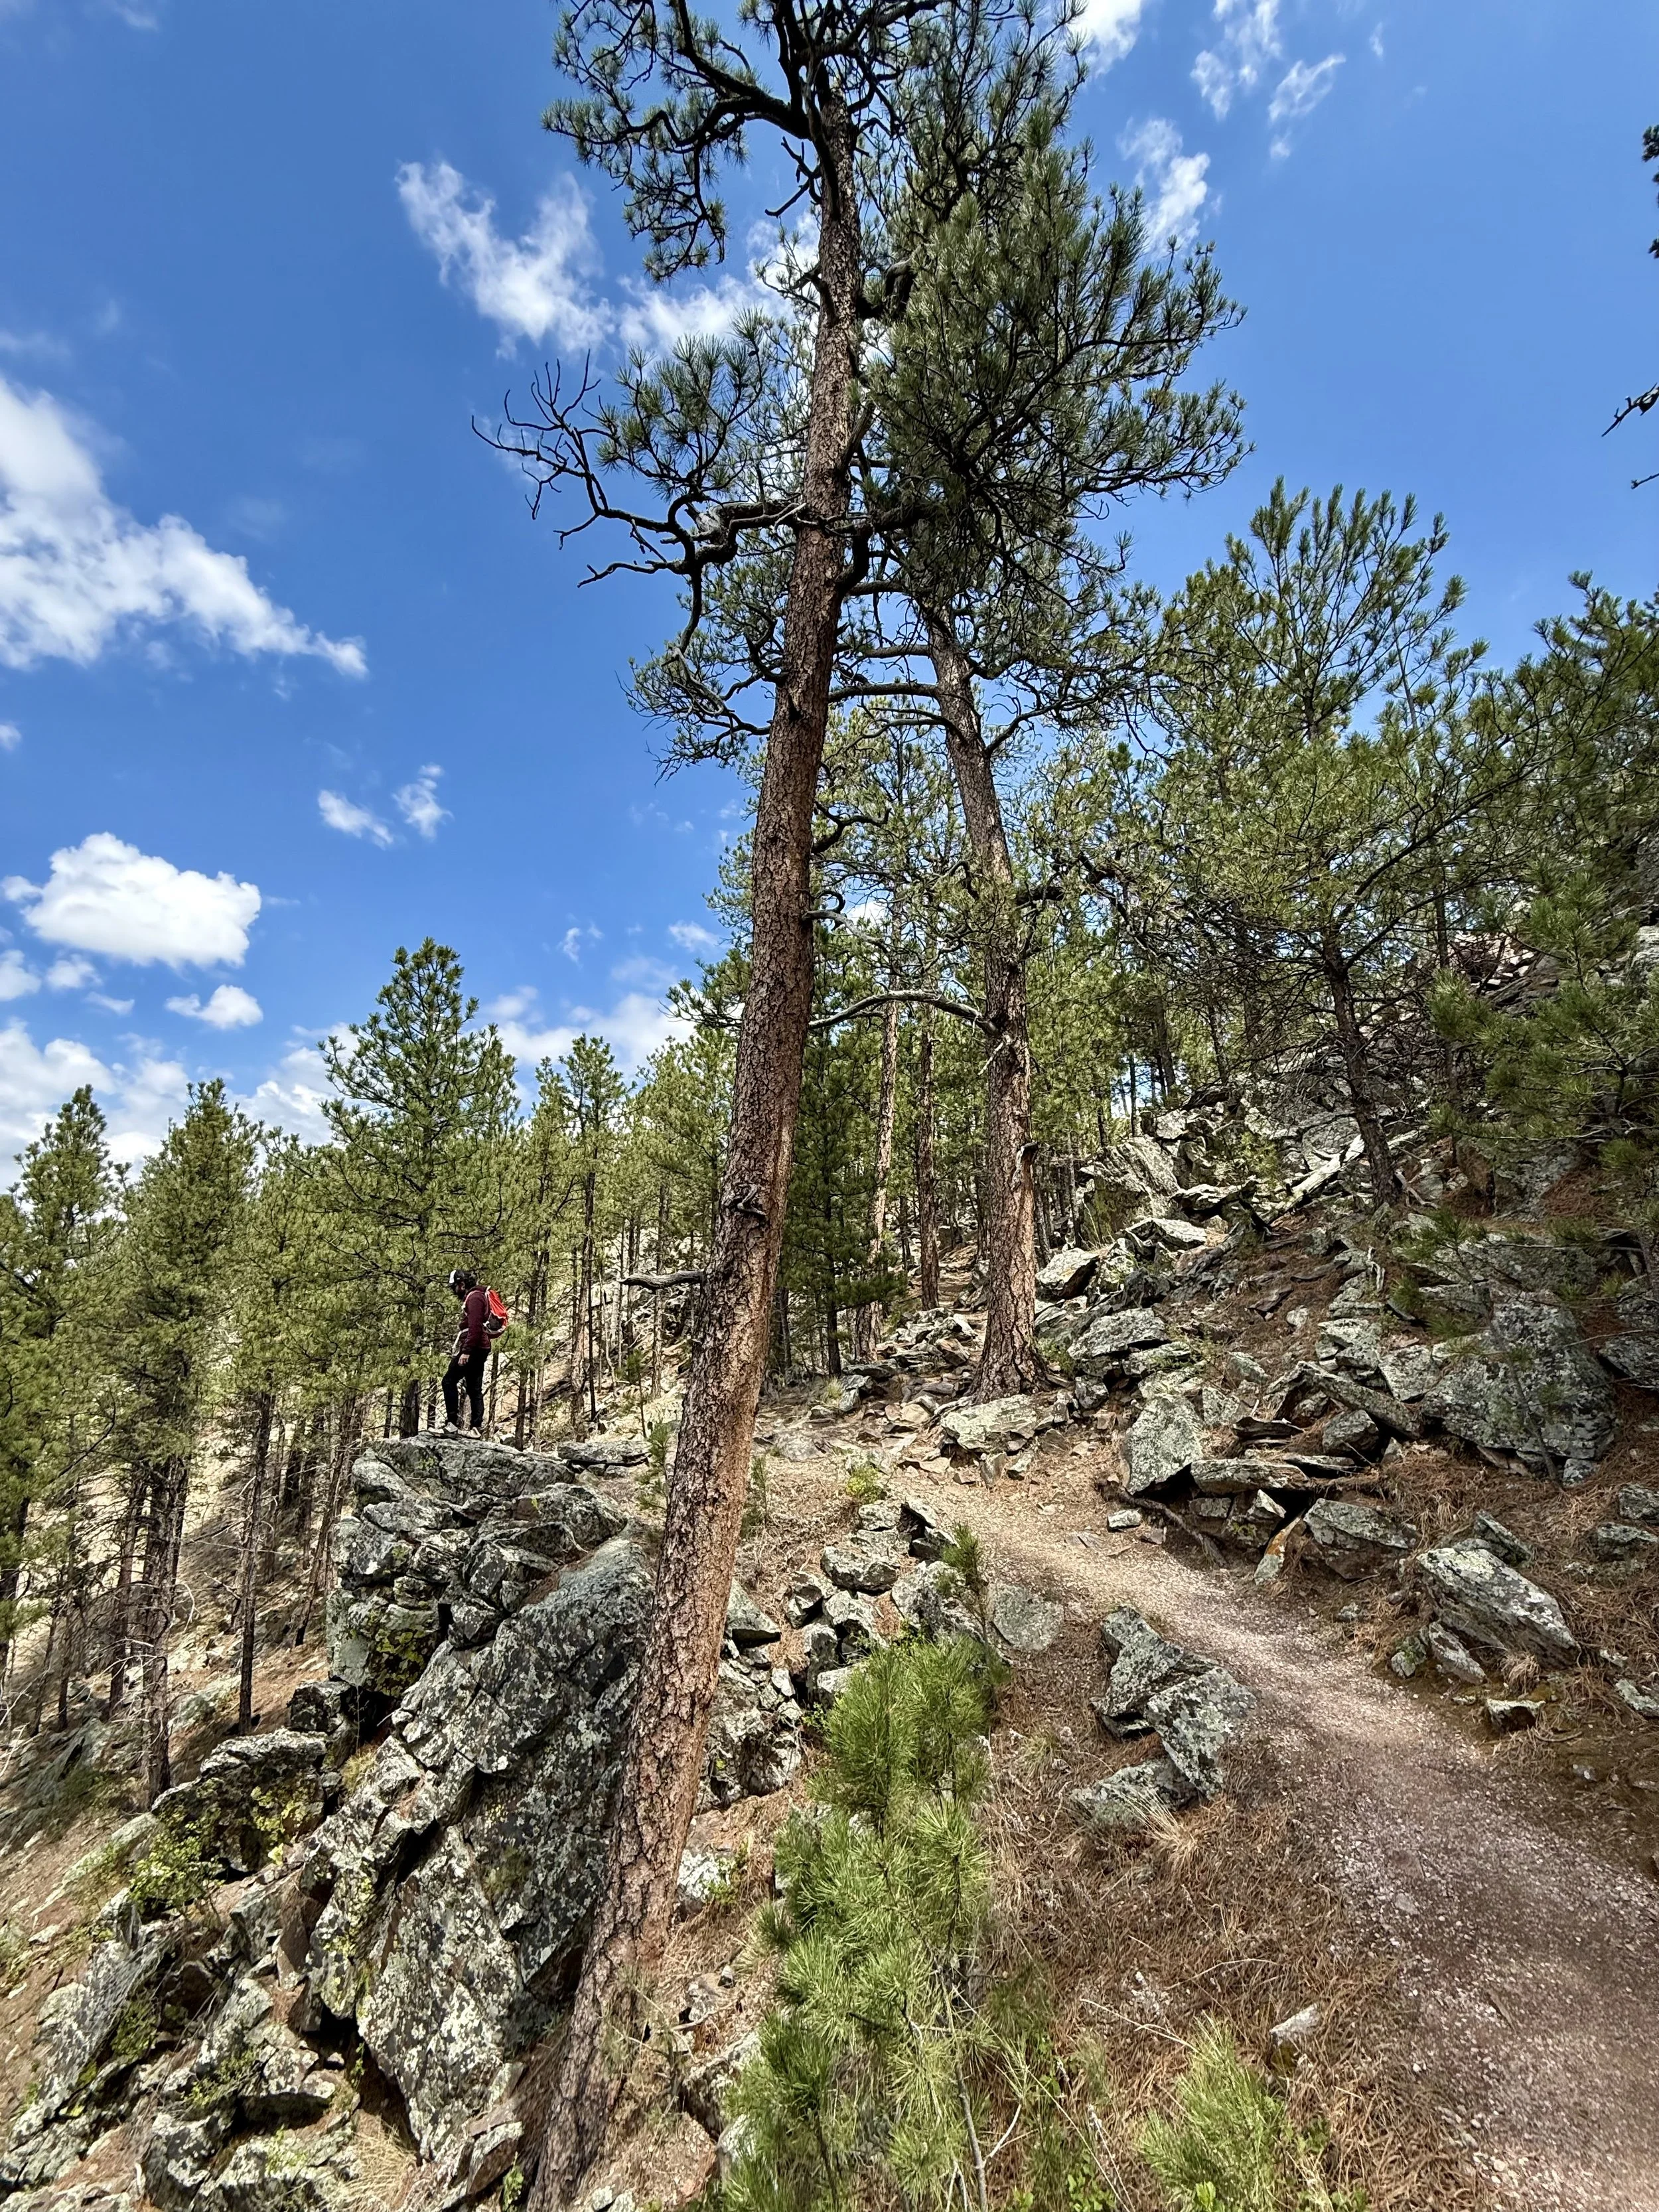
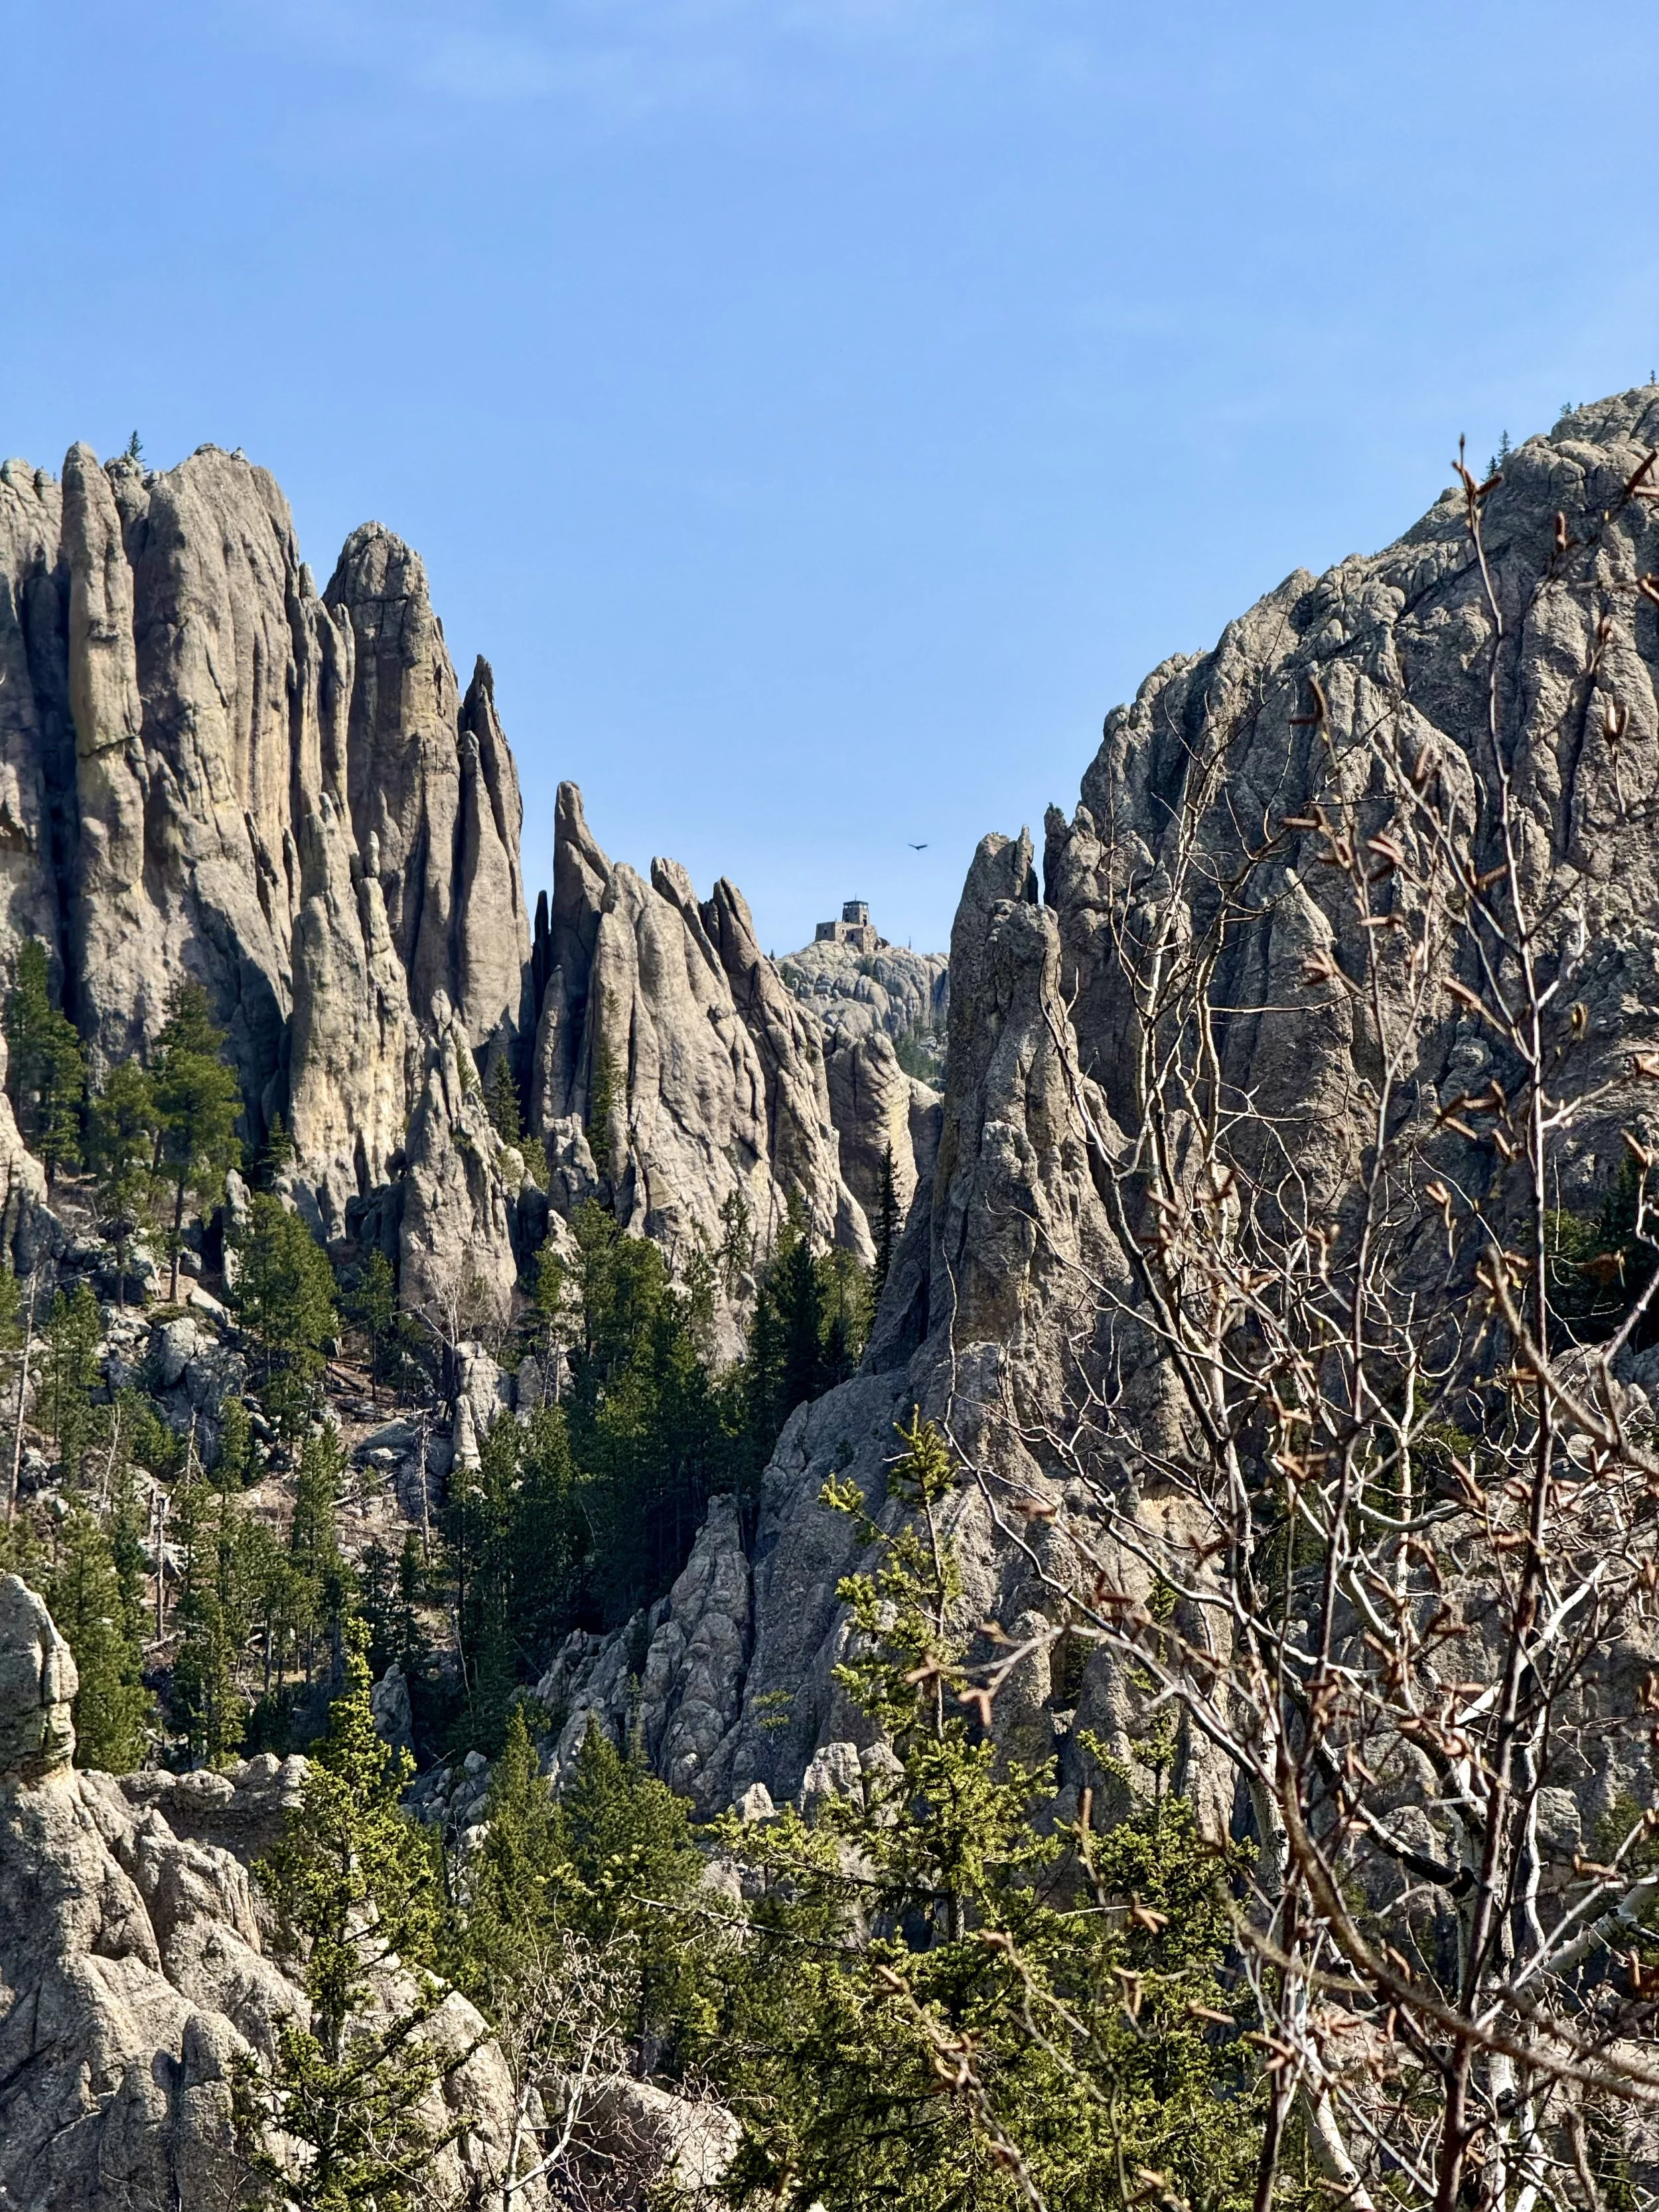
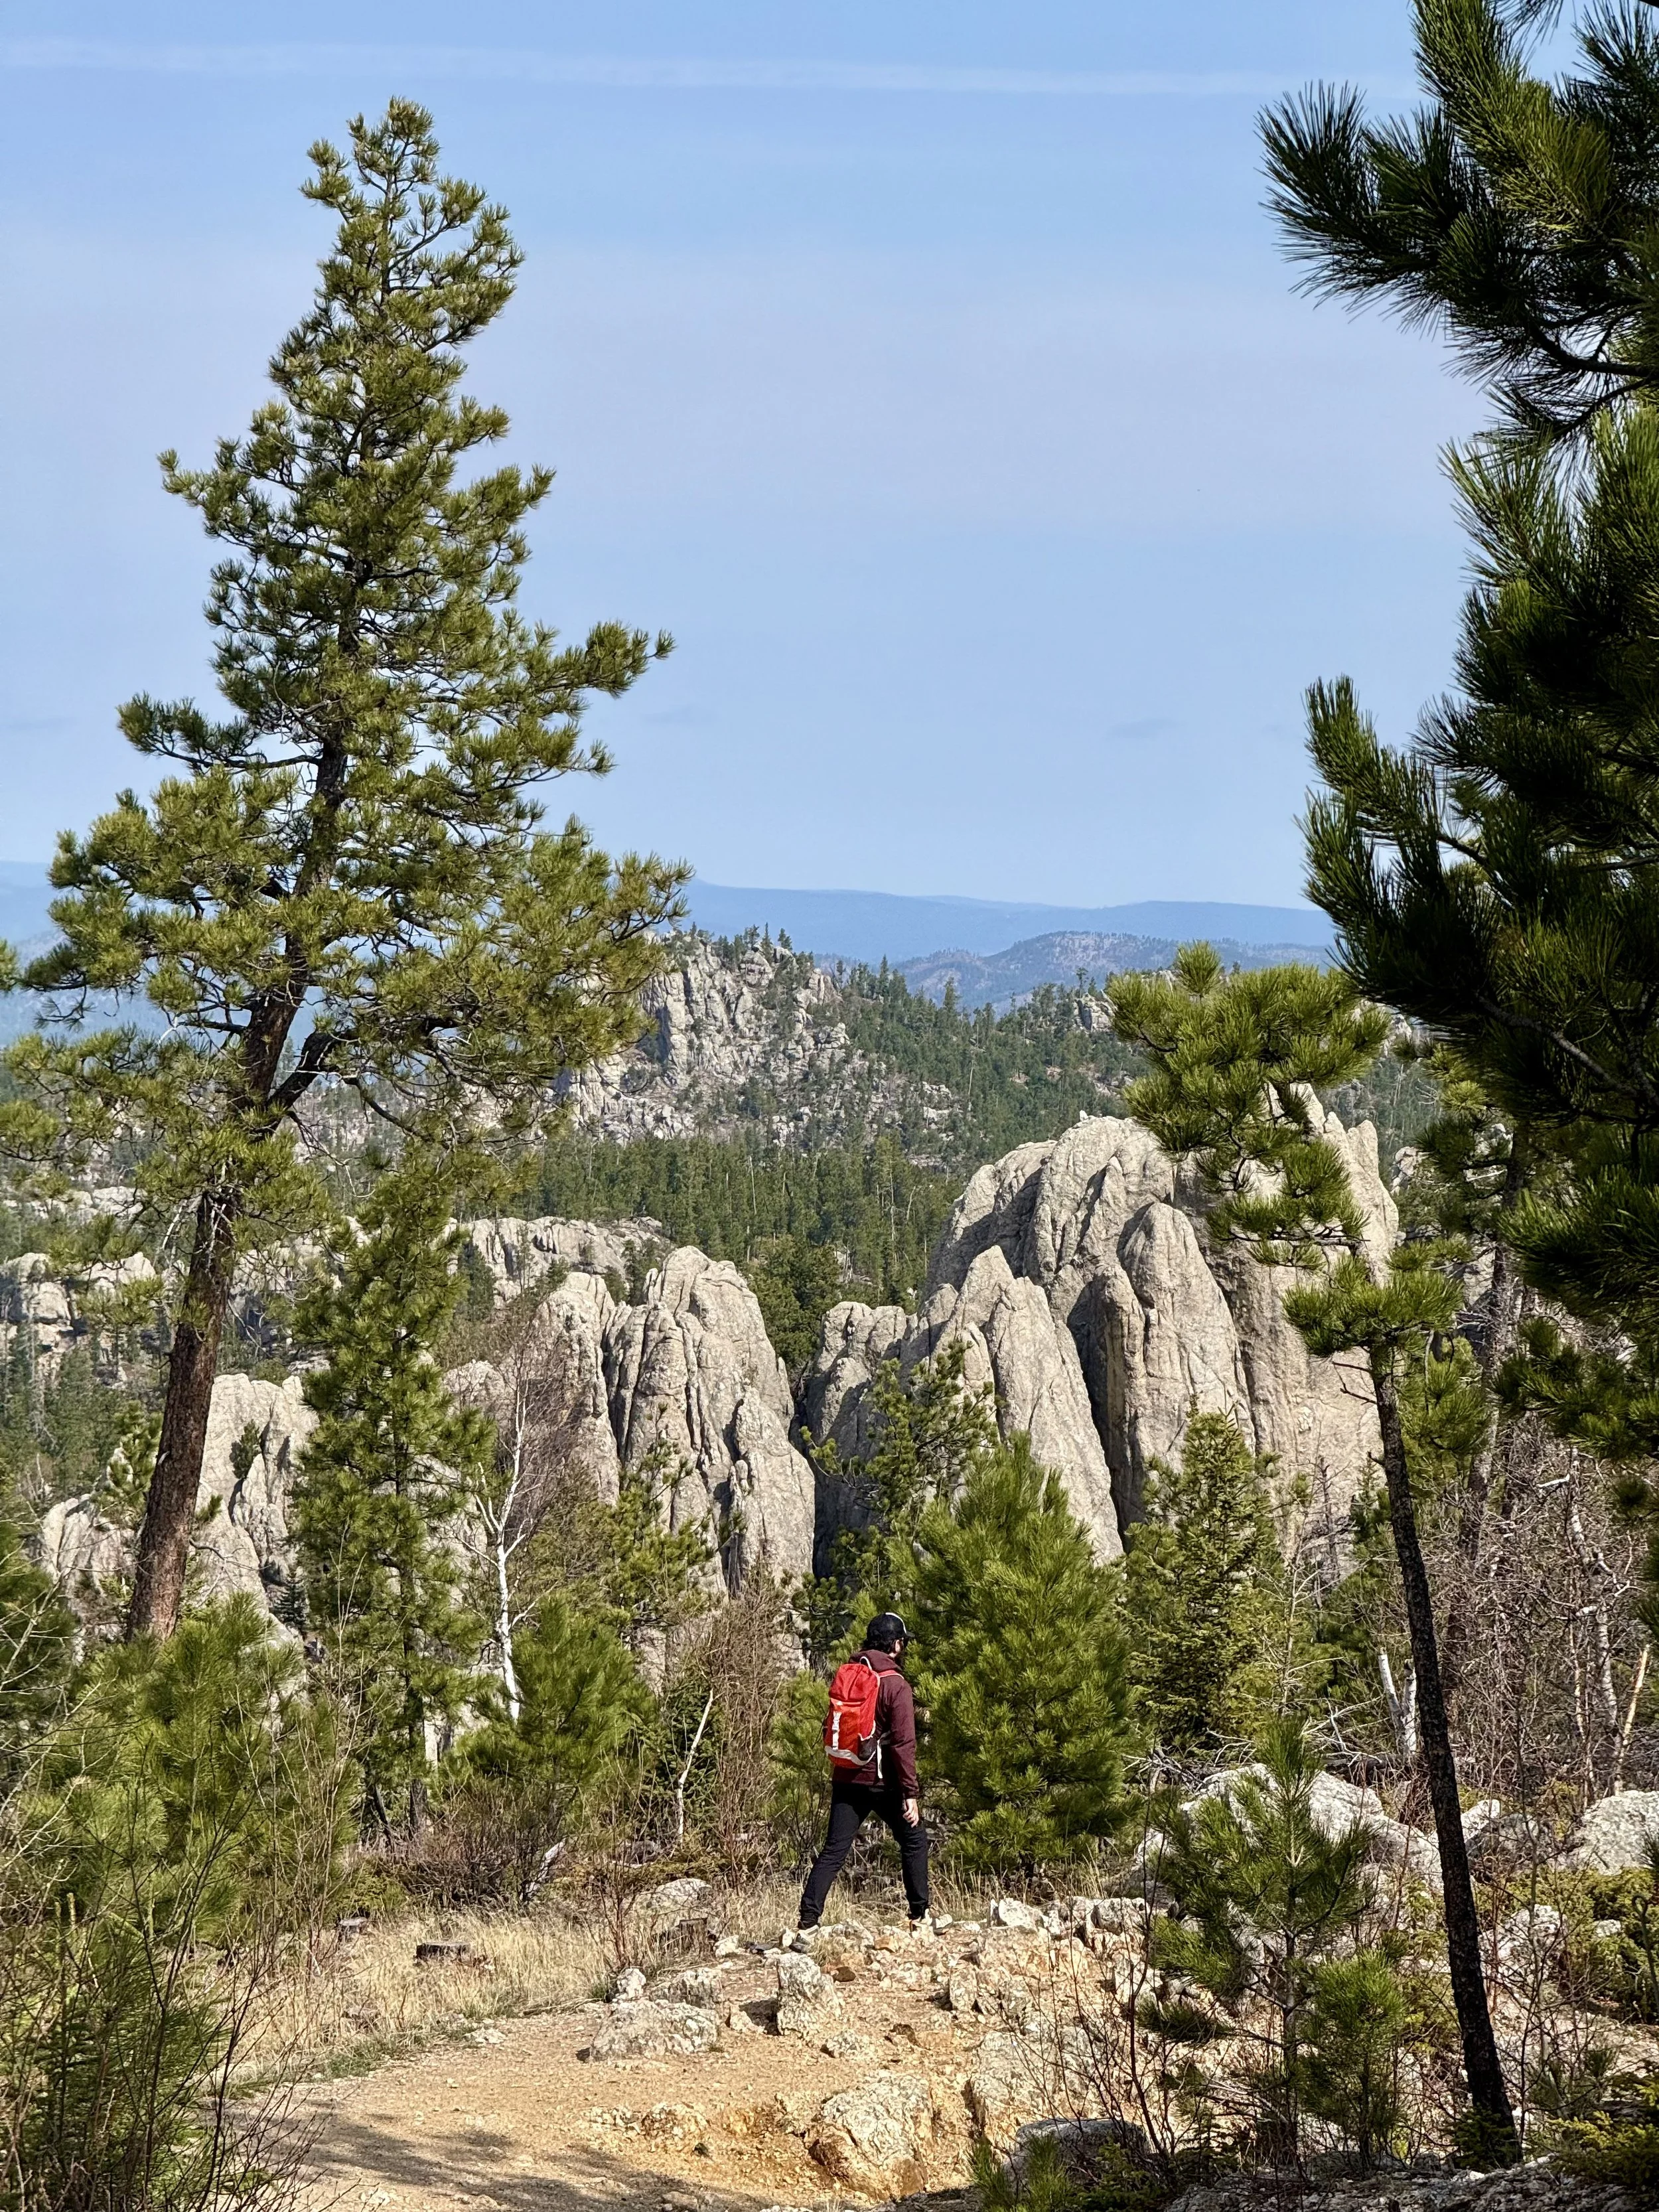
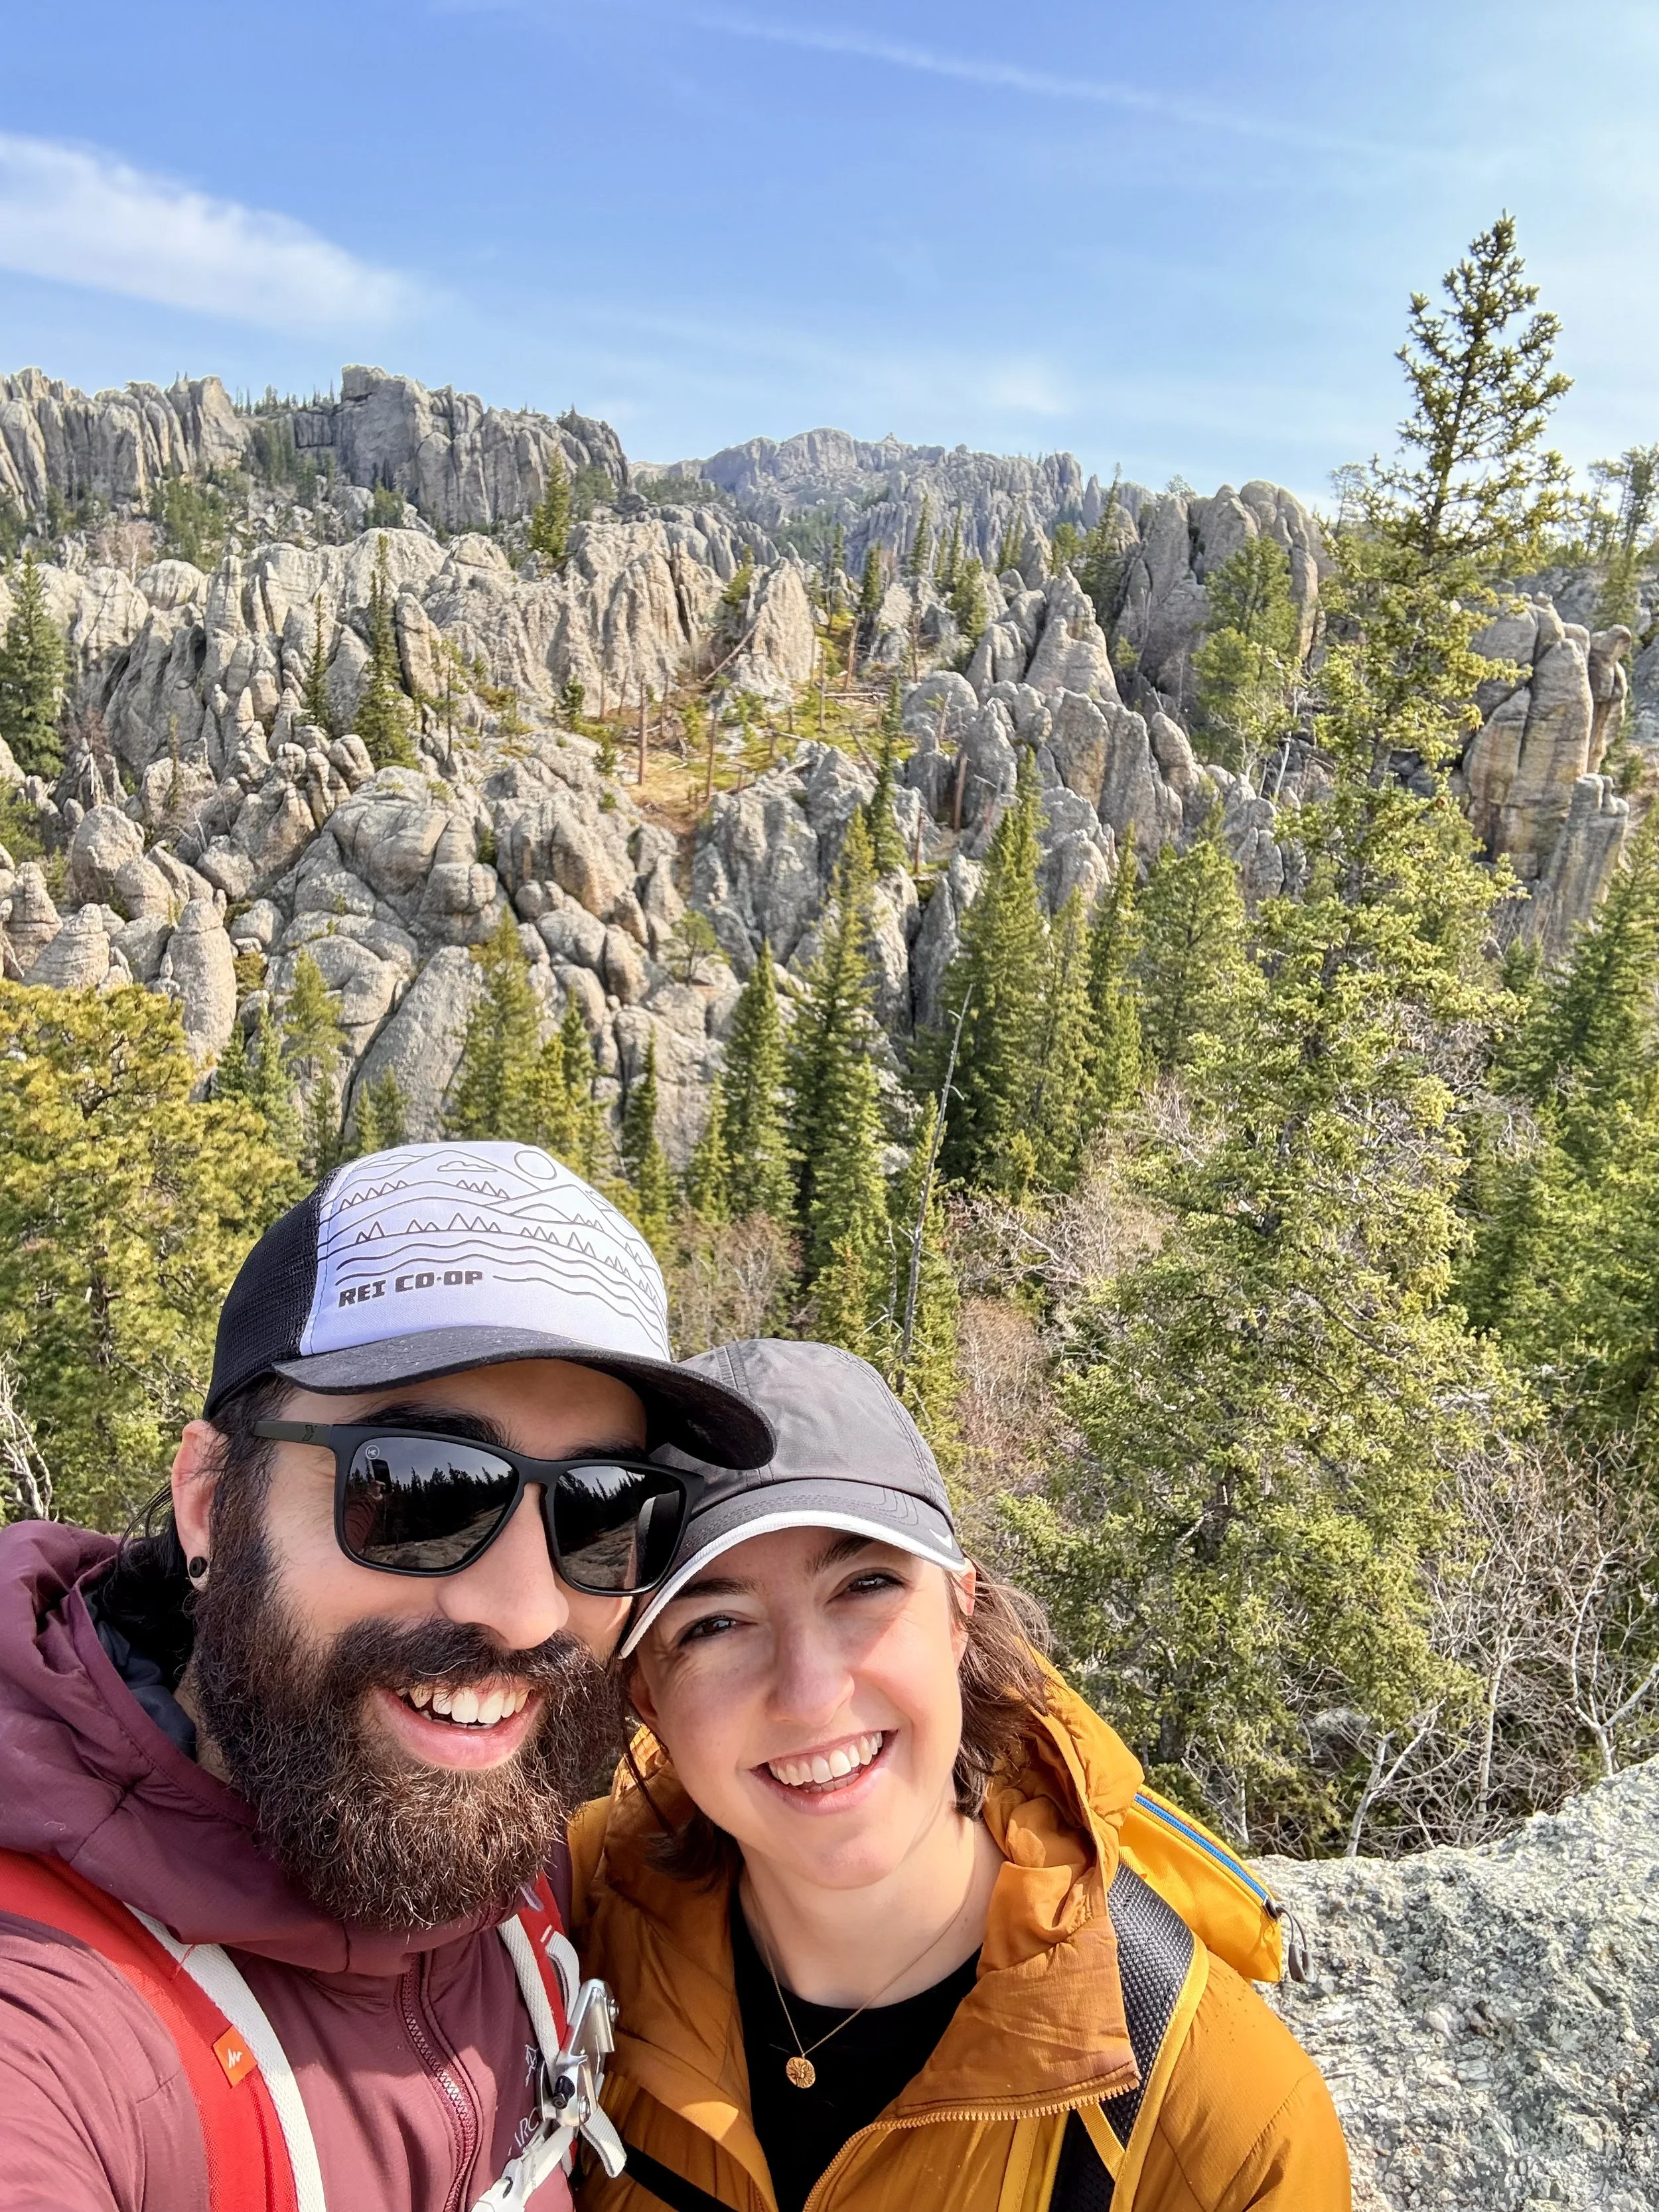
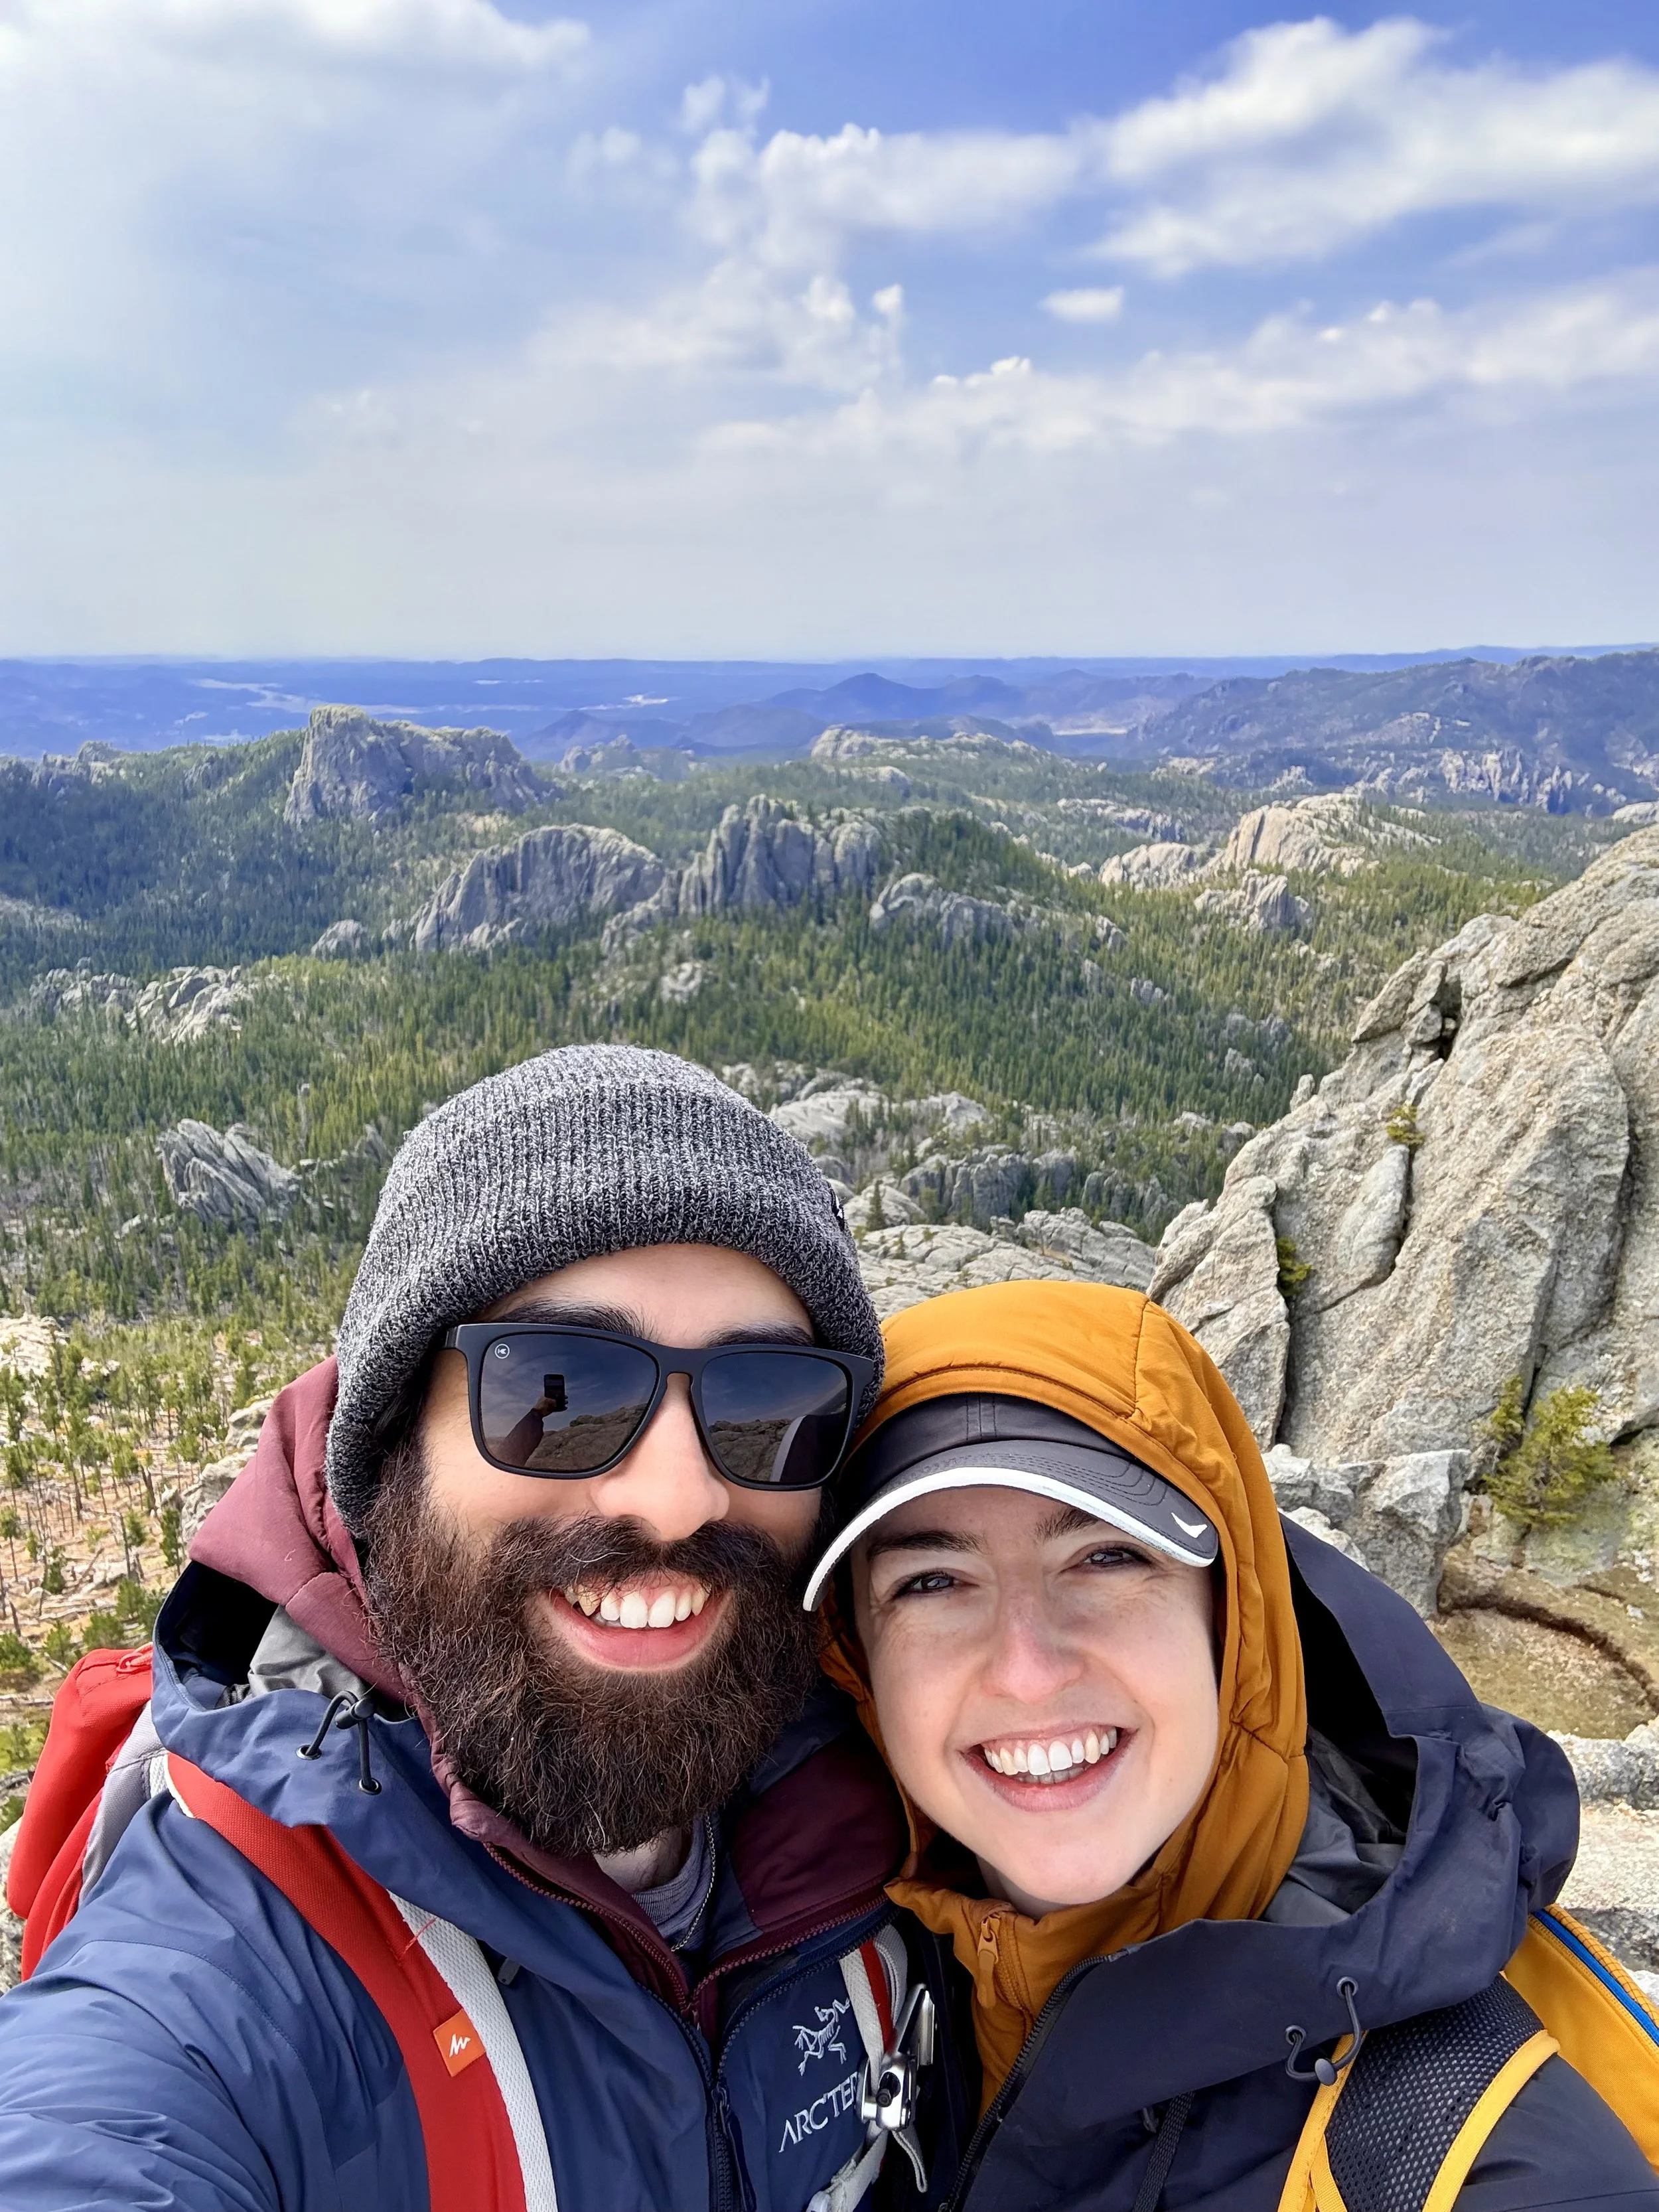
Black Elk Peak and Little Devils Tower made for one of the most rewarding—and sparkly—hikes of our trip. While AllTrails lists it at 7.7 miles and allots about 4 hours, our watches had us clocking in closer to 8.7 miles over 5 hours, starting at 9:30am and wrapping up at 2:30pm. Granted we took plenty of breaks for photos, snacks, and simply soaking in the views. So if you like to linger, definitely budget more time than the apps suggest.
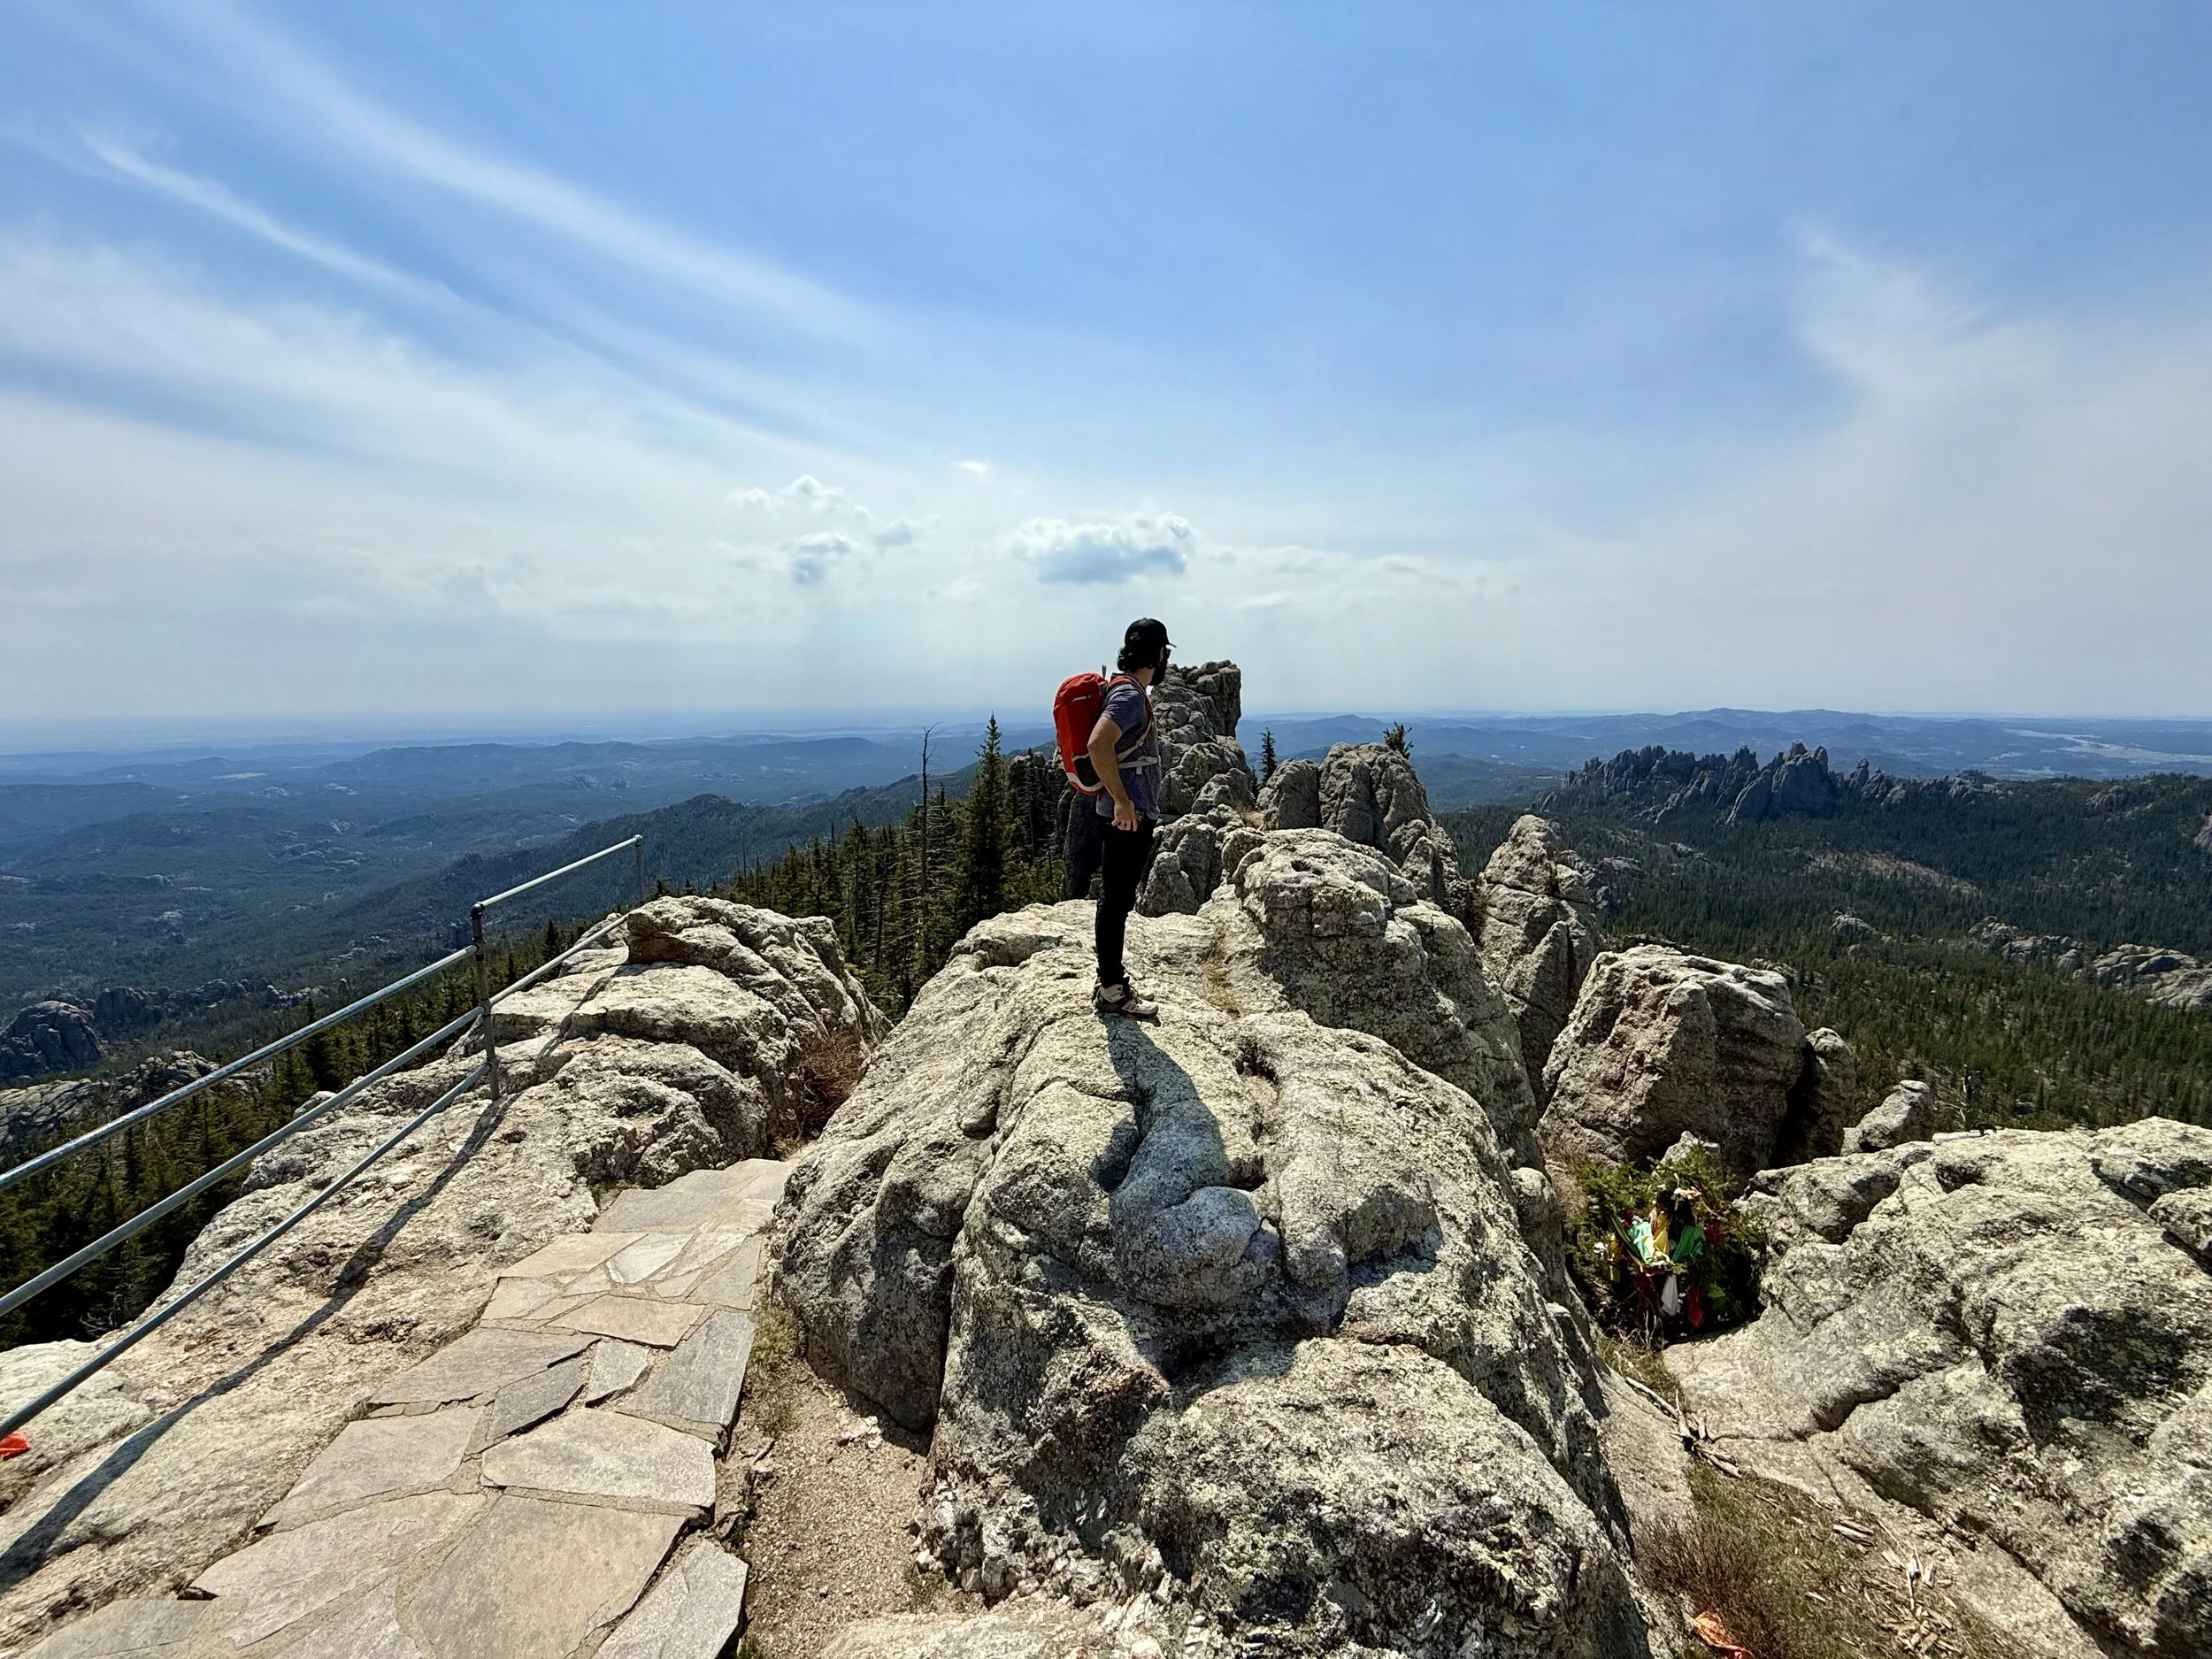
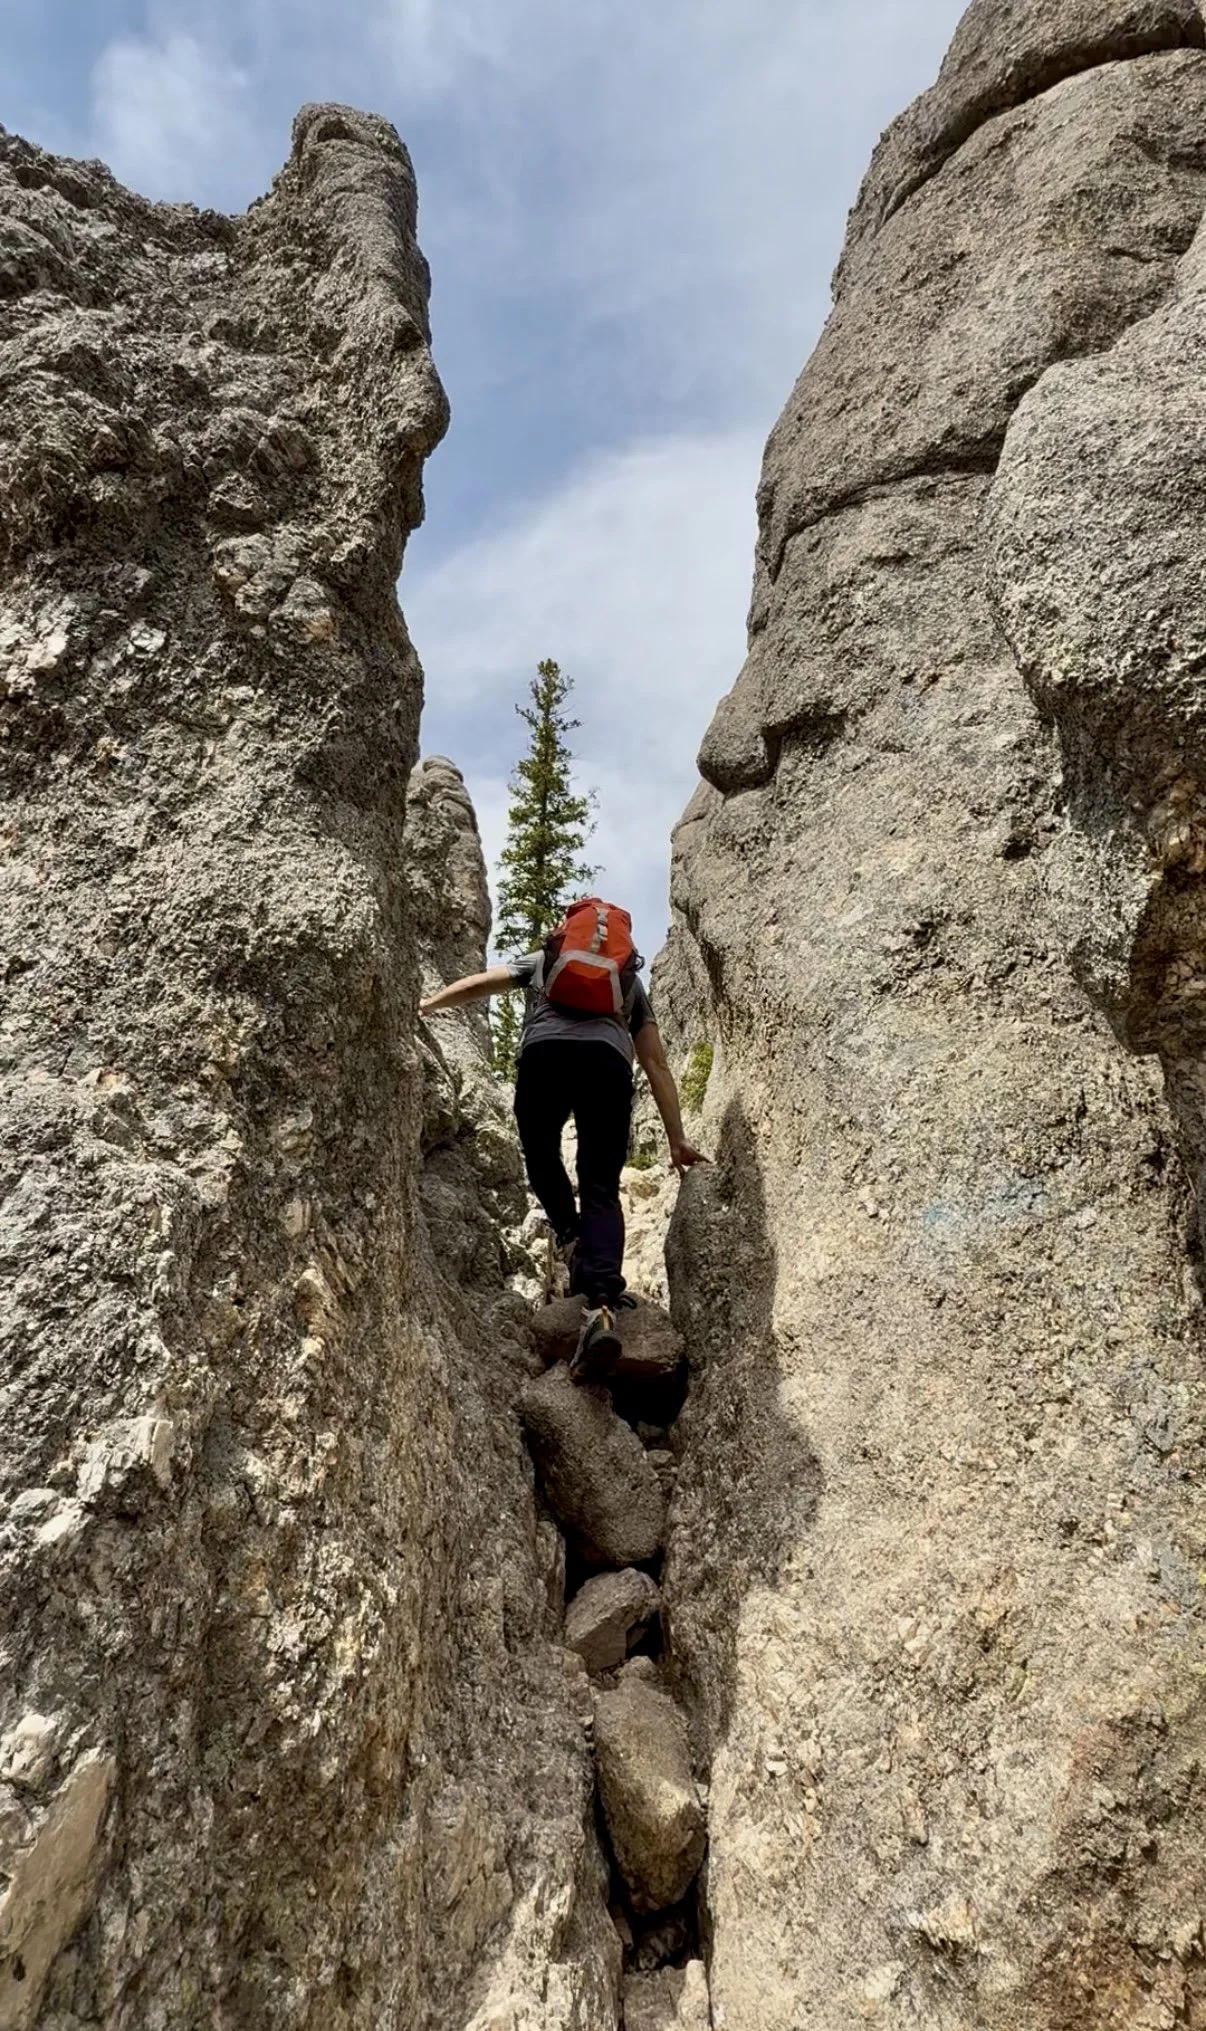
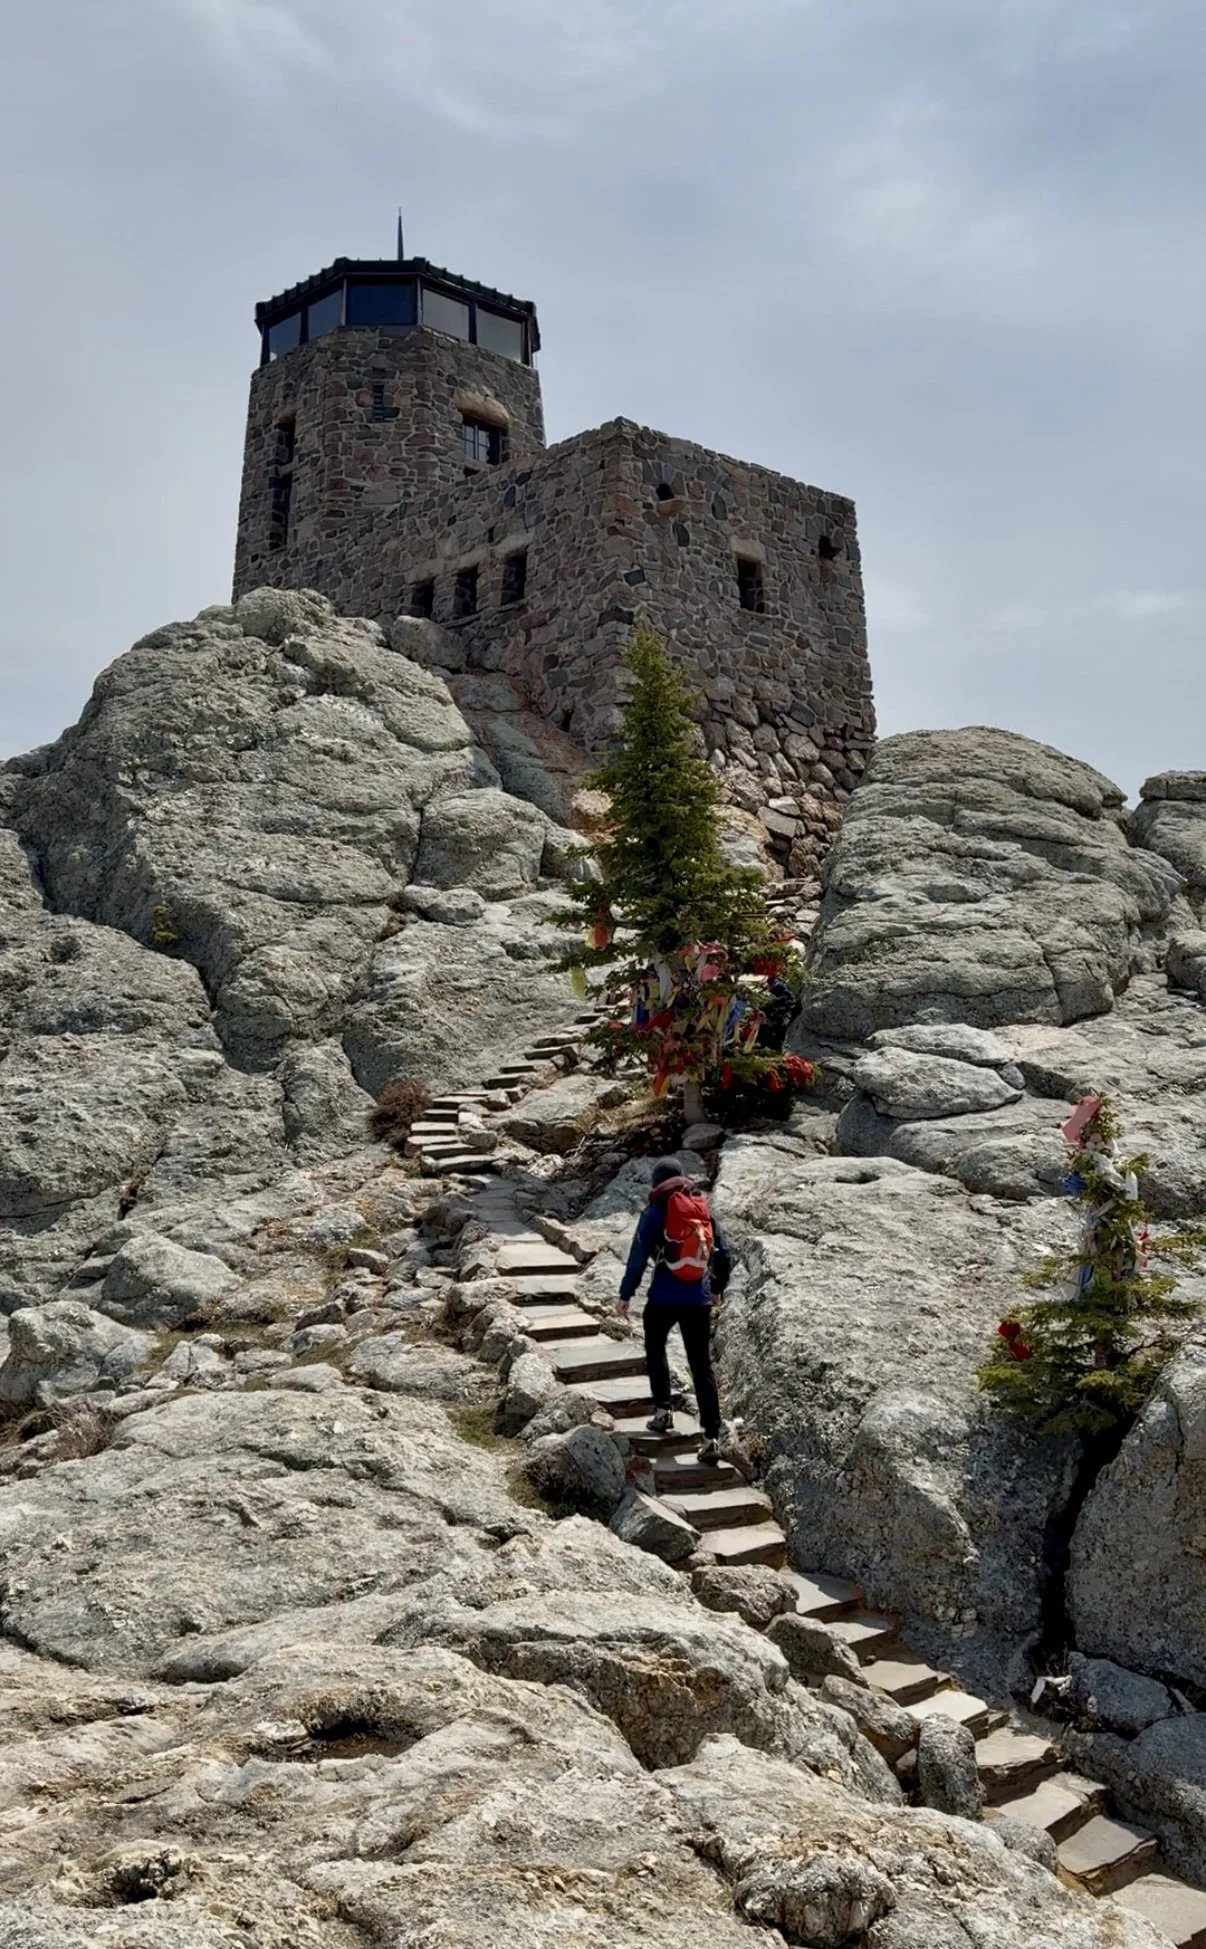
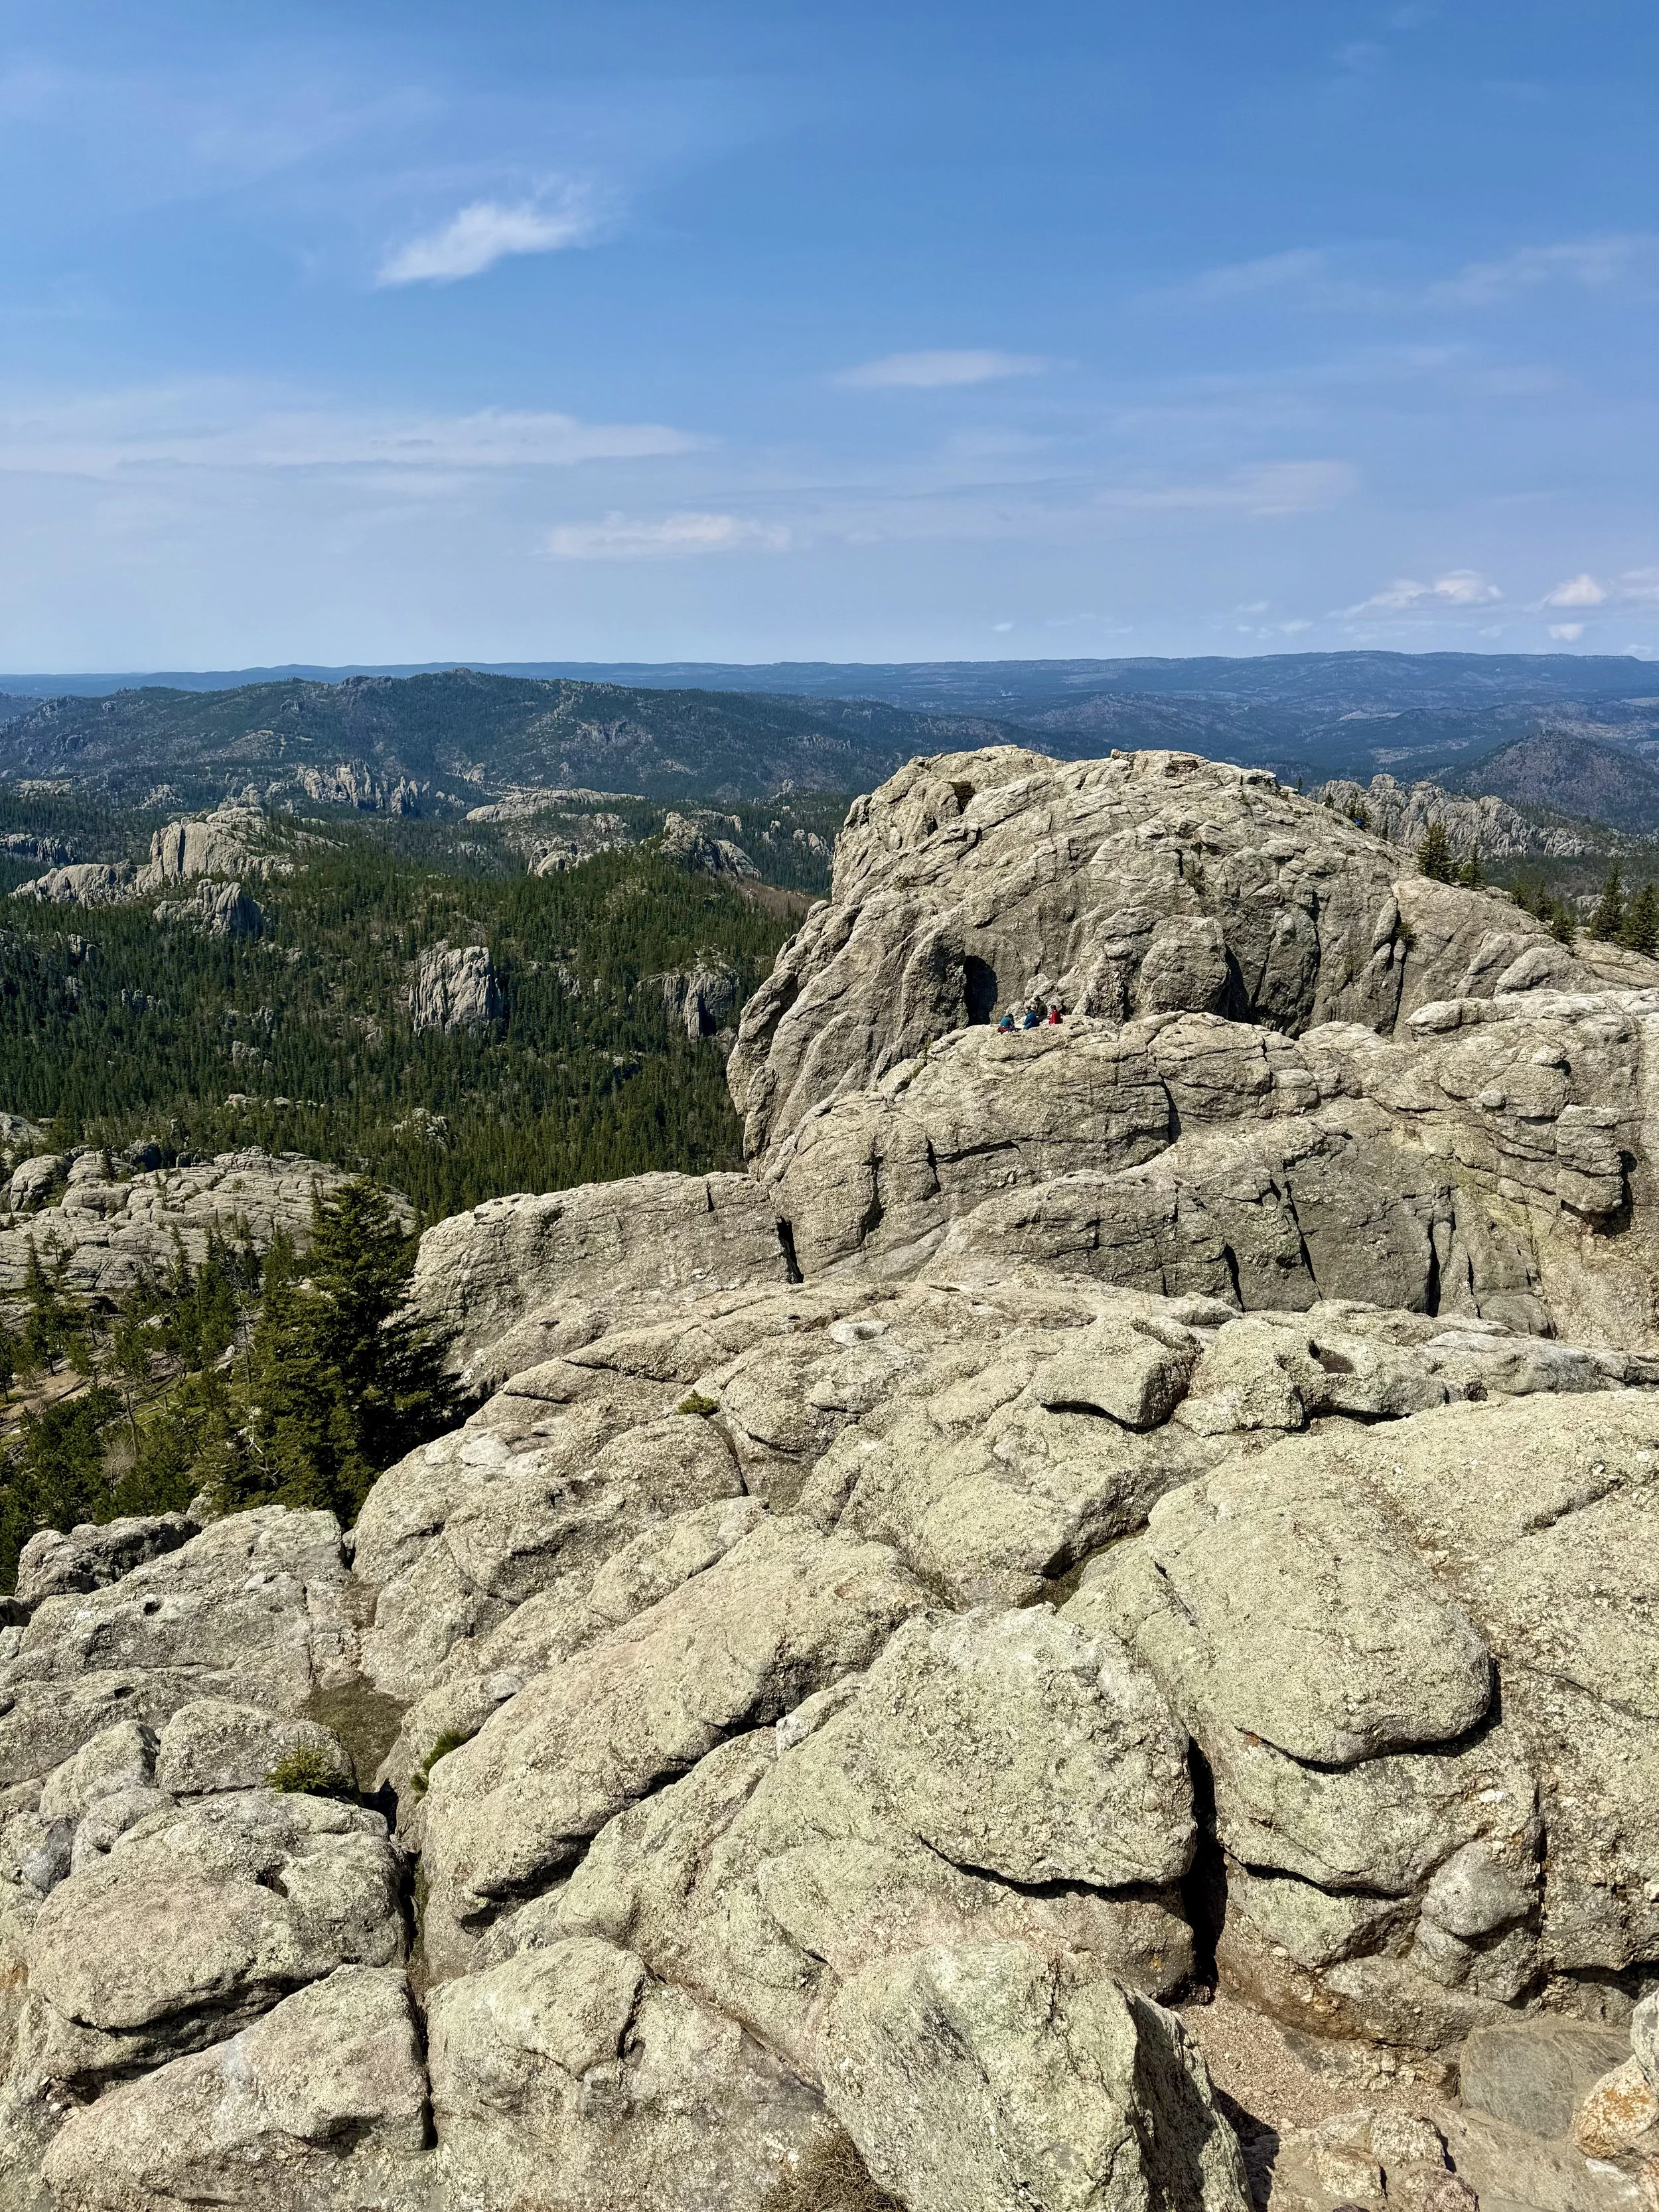
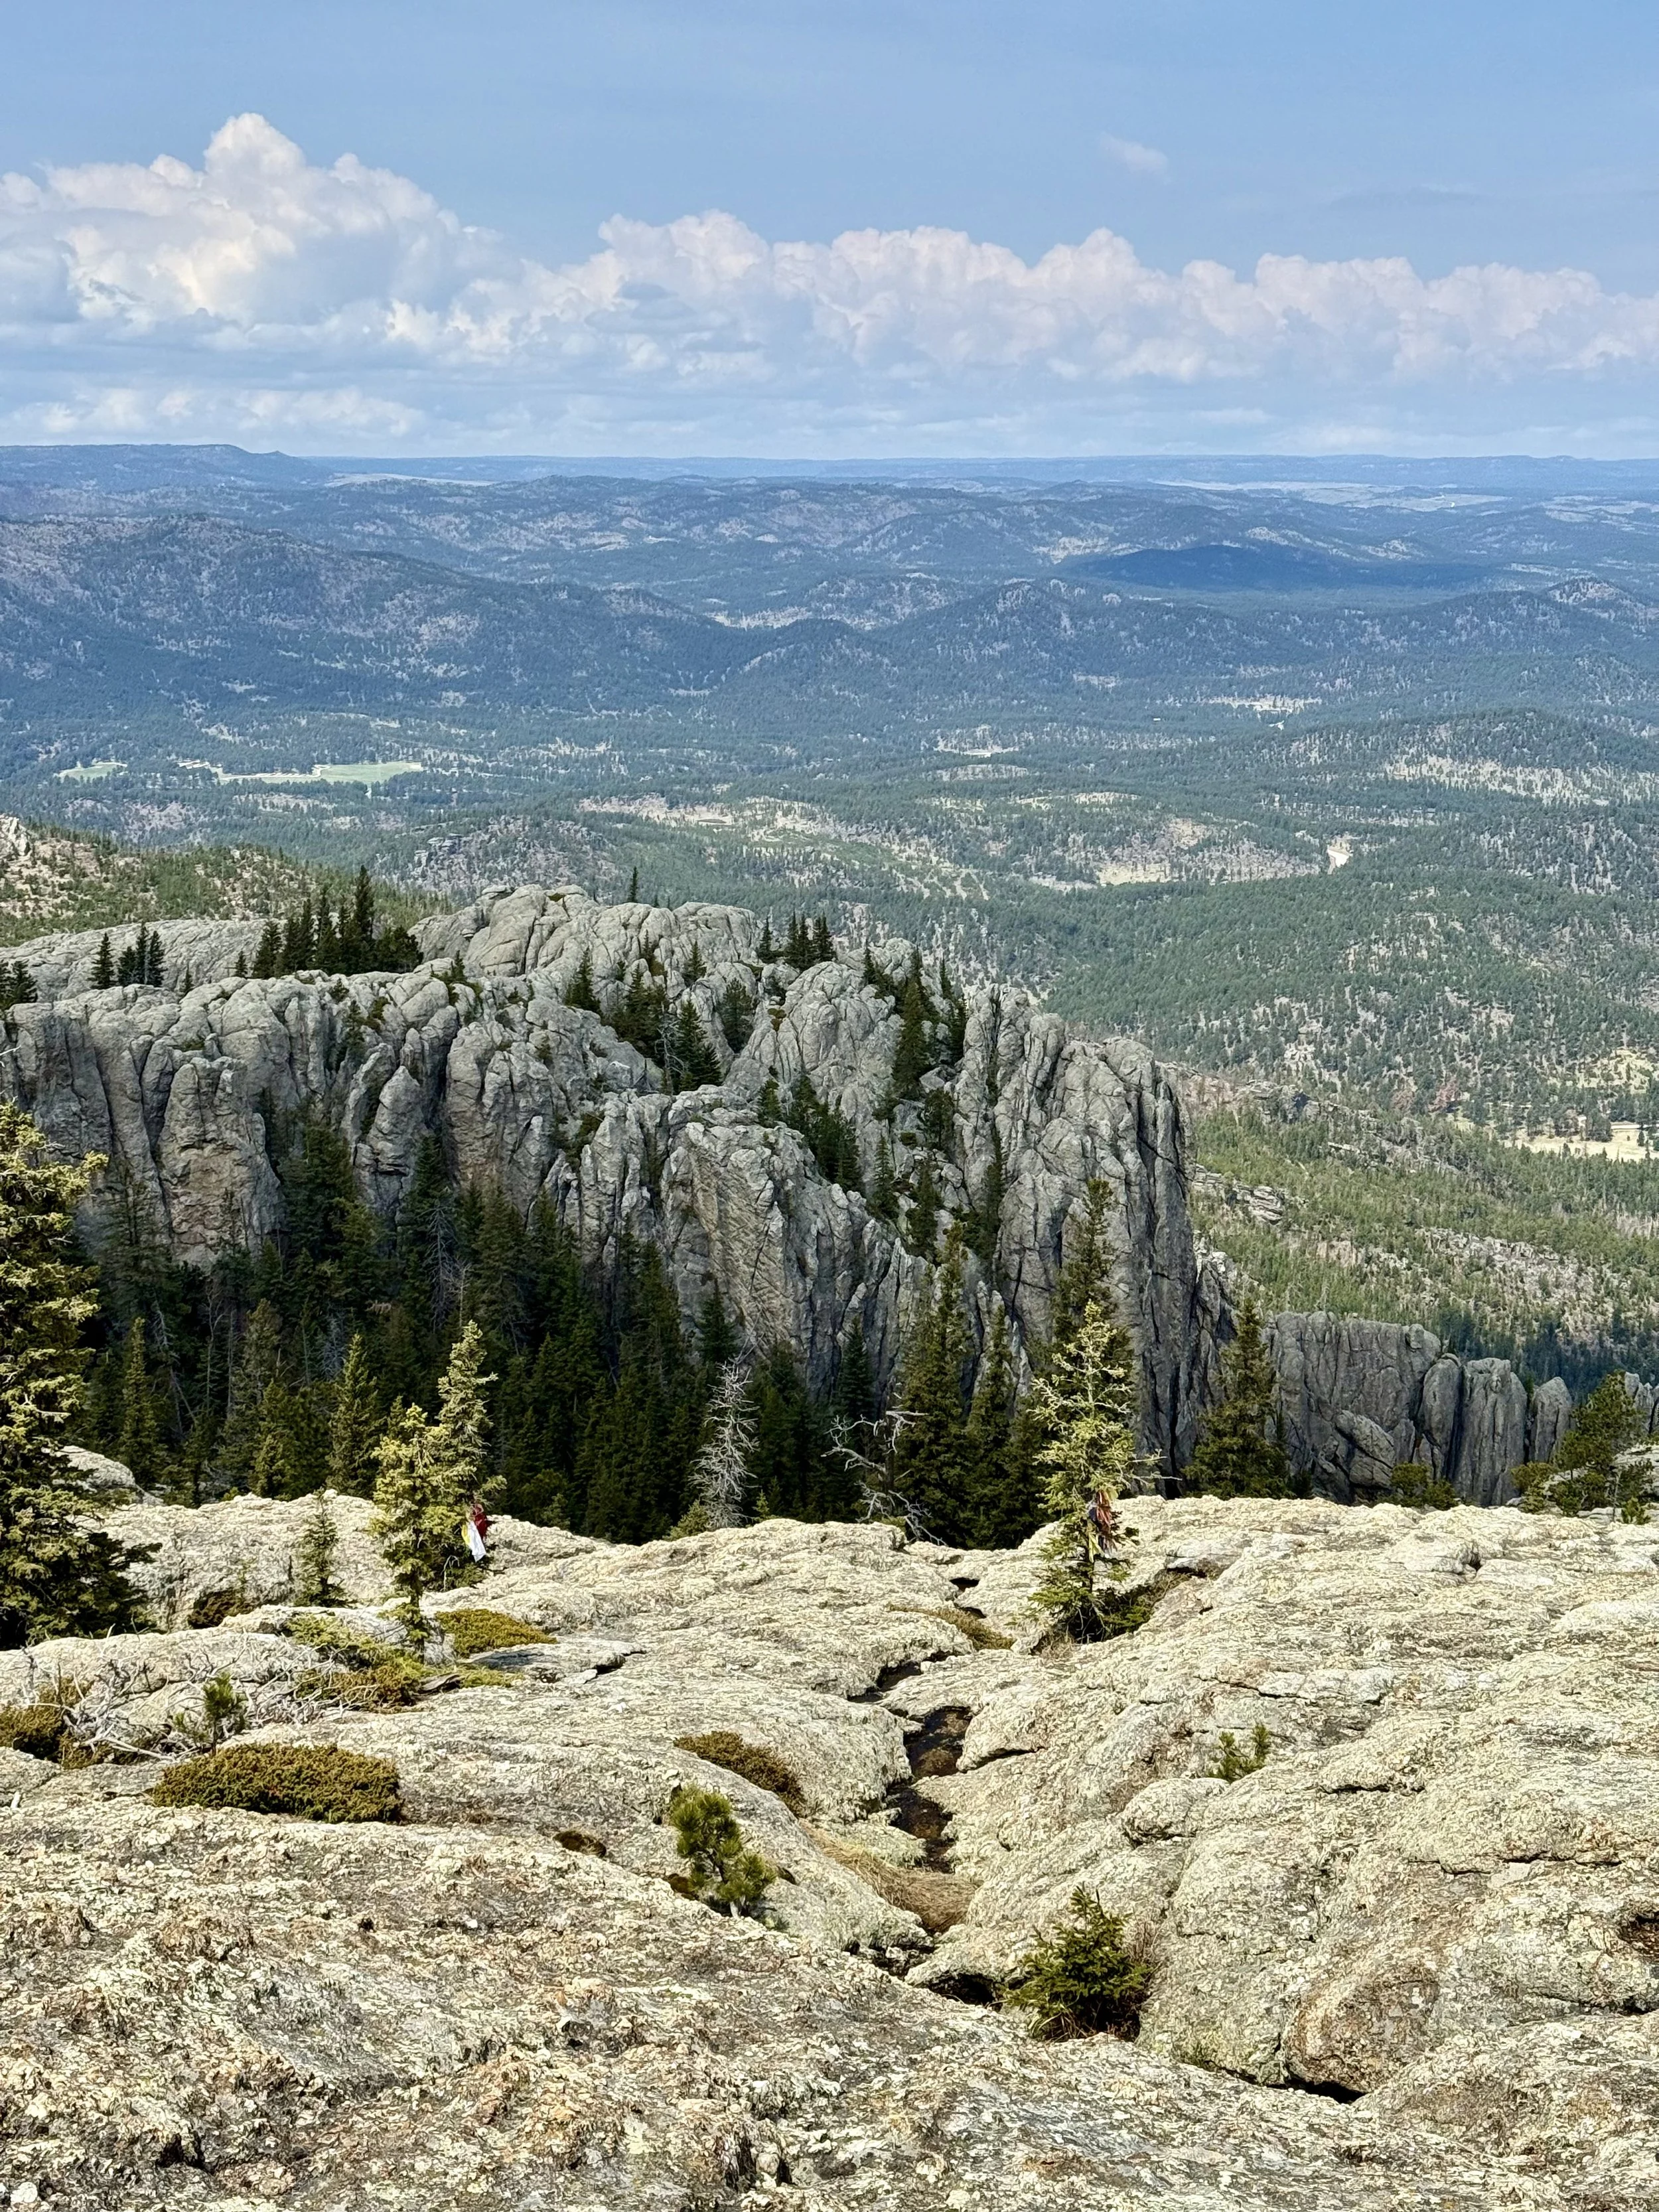
The trail wastes no time serving up epic scenery. Early on, we spotted the stone fire tower perched on the summit, impossibly far in the distance, and couldn’t believe we’d be up there in just a few miles. The route has a steady incline that’ll get your heart pumping, with the trail shimmering underfoot thanks to flecks of mica (I kid you not, it was like someone dusted the whole path in glitter).
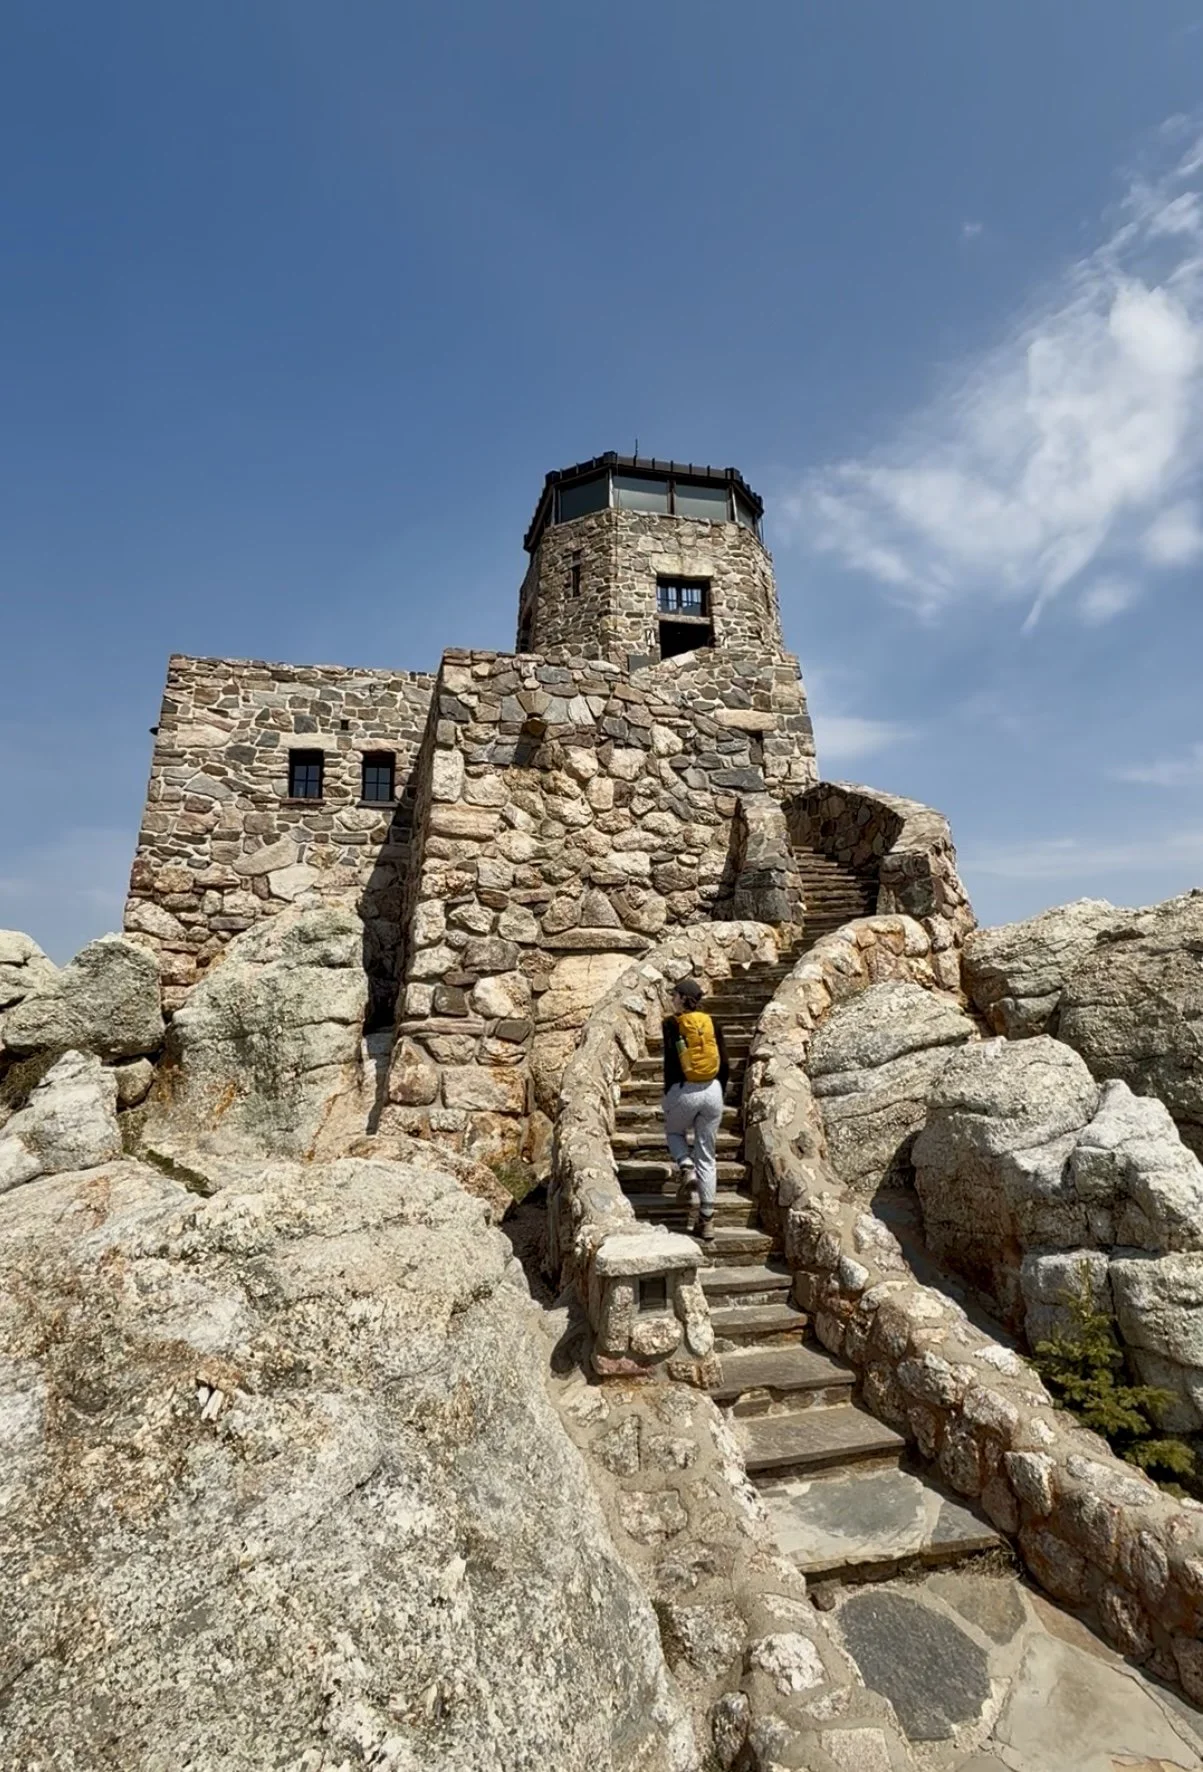
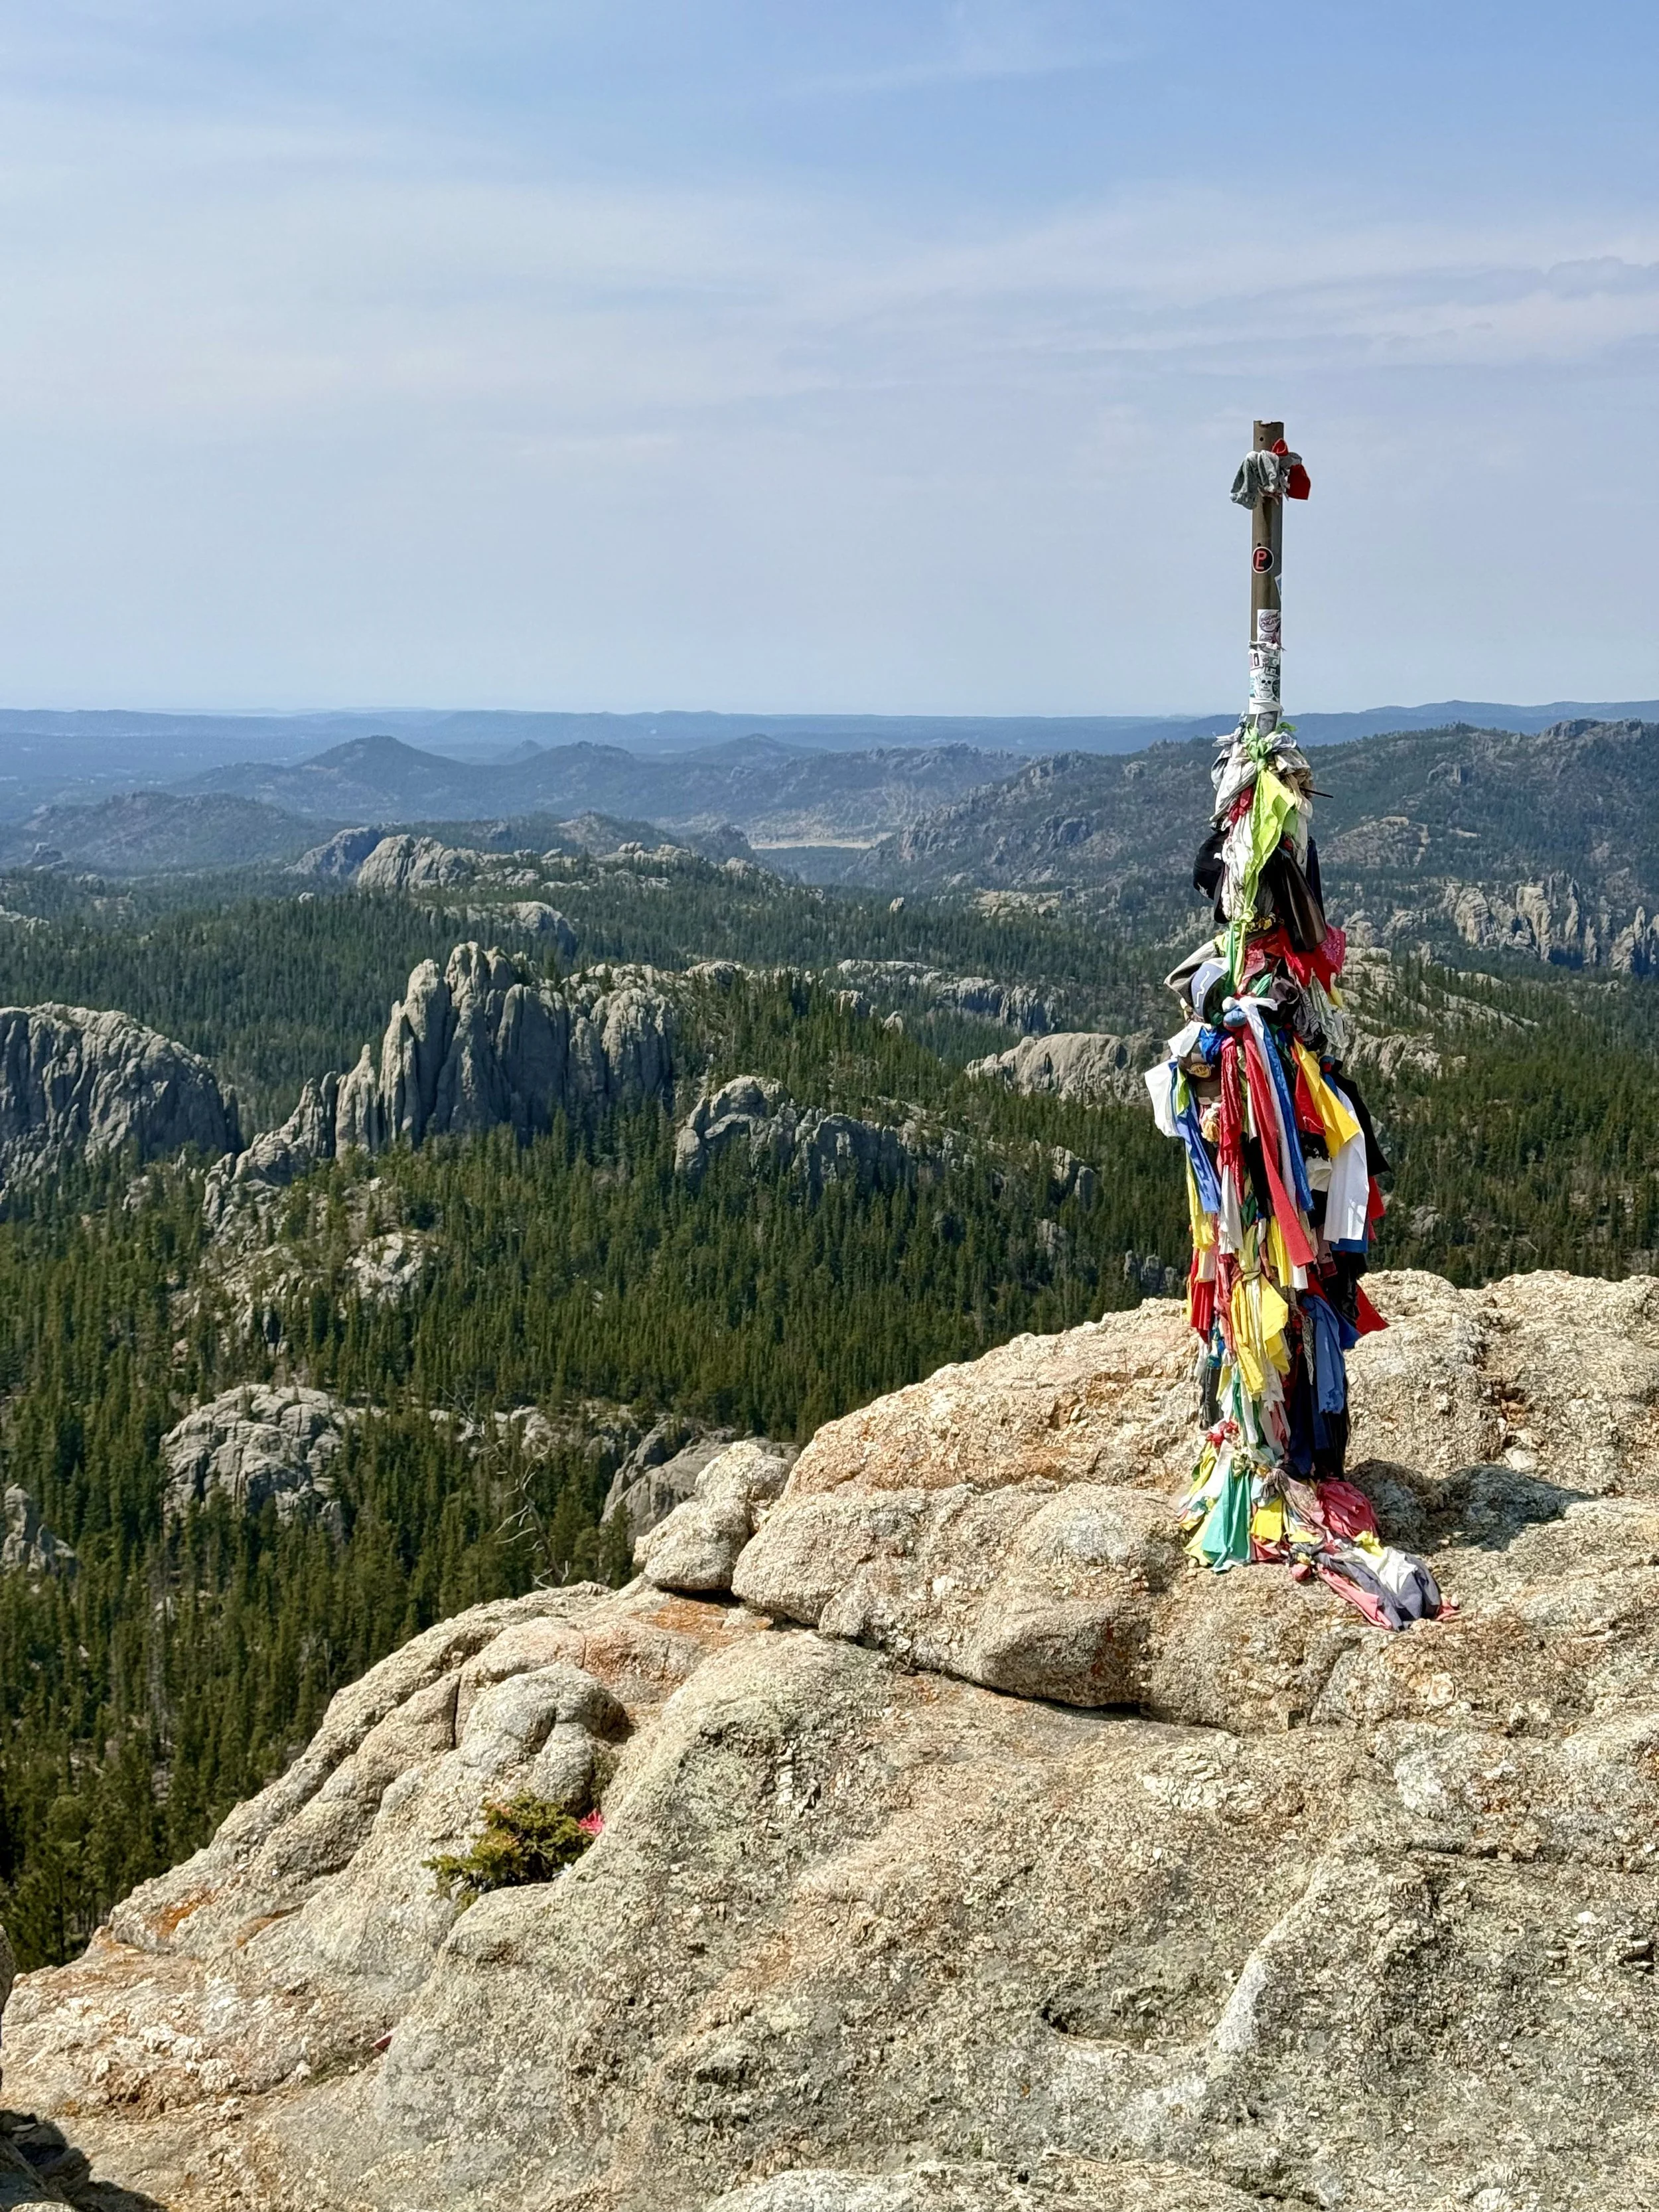
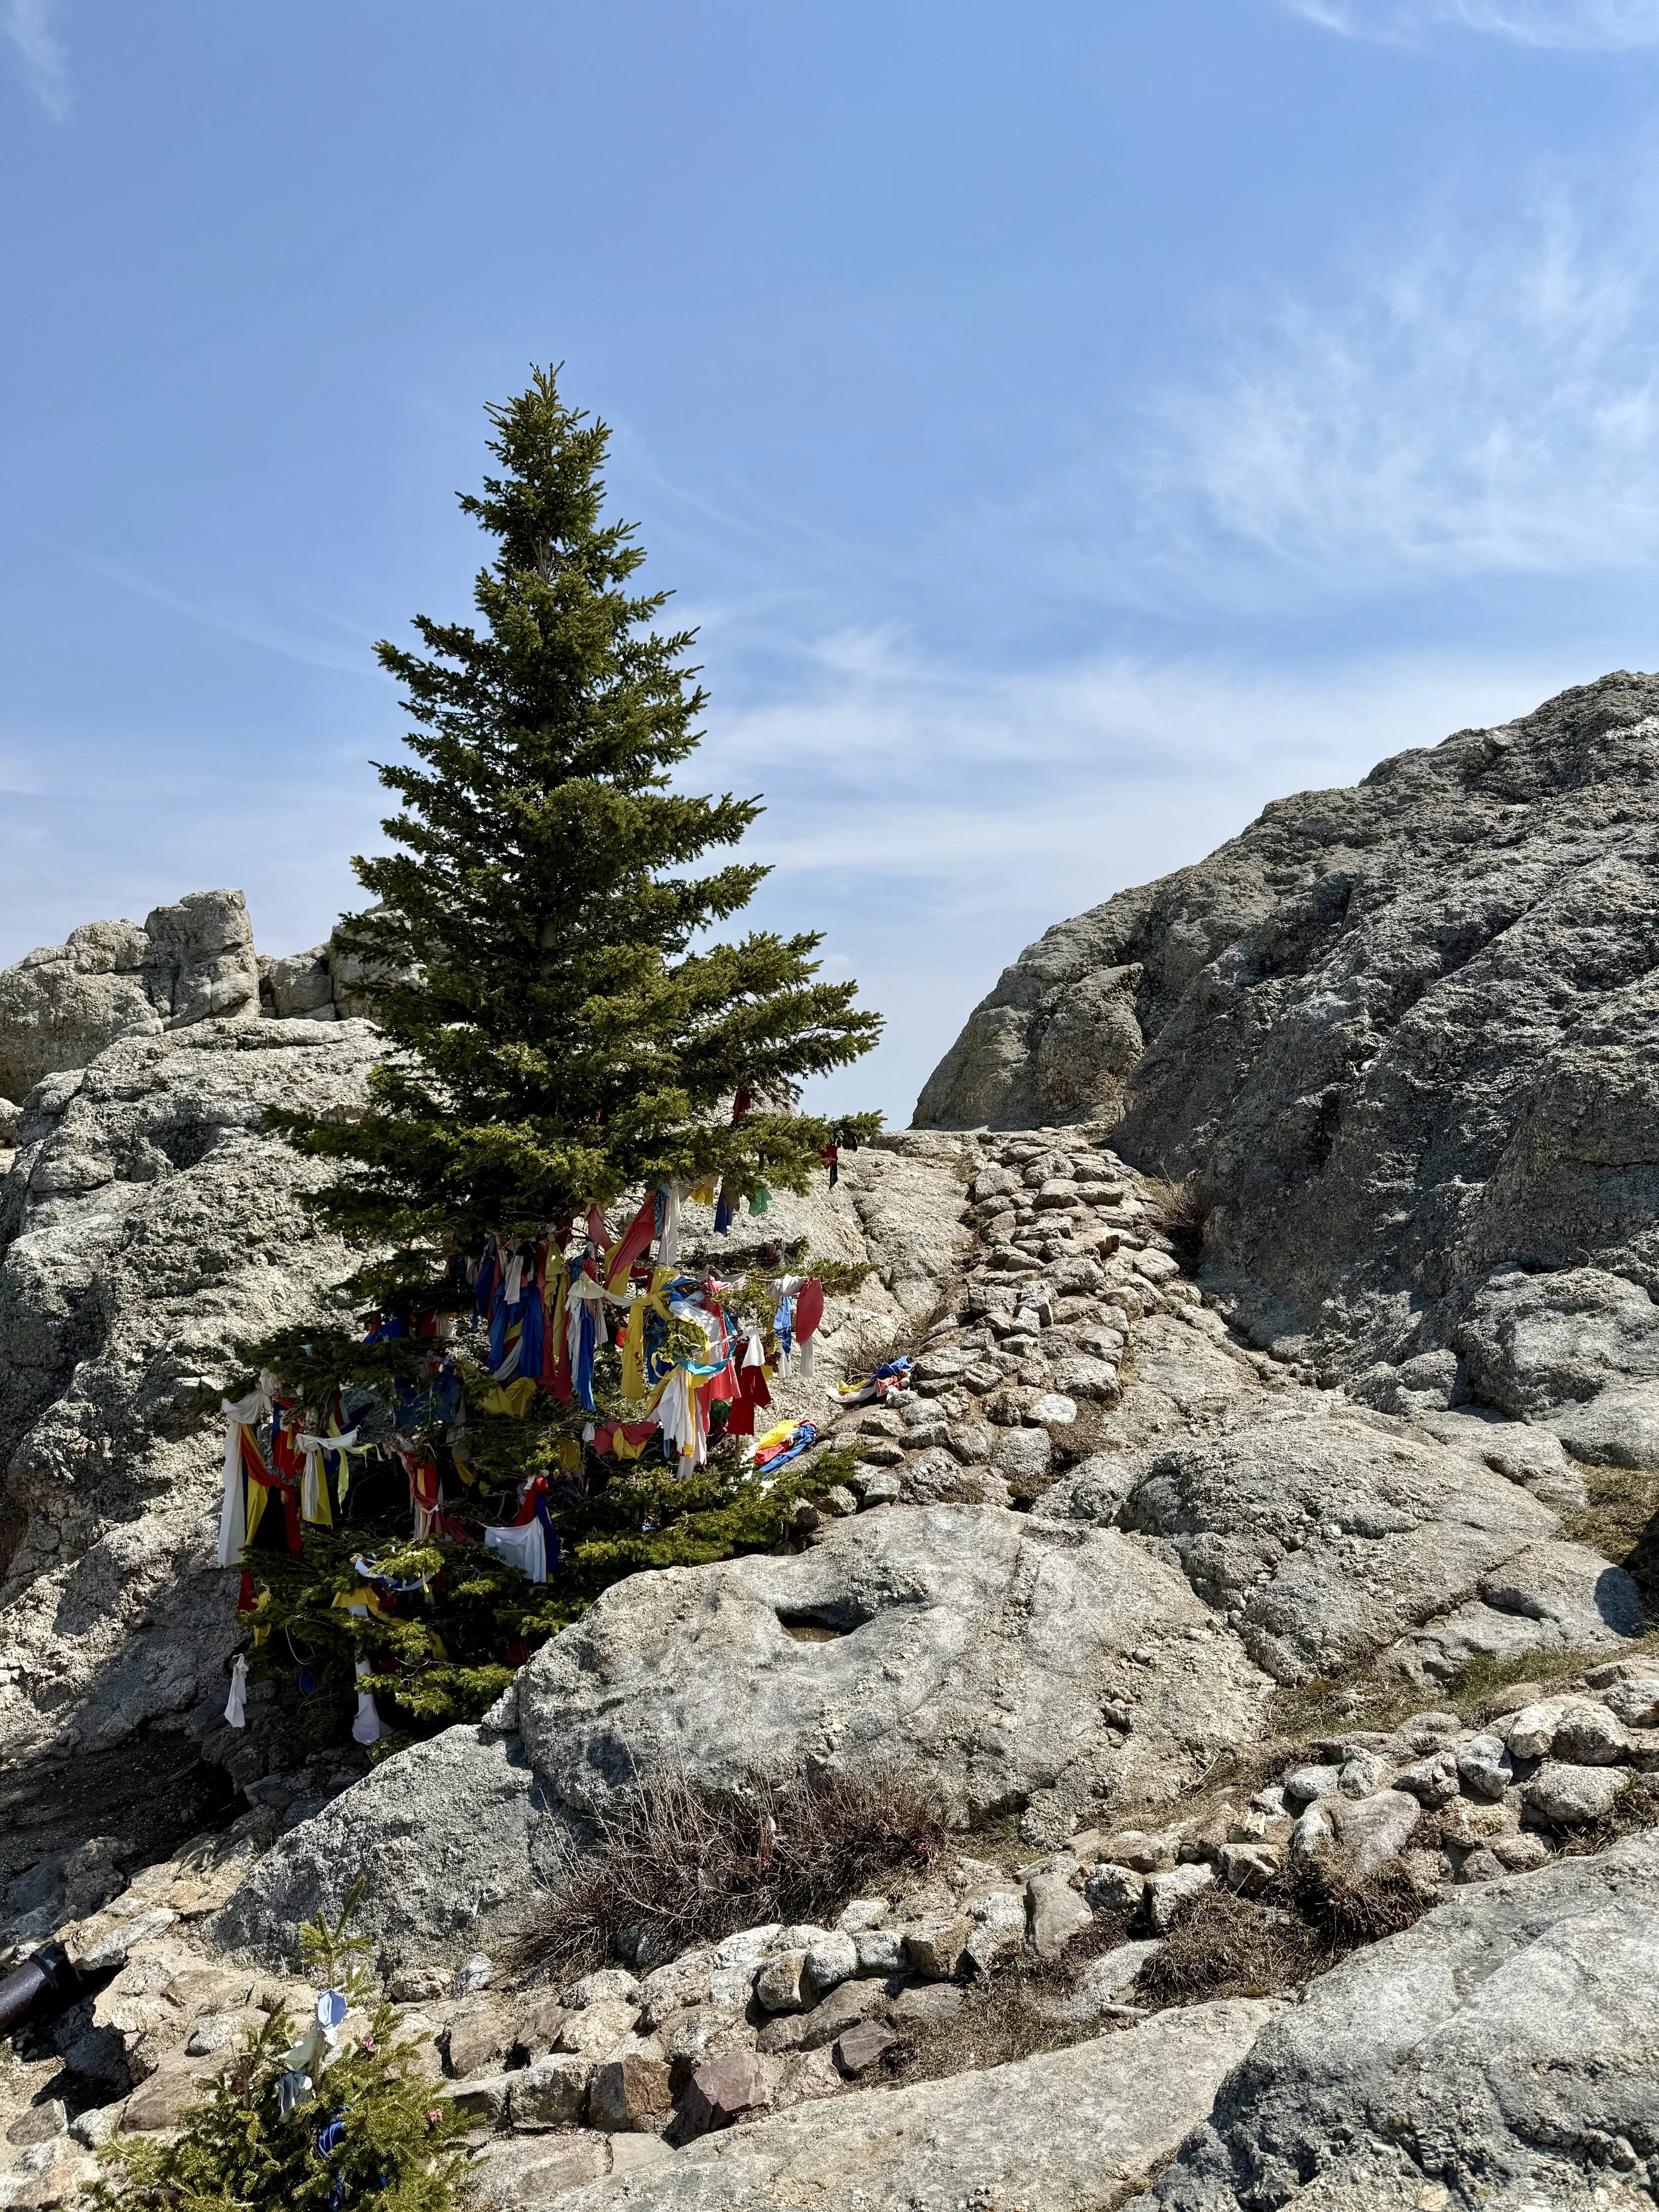
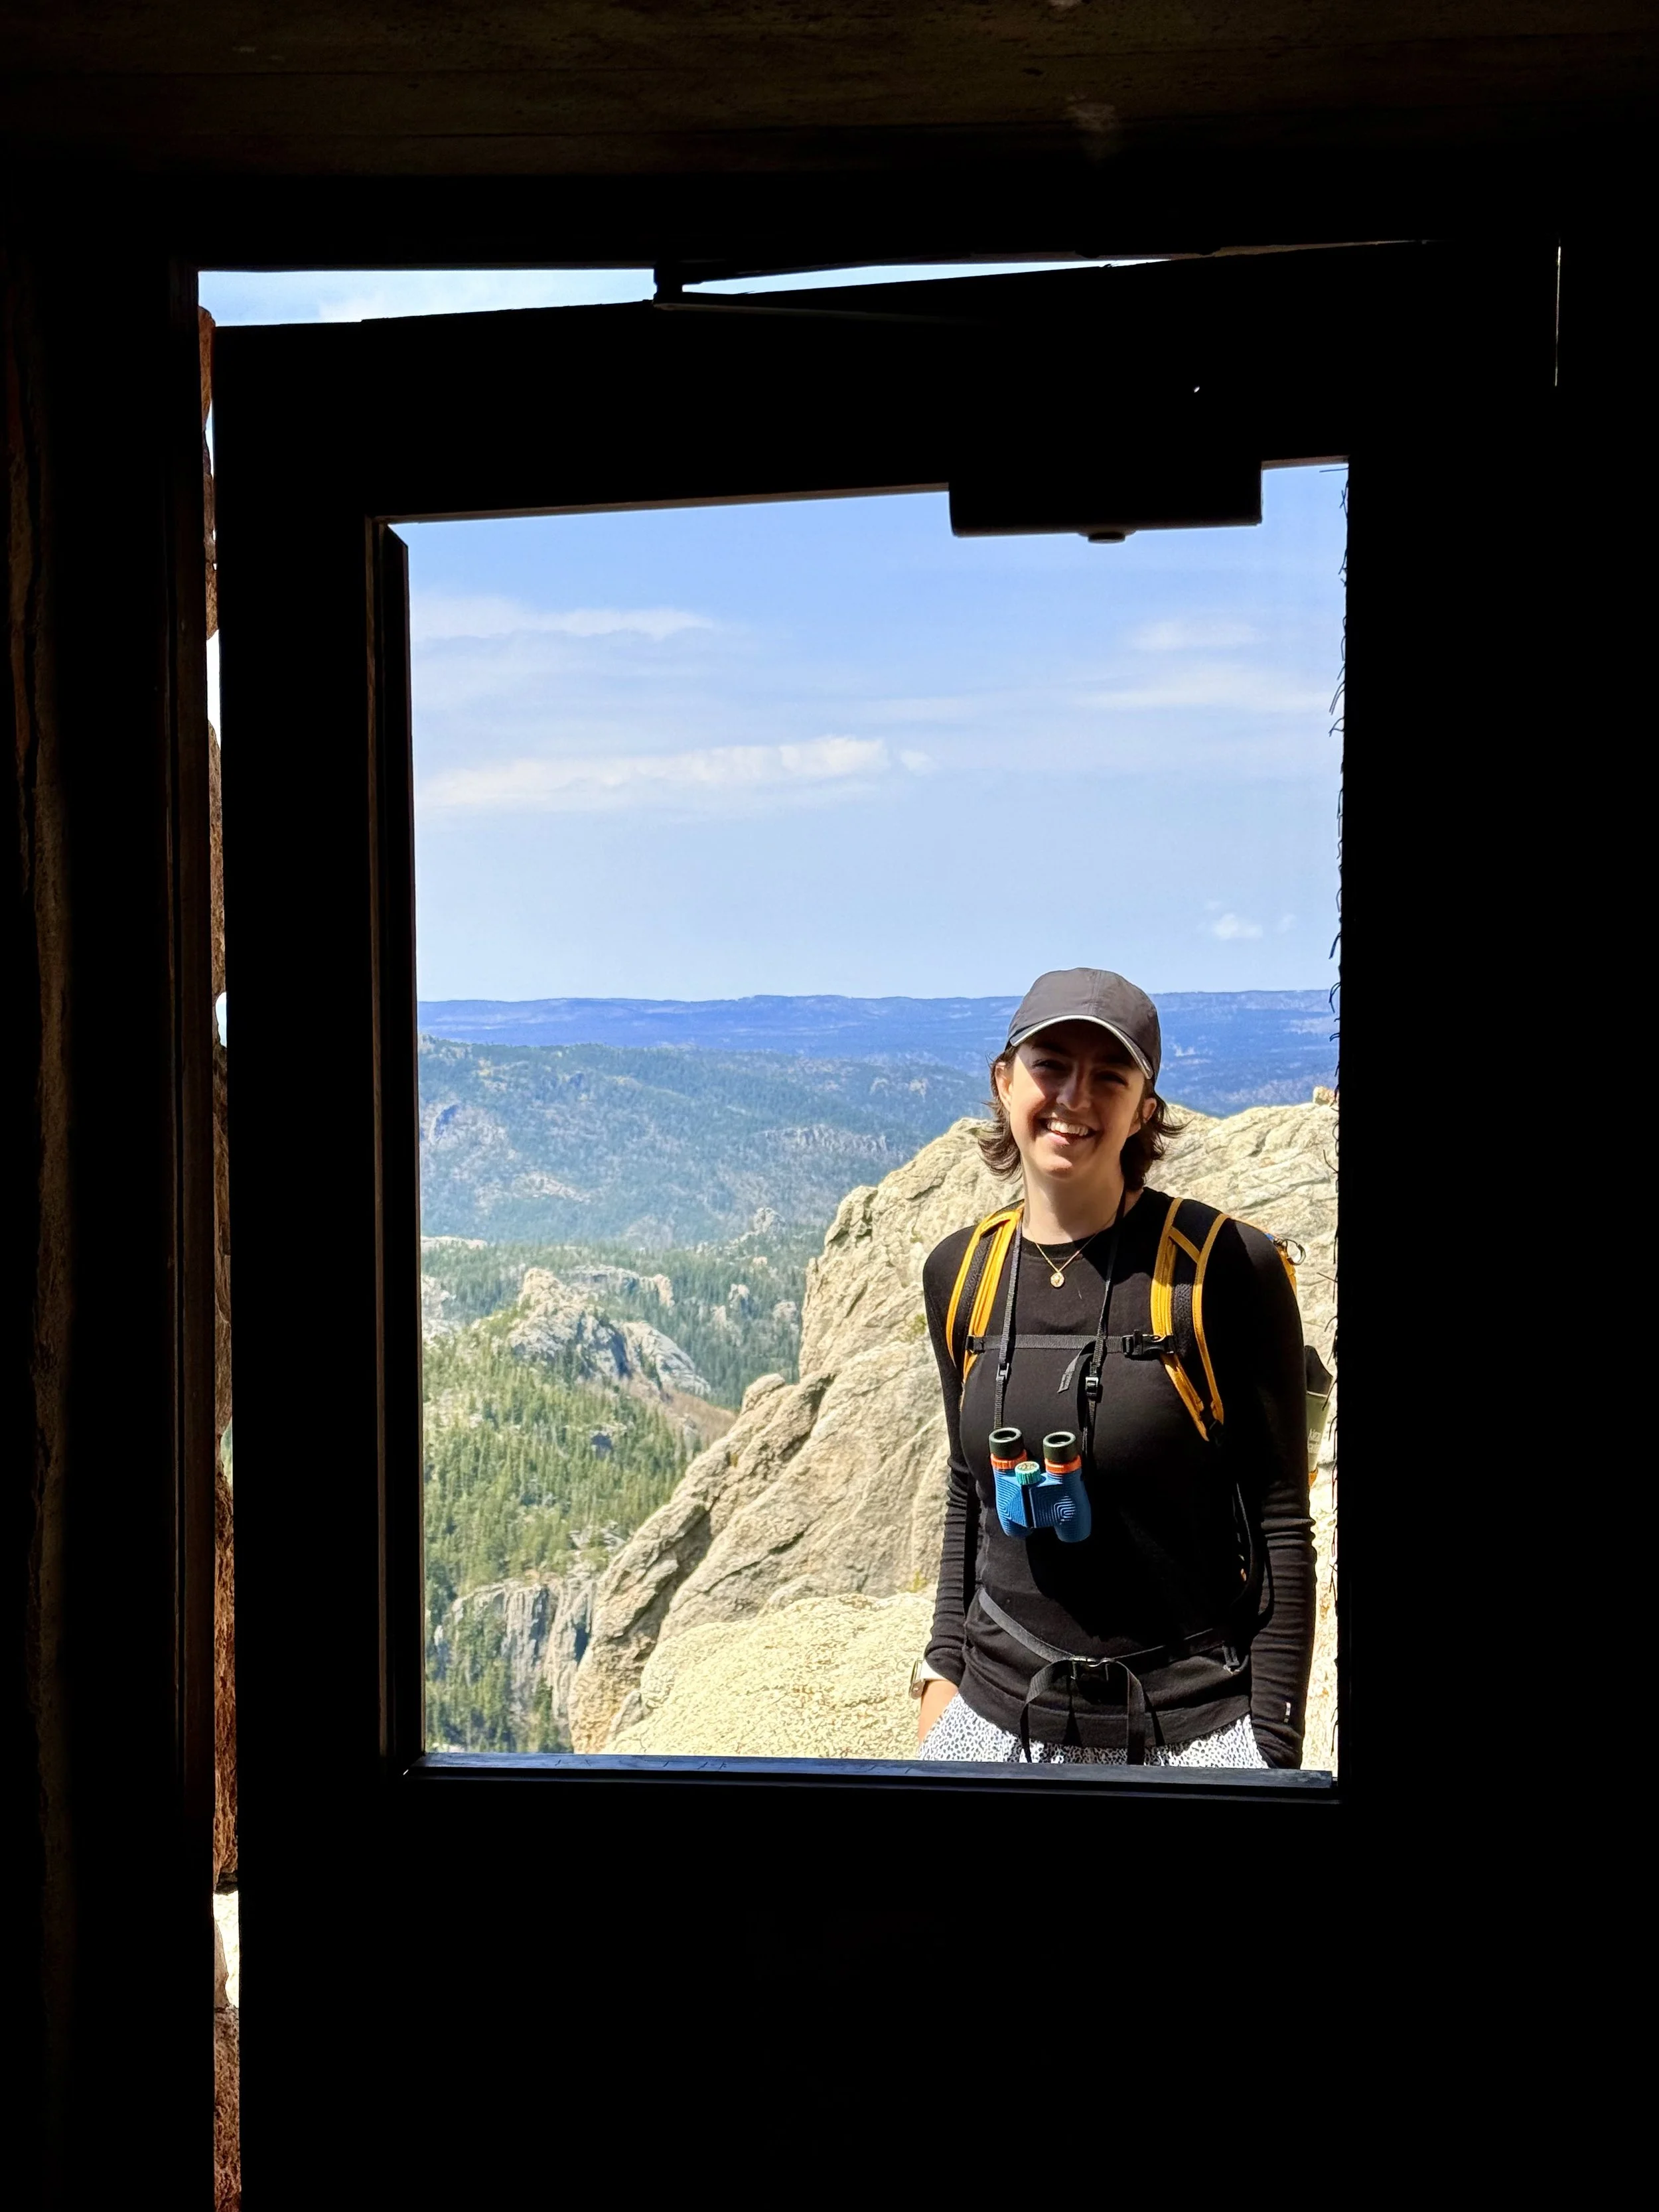
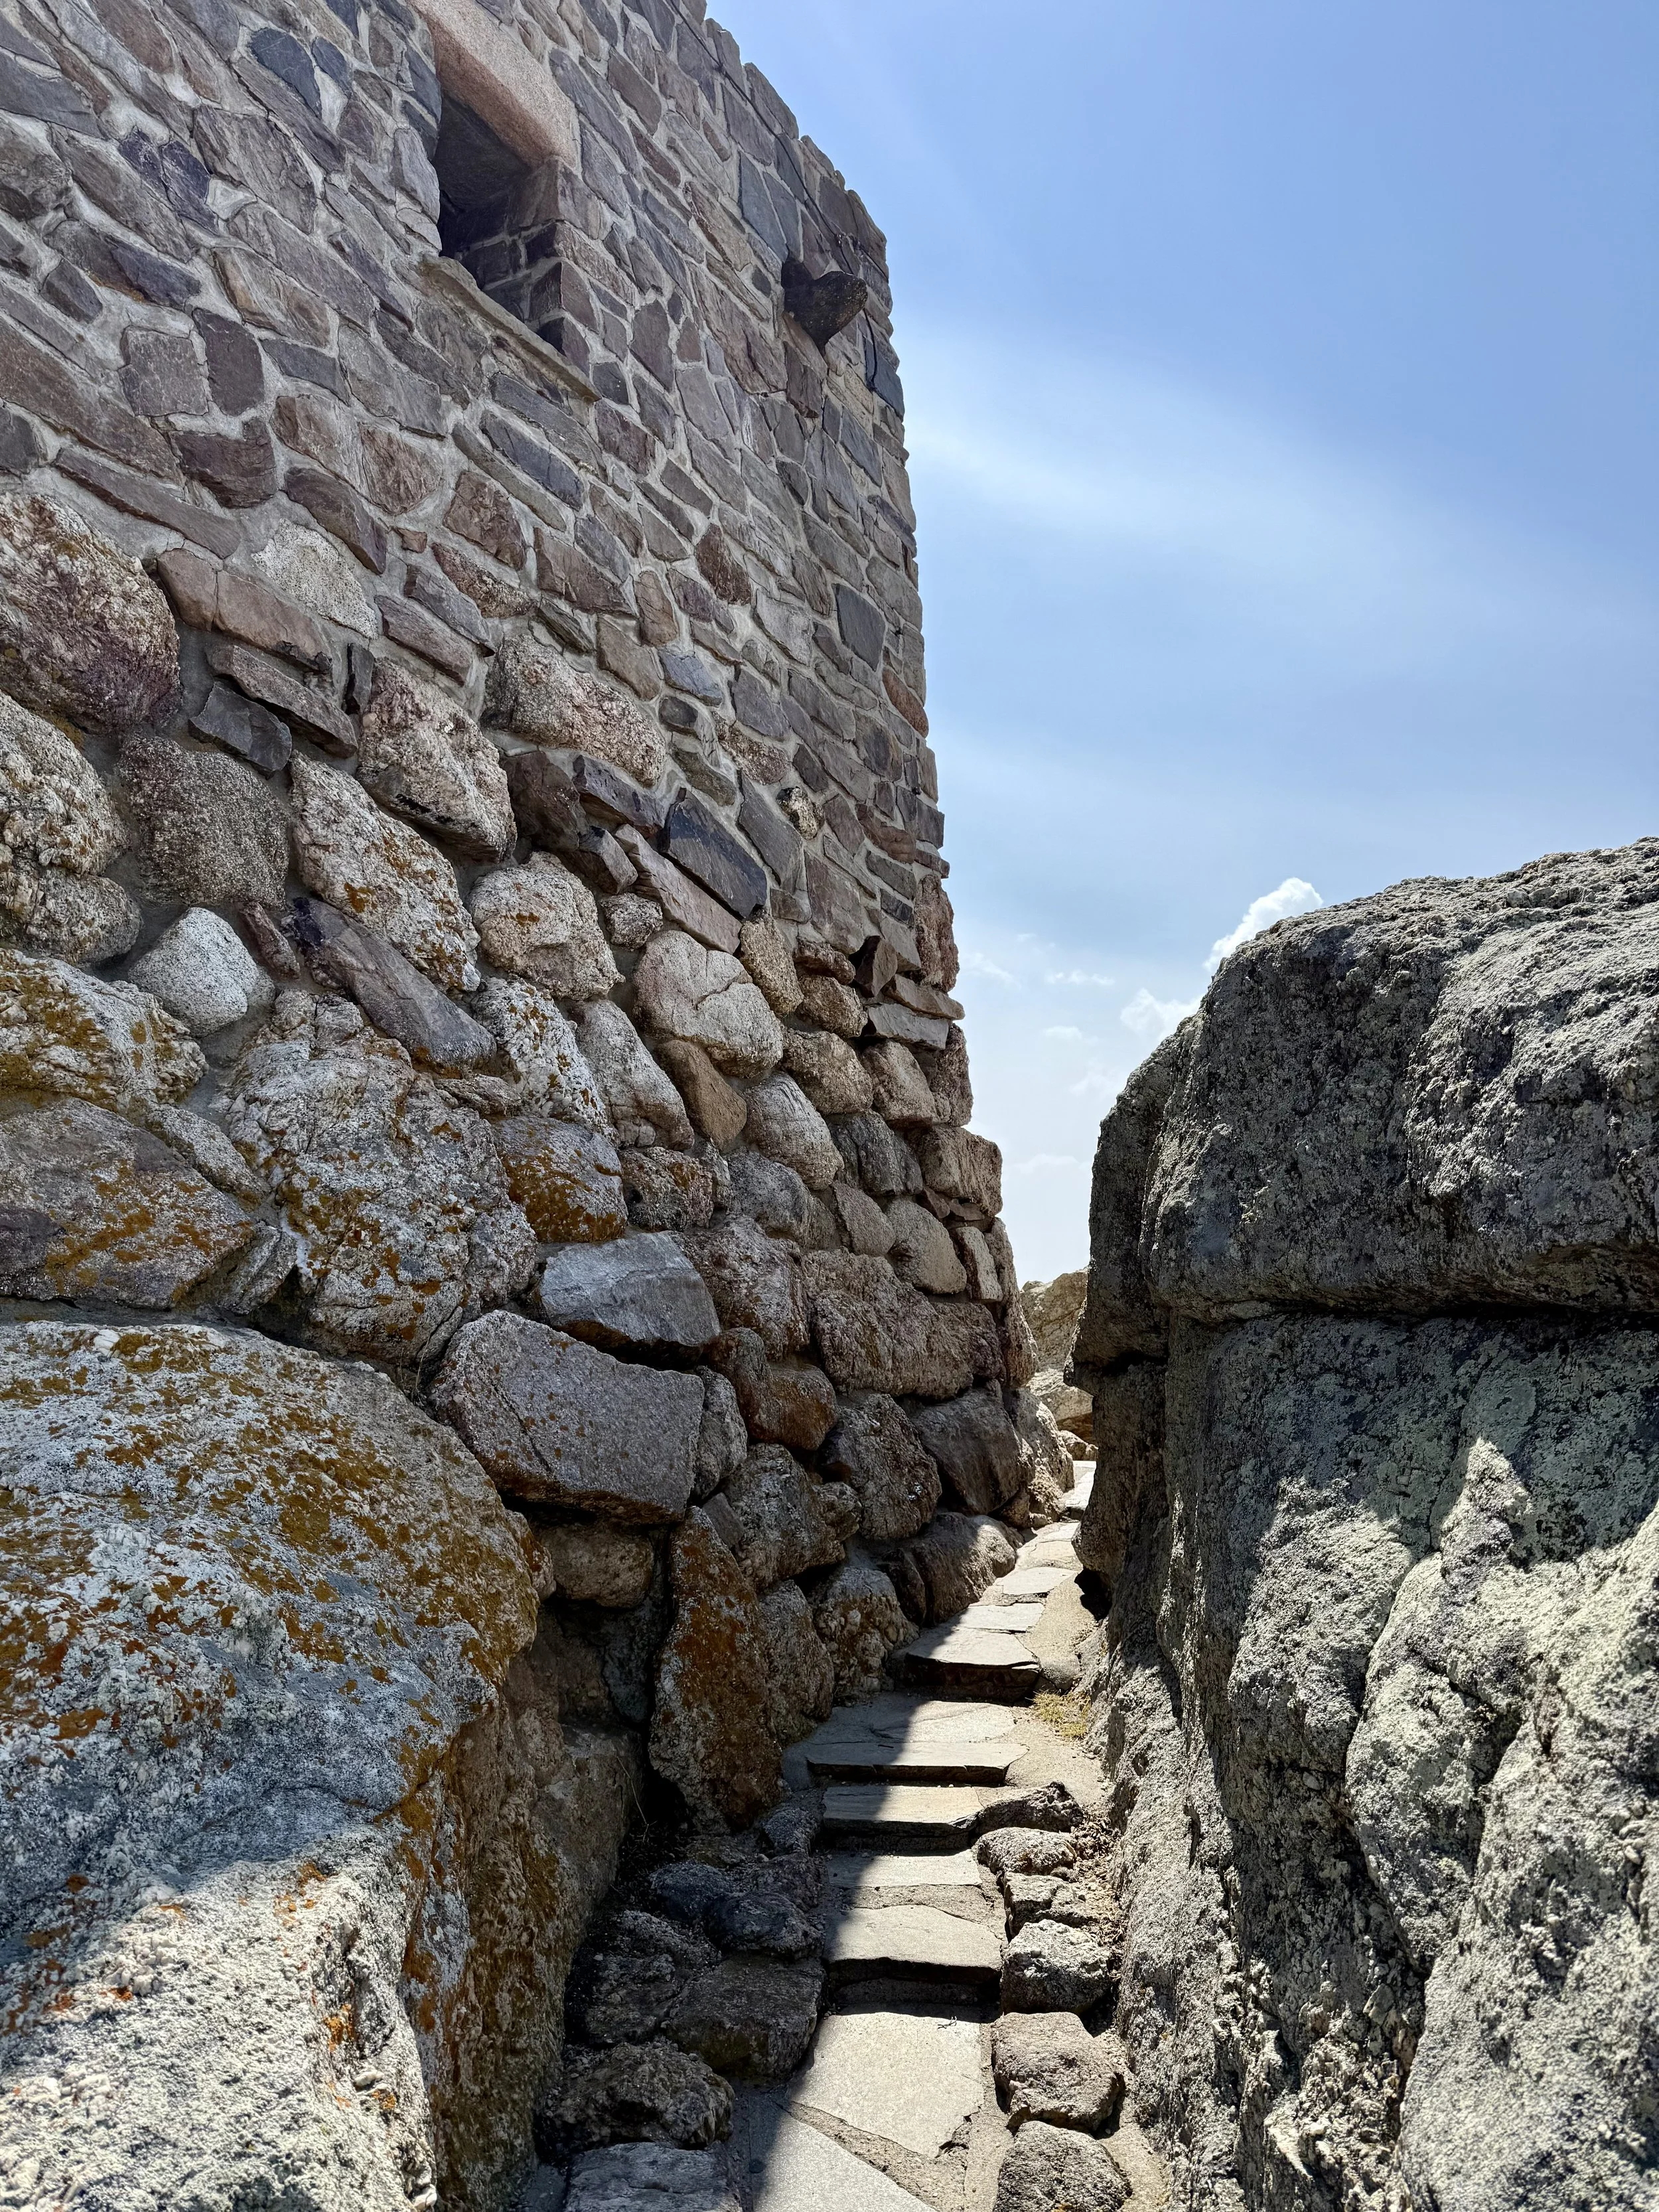
At the summit, the historic fire tower features a spiraling staircase that you can climb to panoramic views, with a way to exit out the other side through the basement. We scrambled around a bit to find a more secluded lunch spot and were glad we packed layers. It was windy and noticeably cooler up top, even with the sun warming us up. Fun fact: this is the highest point not only in South Dakota, but between the Rockies and the Pyrenees in Europe. We also came across Native American prayer ties fluttering in the breeze—offerings to the Great Spirit that should be treated with respect and left untouched.
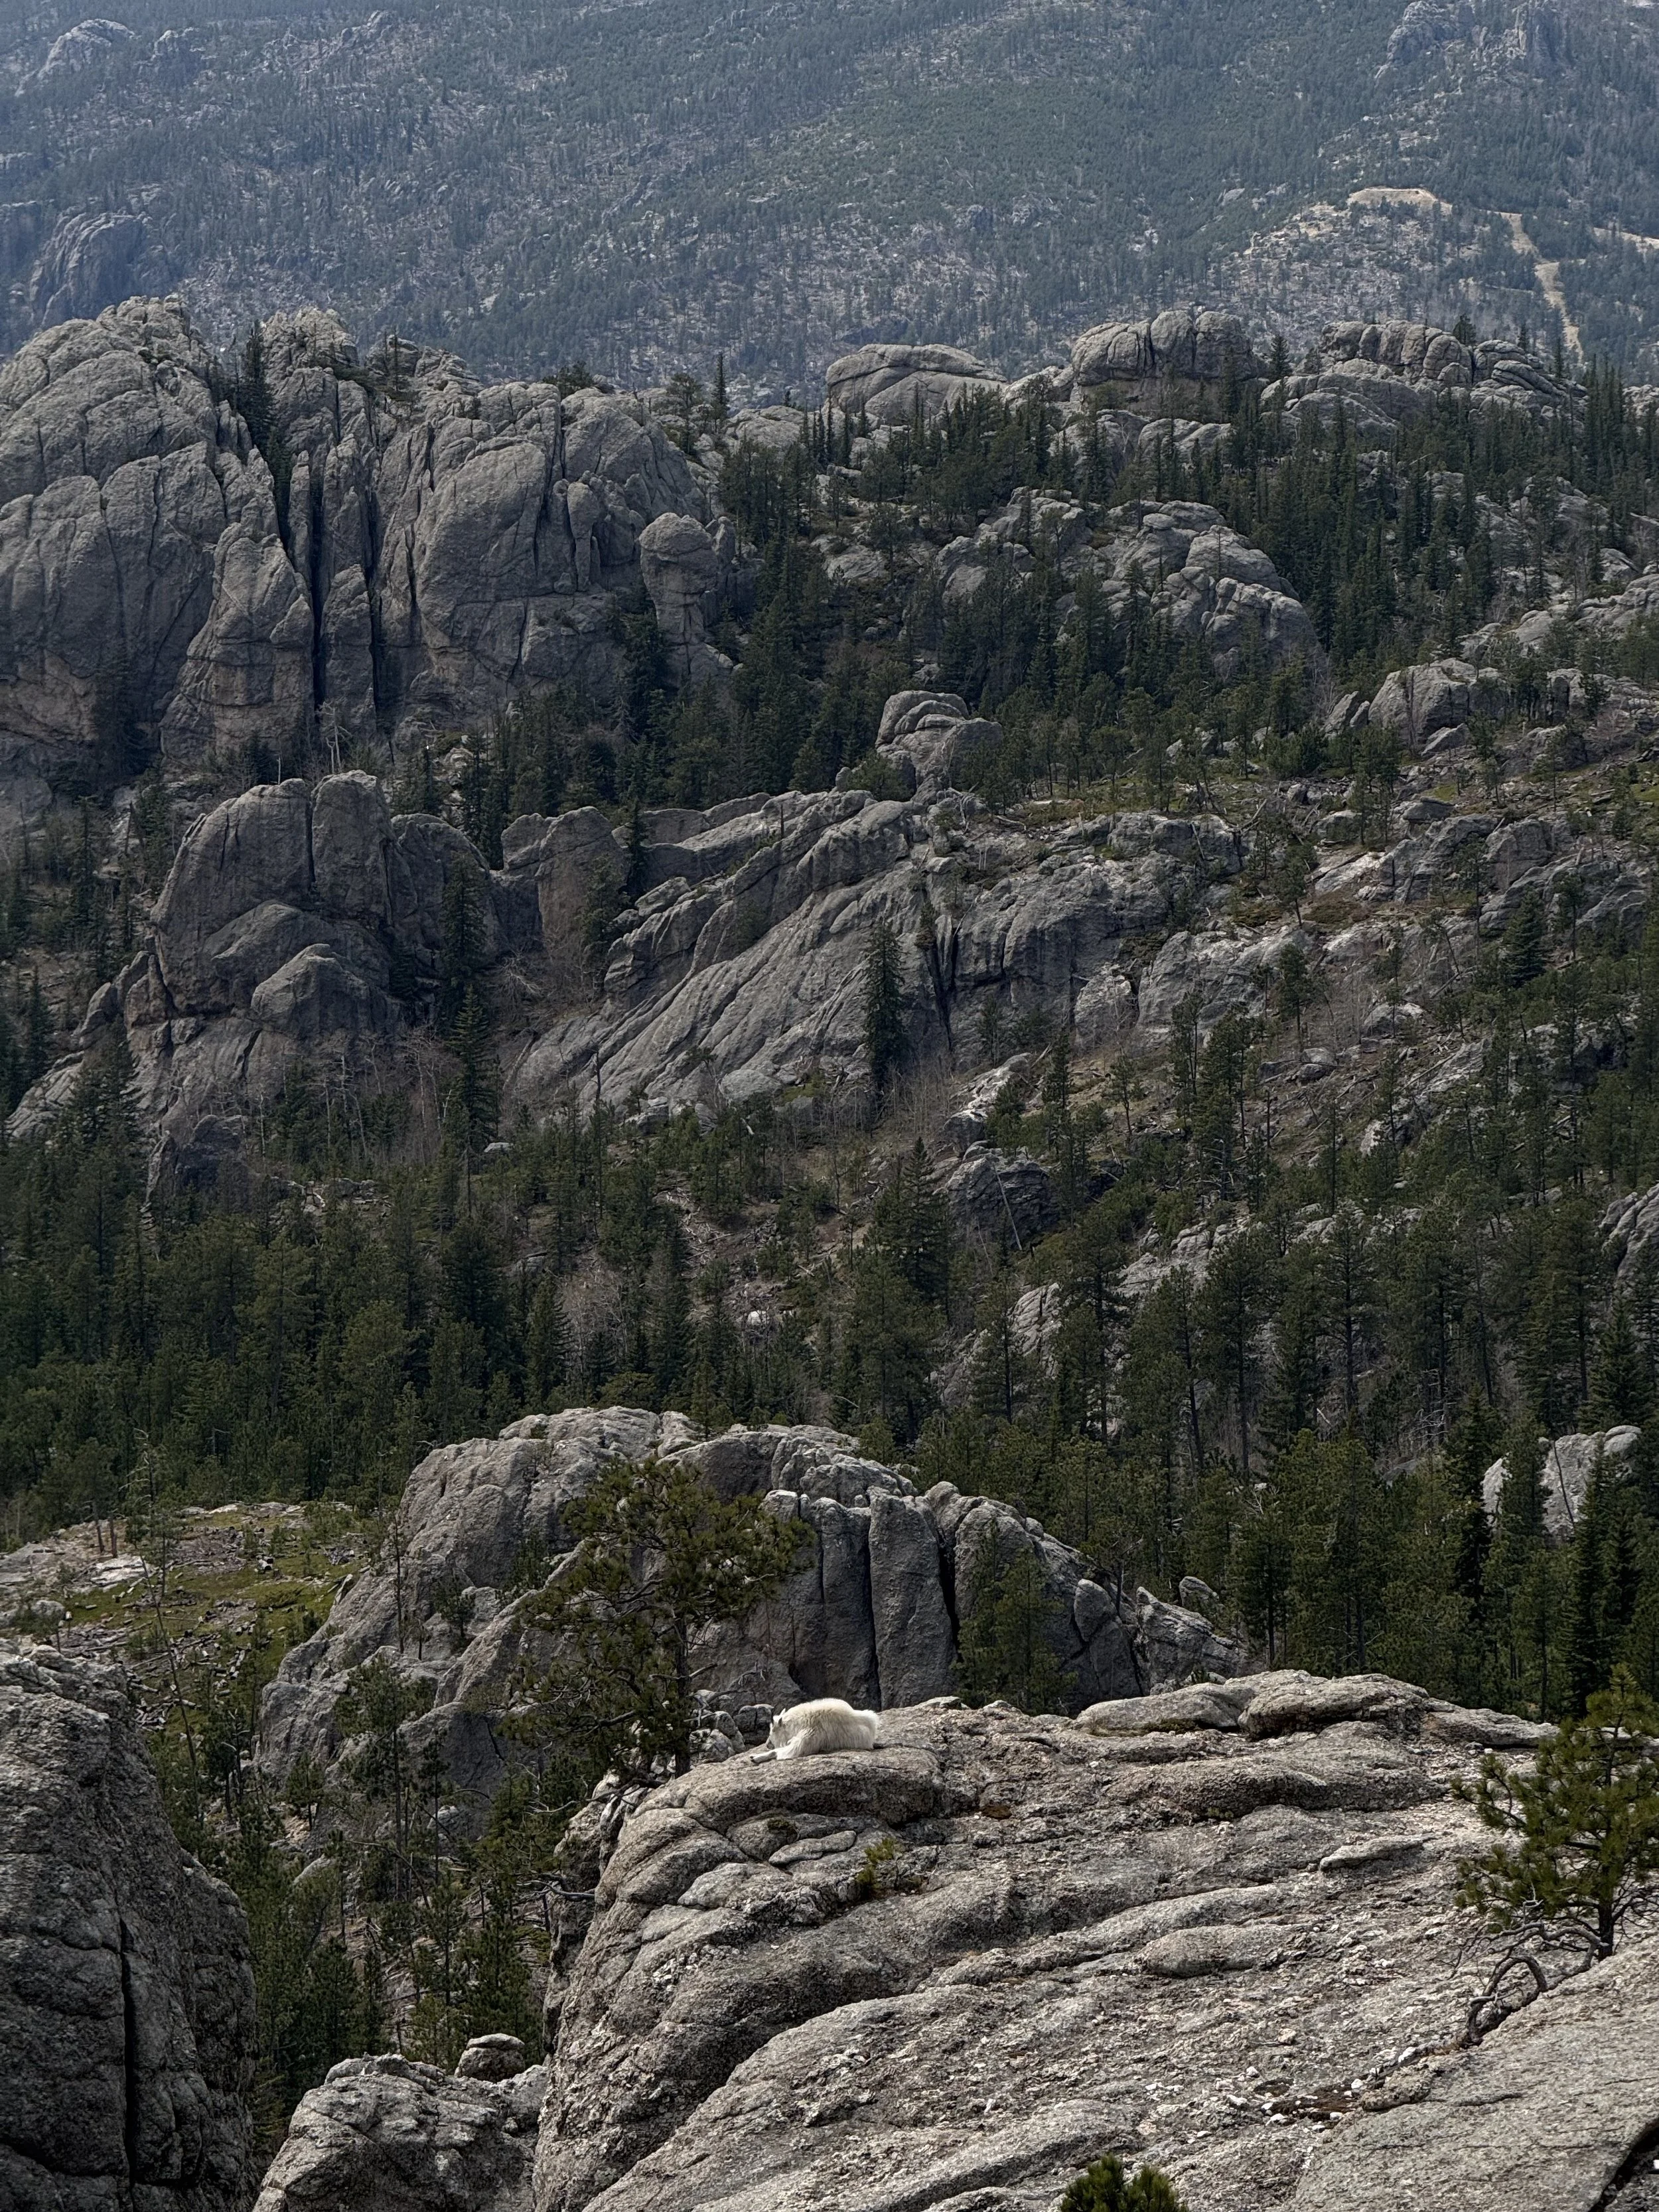
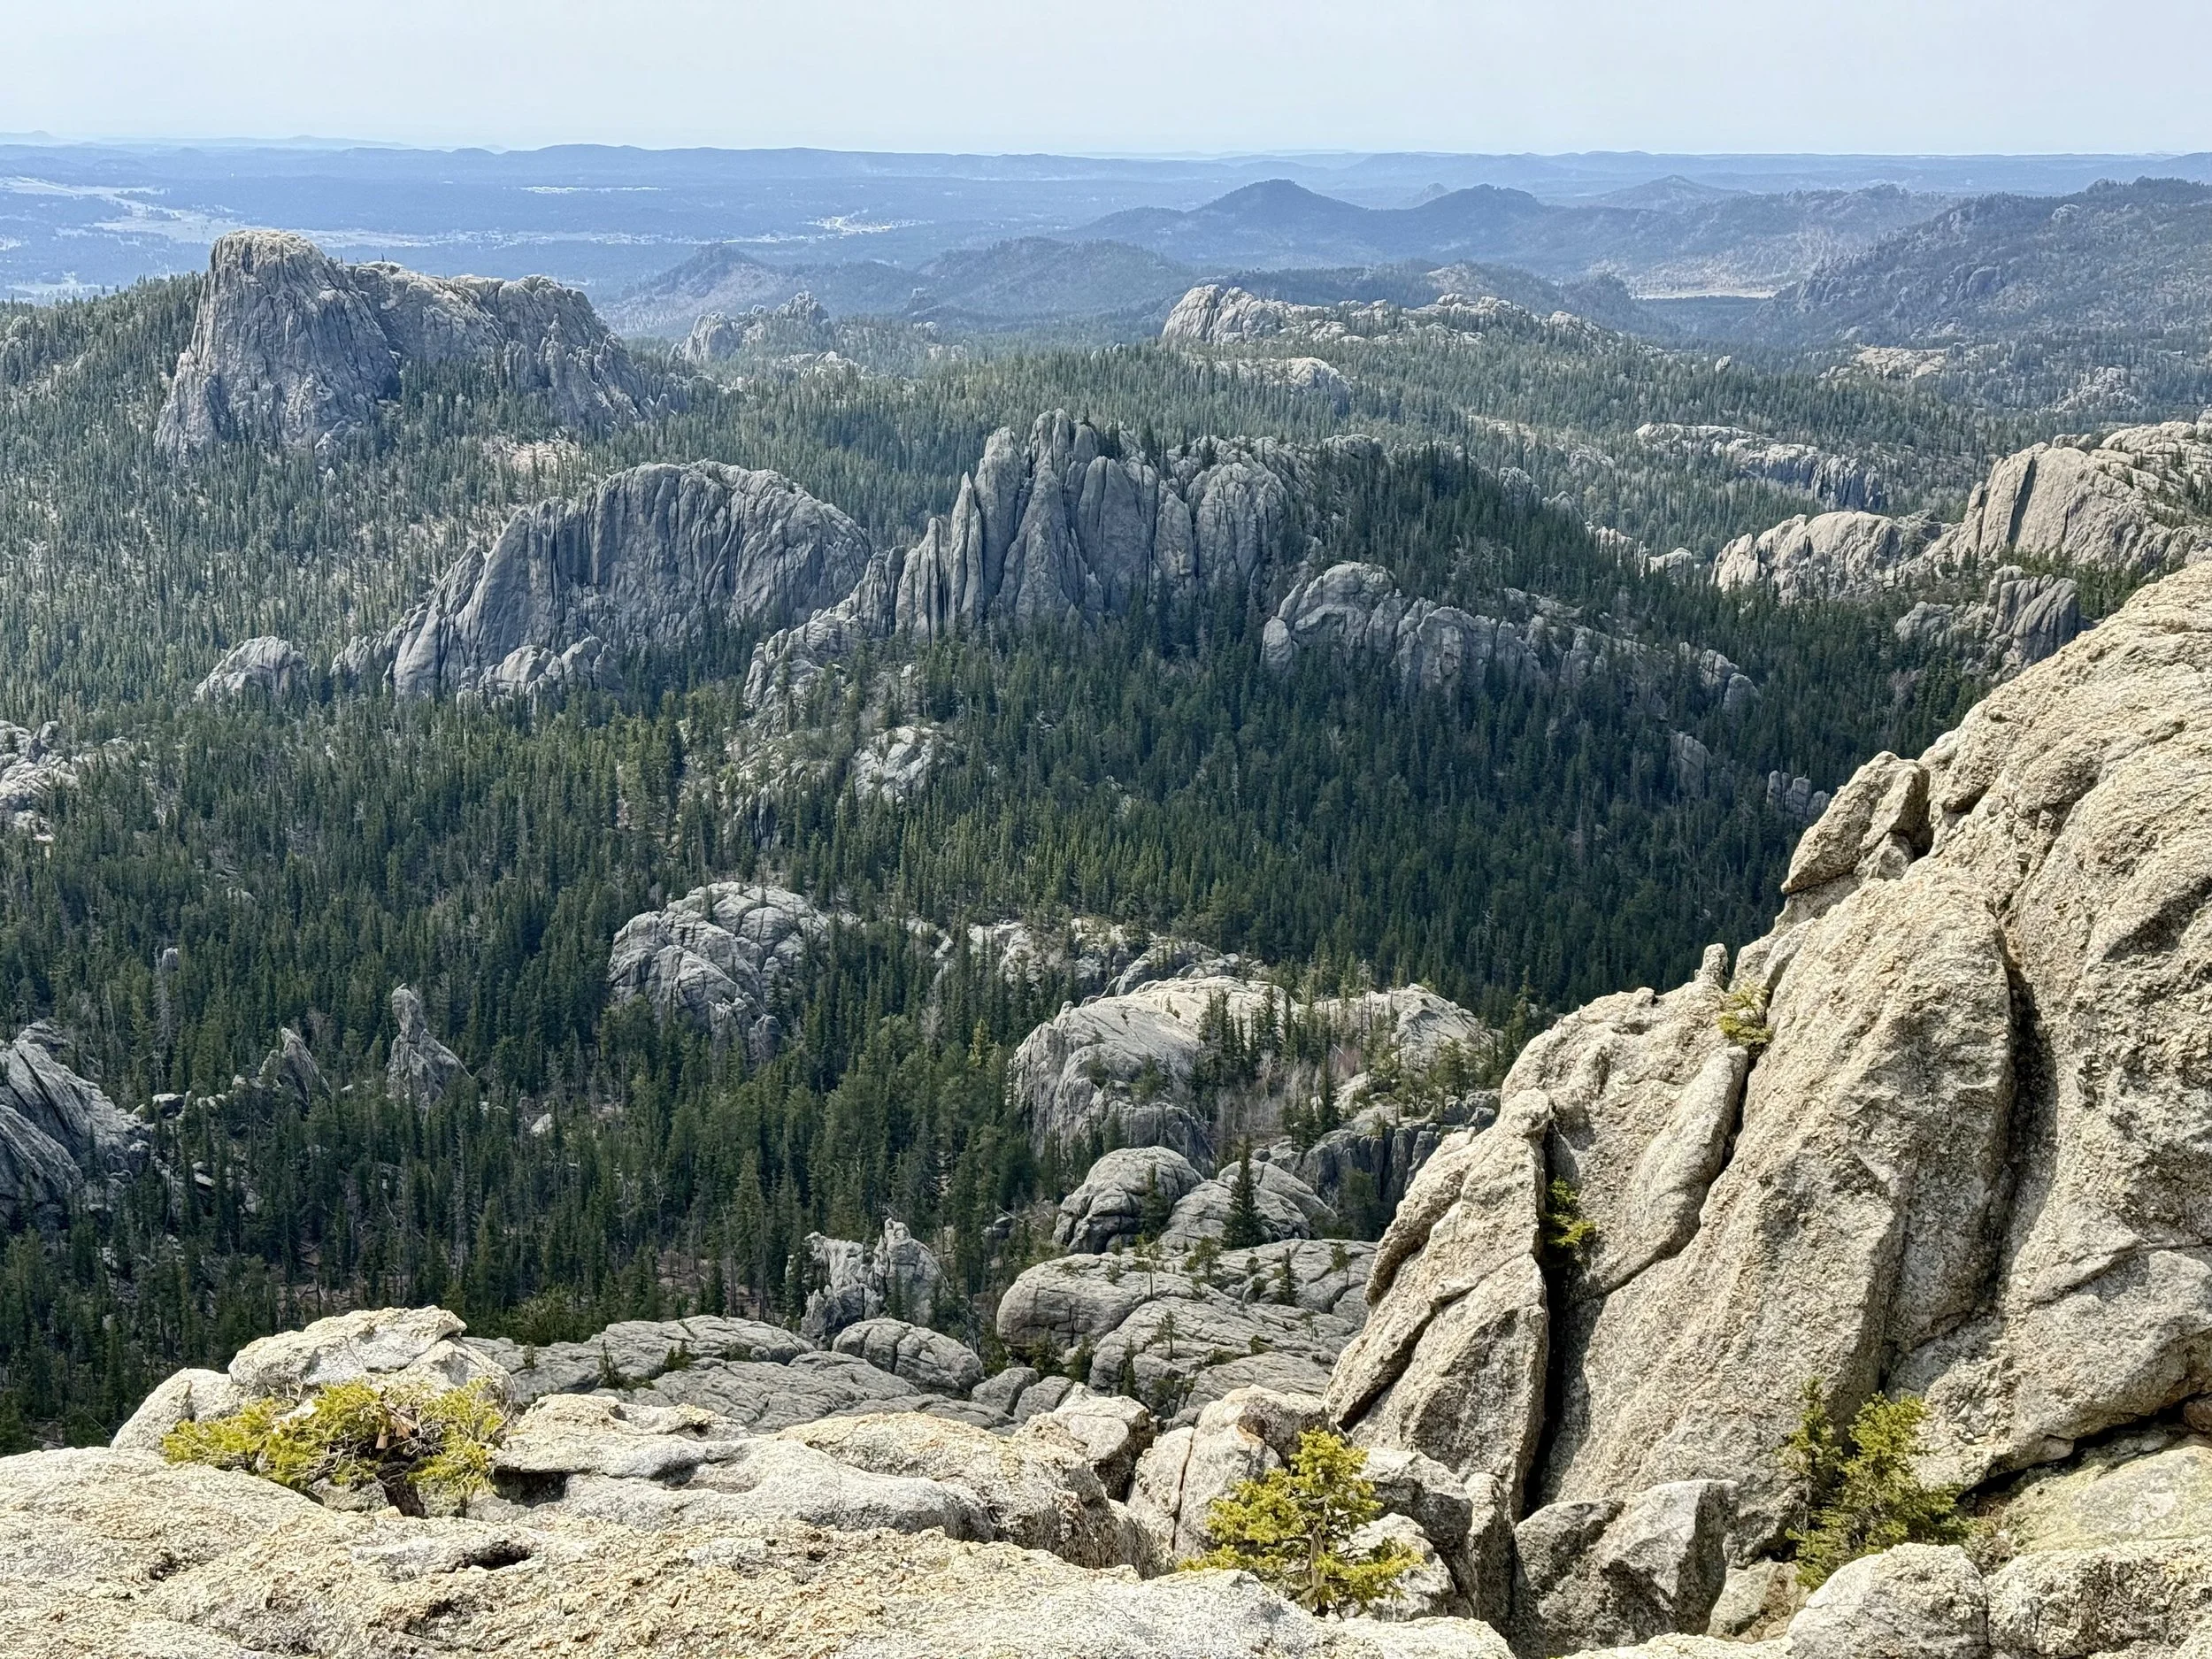
Though we were on a bit of a time crunch with a reservation in Hot Springs, we decided to tack on the Little Devils Tower offshoot and were SO glad we did. After a quick scramble, we were greeted with incredible views and even spotted a pair of mountain goats lounging on the spires. One section of the rock revealed a sliver of pink mineral that was unlike anything else we’d seen on the hike. After taking in one last sweeping vista, we made our way swiftly back to Sylvan Lake—tired but buzzing from the adventure.
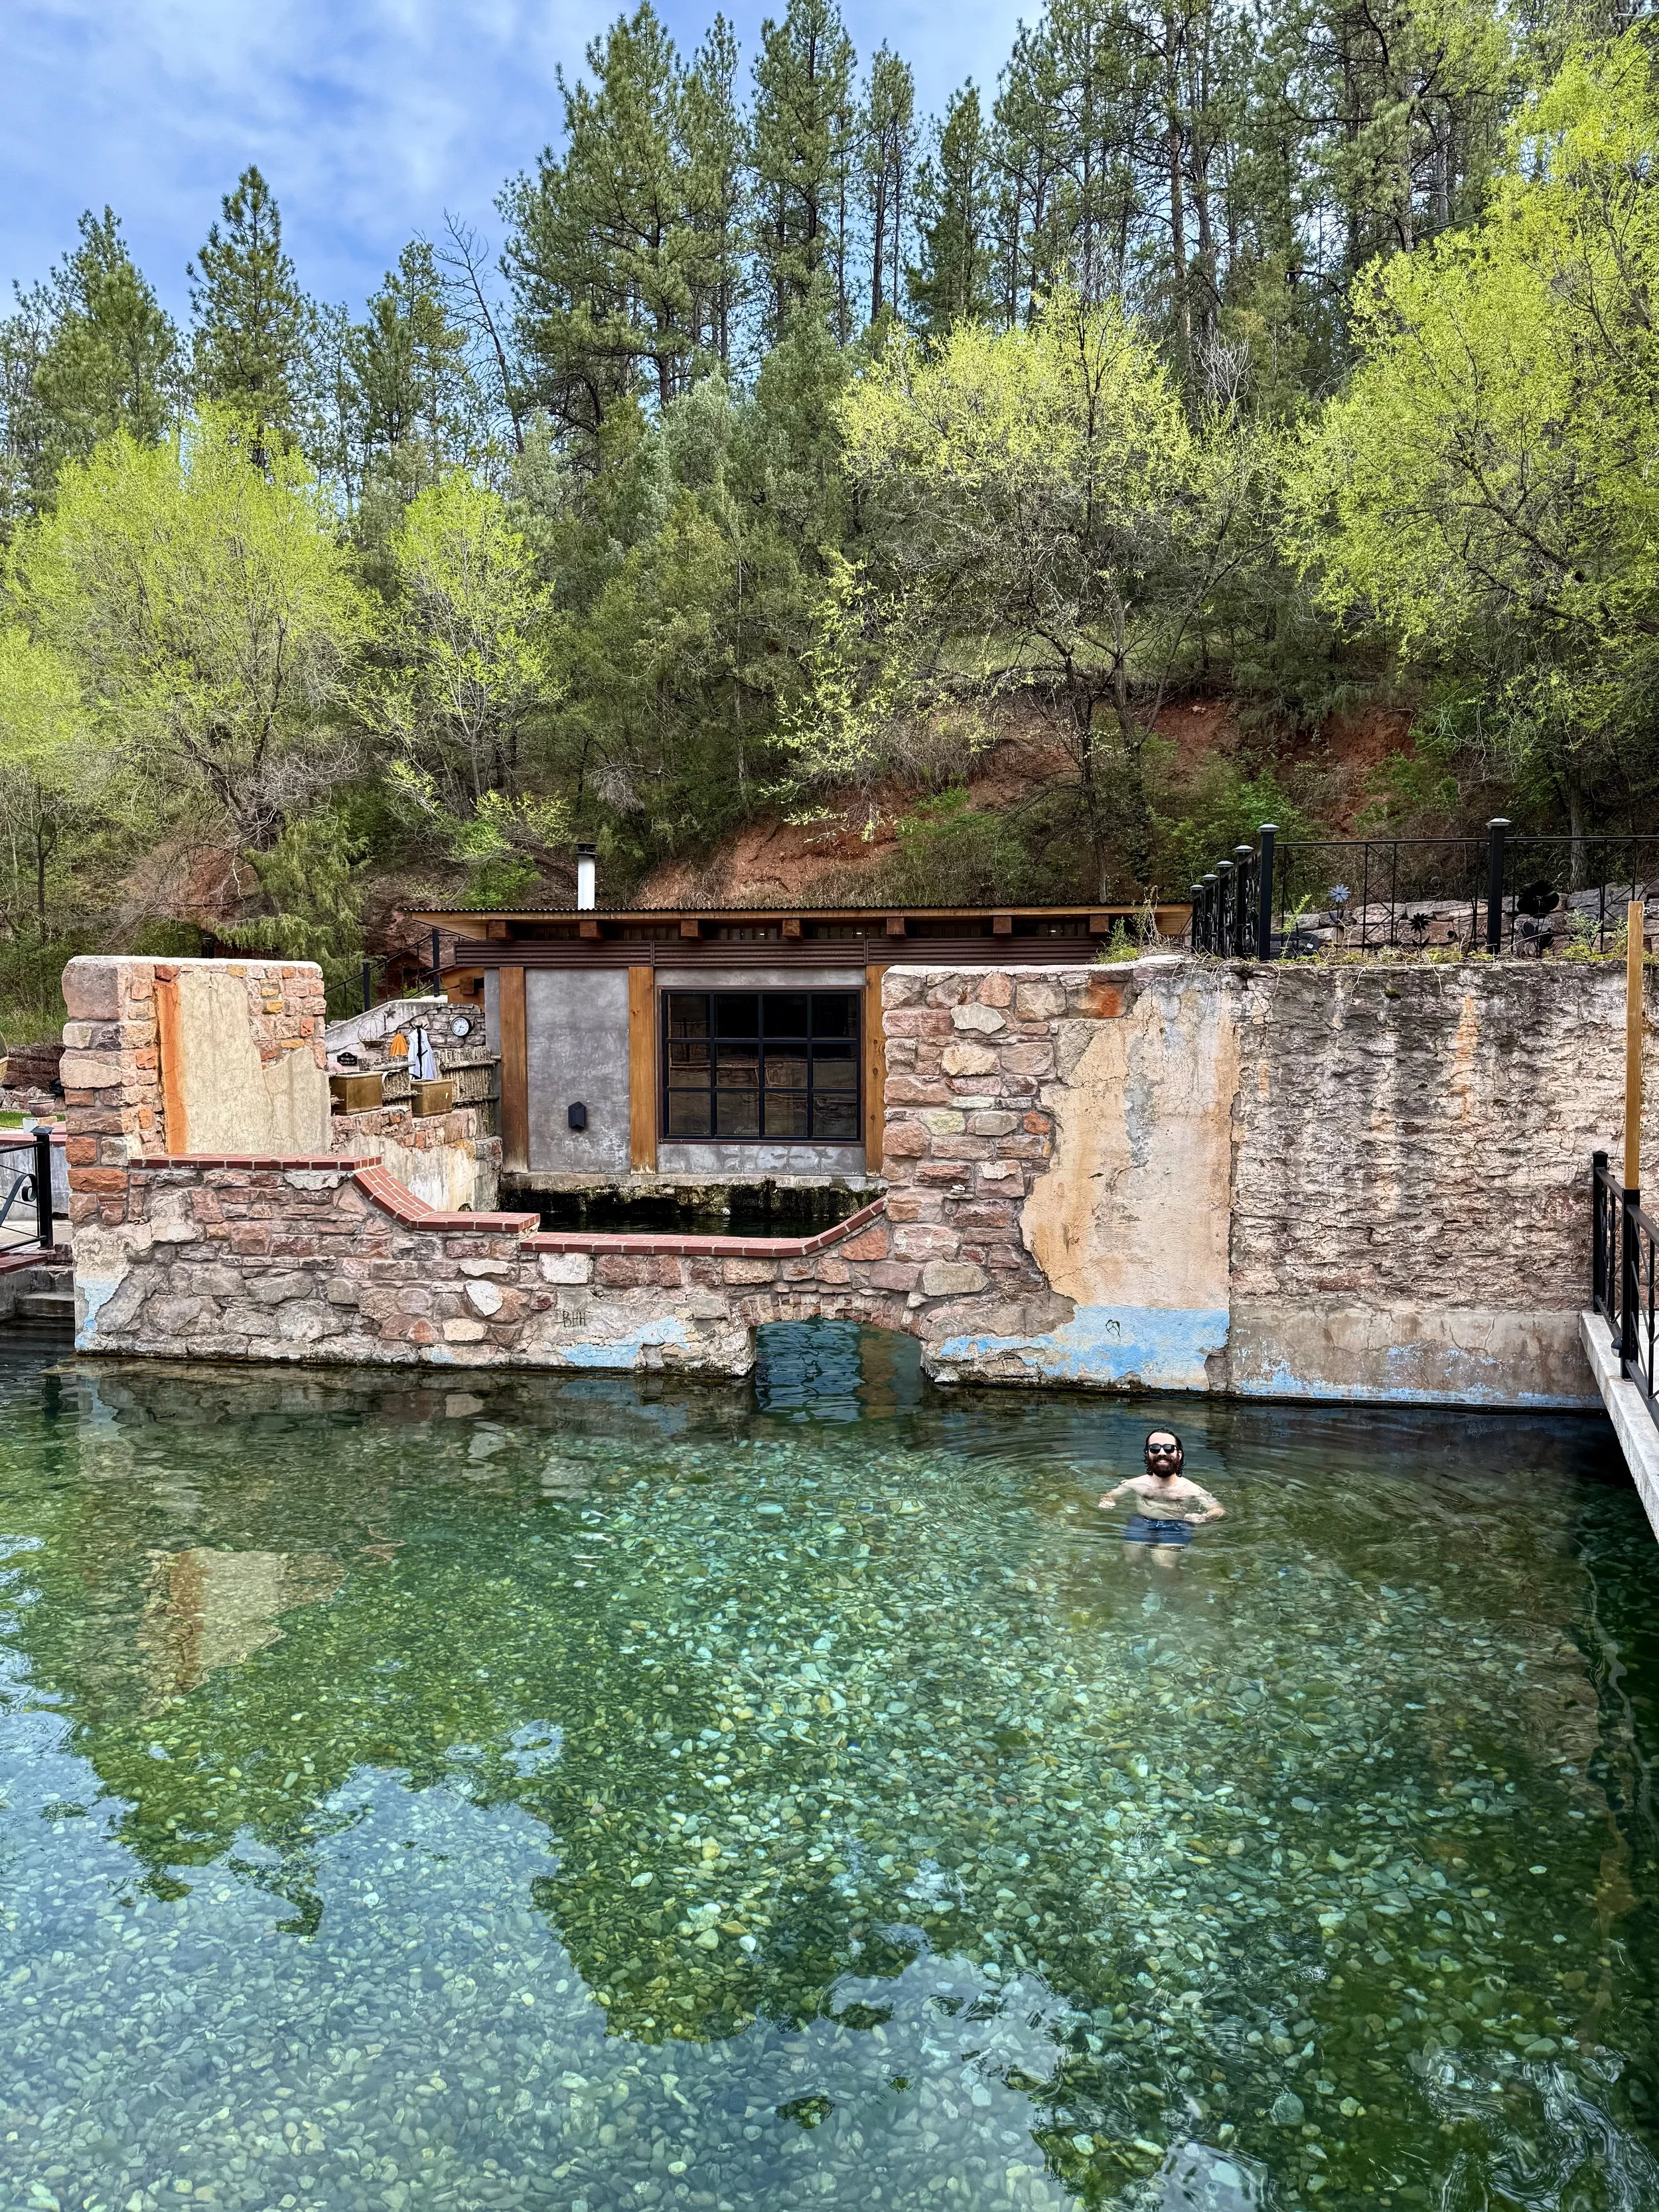
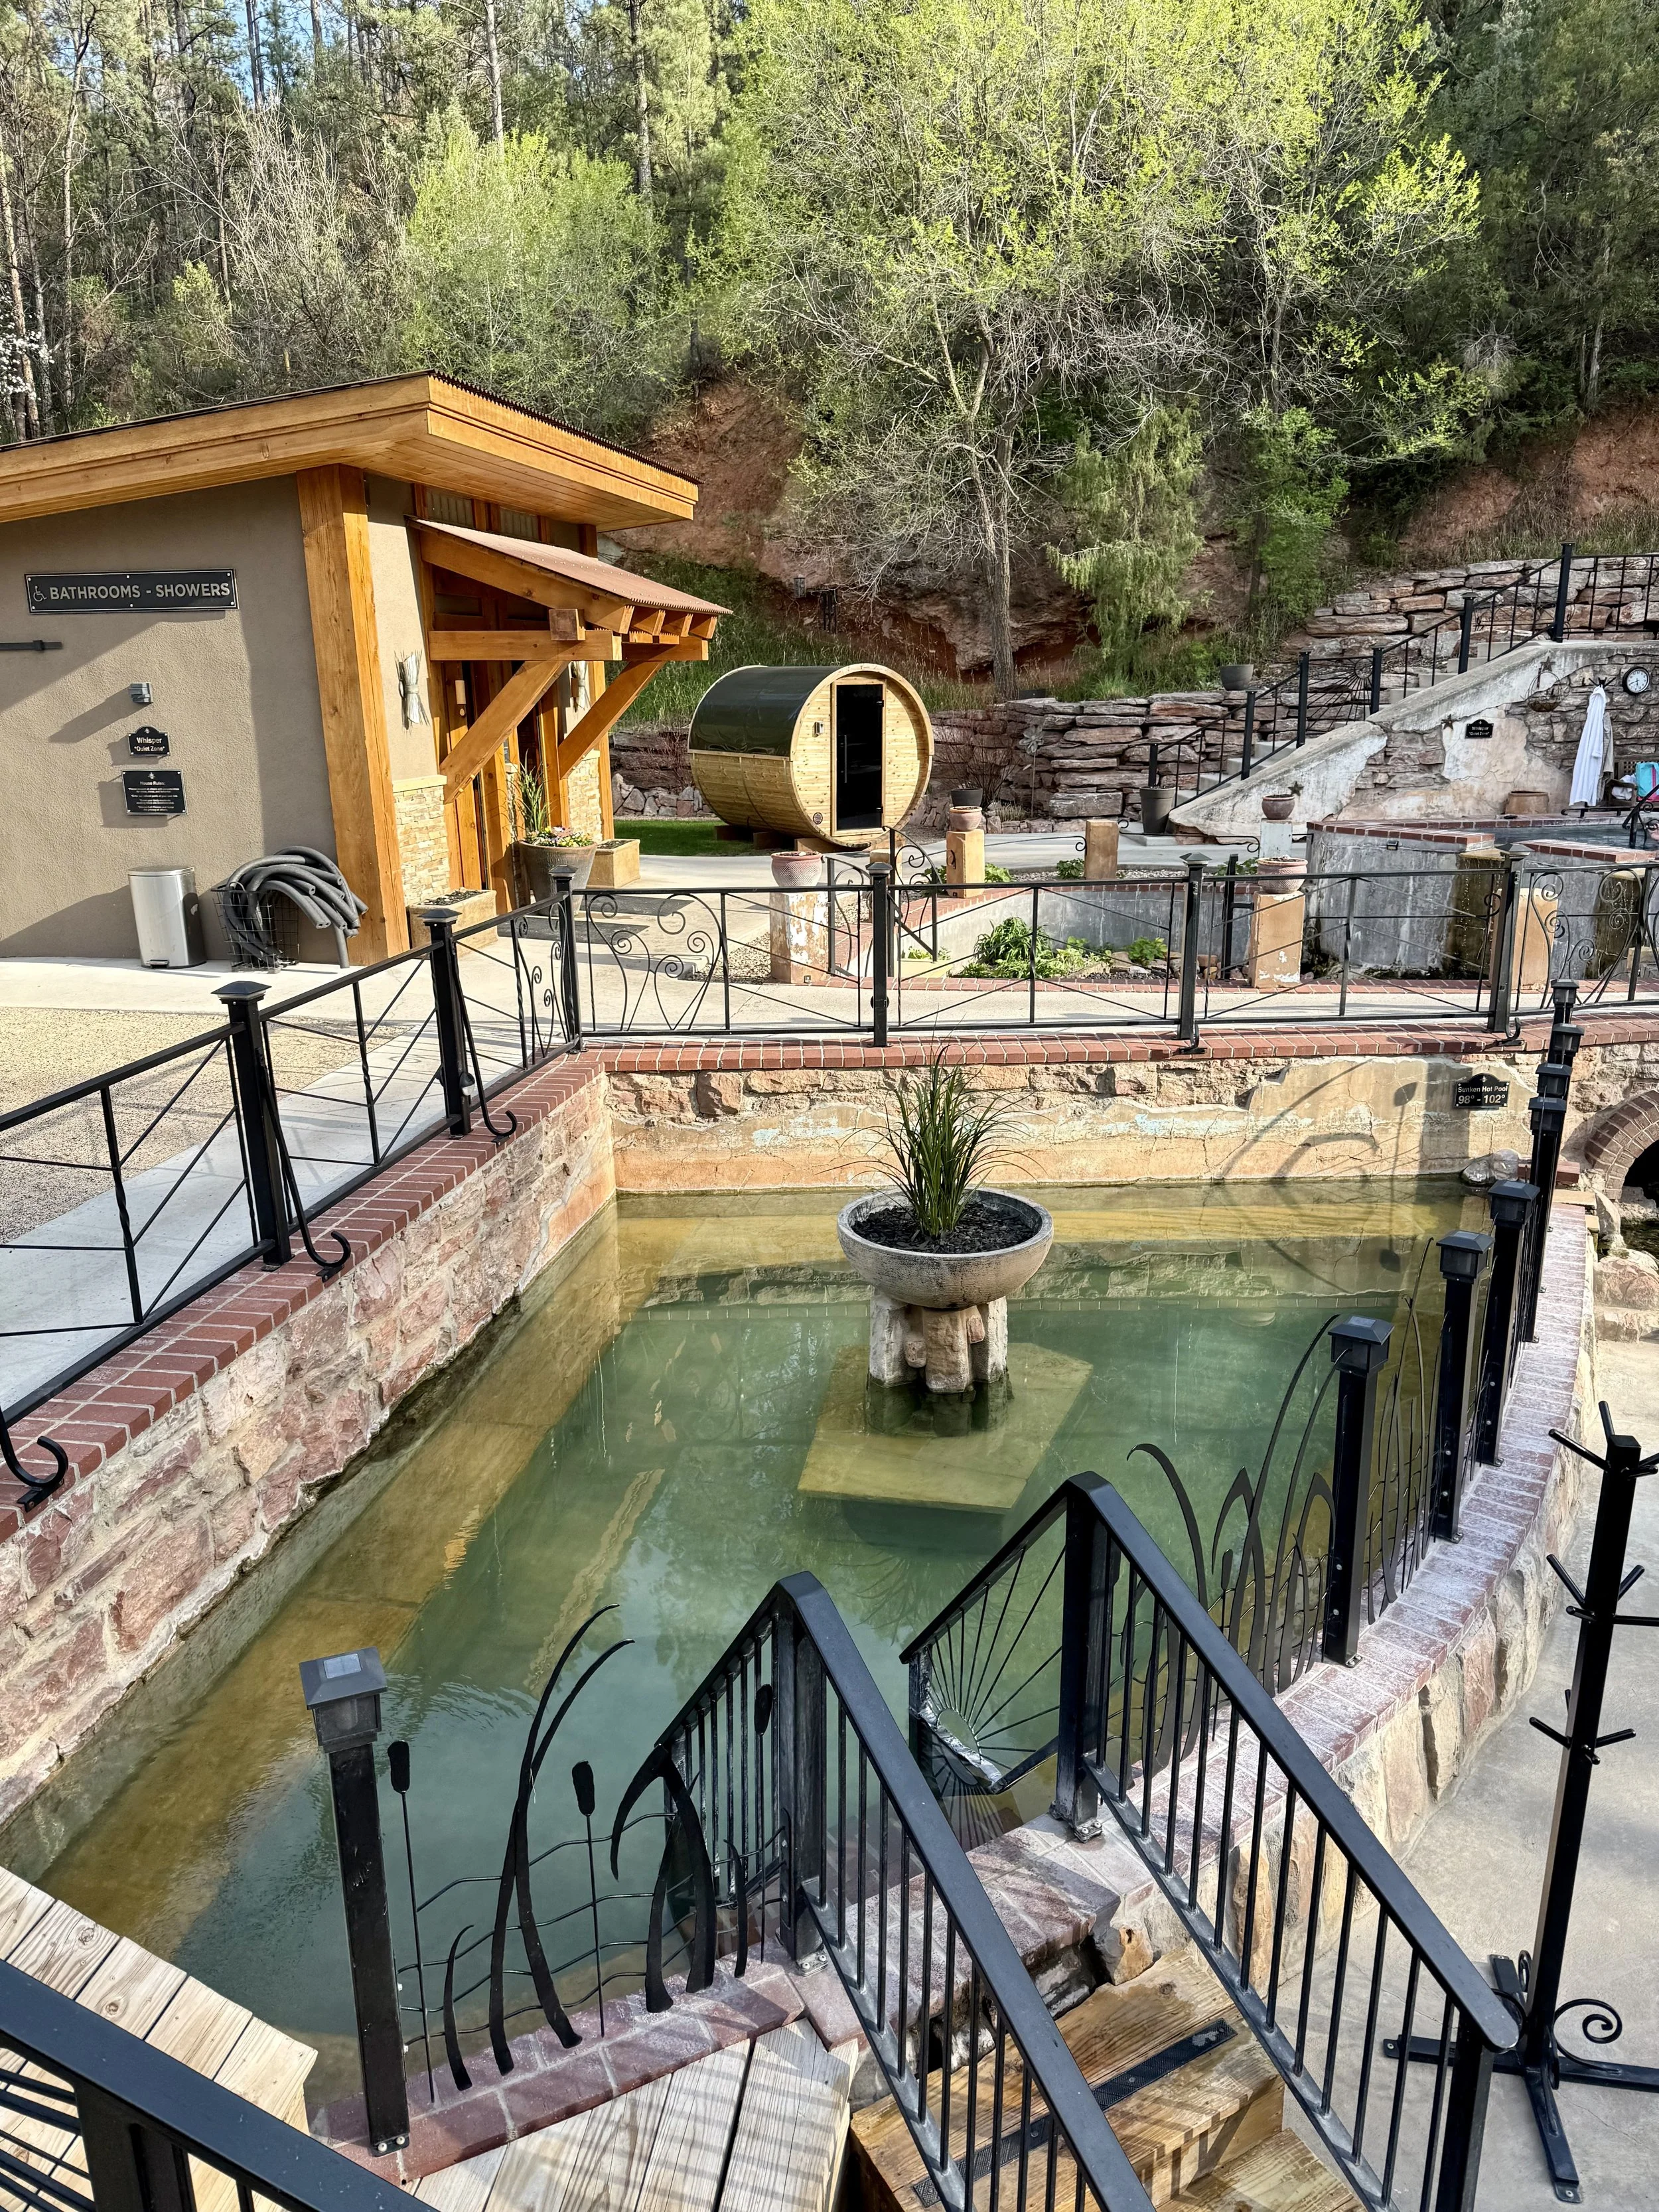

Mocassin Springs
After tackling our longest hike of the trip, we treated ourselves to a well-earned afternoon of relaxation at Moccasin Springs in the town of Hot Springs. We had booked soak passes the day before while at Rankin Ridge, knowing we’d need some recovery time after the big hike.
Despite showing up slightly late to our 3pm reservation, we had a blissful two hours hopping between the outdoor mineral pools (ranging from a refreshing 80°F to a muscle-melting 105°F) and taking turns in the barrel sauna.
The spa is built on the historic ruins of the original Hot Springs Hotel, adding a unique charm to the experience. Beyond the healing waters, it also gave us the luxury of a real shower—which made all the difference since we had plans for our only dinner out of the trip. No more van gremlins, just two very relaxed and clean hikers.

Skogen Restaurant
We went back and forth on whether to make a reservation at Skogen—a spot that had popped up in our pre-trip research and sounded incredible, but we figured we’d keep things simple (and budget-friendly) with another campground meal.
But after hearing multiple glowing recommendations from locals, we took it as a sign and grabbed a last-minute reservation. So happy we did. What an absolute gem tucked away in the middle of South Dakota.
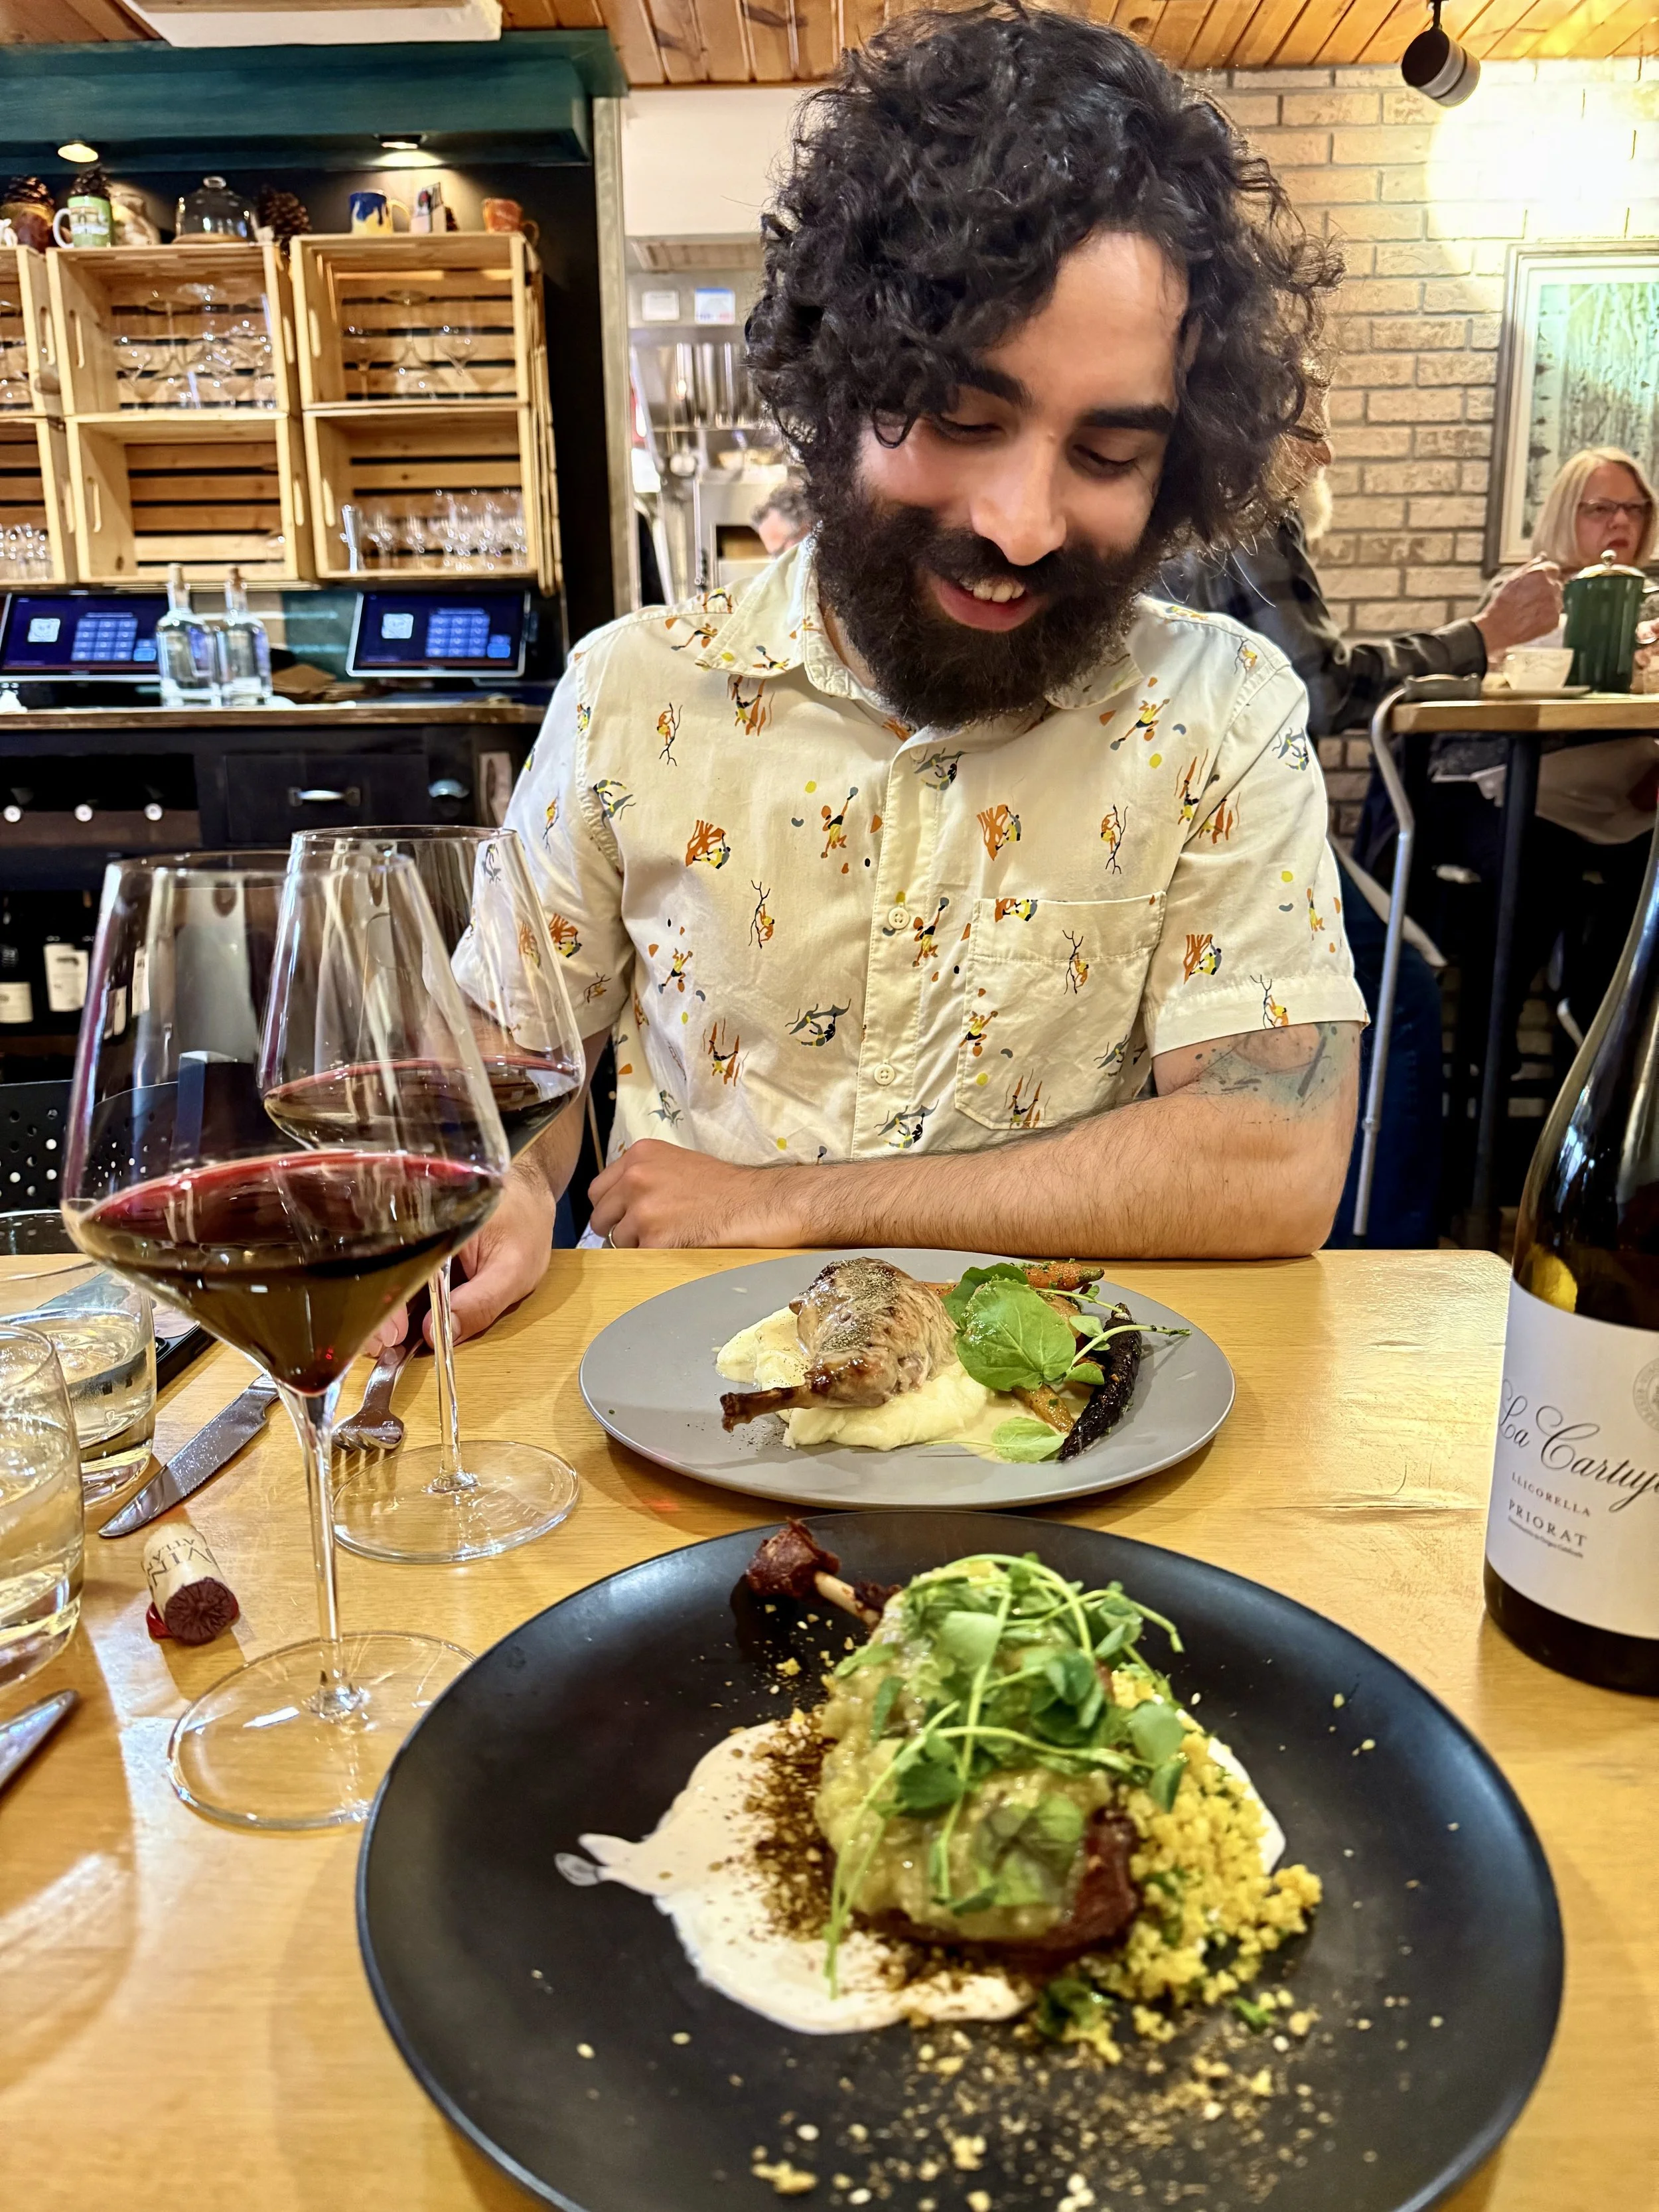
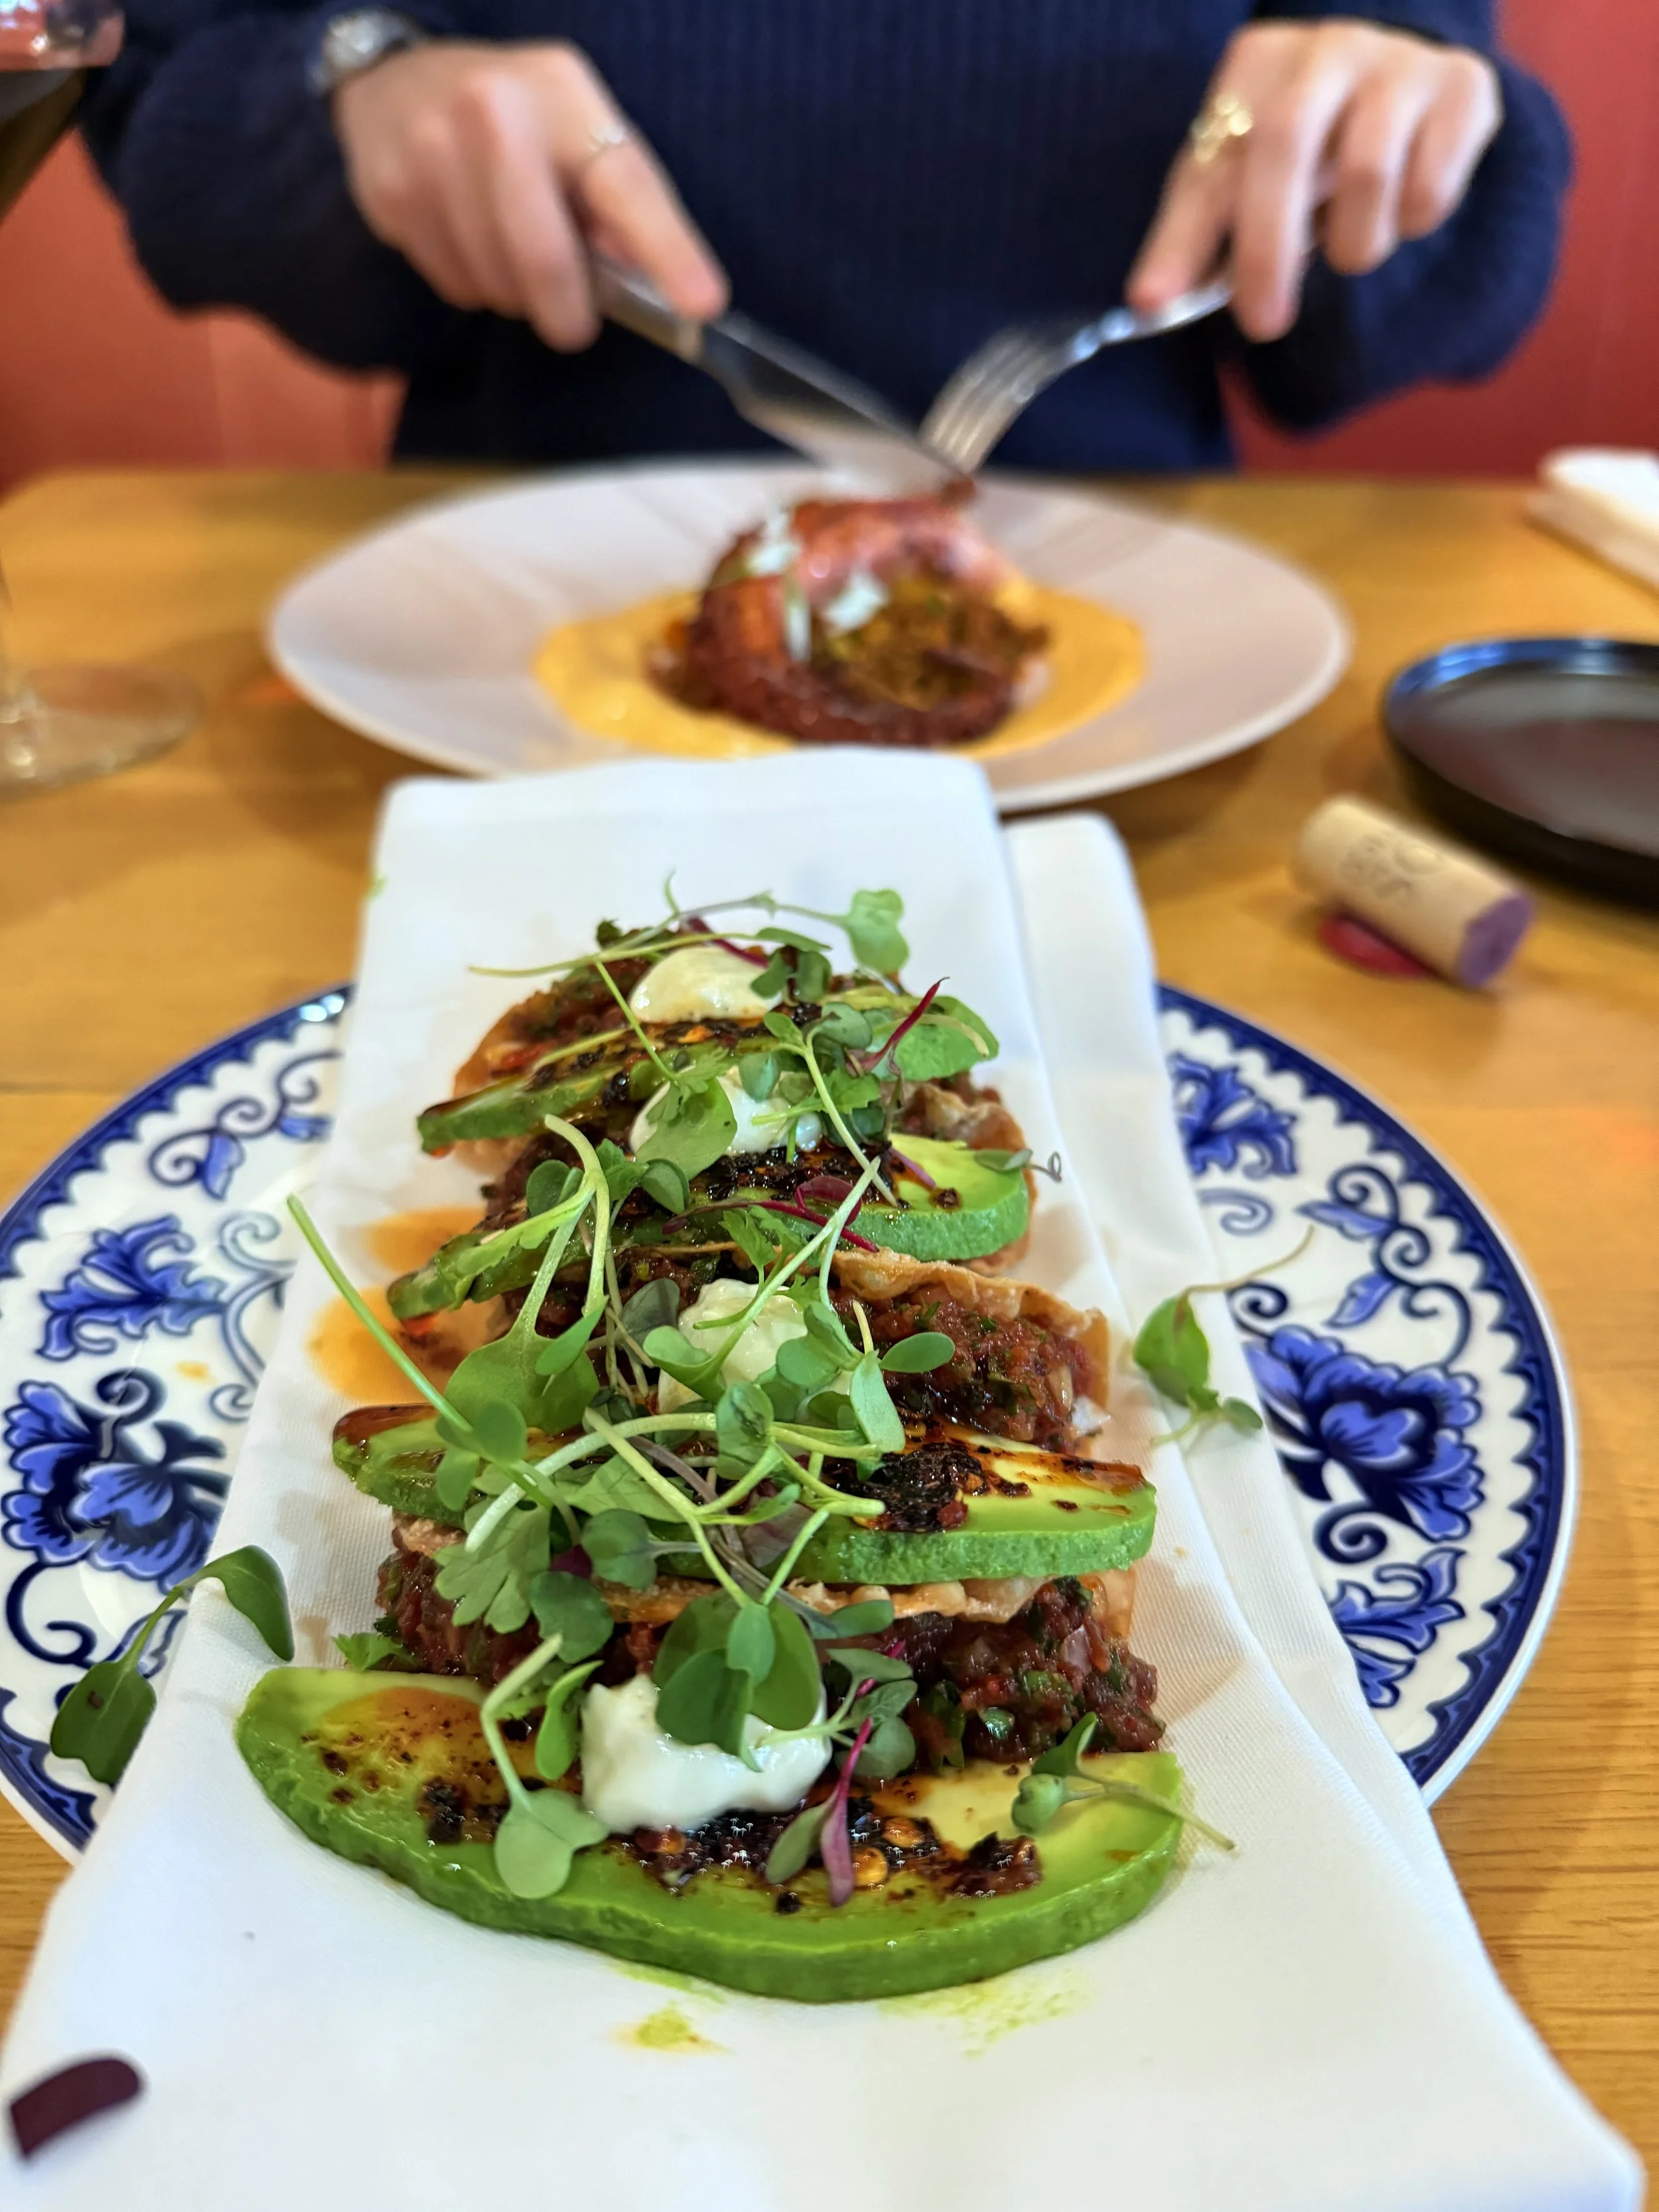
The food was phenomenal and felt like such a treat after a week of trail snacks and one-pot van dinners. We split two appetizers and two mains: the beef tartare tacos and roasted octopus were our favorites (bursting with flavor), followed by the duck confit and rabbit leg—both beautifully done, though we’ll always be appetizer people at heart.
The restaurant has been recognized as a James Beard Foundation semi-finalist, which comes as no surprise. It also has that perfect blend of fine dining and small-town charm. Our server, Tater, turned out to be the old roommate of the rock climbing guide we’d booked for the next day, and the whole place had a warm, familiar vibe with diners hugging the owners on their way out.
We left full, happy, and totally re-energized for our next adventure.
Day 7
〰️
Day 7 〰️
Day 7 South Dakota Parks Itinerary:
Climbing in Custer State Park


Climbing in Custer State Park
We booked the two-day Blitz Climbing Package with Sylvan Rocks several months ahead of time, and if you’re at all interested in climbing, we highly recommend it. Brandon was super responsive and helpful during the planning process, and our guide Pete was awesome—calm, knowledgeable, and made us feel completely safe the entire time.
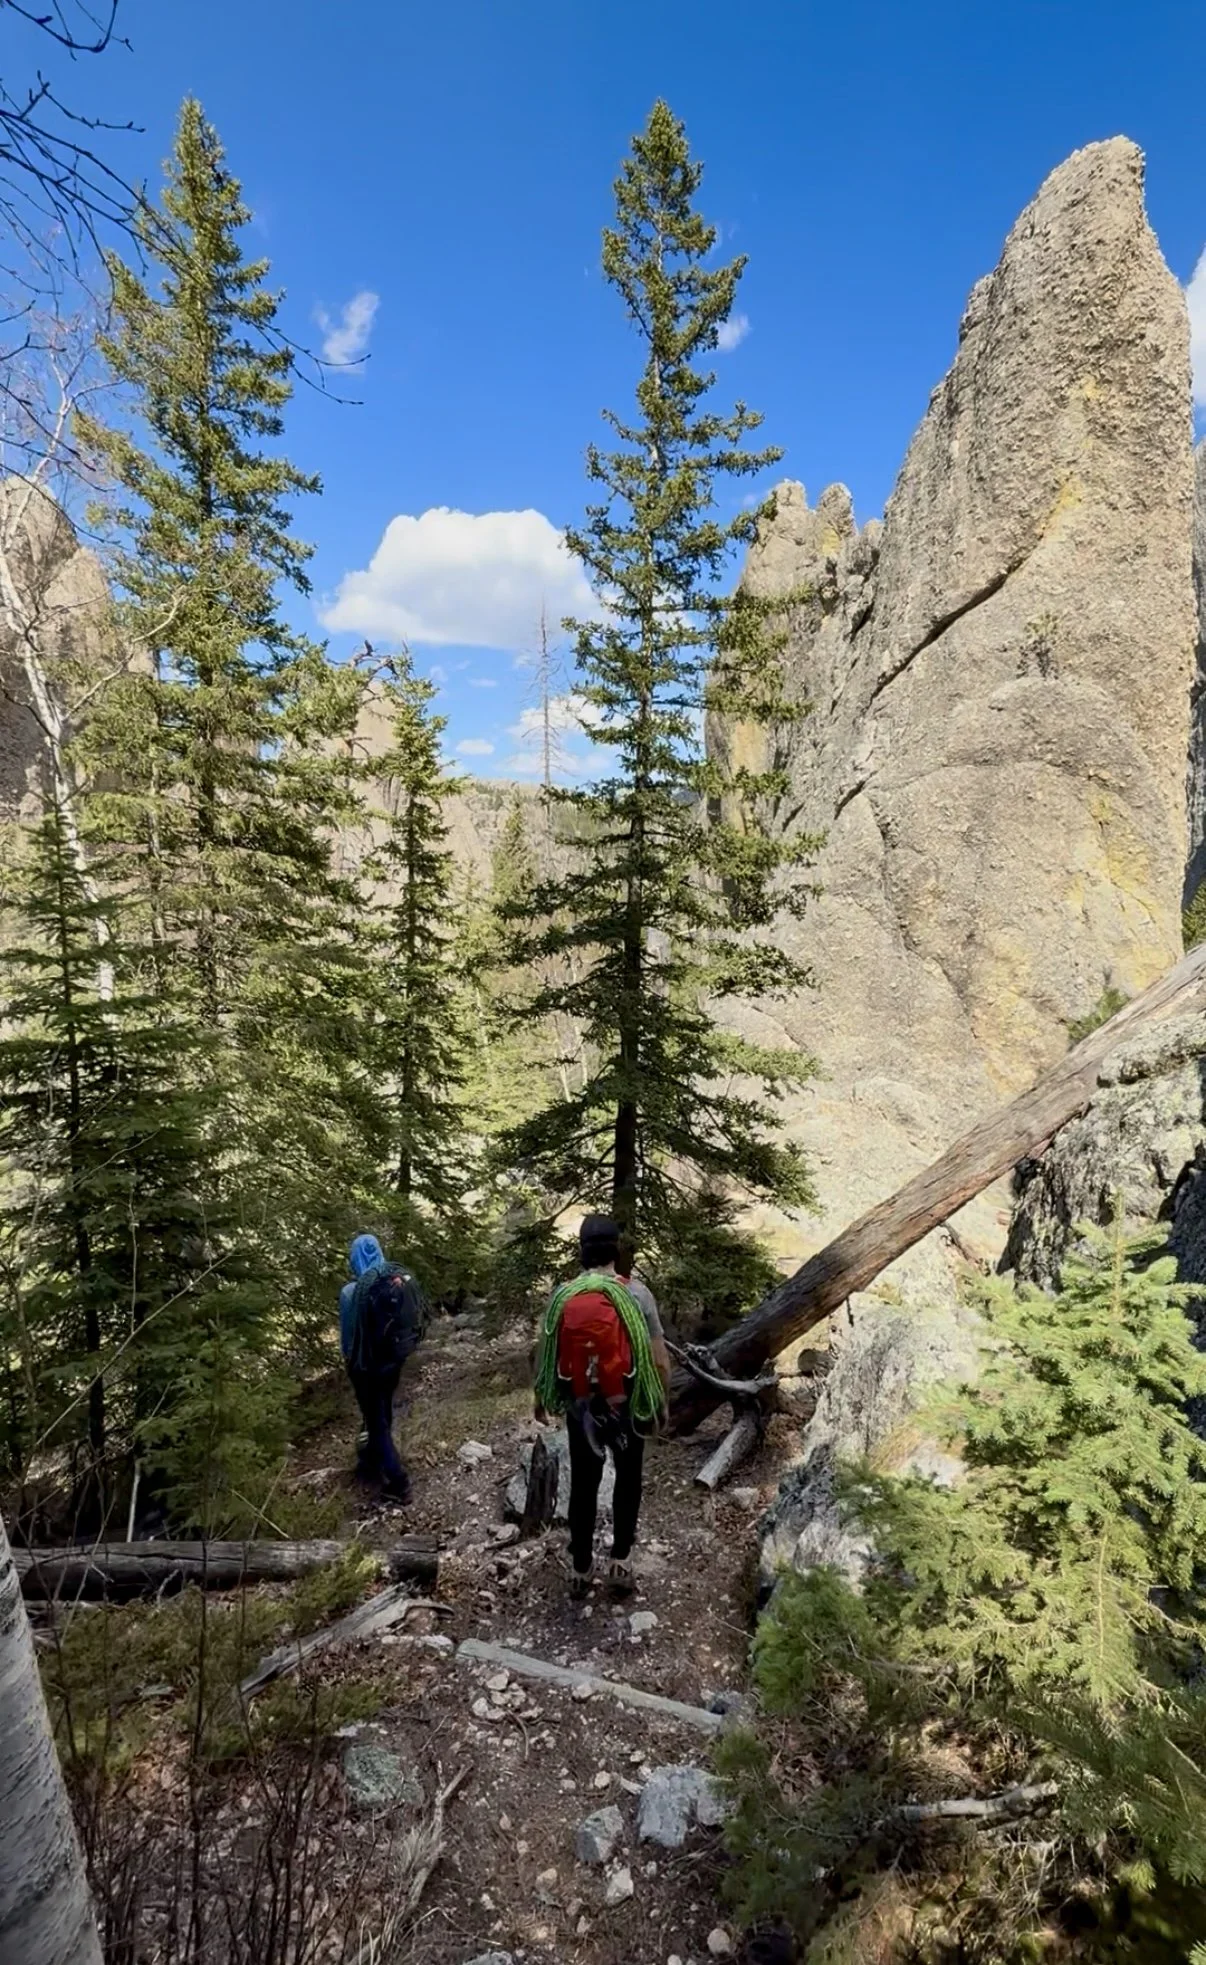
Our first day of climbing was based in Custer State Park. We met Pete at the shop around 7:30am to get fitted for gear (we opted to use theirs rather than hulling our stuff along on the plane), then caravanned over to the Sylvan Lake General Store parking area to start the day.
Since we had a summit attempt of Devils Tower lined up for the next day, we focused on the core skills we’d need:
Staggered, simultaneous climbing
Multi-pitch rappelling
Crack climbing techniques
Clearing the routes
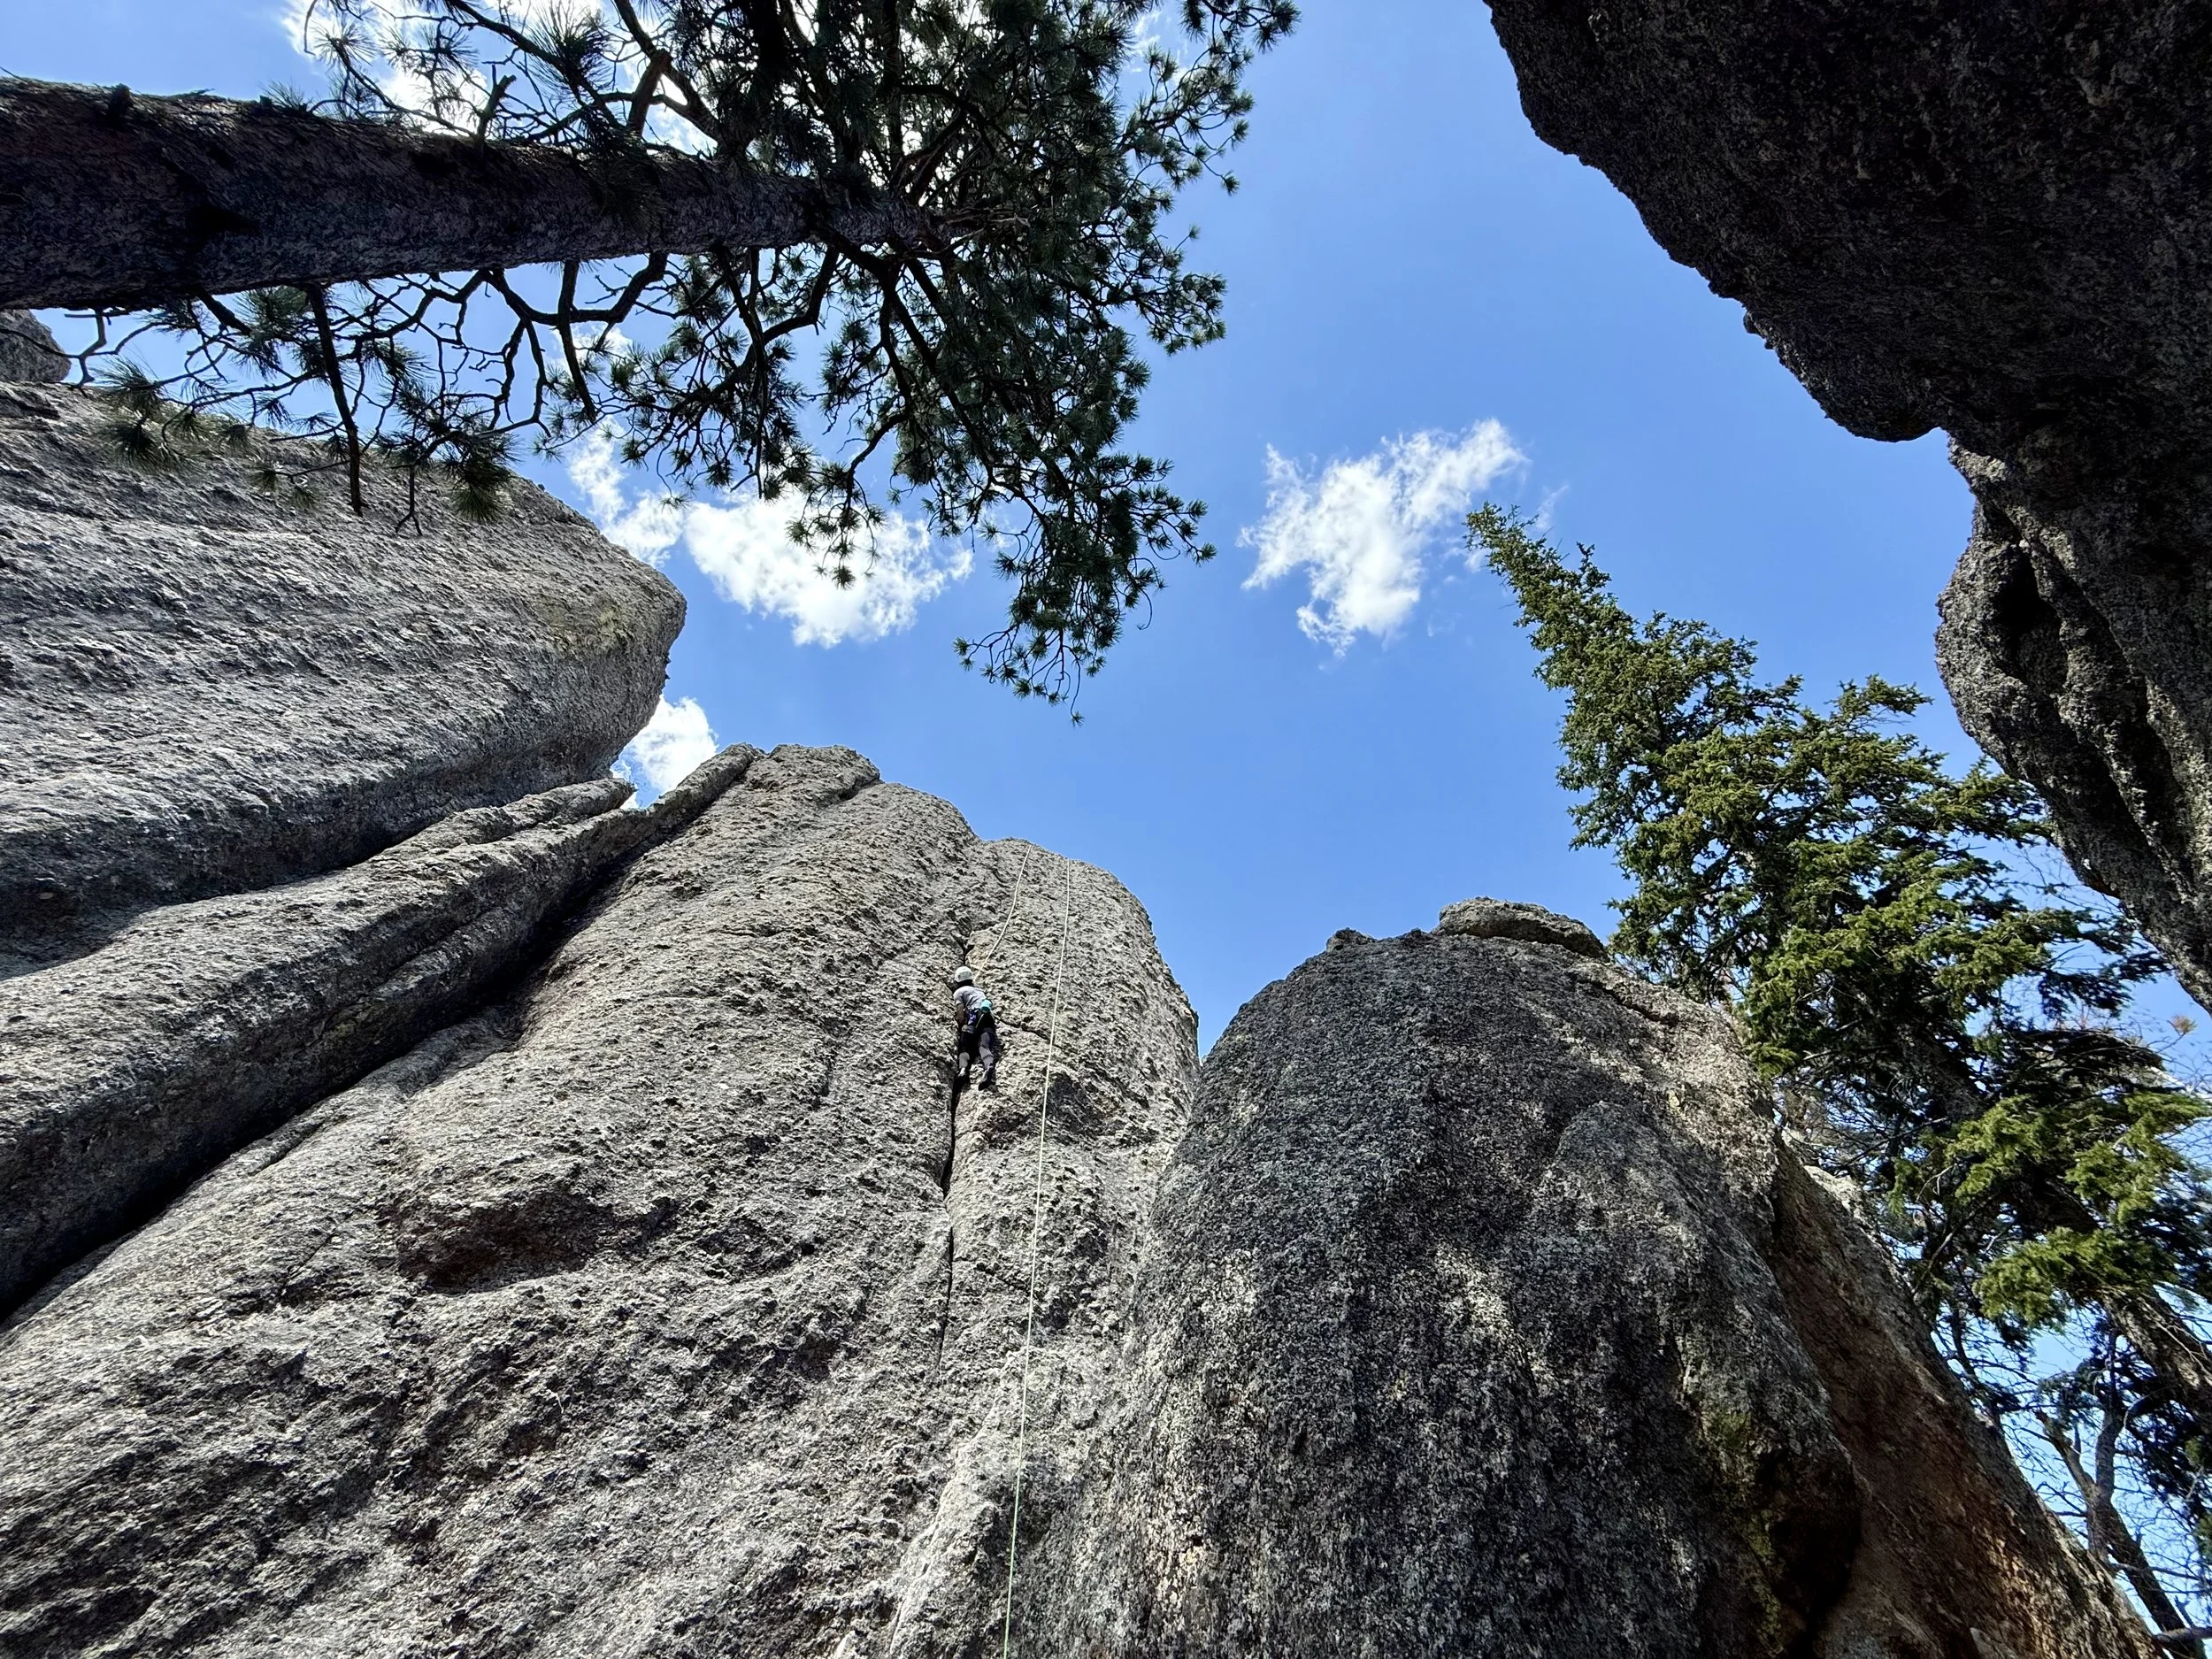
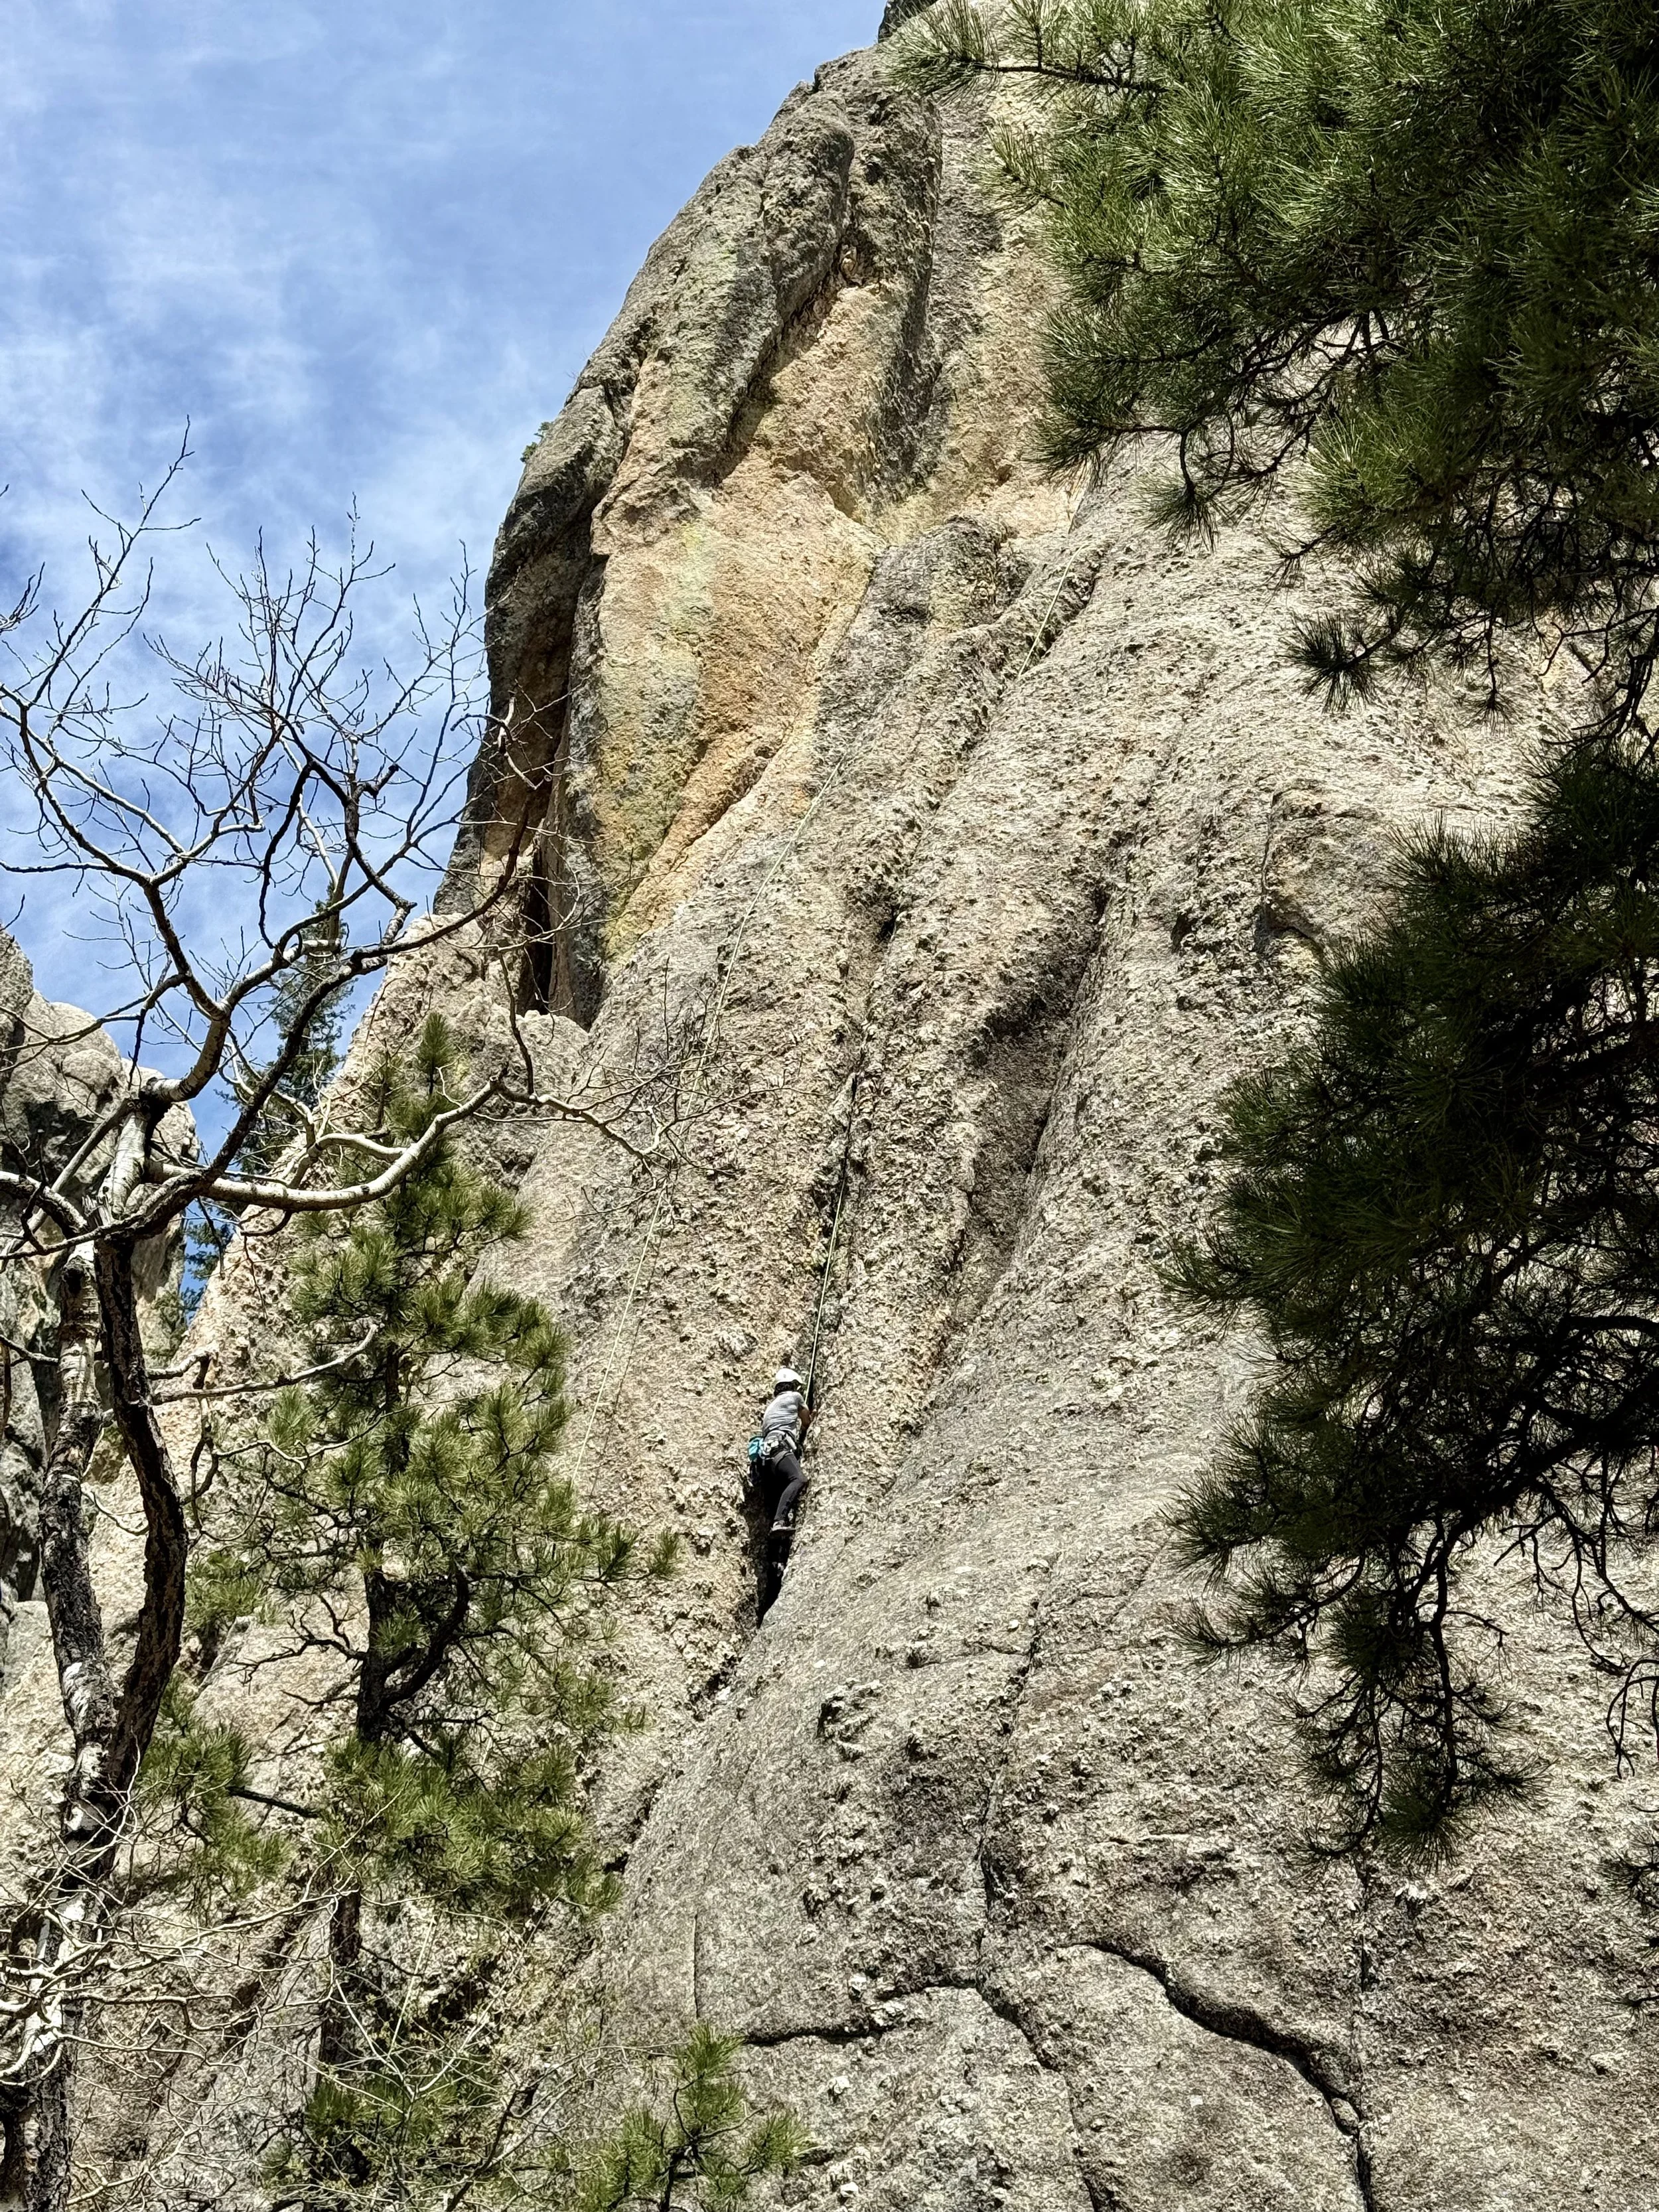
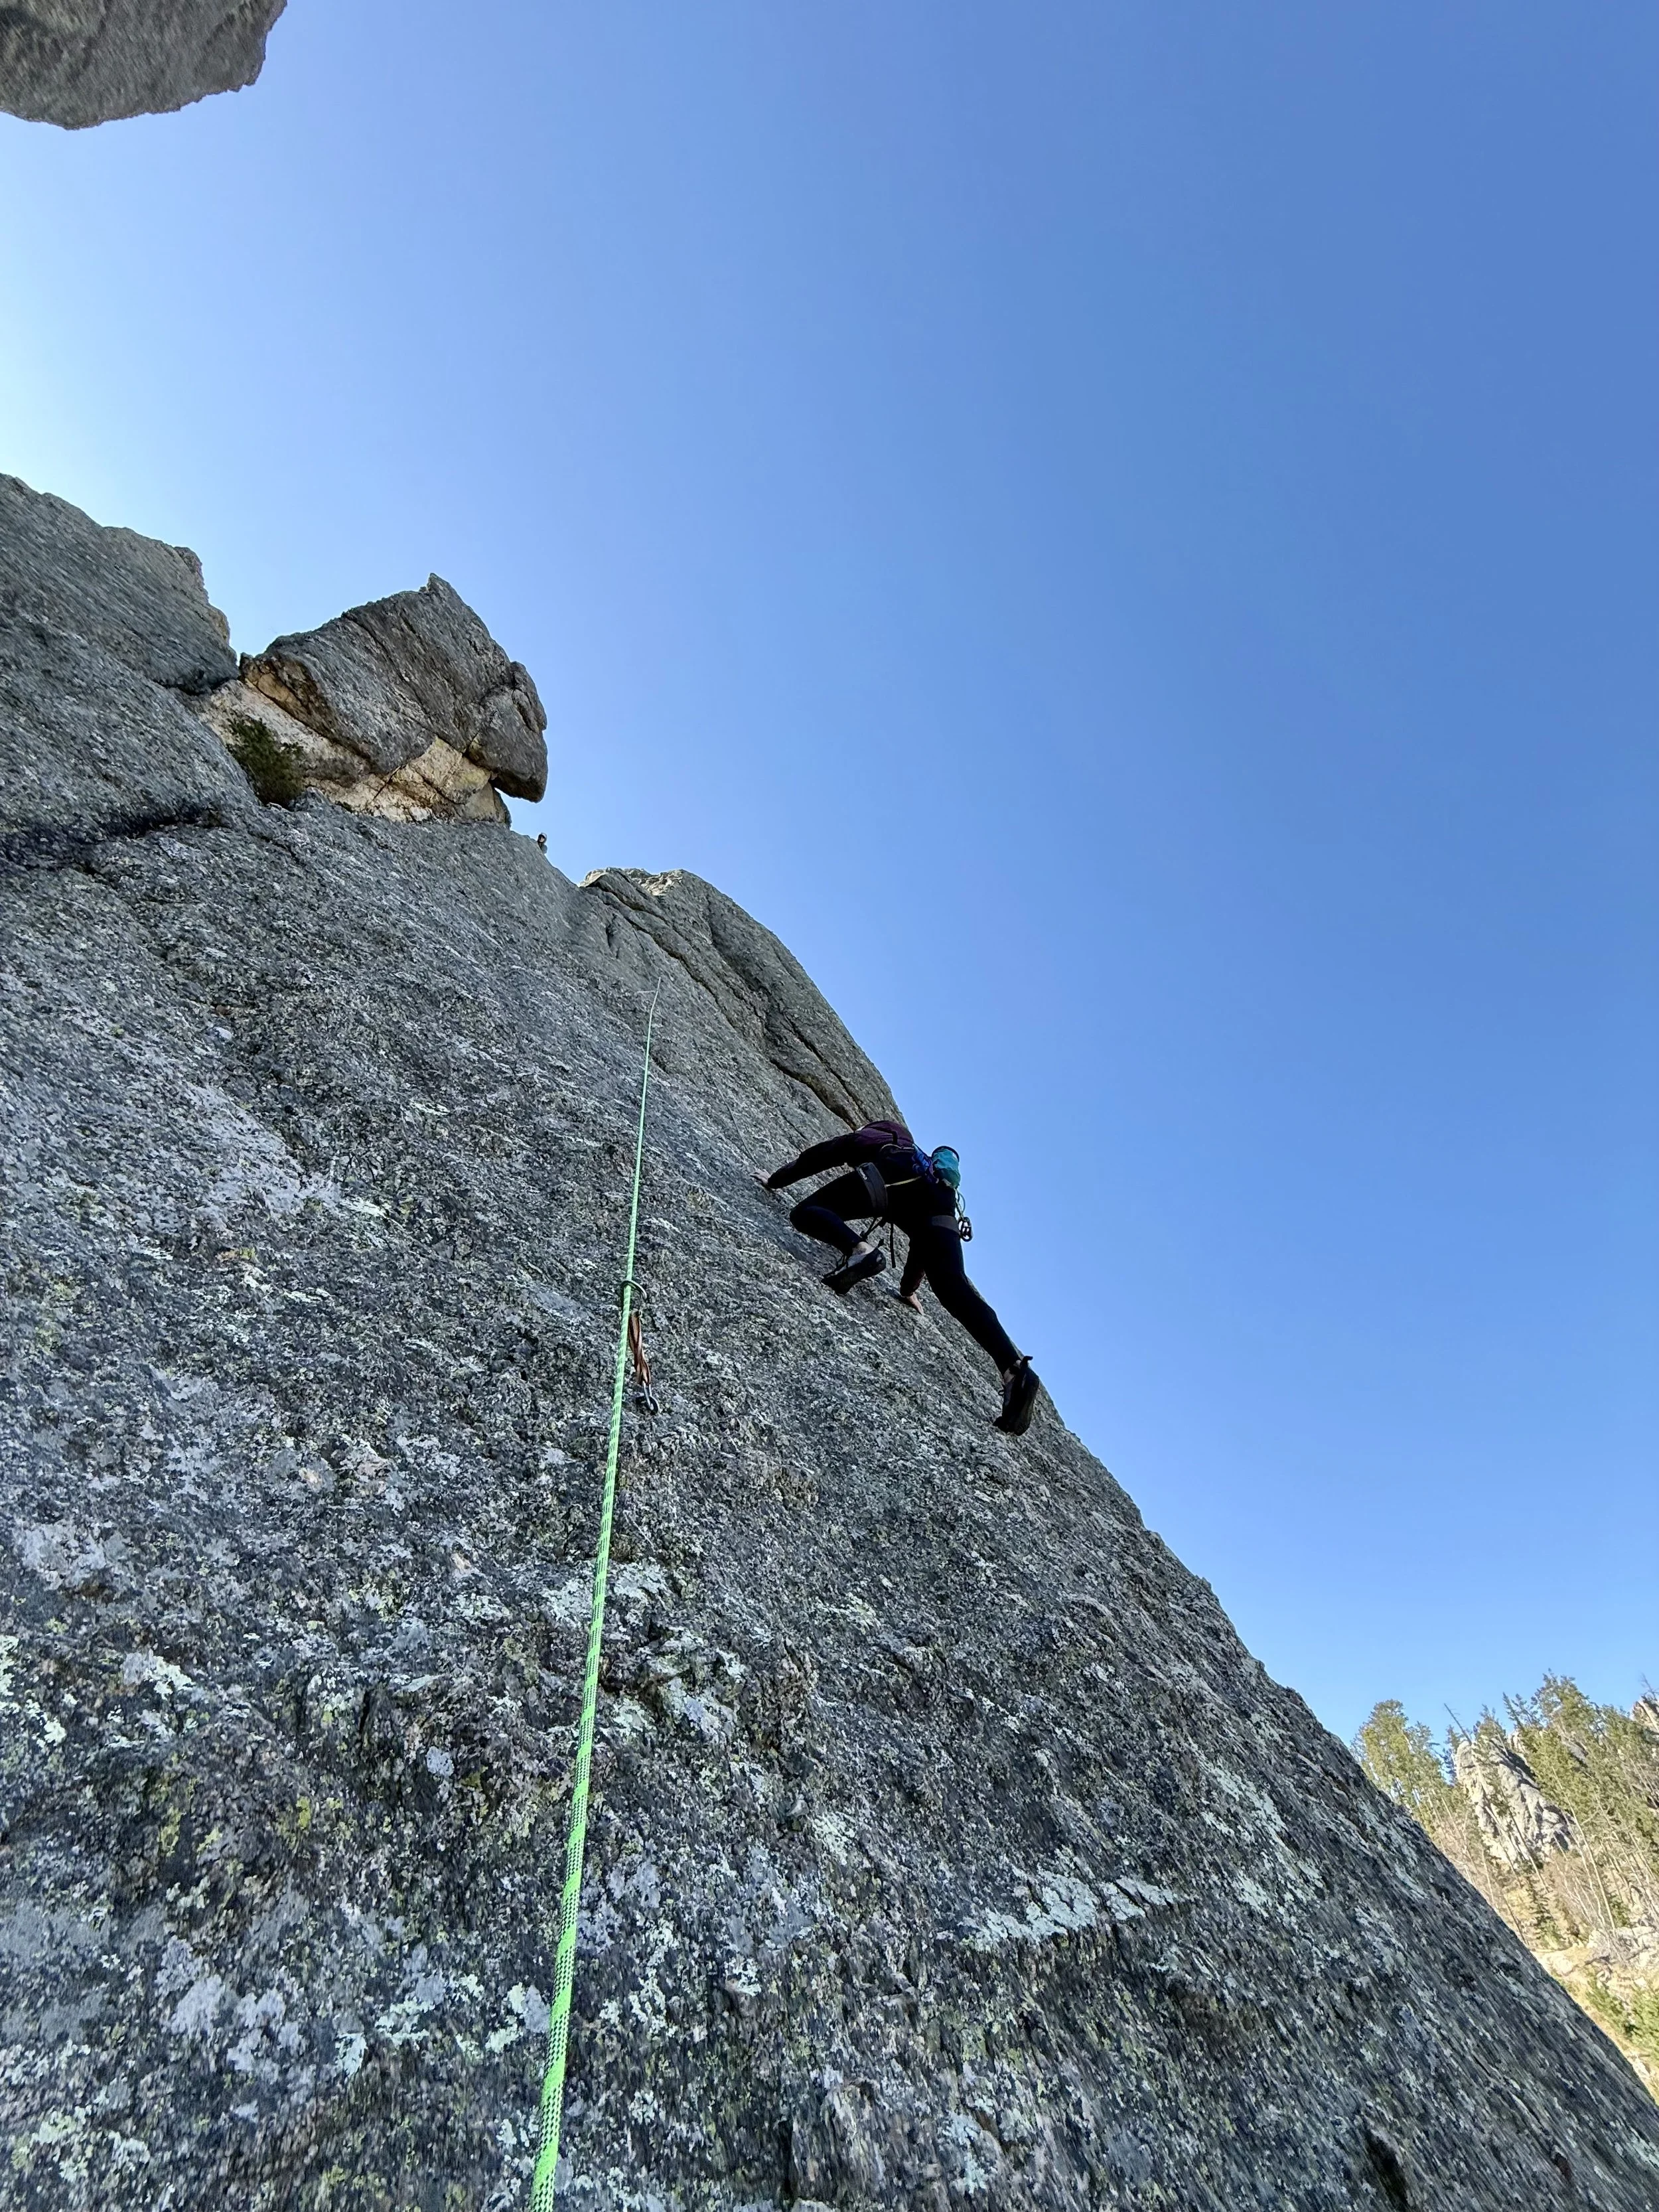
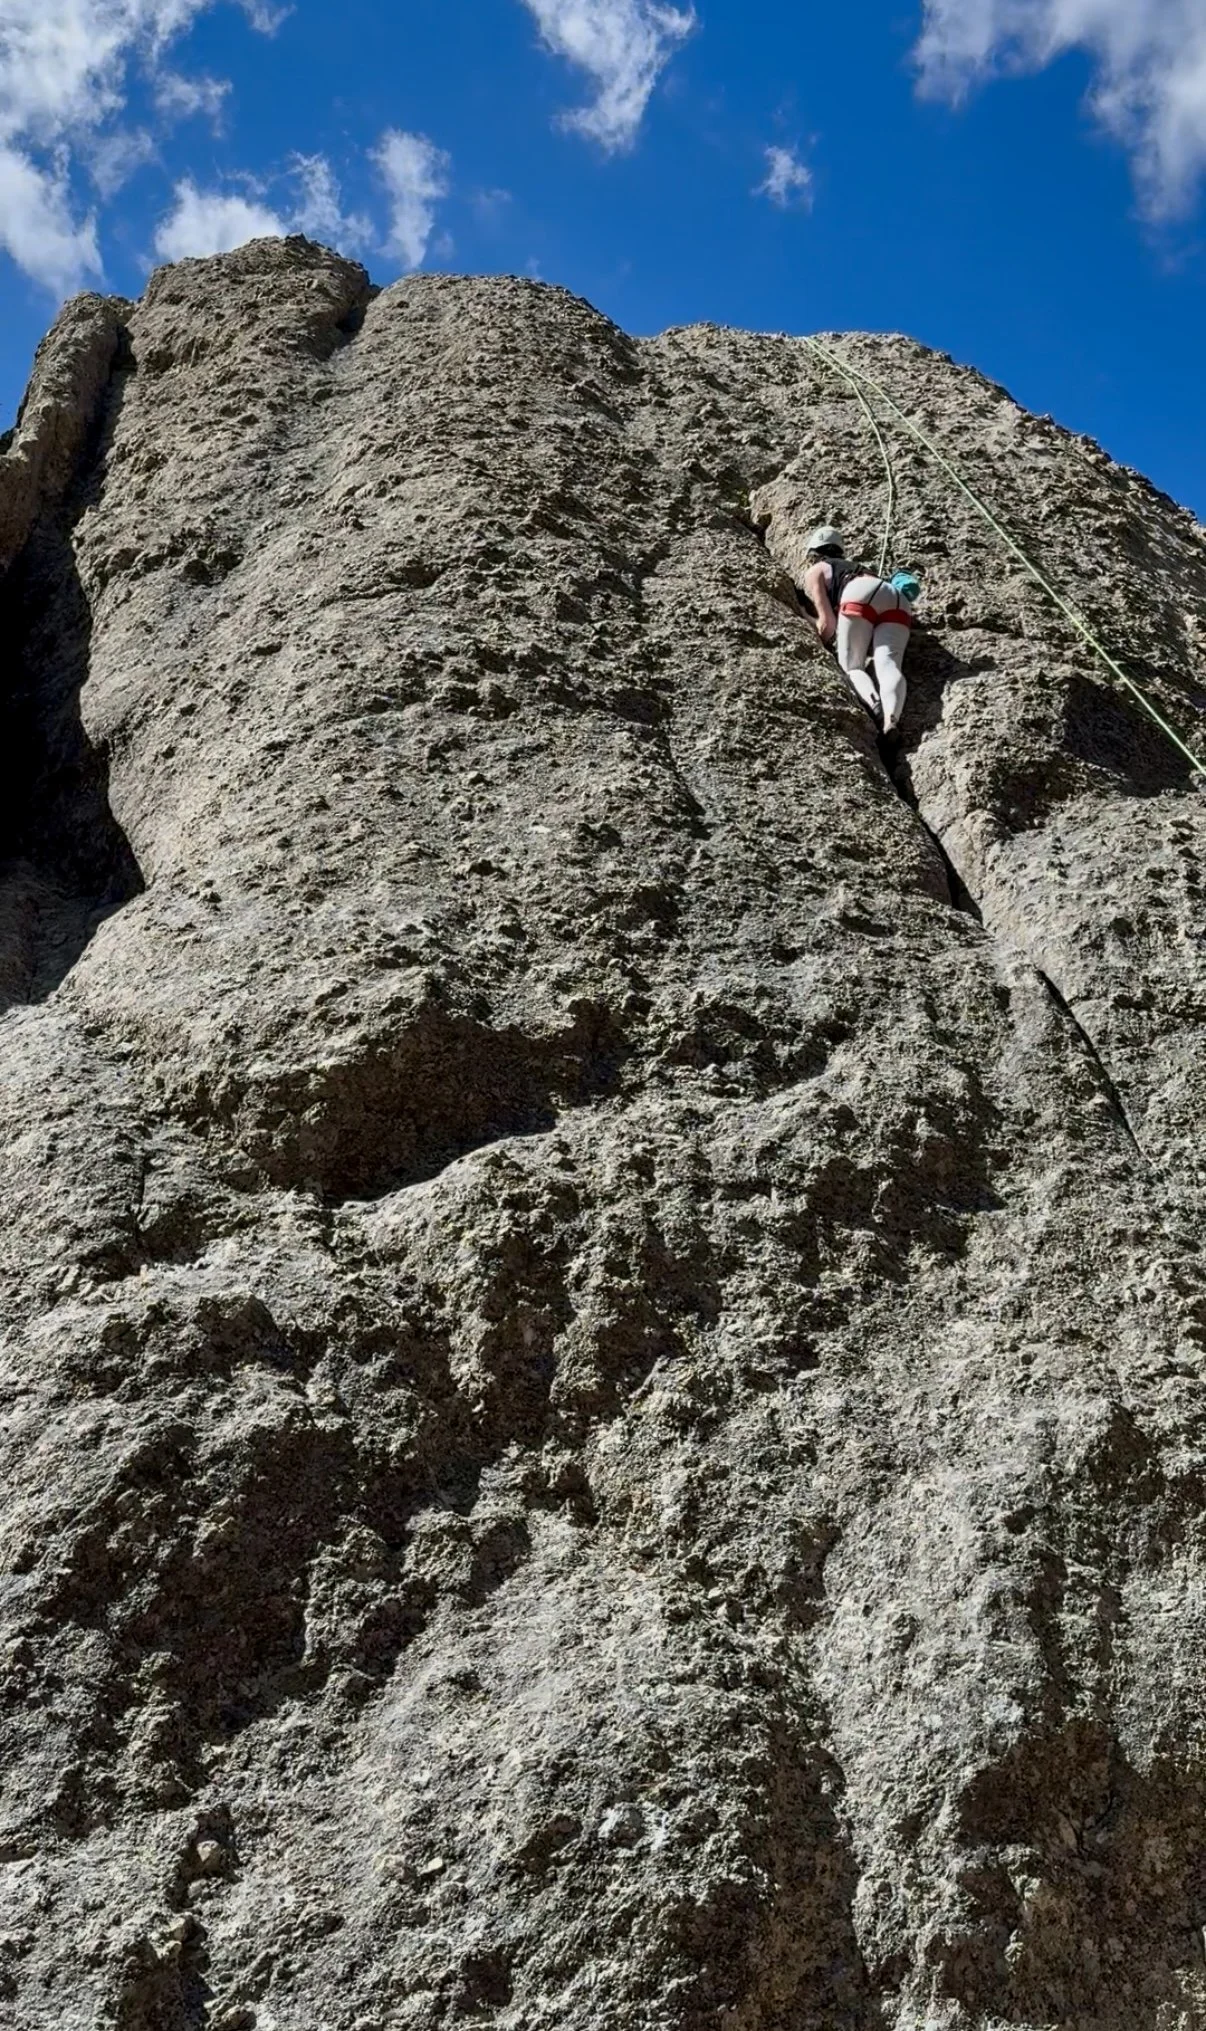
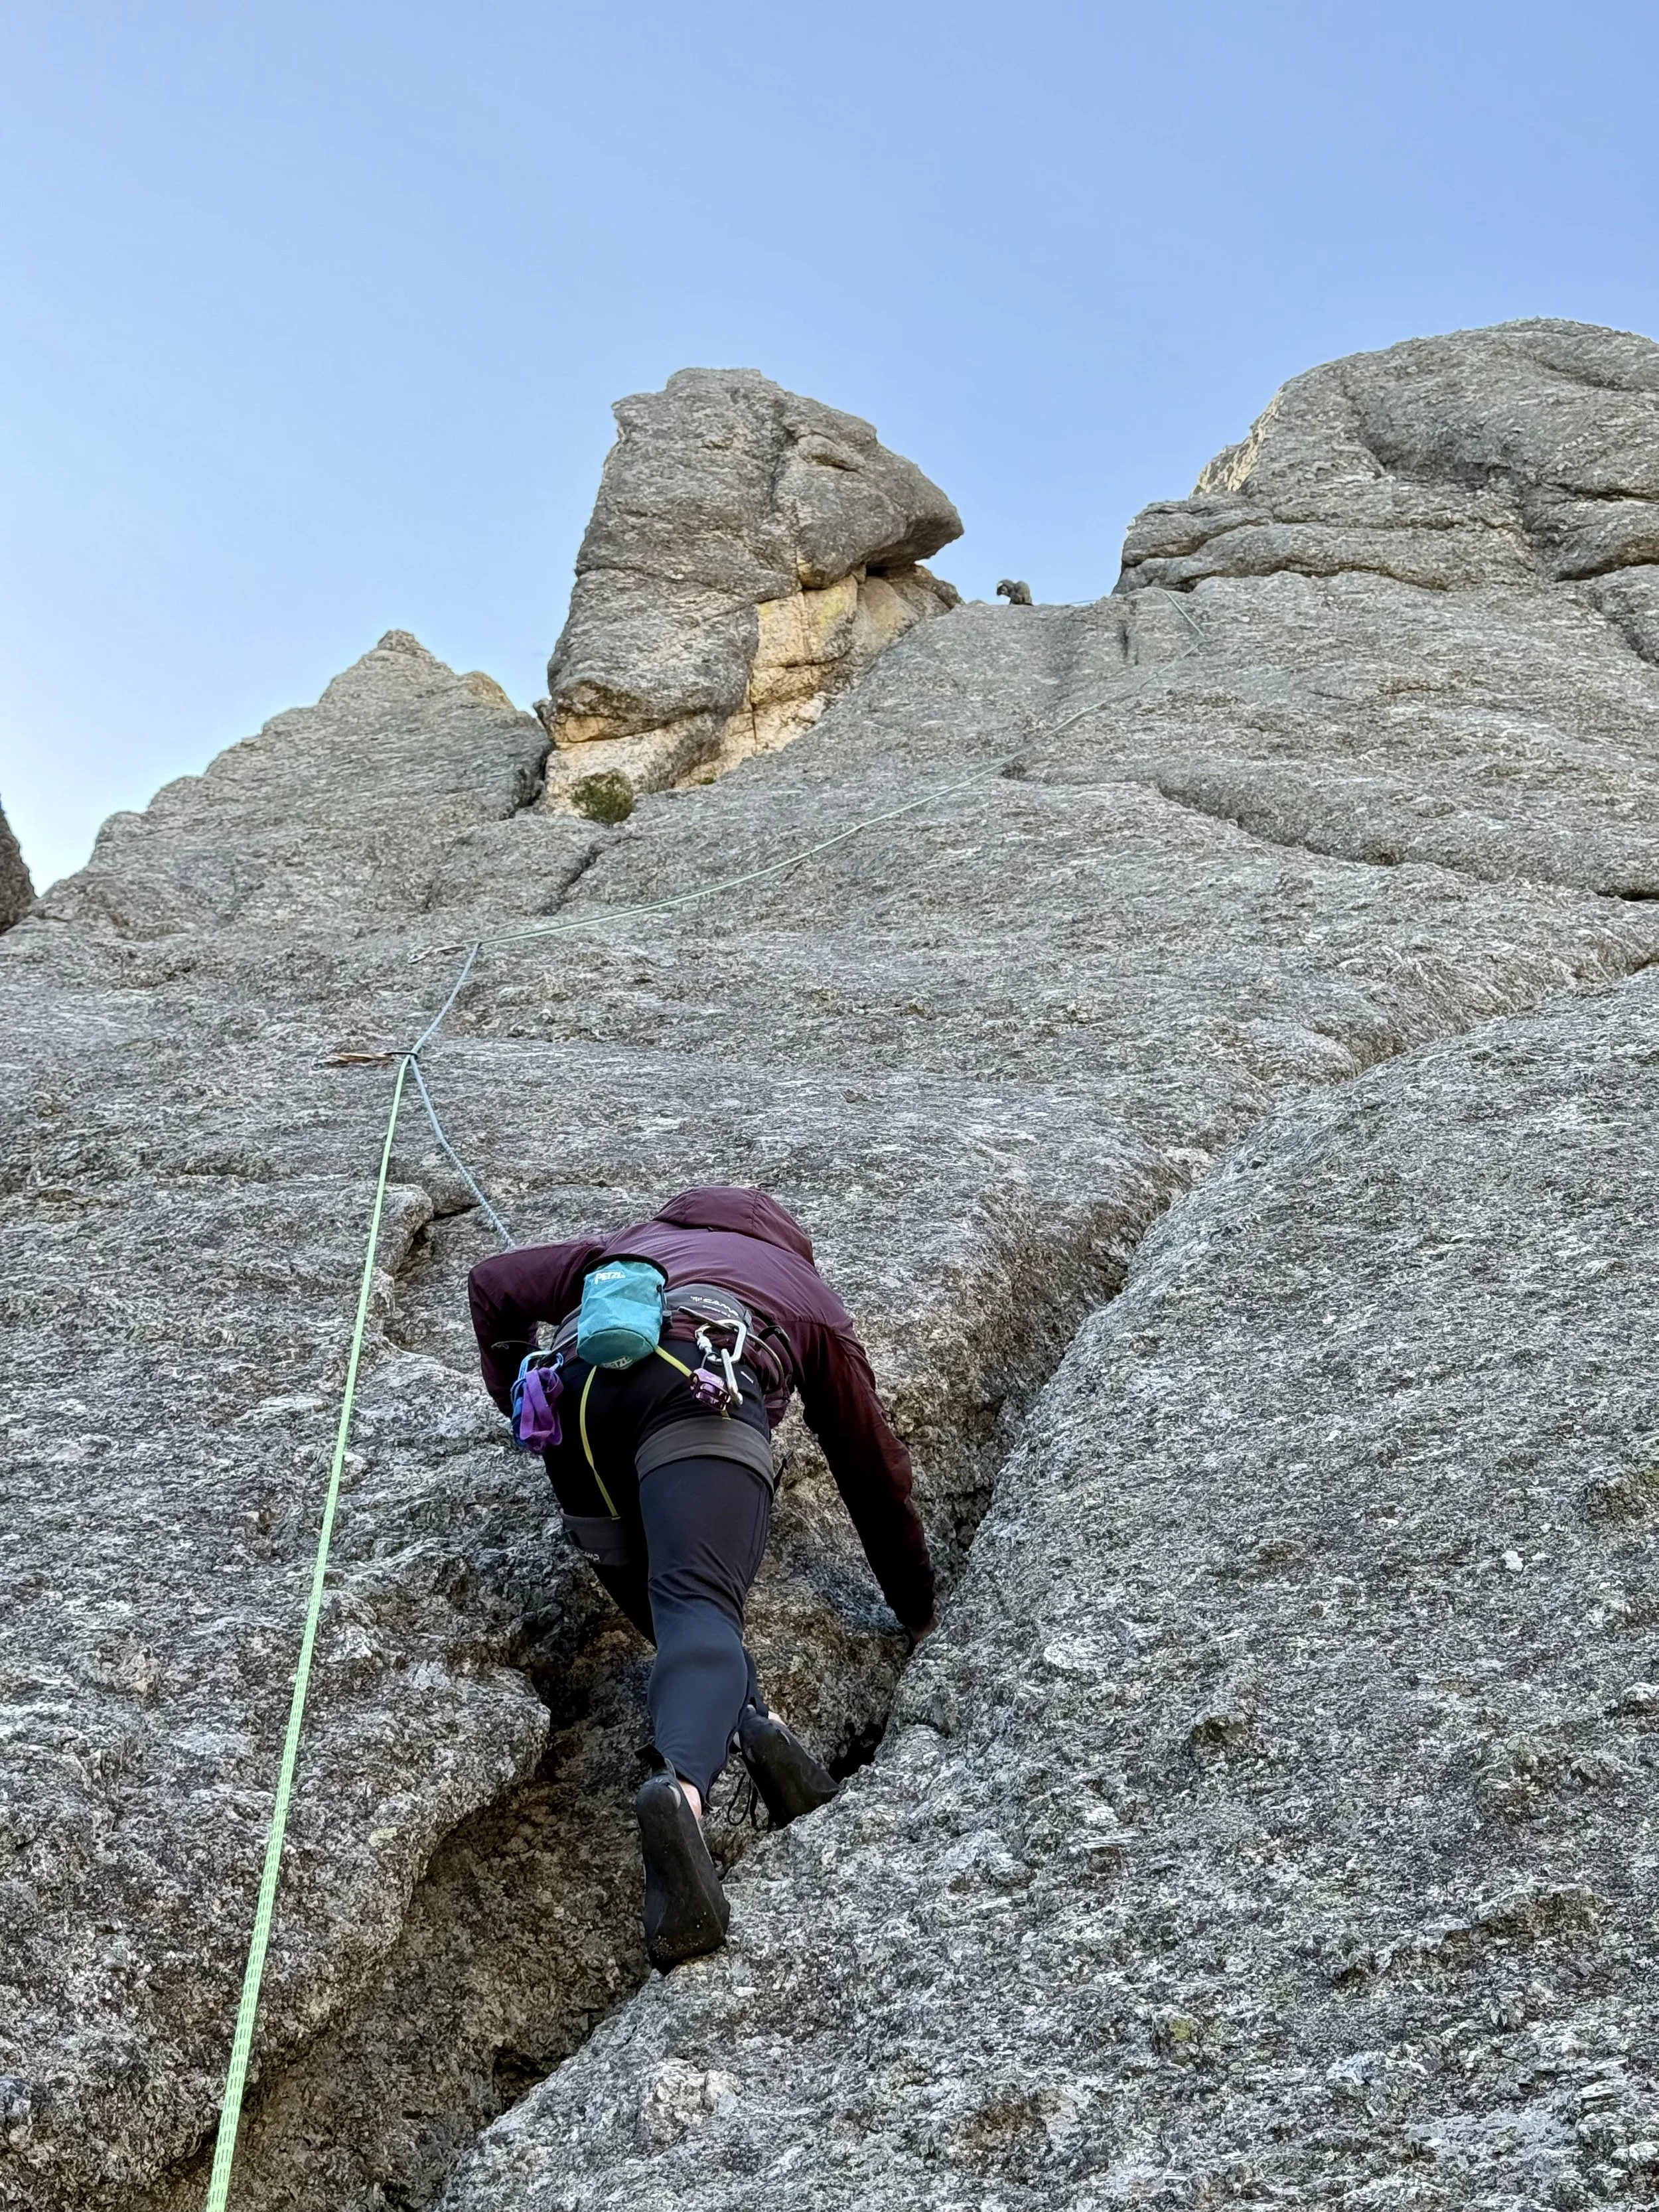
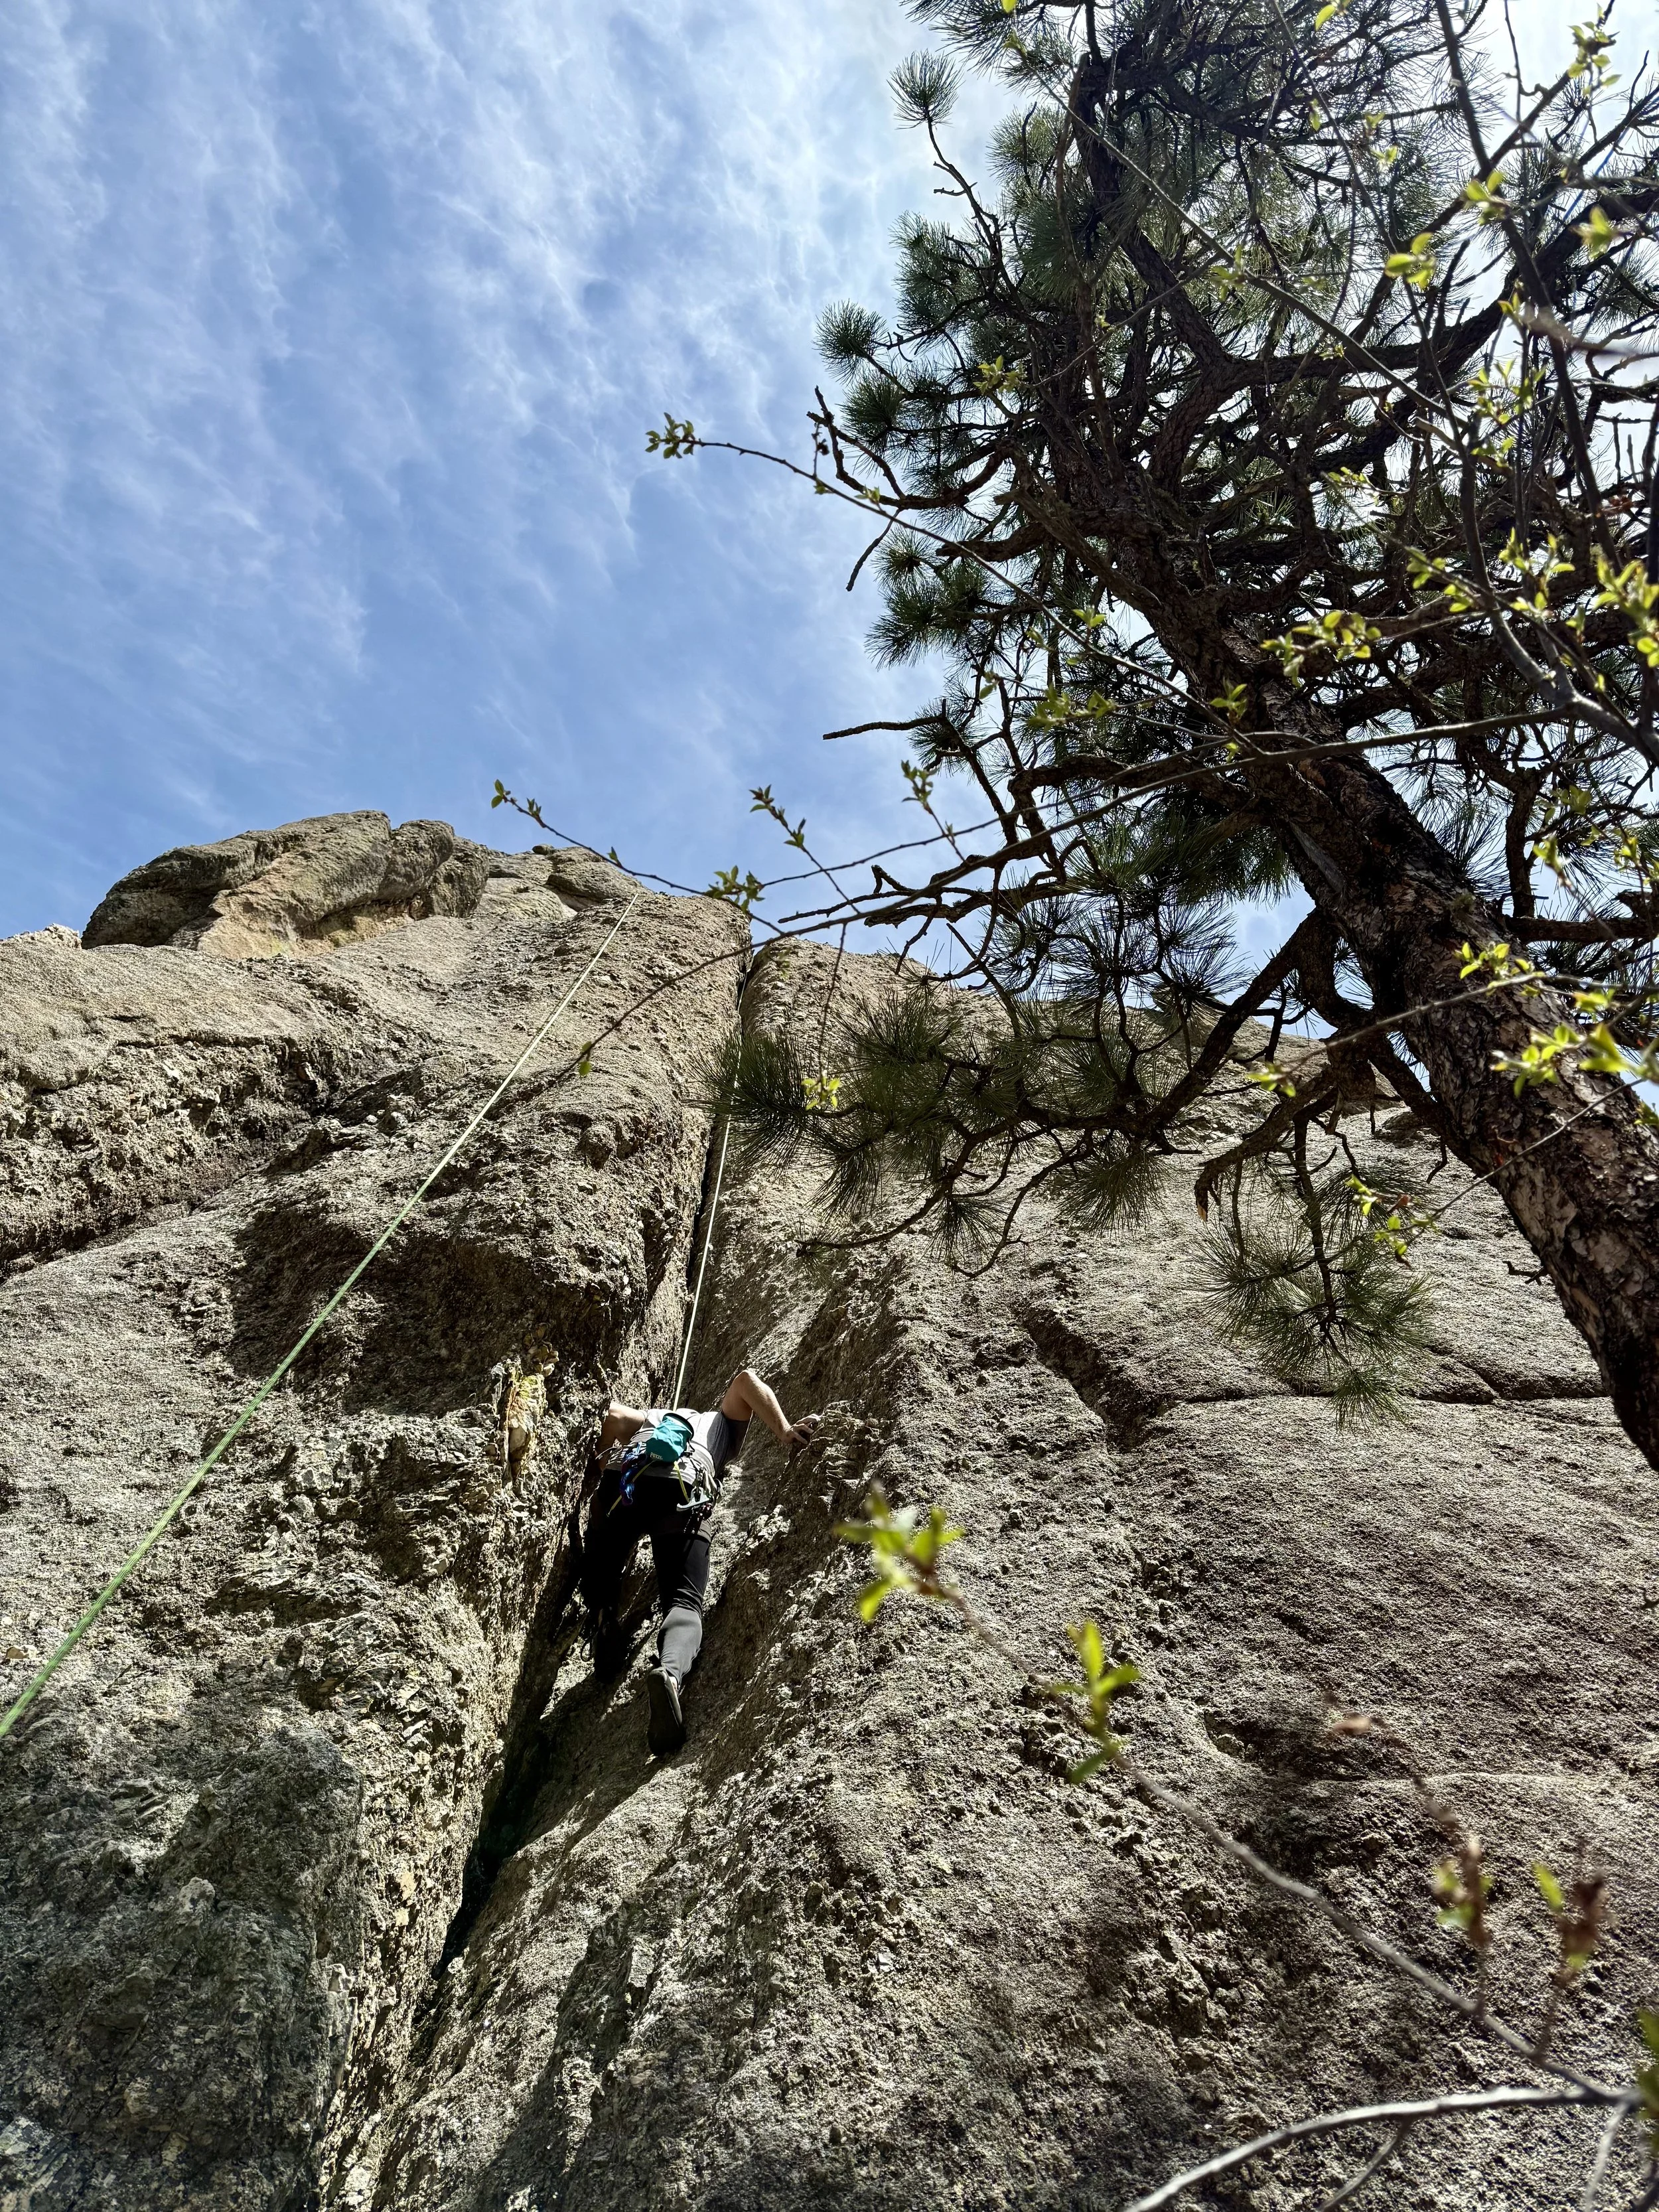
Turns out crack climbing is an entirely different beast from the face climbing we are familiar with. Instead of pulling on holds, you're basically jamming your hands, feet, and sometimes whole body parts into cracks to stay in place. It was harder and more technical than expected, but super satisfying to make progress on. (If you’re new to it and want a primer, this site gives a solid breakdown.) Pro tip: Don’t wear your most beloved activewear when crack climbing in Custer. The coarse granite has no mercy, and you’ll probably end up scraping against it repeatedly as you work the cracks.
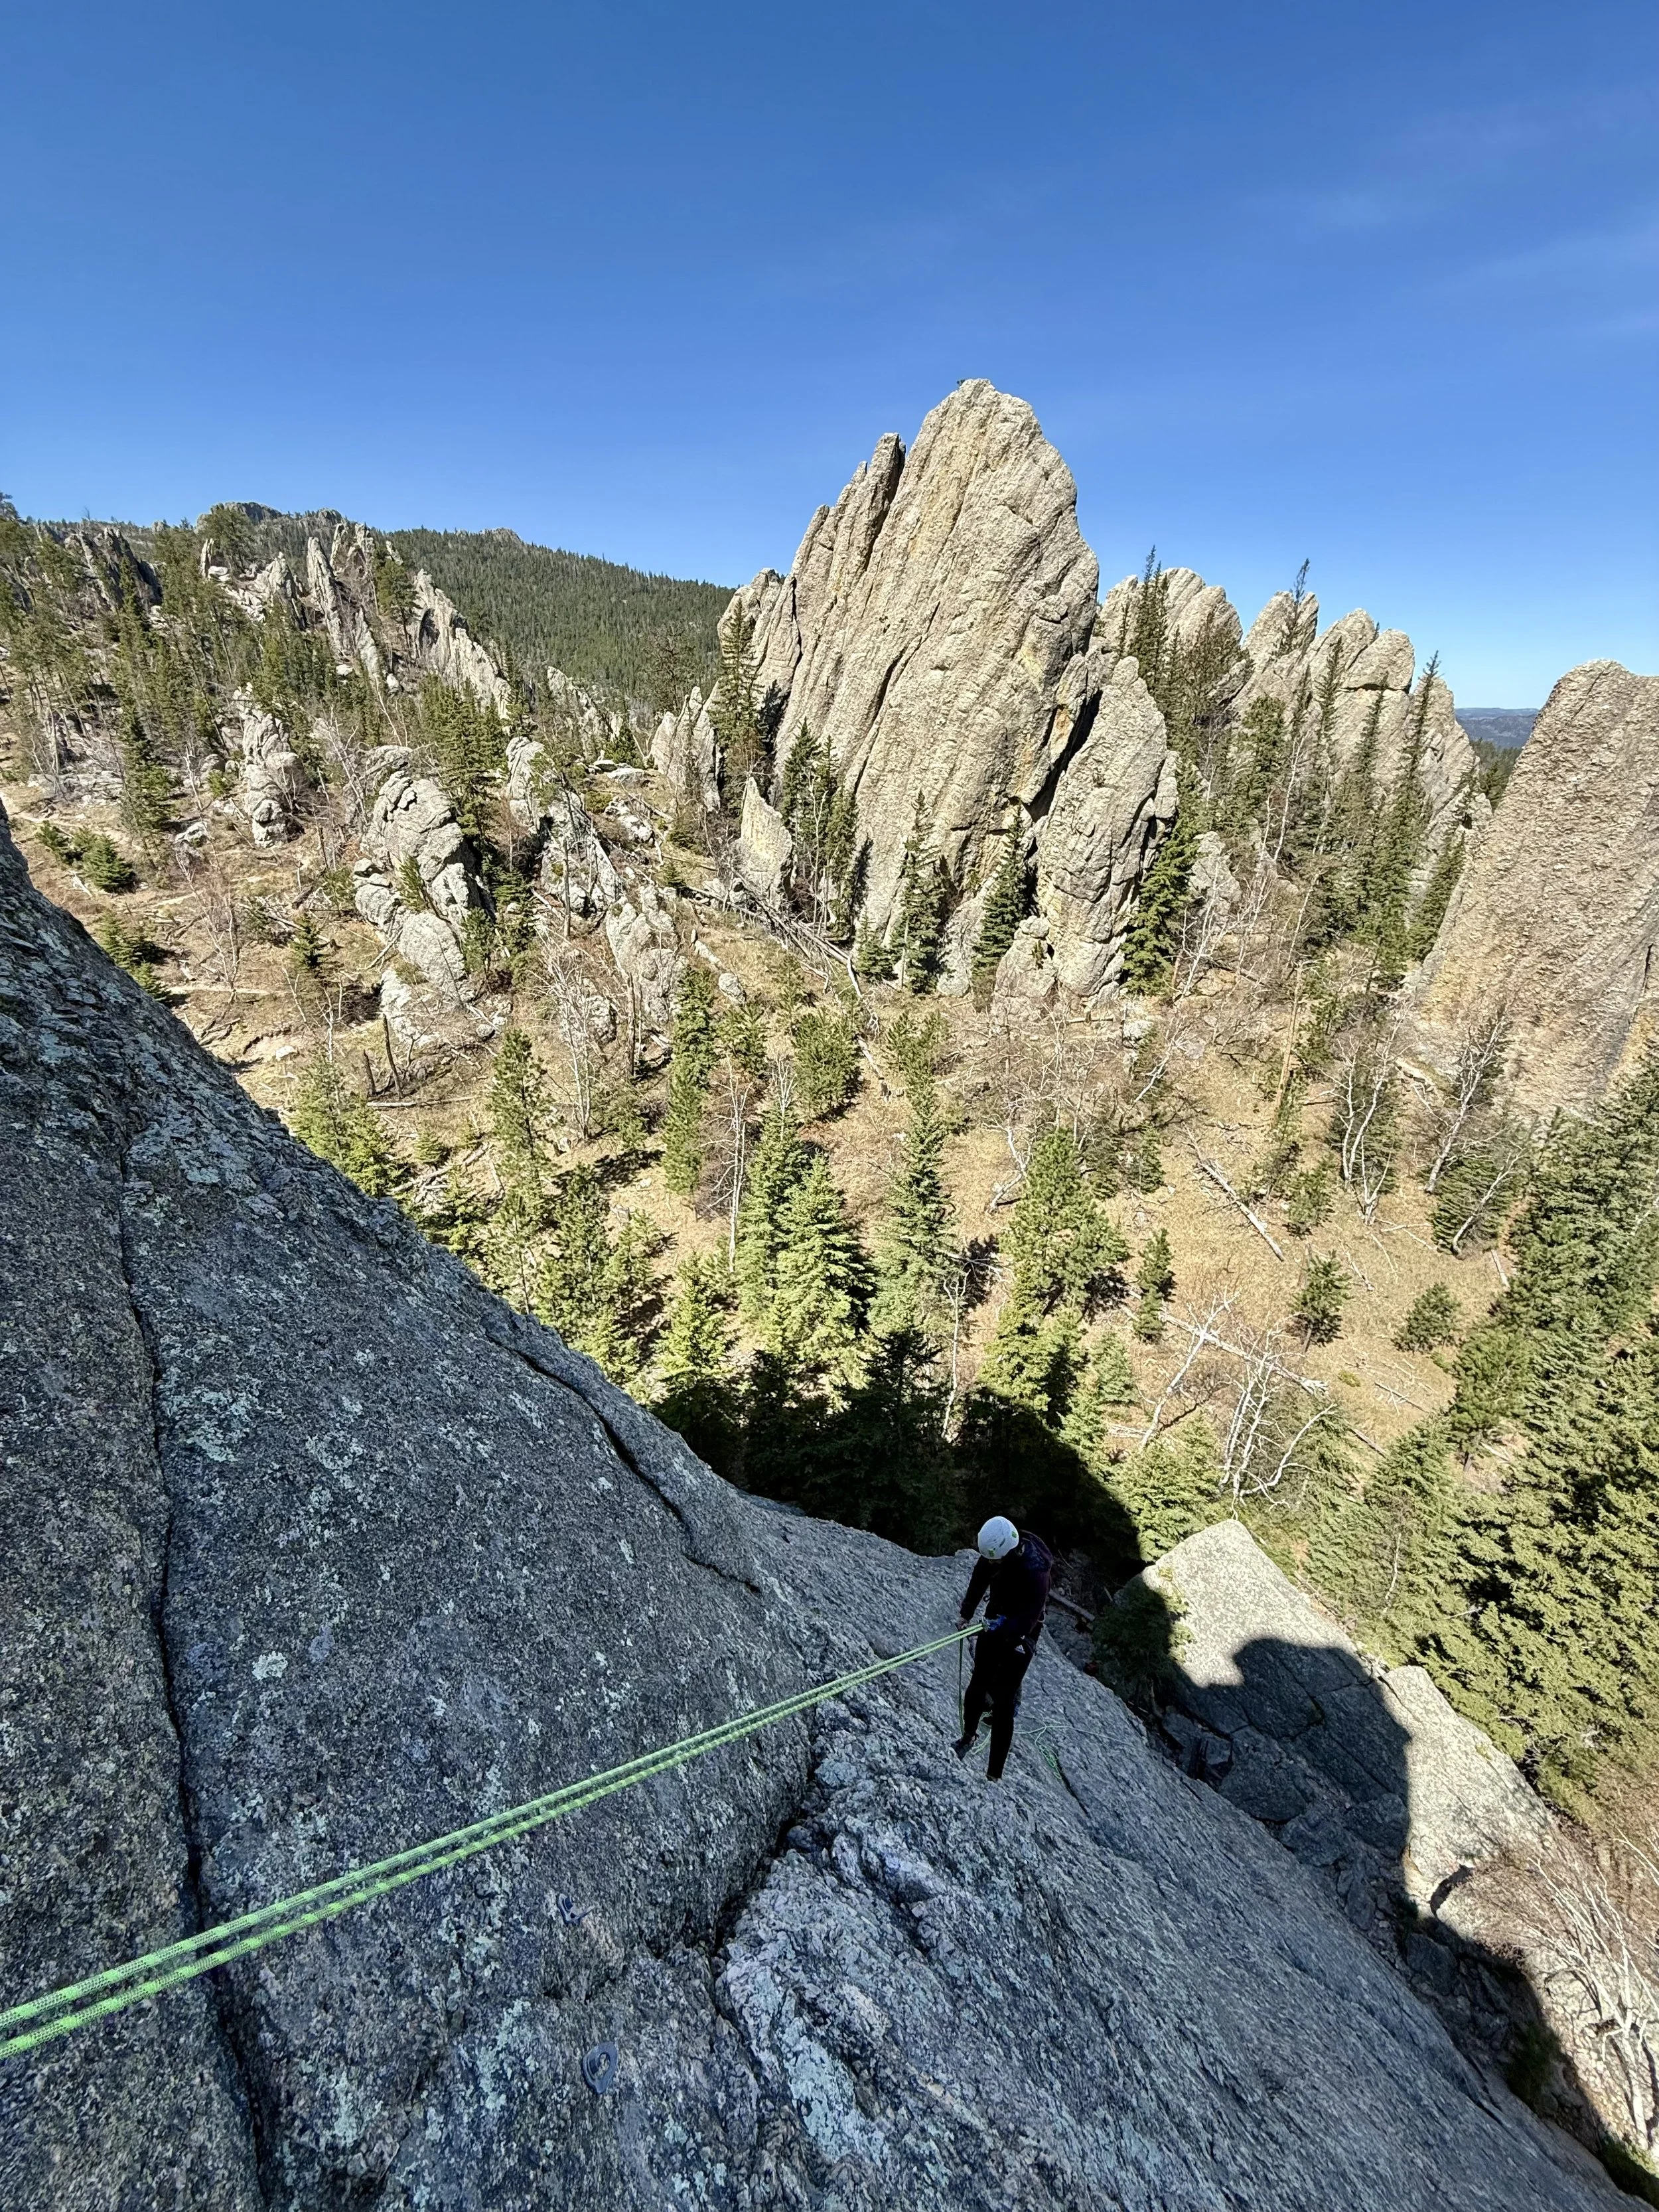
Despite the challenge, it was a fun and rewarding day. The spires and rock formations around Sylvan Lake make for a stunning climbing backdrop. Pete even squeezed in one last short crack climb before we wrapped around 3:30pm—just enough to build our confidence heading into the big day at Devils Tower.


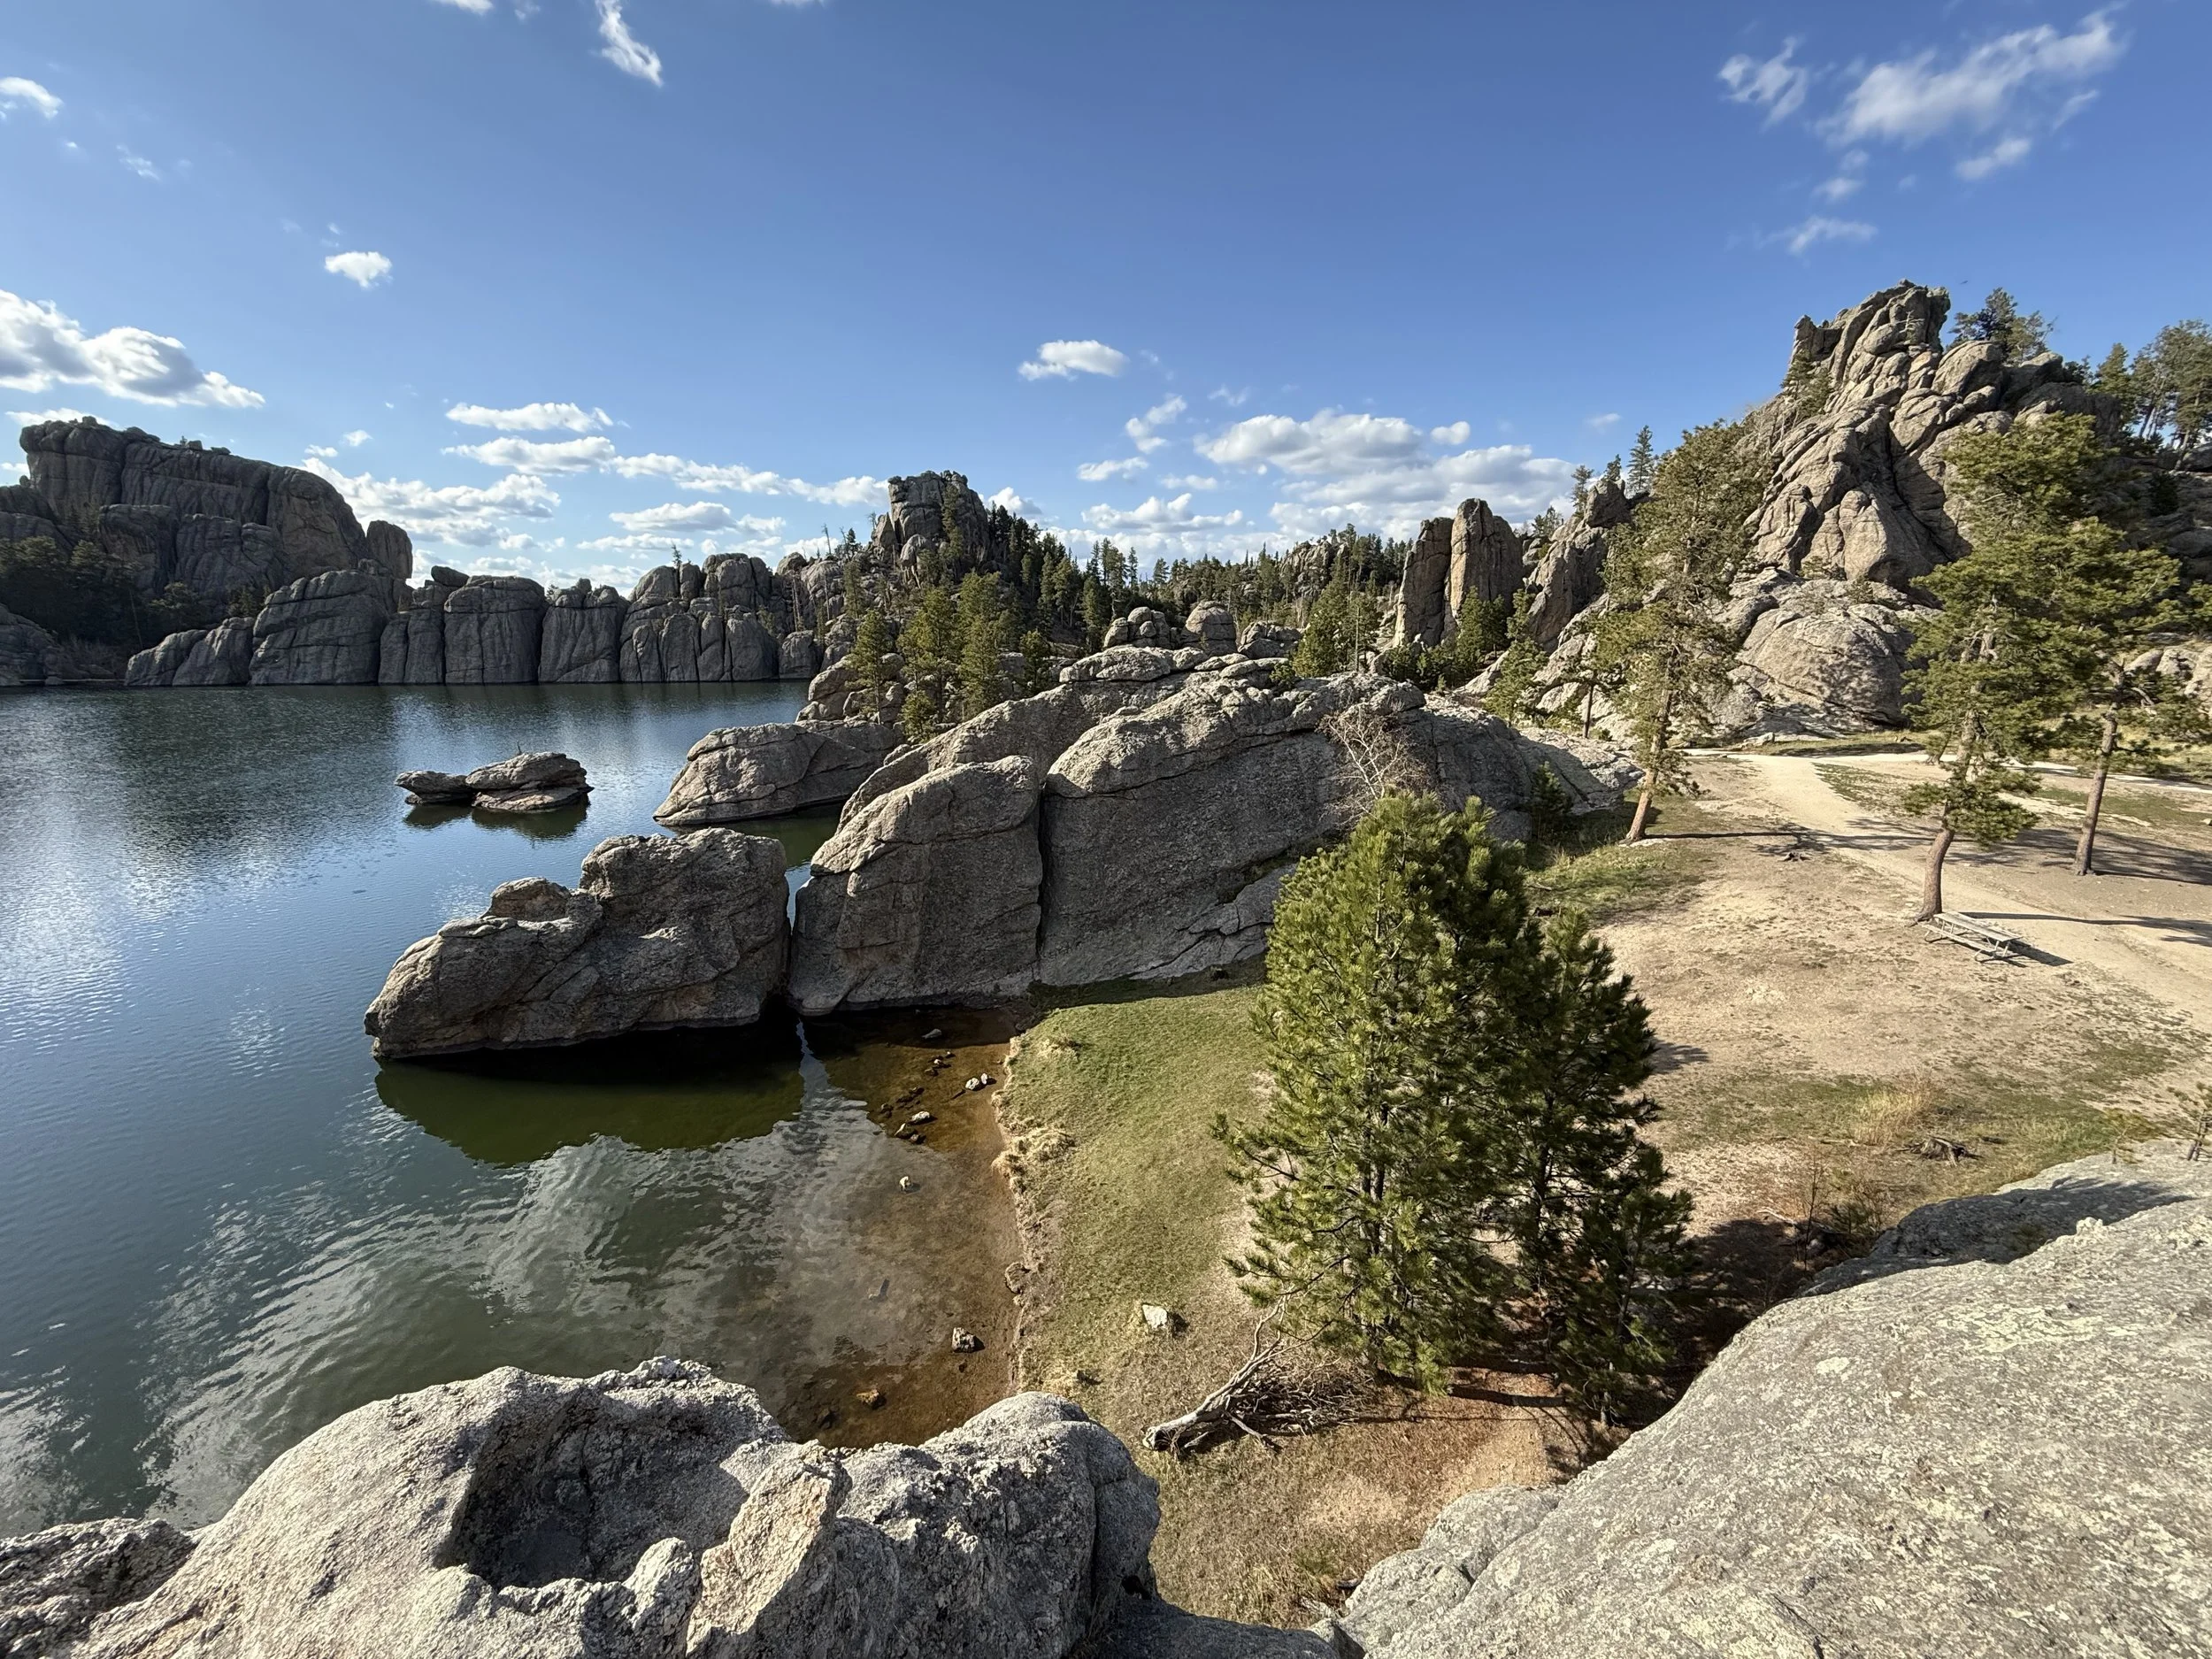

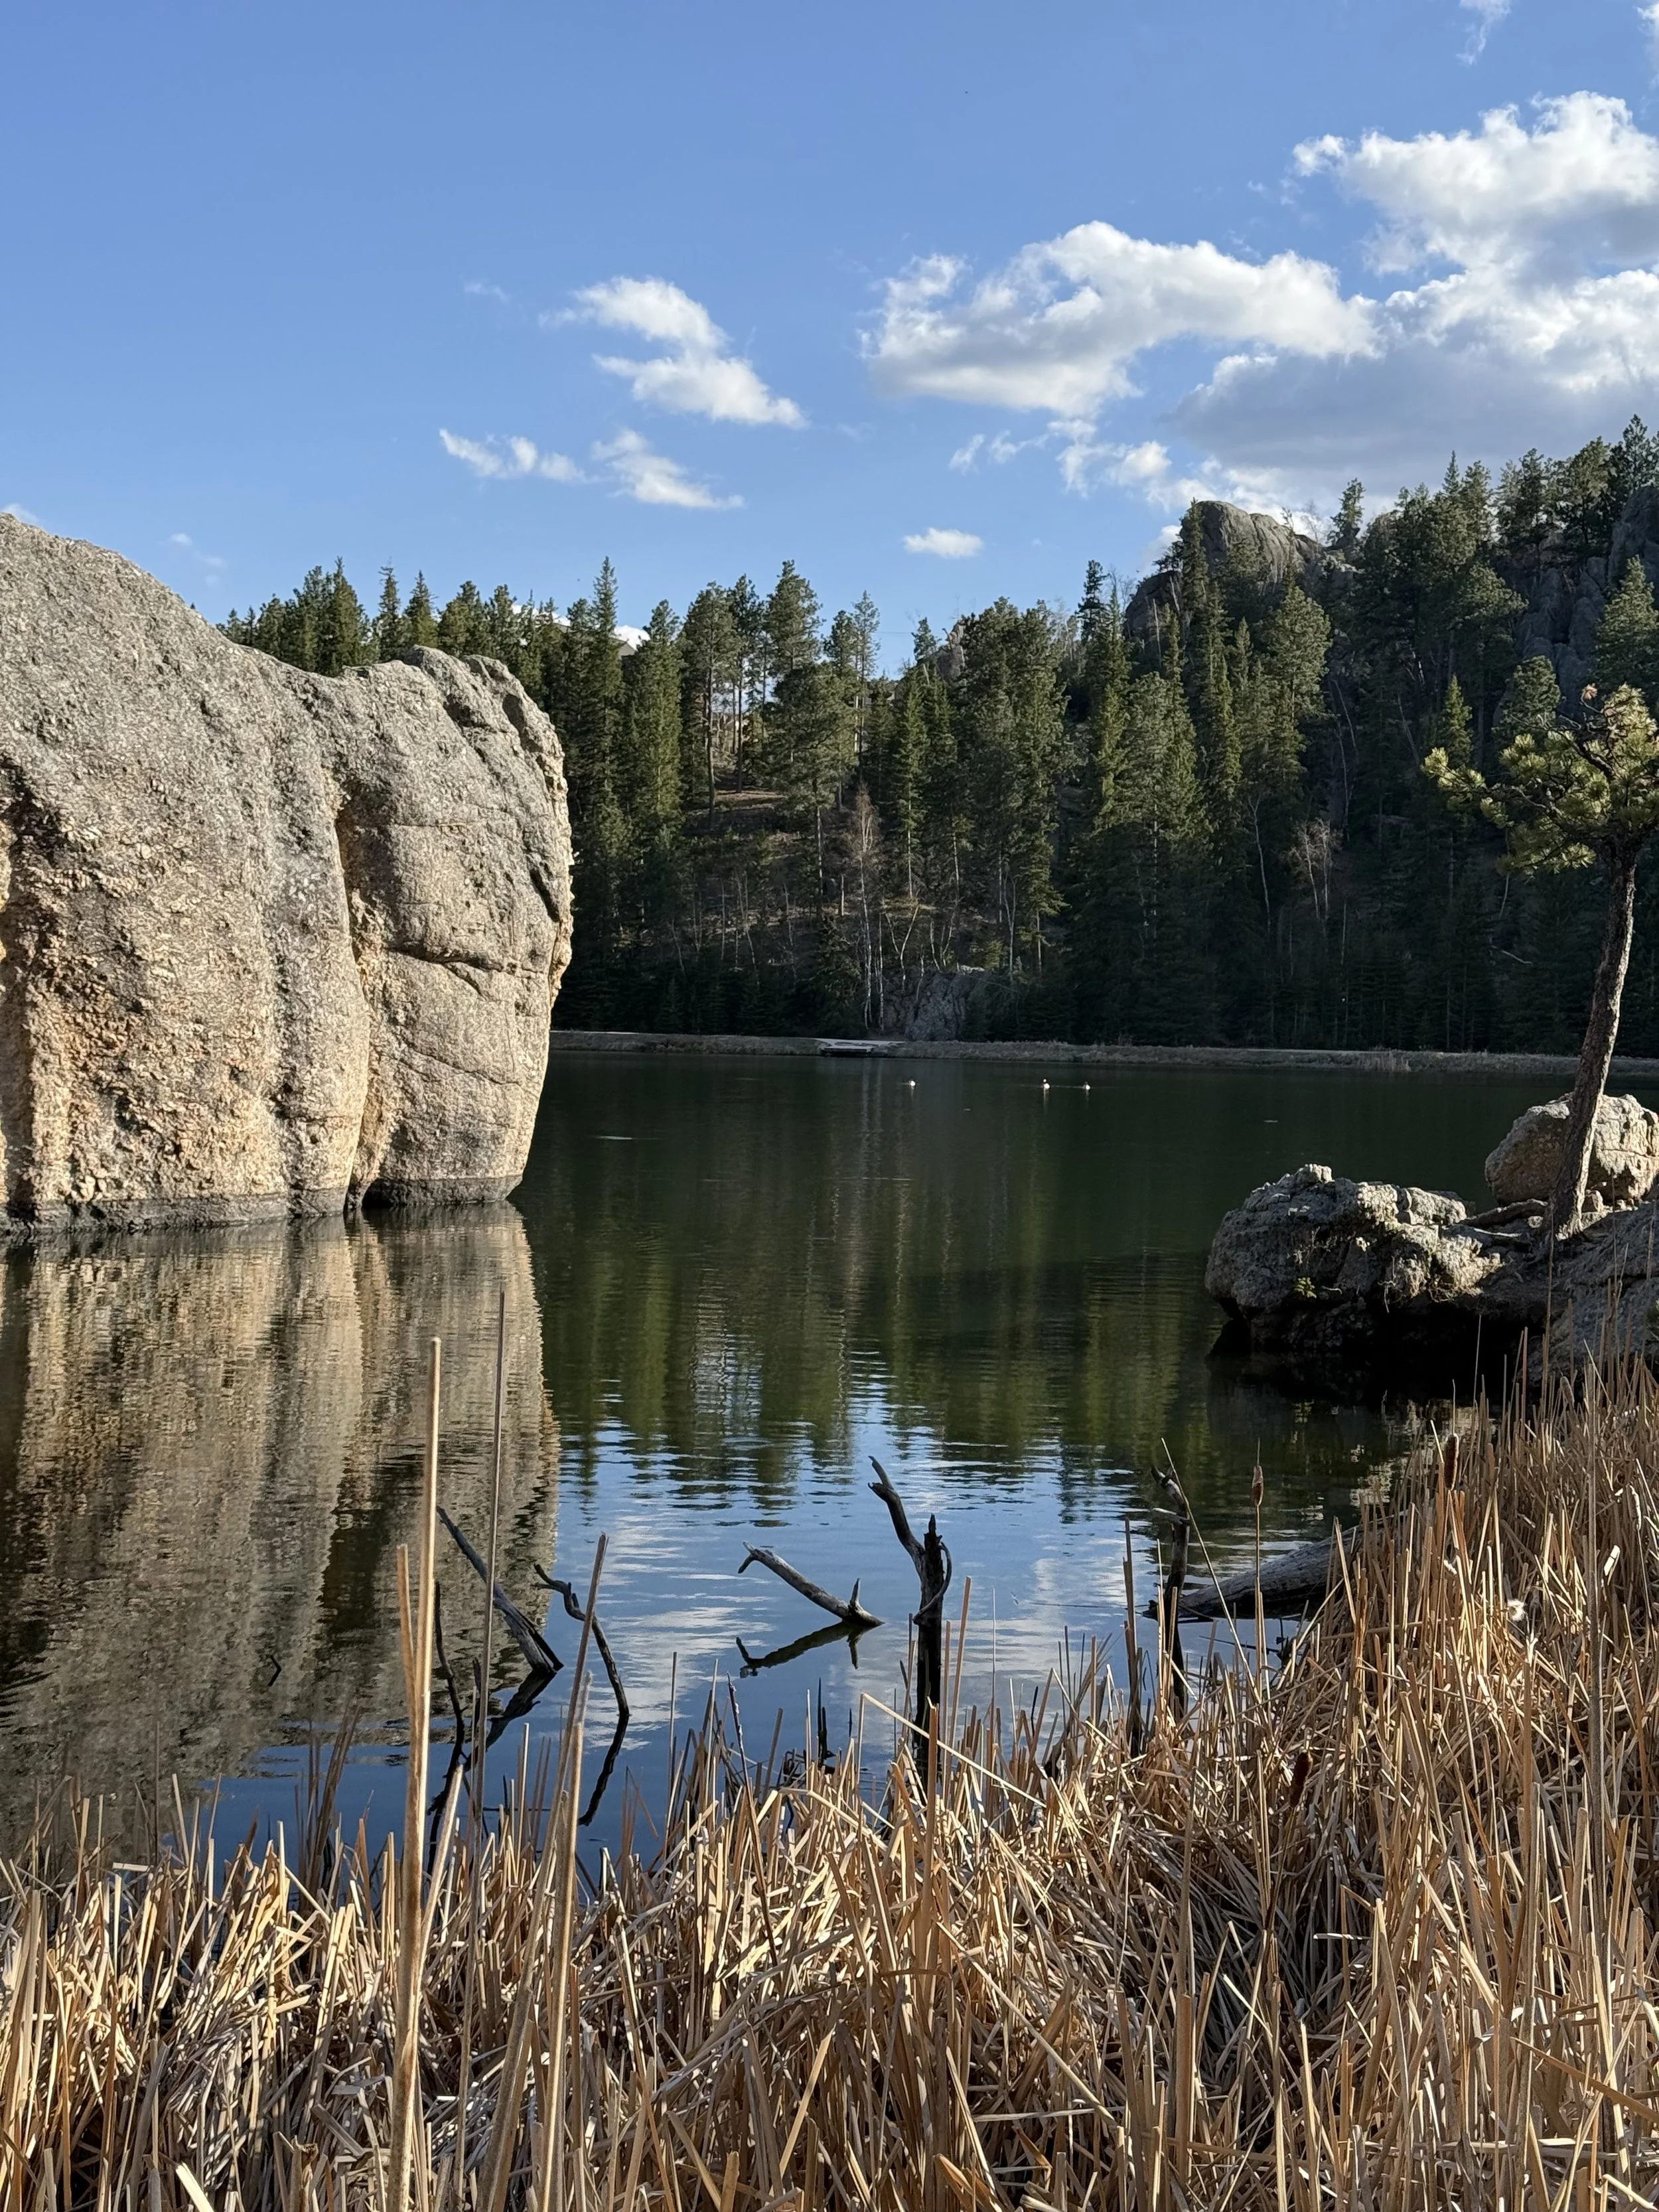
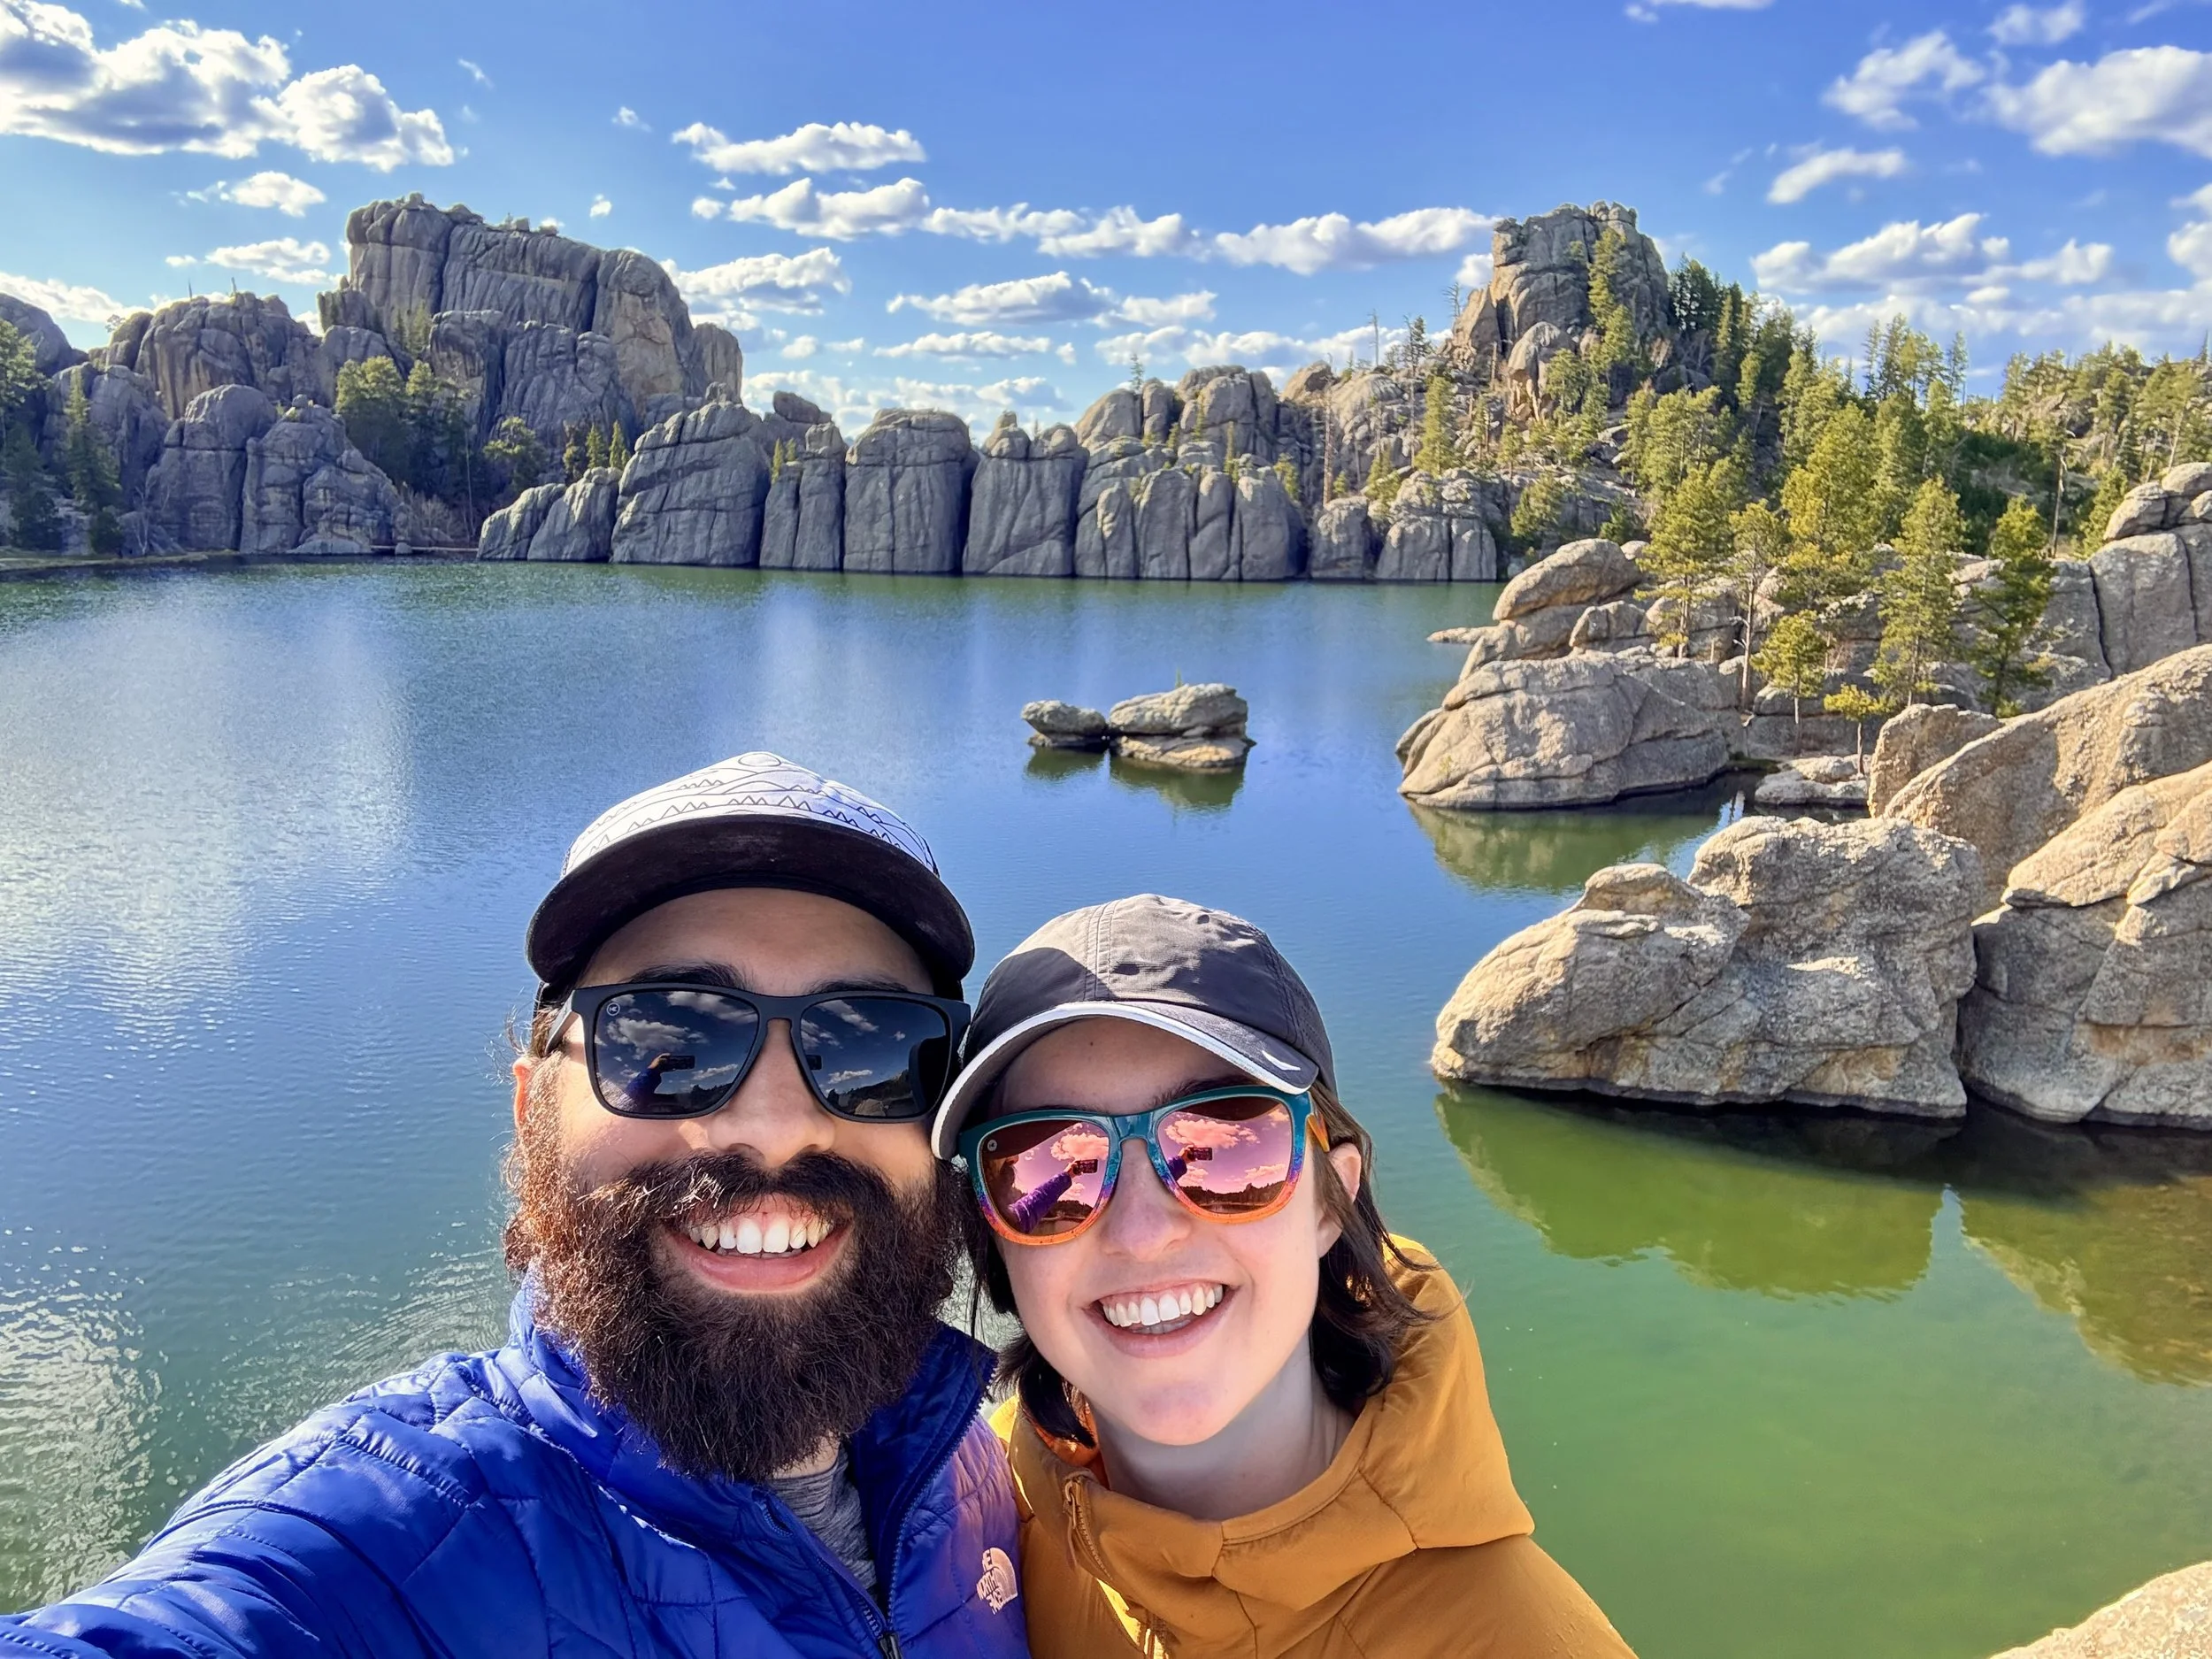


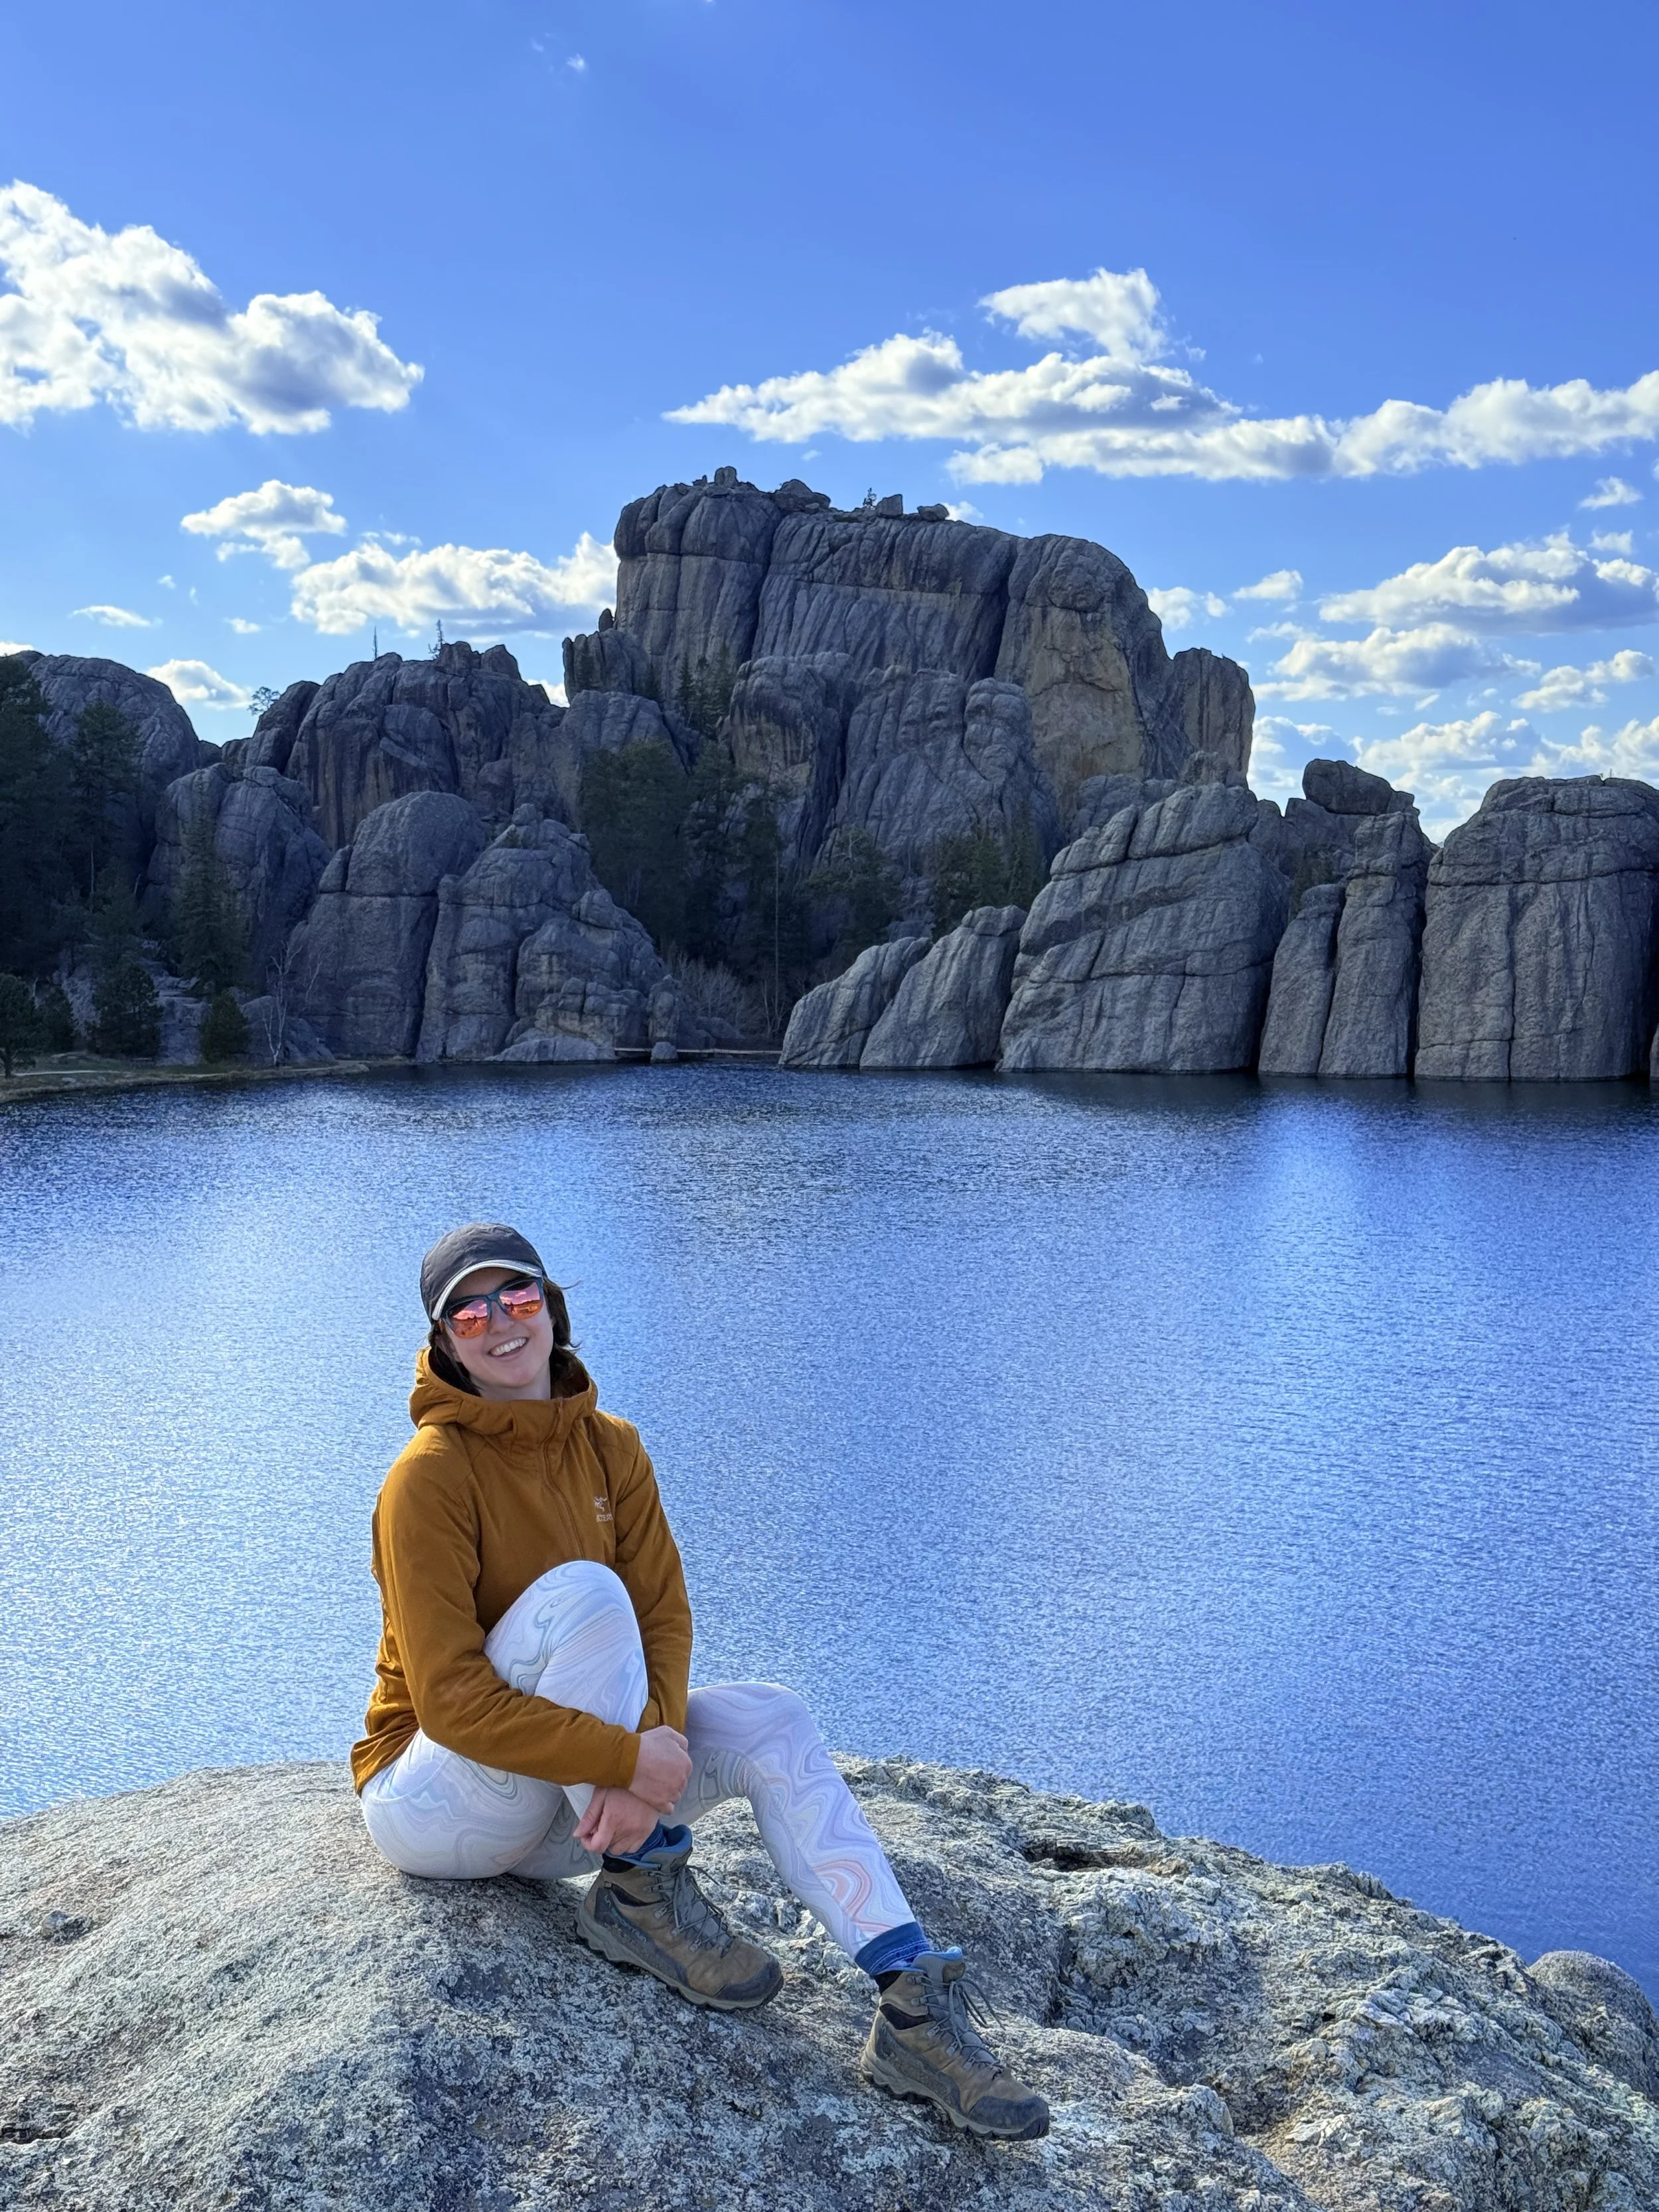
Sylvan Lake Short Trail
After wrapping up our climbing session, we were more than ready for some food, so we cooked up a hearty lunch right in the trailhead parking lot on the far side of Sylvan Lake.
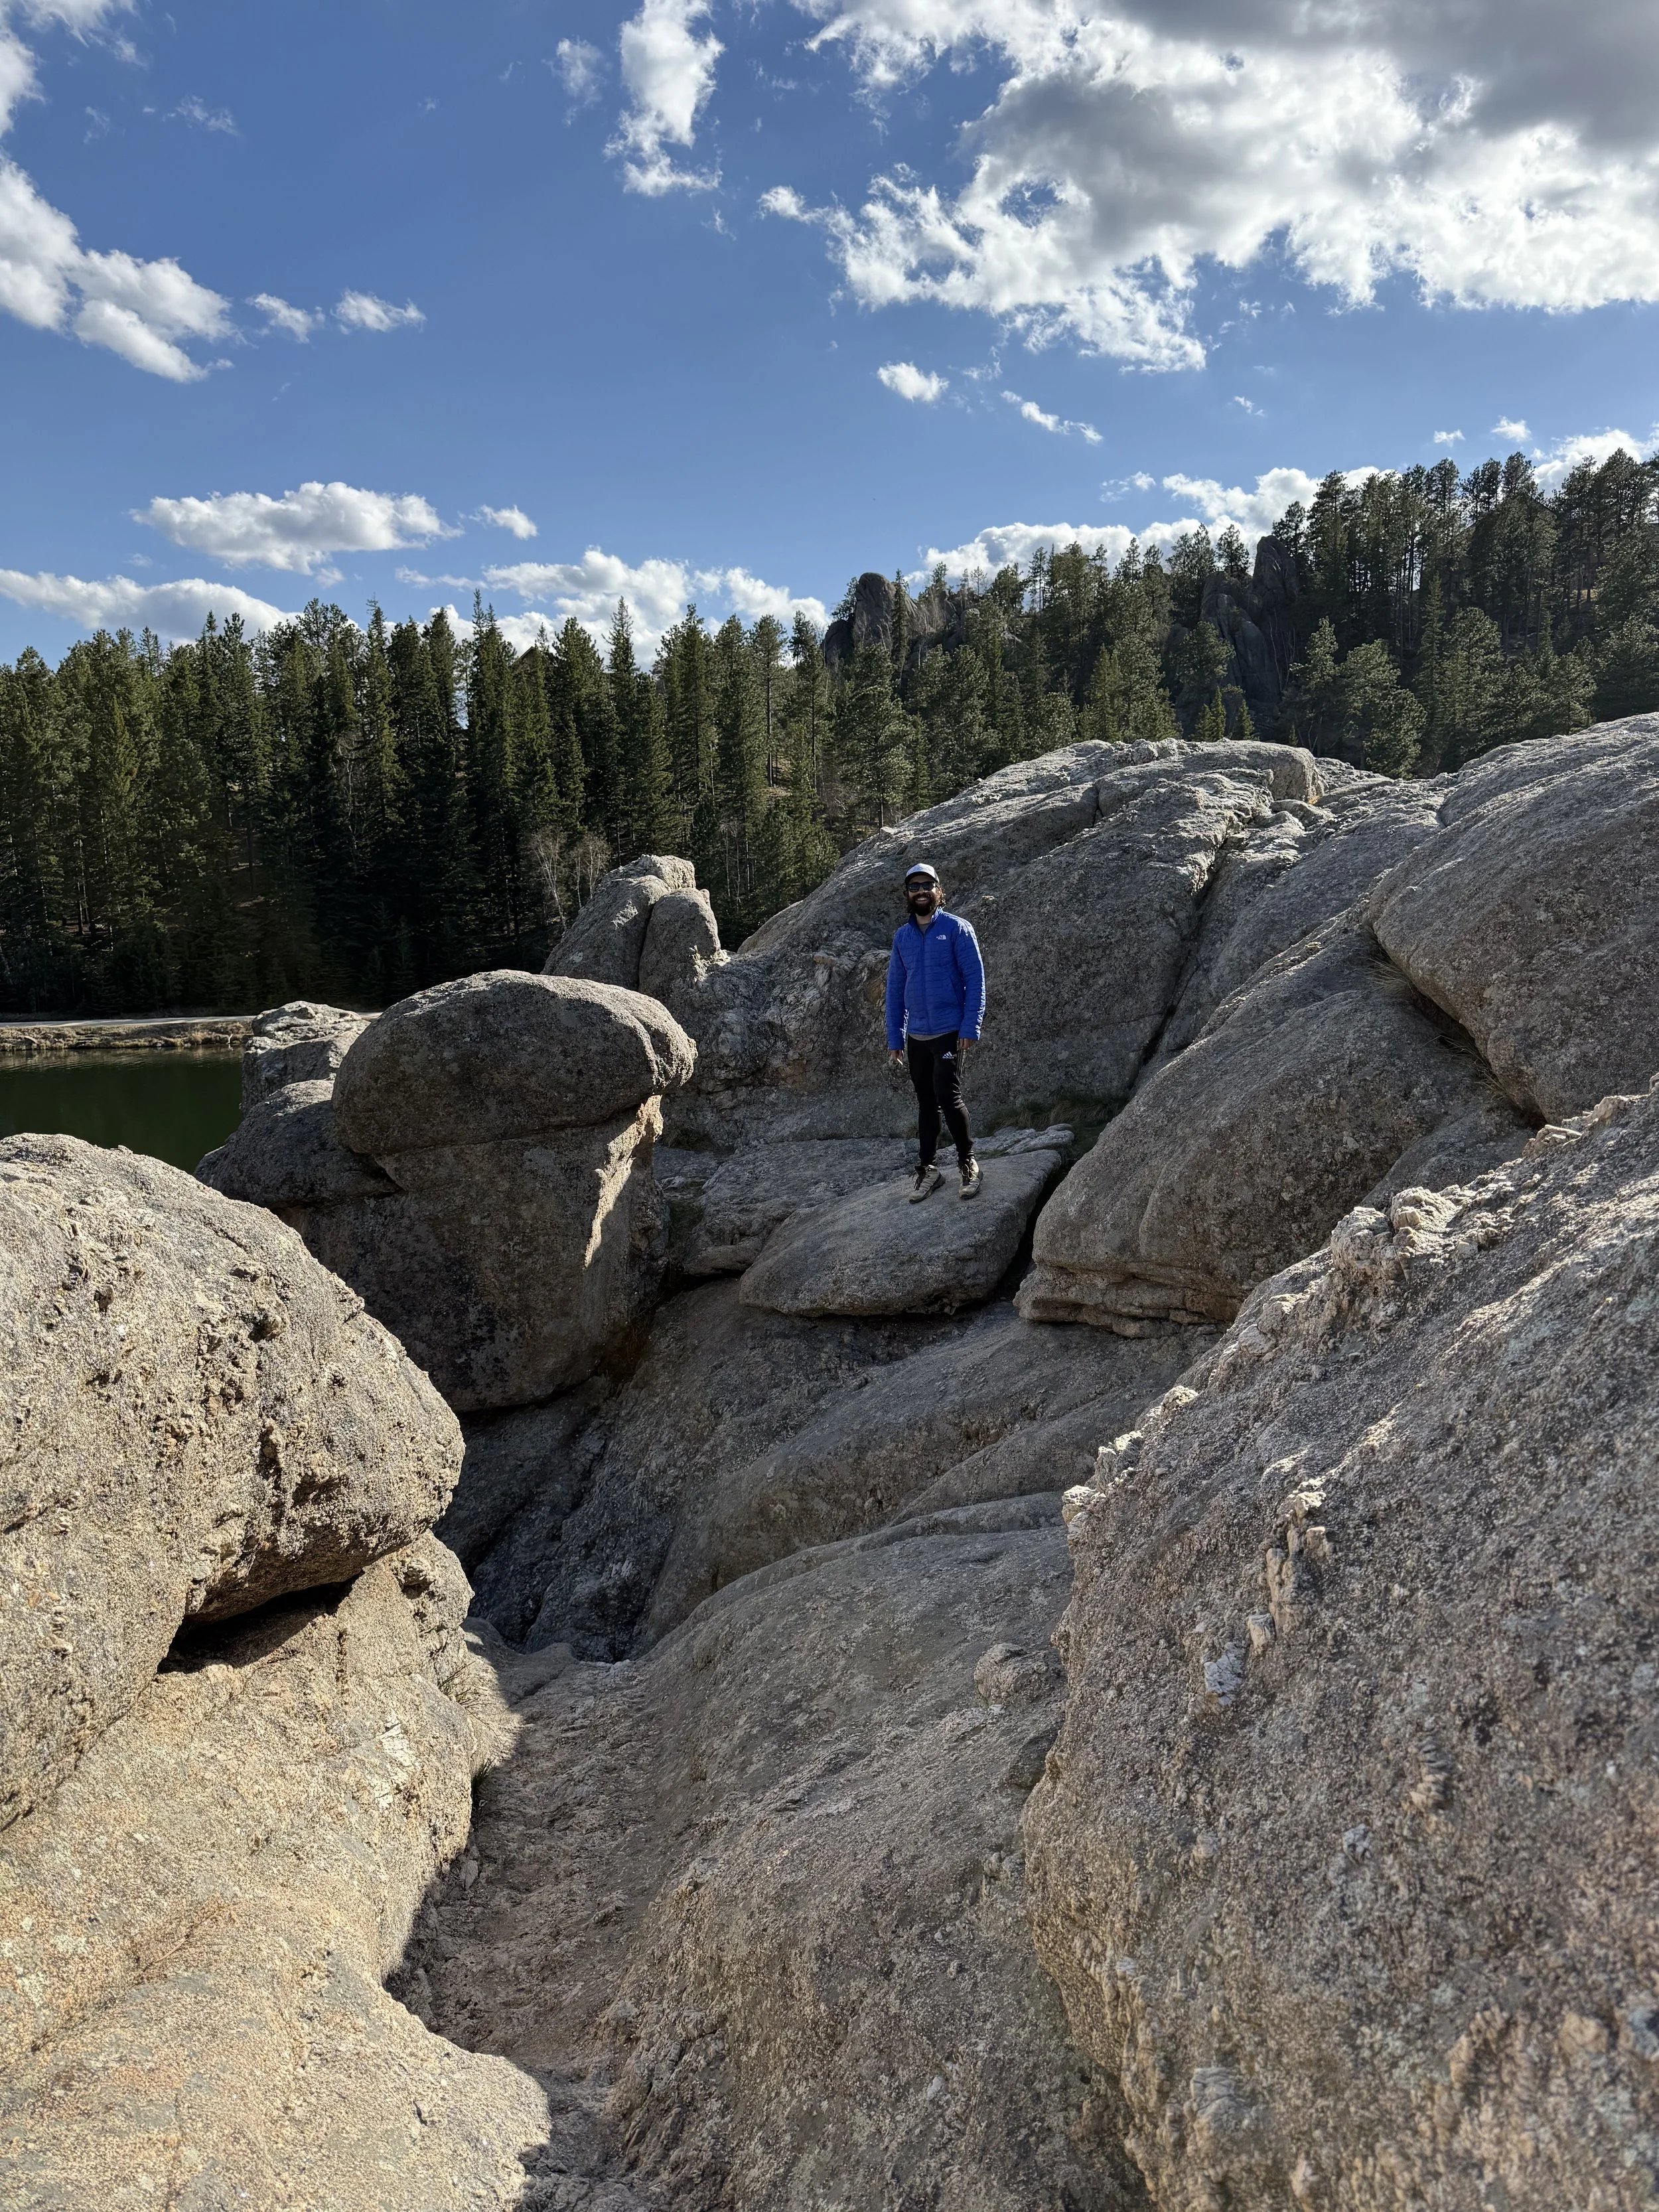
Once we were refueled, we spent the rest of the afternoon slowly wandering along the Sylvan Lake Shore Trail. The jagged rock formations surrounding the lake are incredibly beautiful and this place quickly became one of Jenna’s favorite spots of the whole trip. We scrambled up some of the rocky peninsulas, spotted a groundhog buddy hanging out in the brush, admired a group of baby geese paddling by, and watched ospreys soaring overhead.
Part of the 1-mile loop was closed for trail maintenance (a bit of a bummer, though great to see the park investing in upkeep), so we couldn’t complete the full loop—but even the partial trail was a must-do.


Drive to Devil’s Tower
Before heading out of dodge, Jenna treated herself to some well-deserved ice cream from the Purple Pie Place in downtown Custer. It was the perfect reward after a tough day of climbing (though Daniel was bummed there weren’t any dairy-free options).
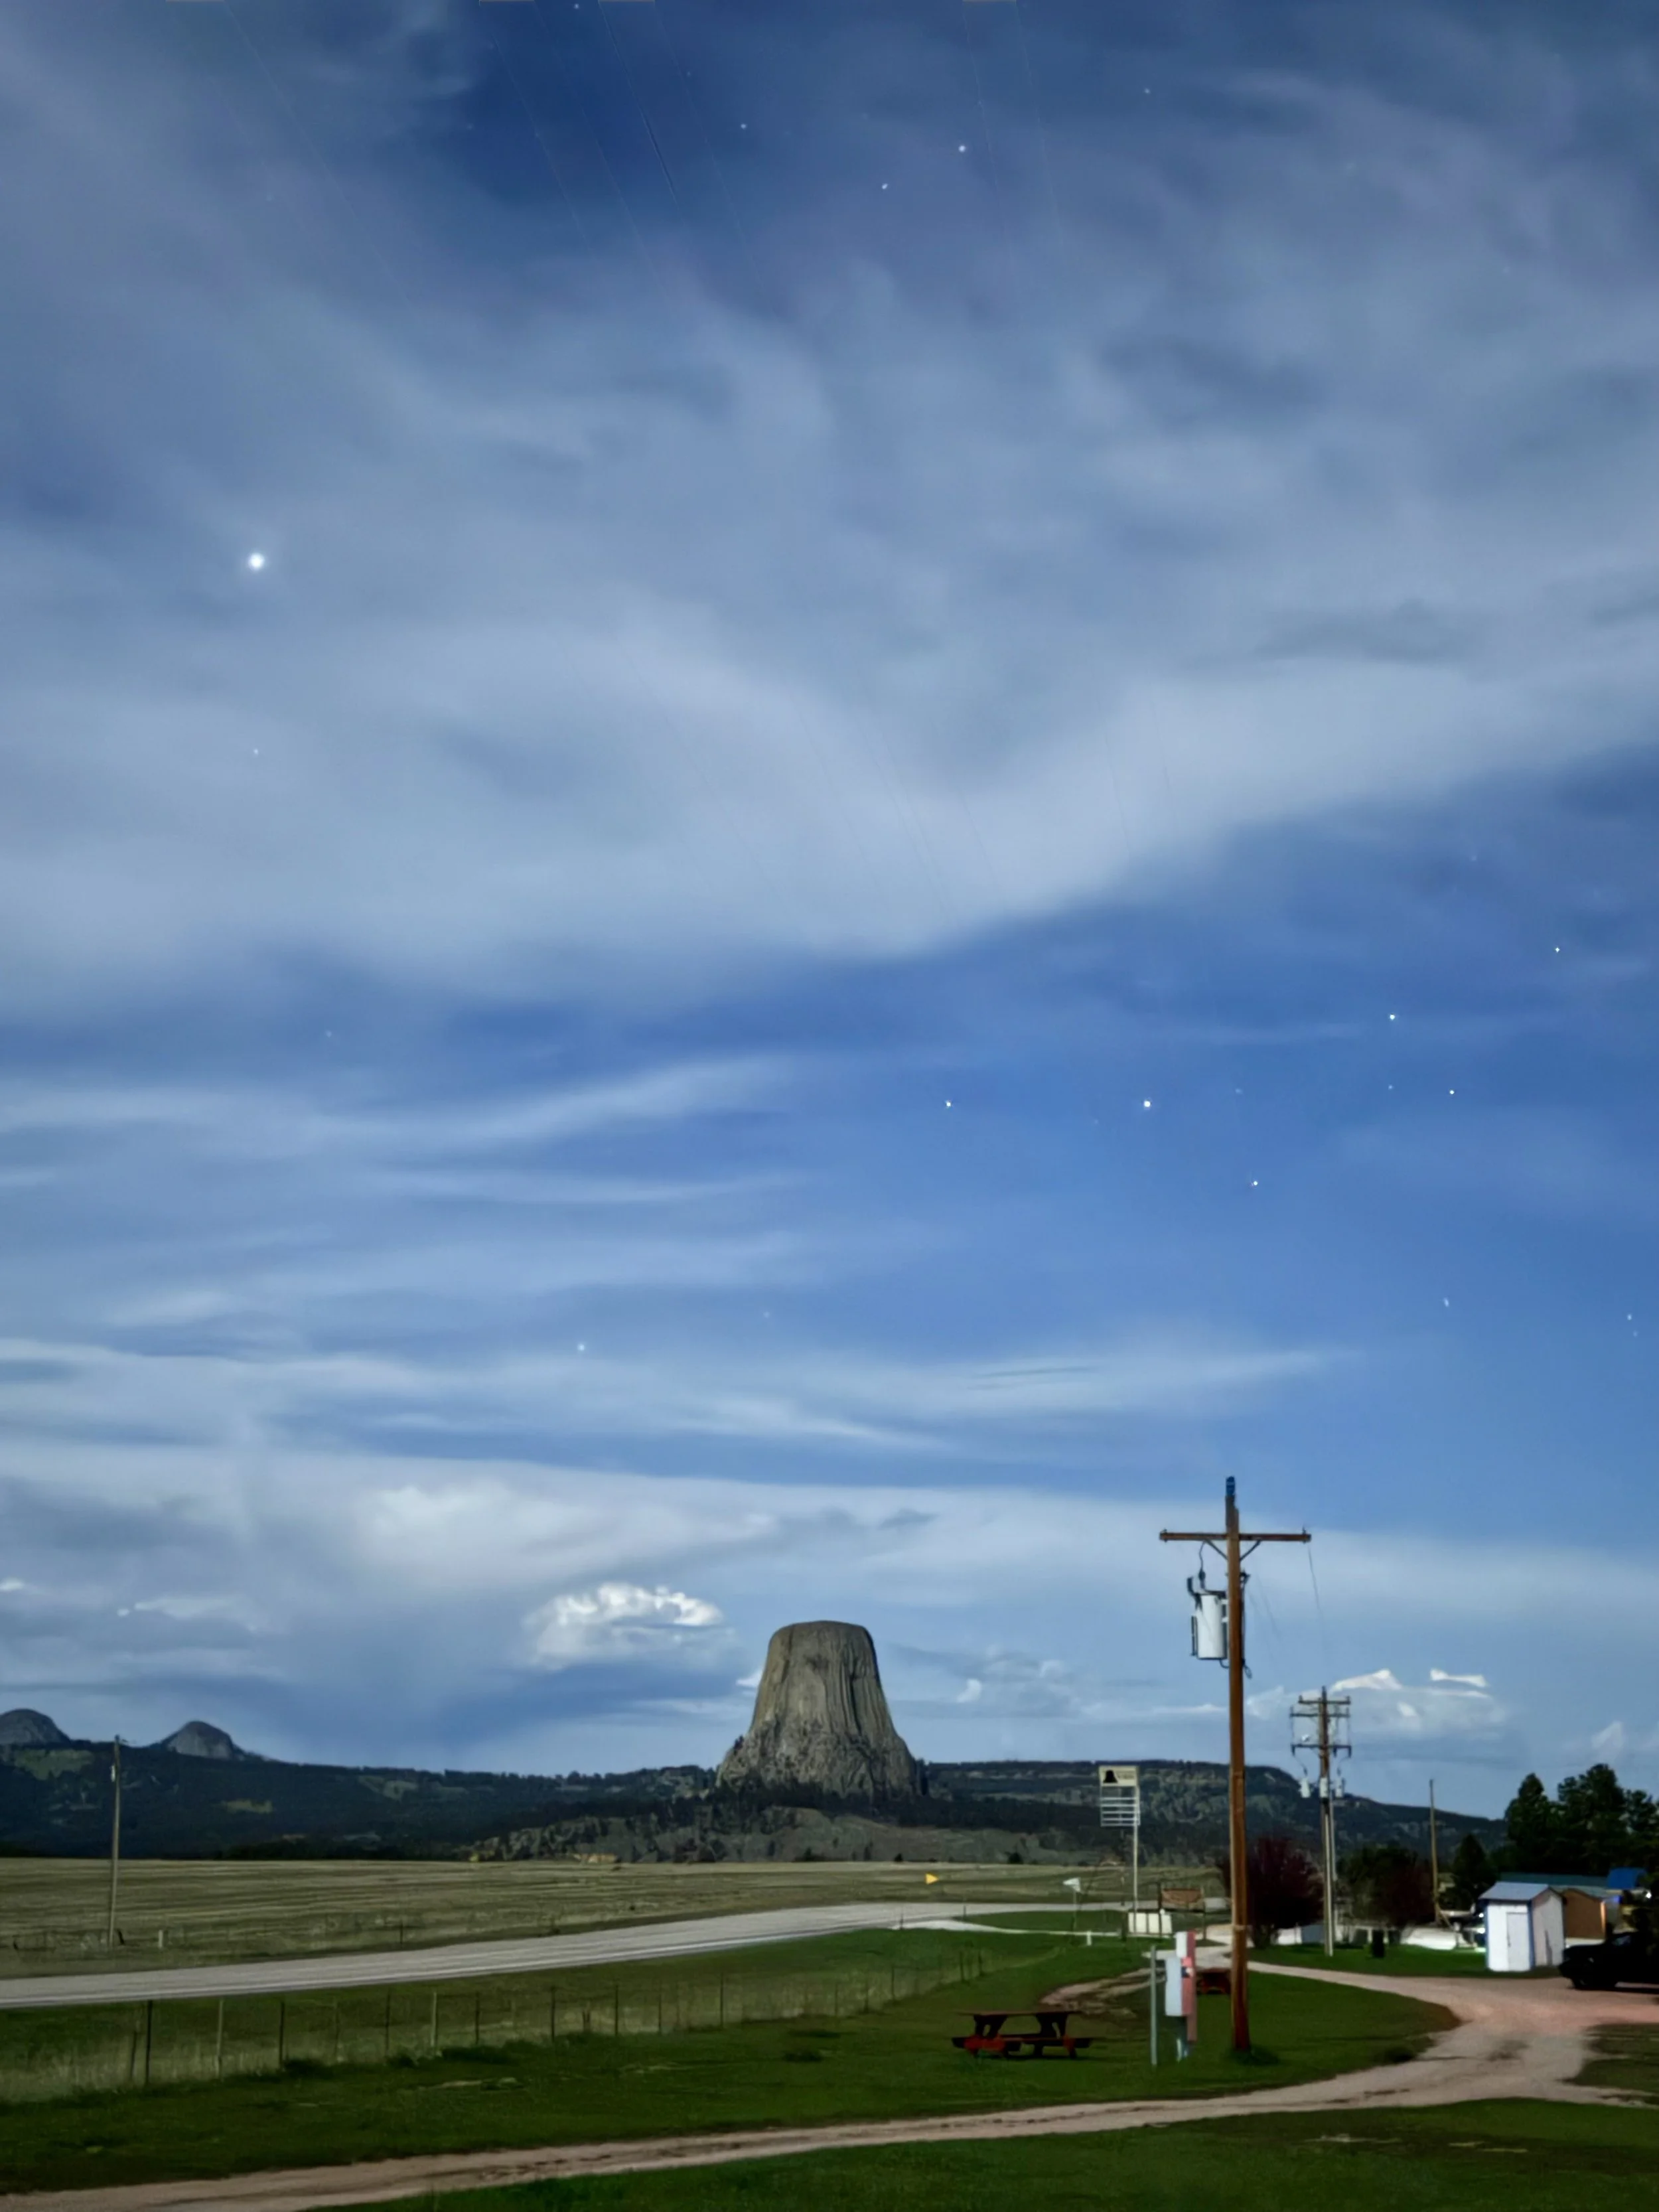
We then made our way to Devil’s Tower for an early start the next morning, which was about a 1 hour 45 minute drive away. The drive was pretty uneventful overall, but we were treated to a colorful sunset.
Where to stay by Devil’s Tower
Our first pick was Belle Fourche River Campground, which sits right at the base of Devil’s Tower. Unfortunately, we arrived six days too early, and it wasn’t open for the season yet.
Luckily, we found Devils Tower View Campground just down Wyoming Highway 24. The hosts live on site and warmly greeted us upon arrival. If you don’t need electricity, the camping spots are more flexible and very affordable at $20/night. We parked in an open area down by the green gate, past the official RV hookup sites.
They offered free showers, which were much appreciated, and the bathrooms were toasty warm.
Day 8
〰️
Day 8 〰️
Day 8 South Dakota Parks Itinerary:
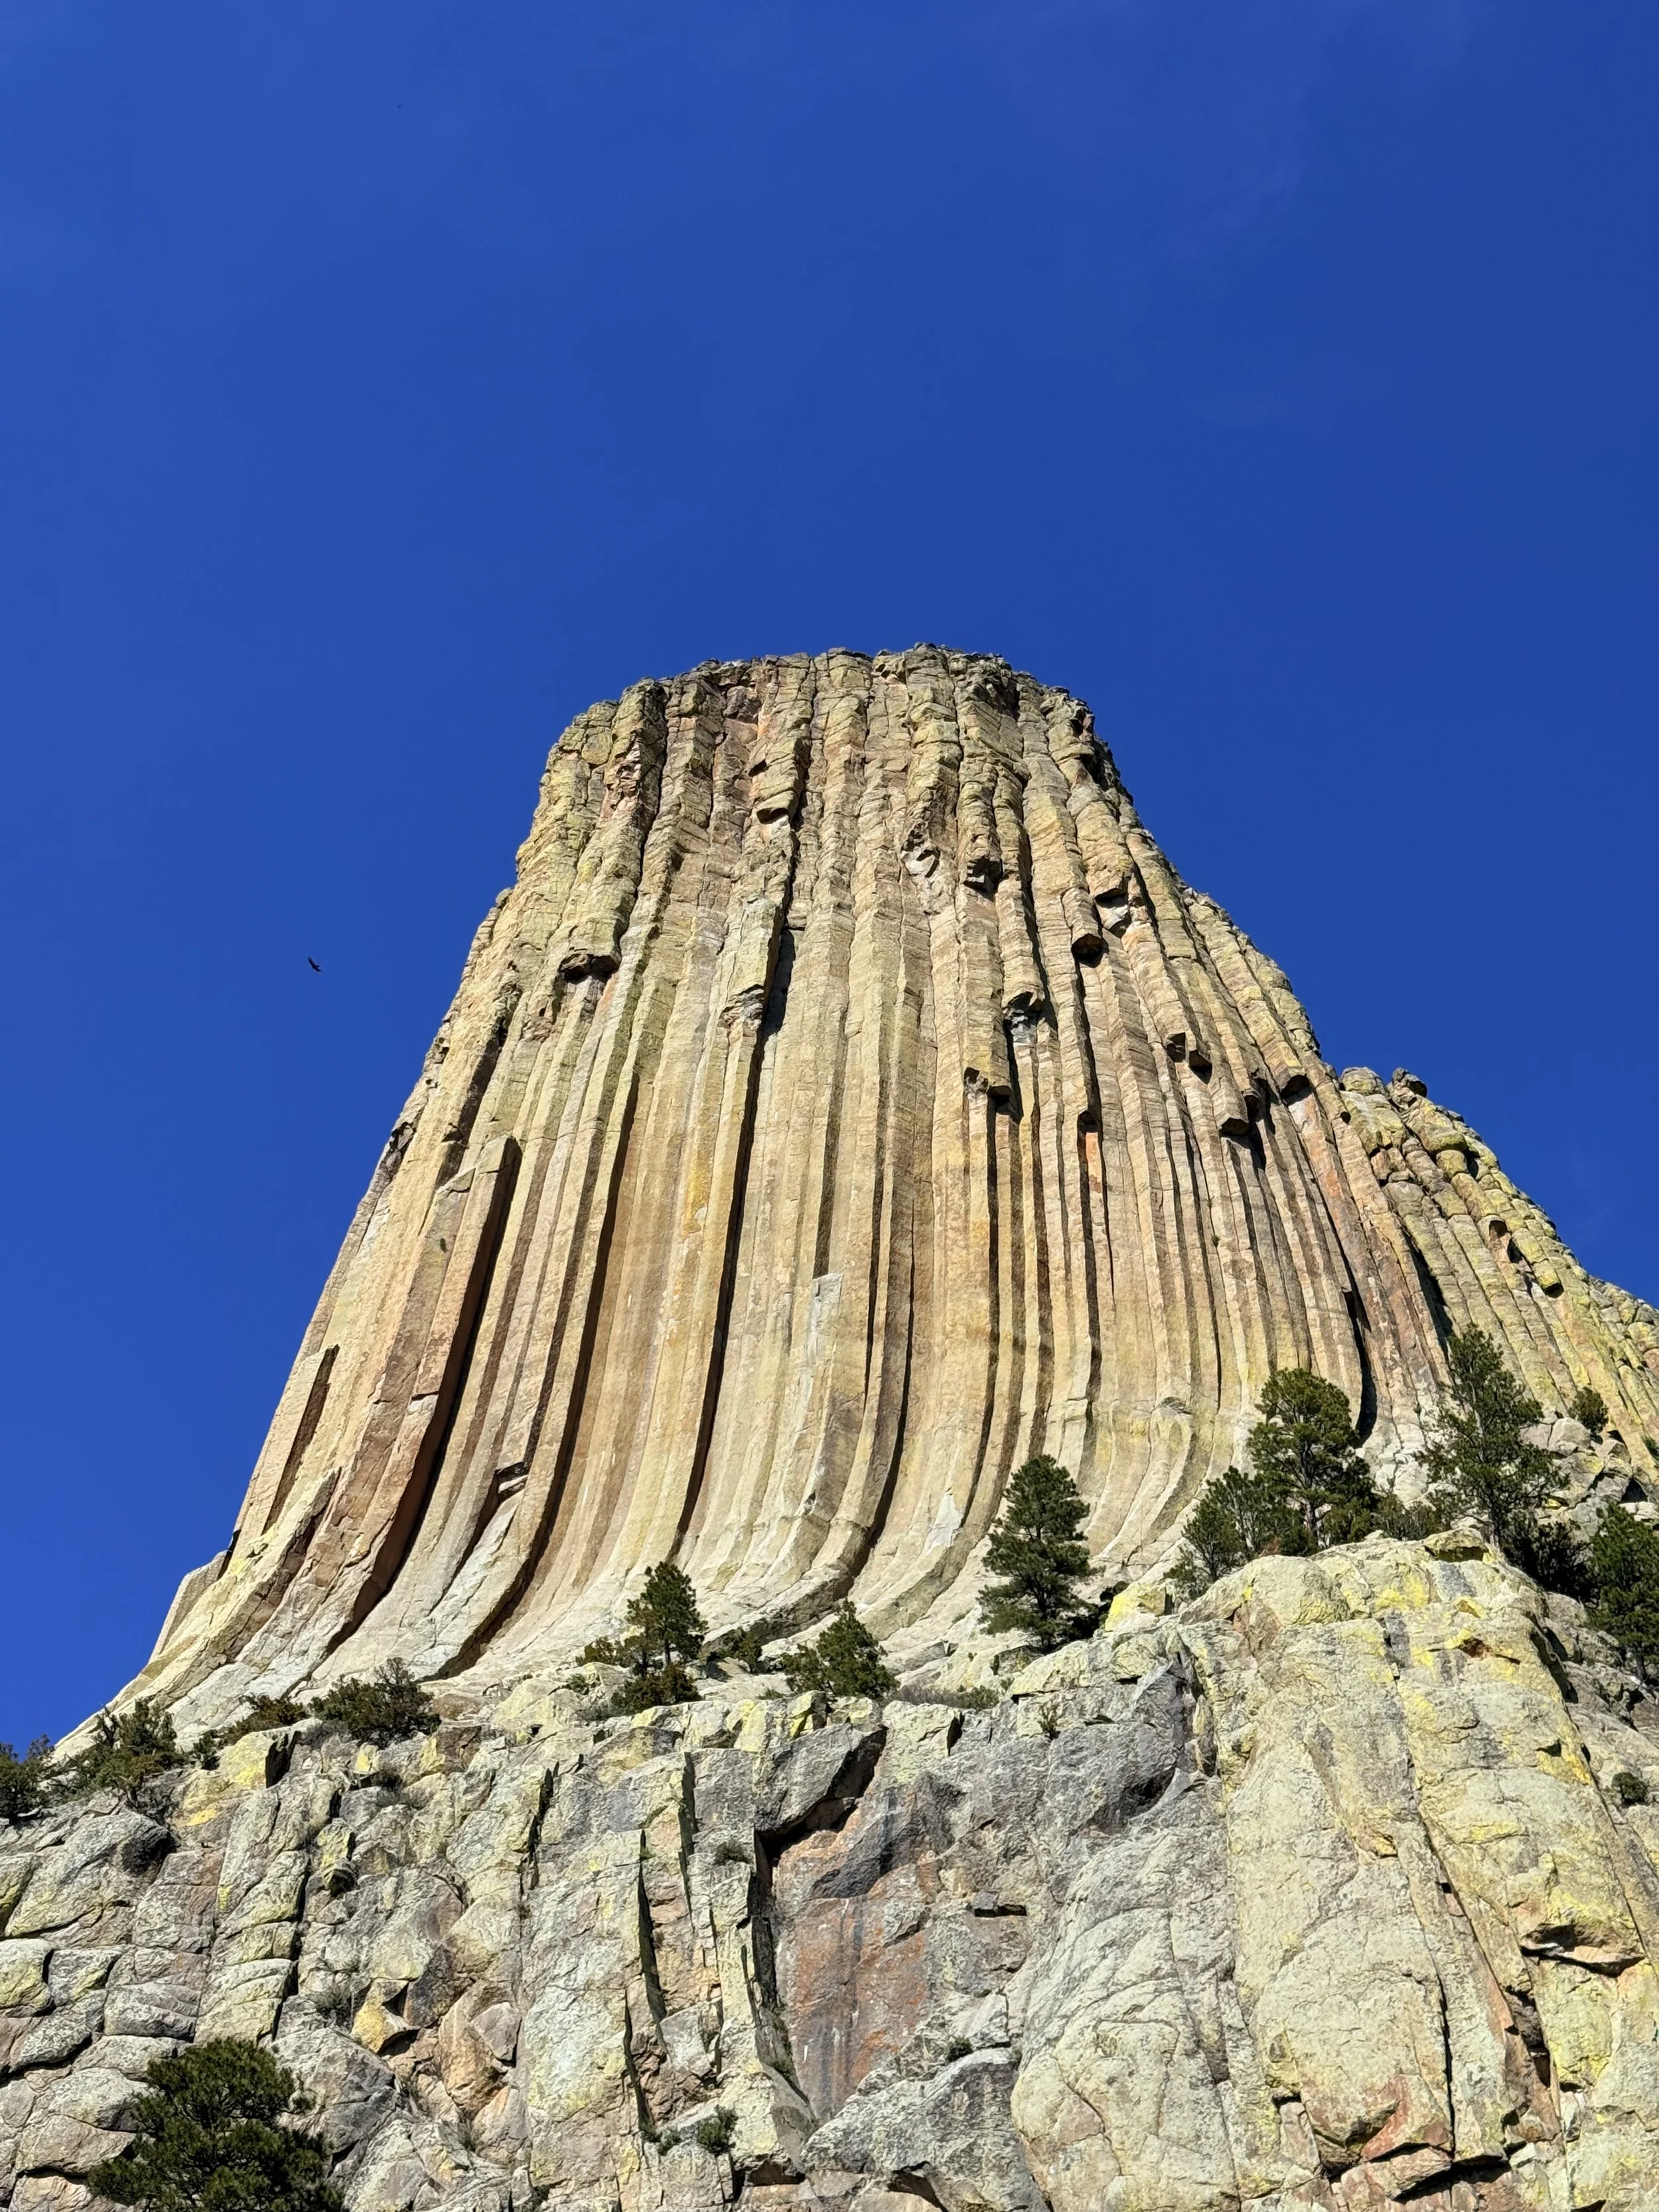
Climbing Devils Tower (Wyoming)
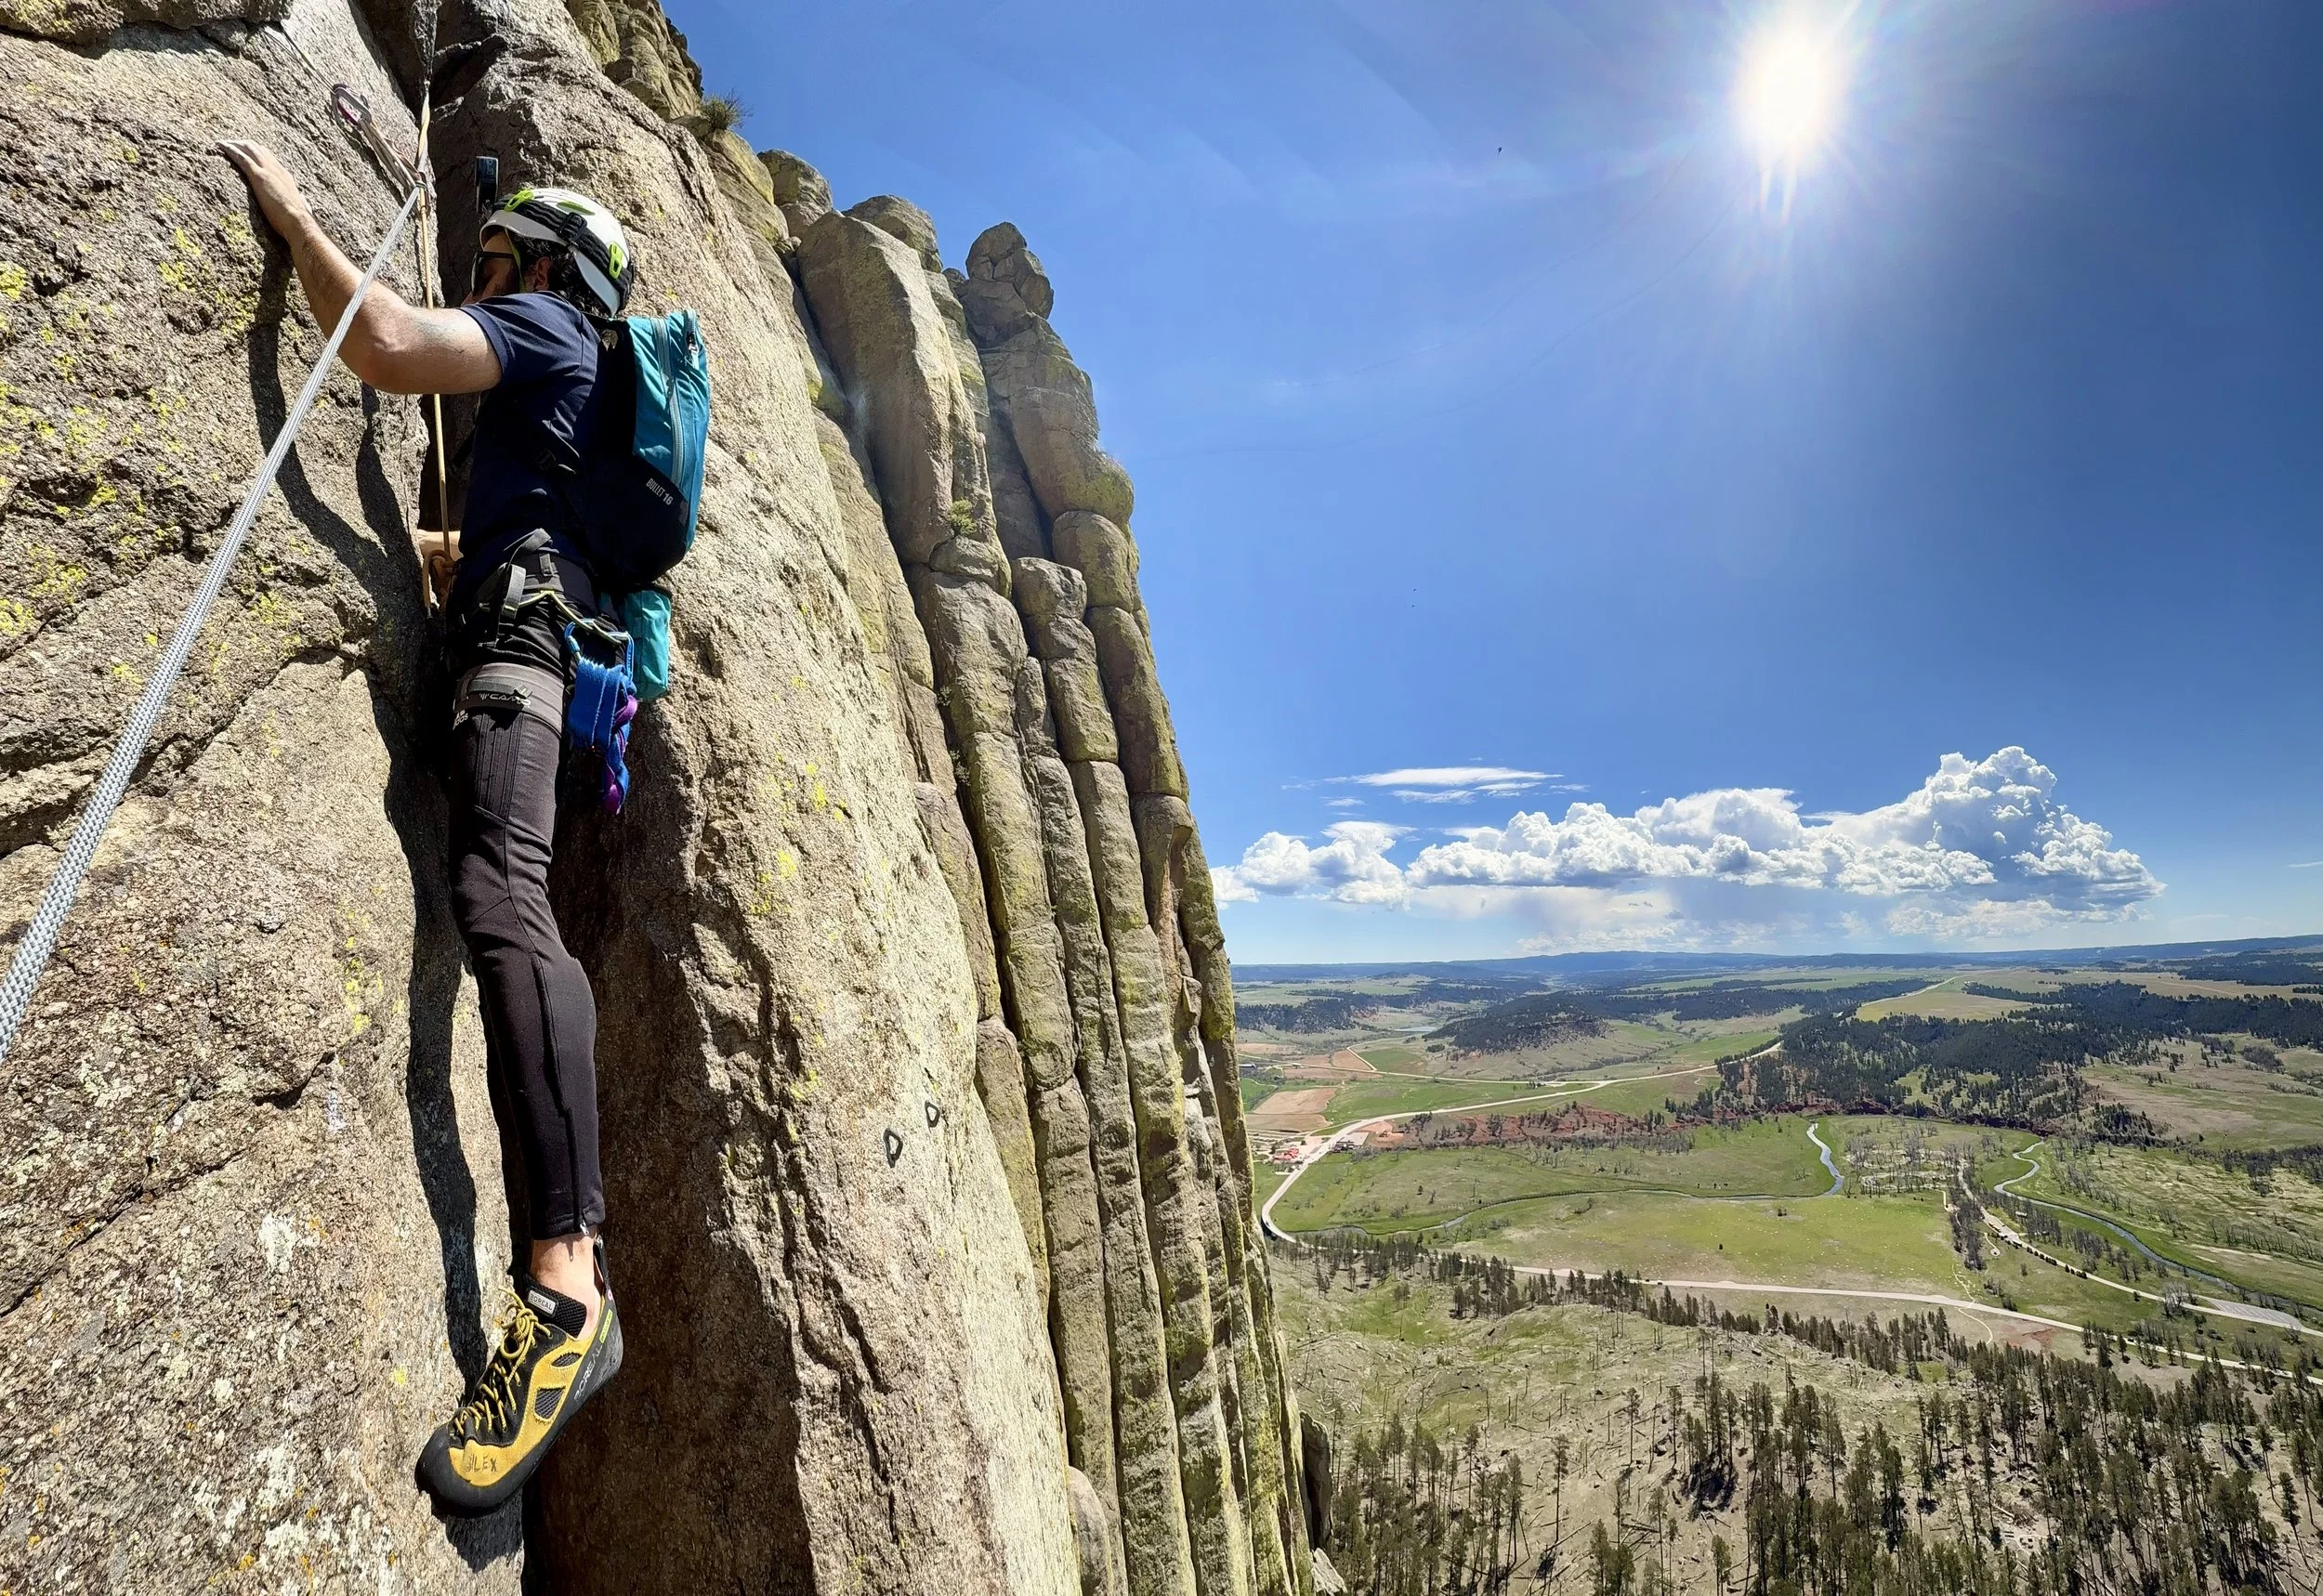
Climbing Devil’s Tower

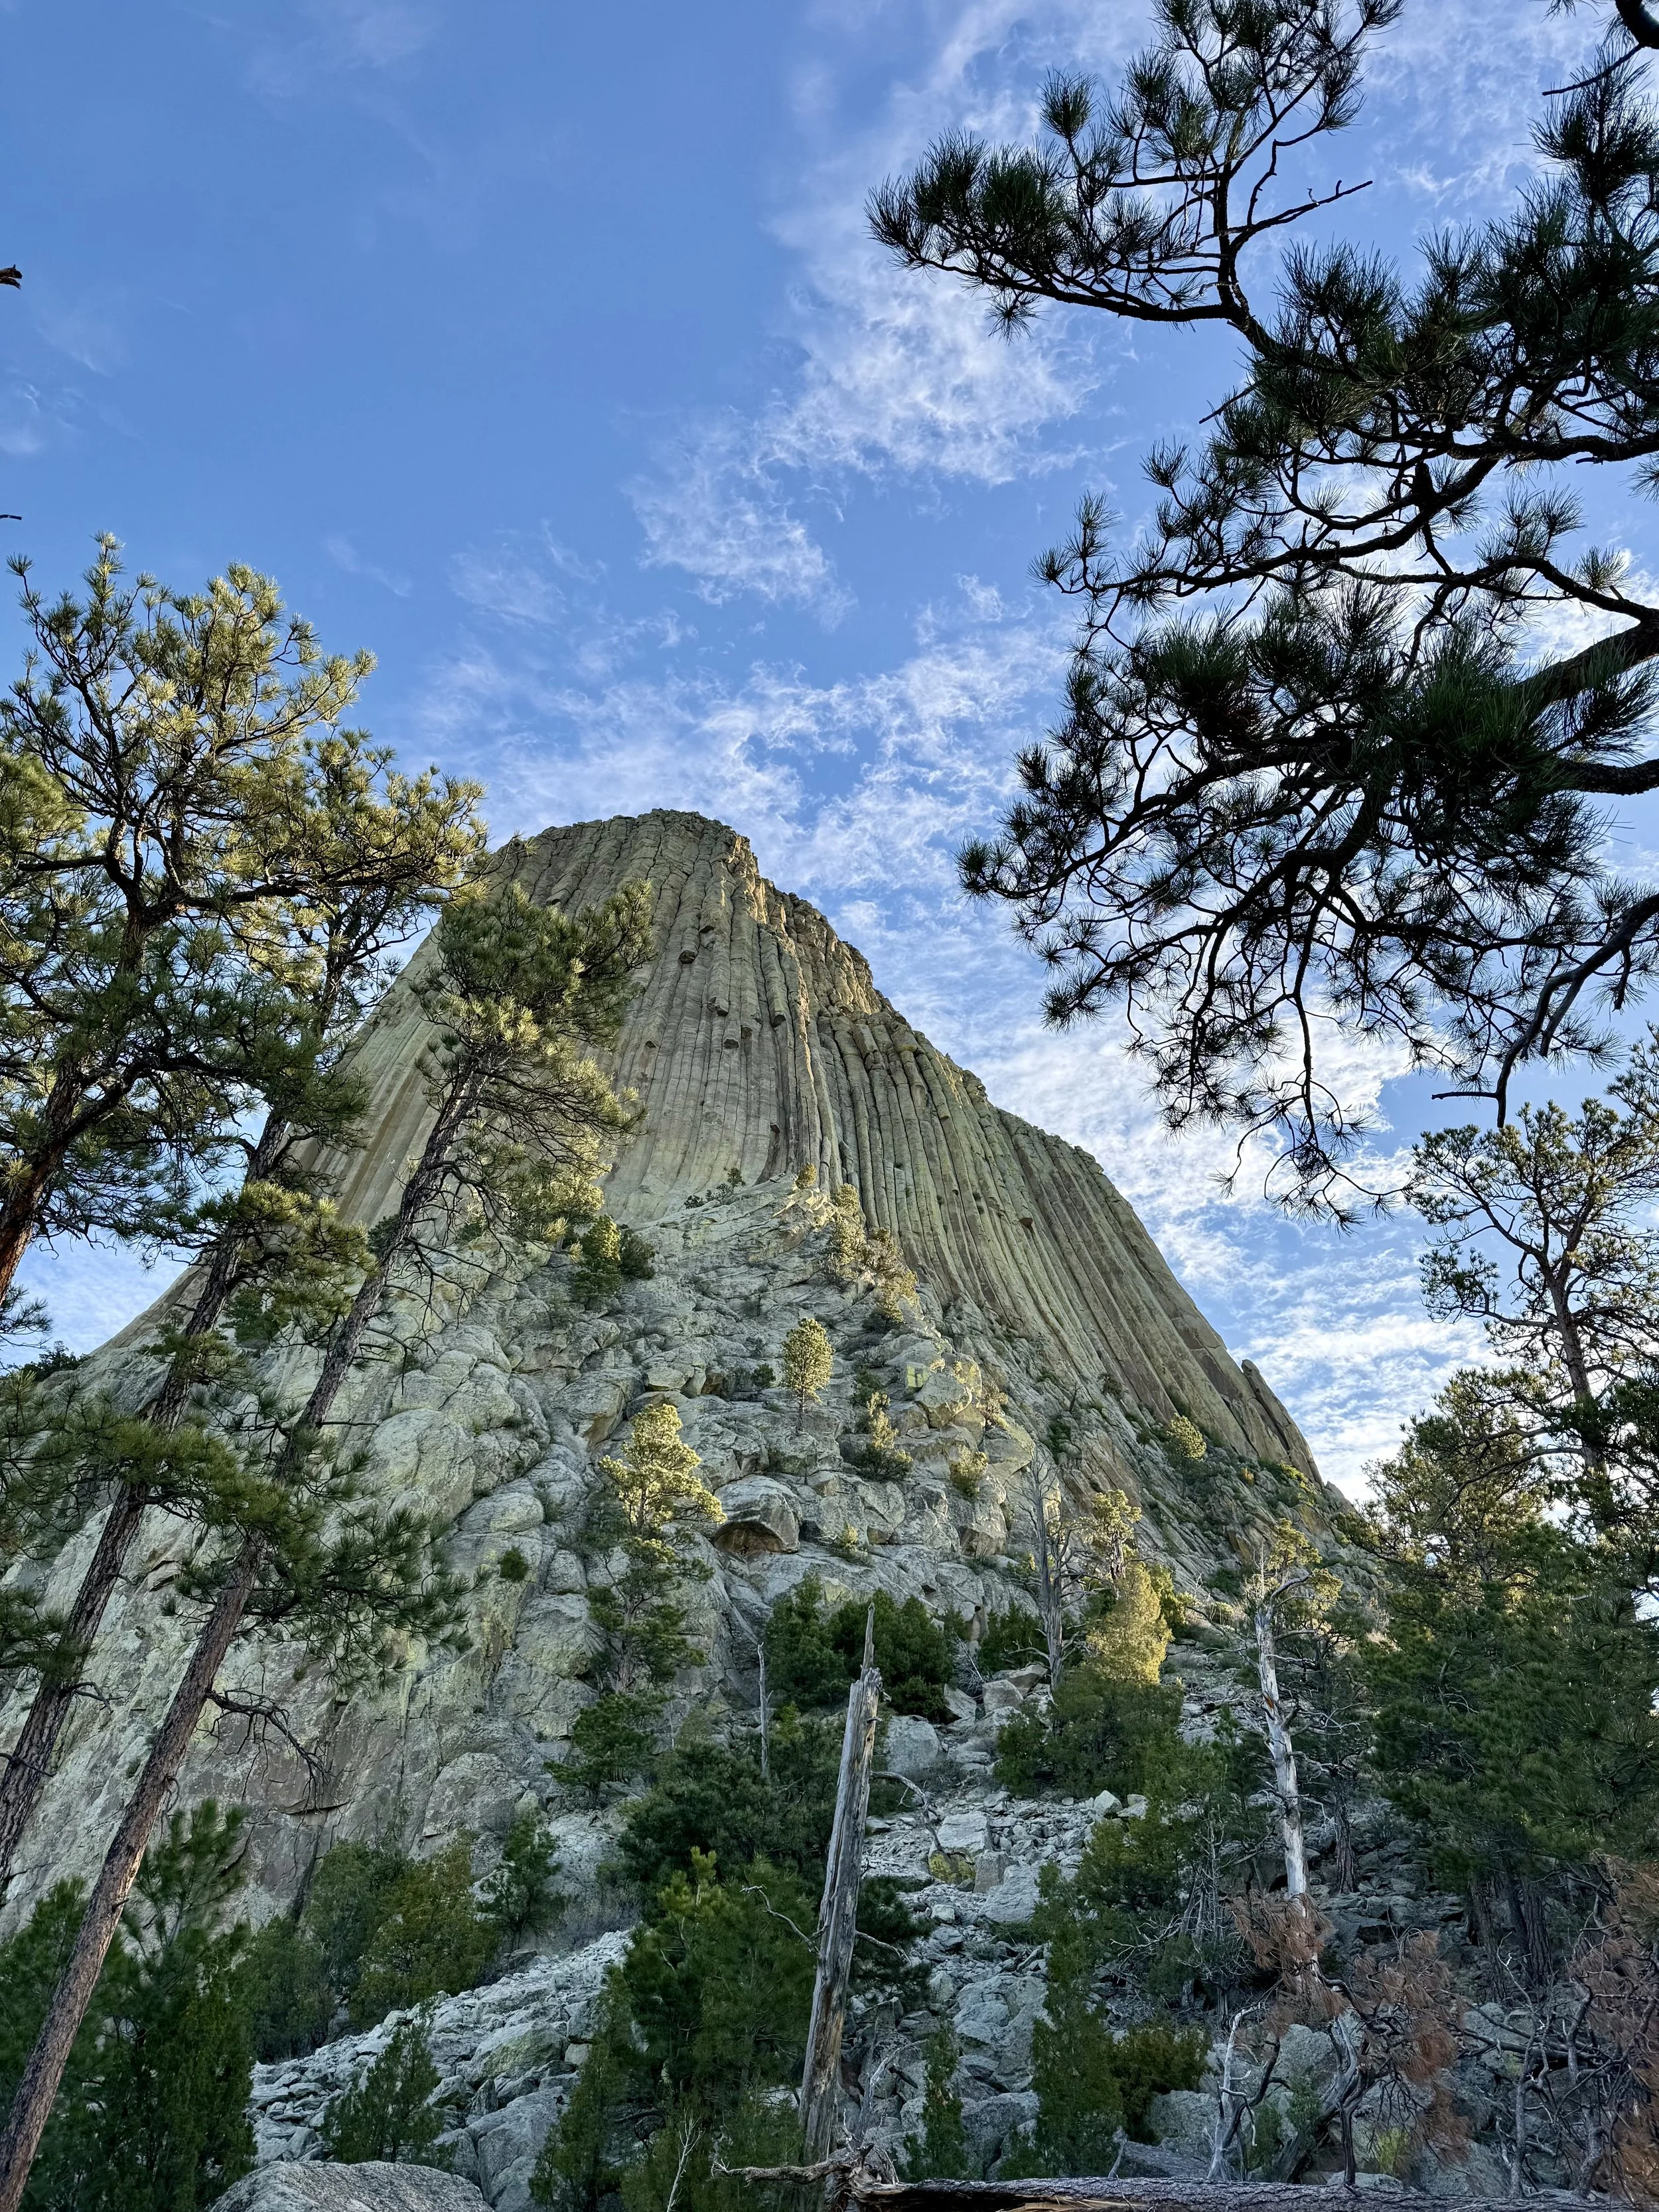
We woke up at the crack of dawn and made a big breakfast to give us energy for the day ahead. The sunrise view of Devil’s Tower from our campground was incredible—the name couldn’t be more fitting.
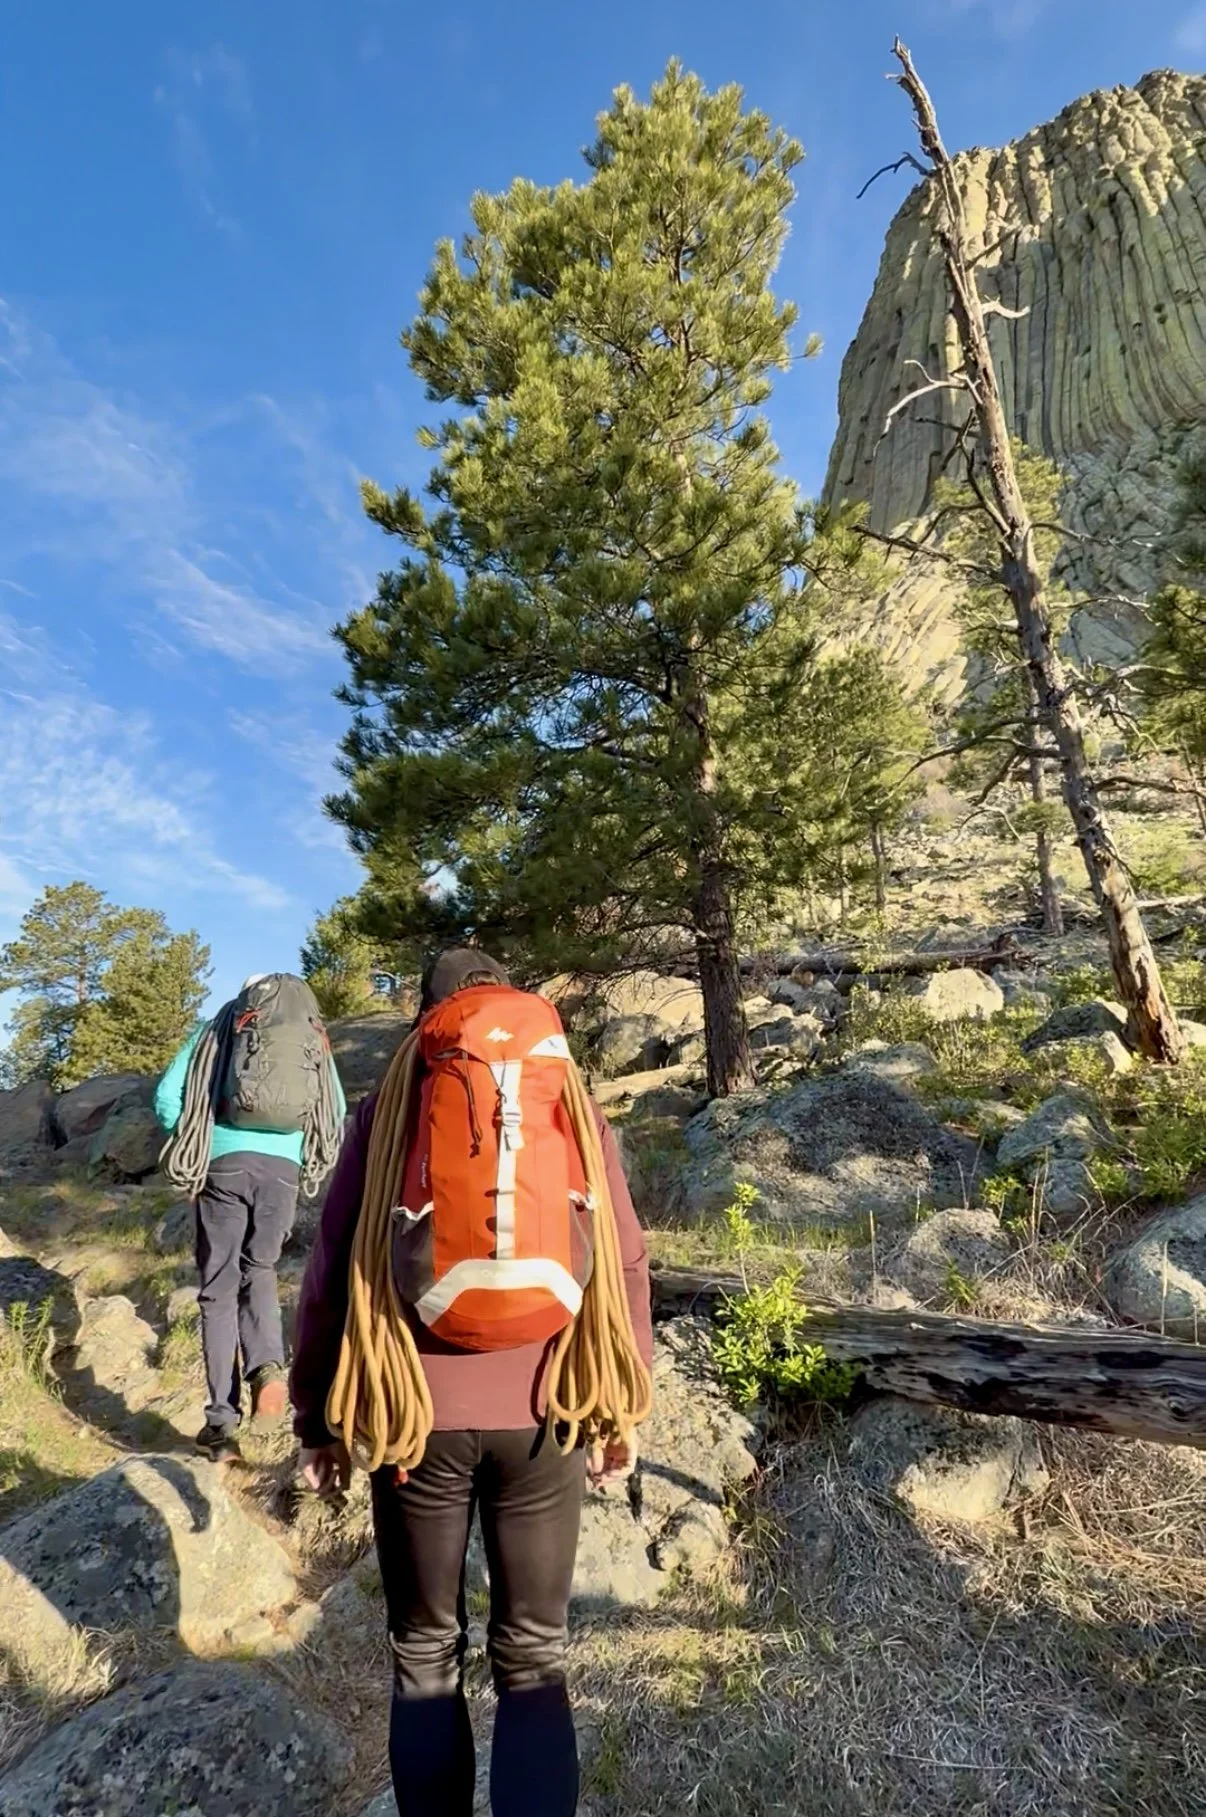
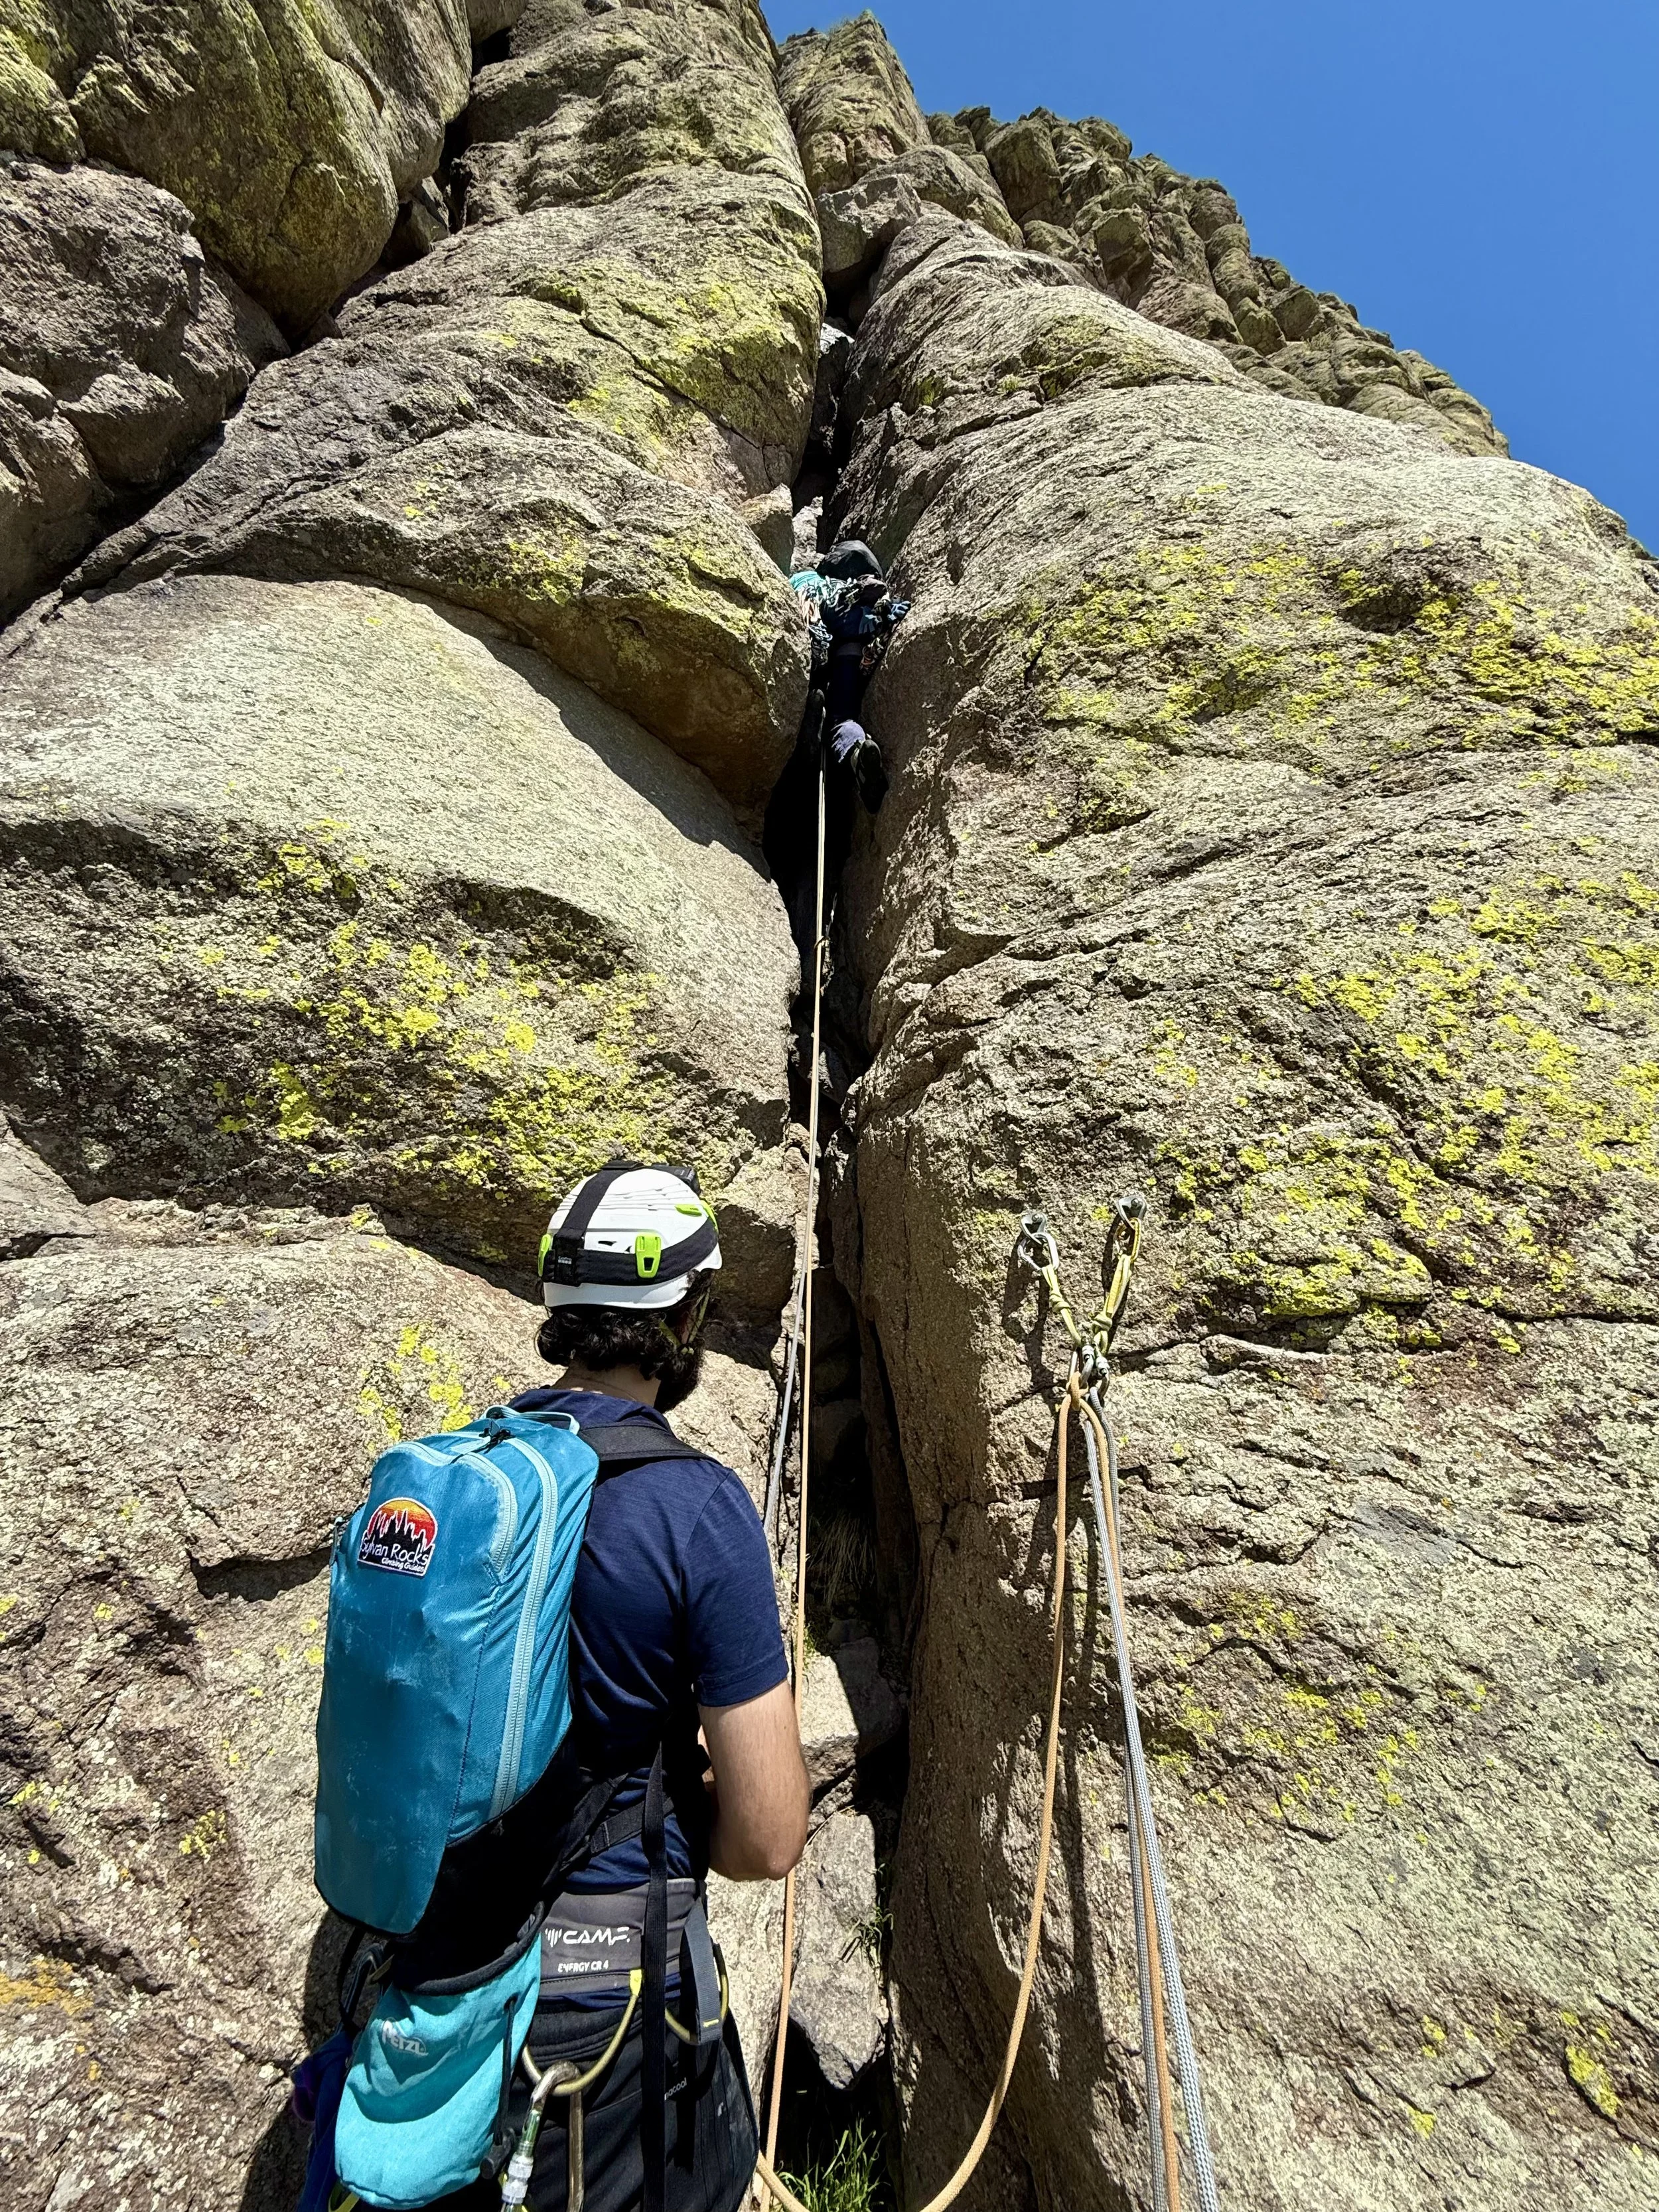
By 6:30am, we met Pete at the Tower parking lot to get an early start. We wanted to beat the common 4pm thunderstorms that roll through South Dakota, and also other climbers aiming for the same route. After registering with the park, we hiked about 10-15 minutes to the base of the Durrance route.


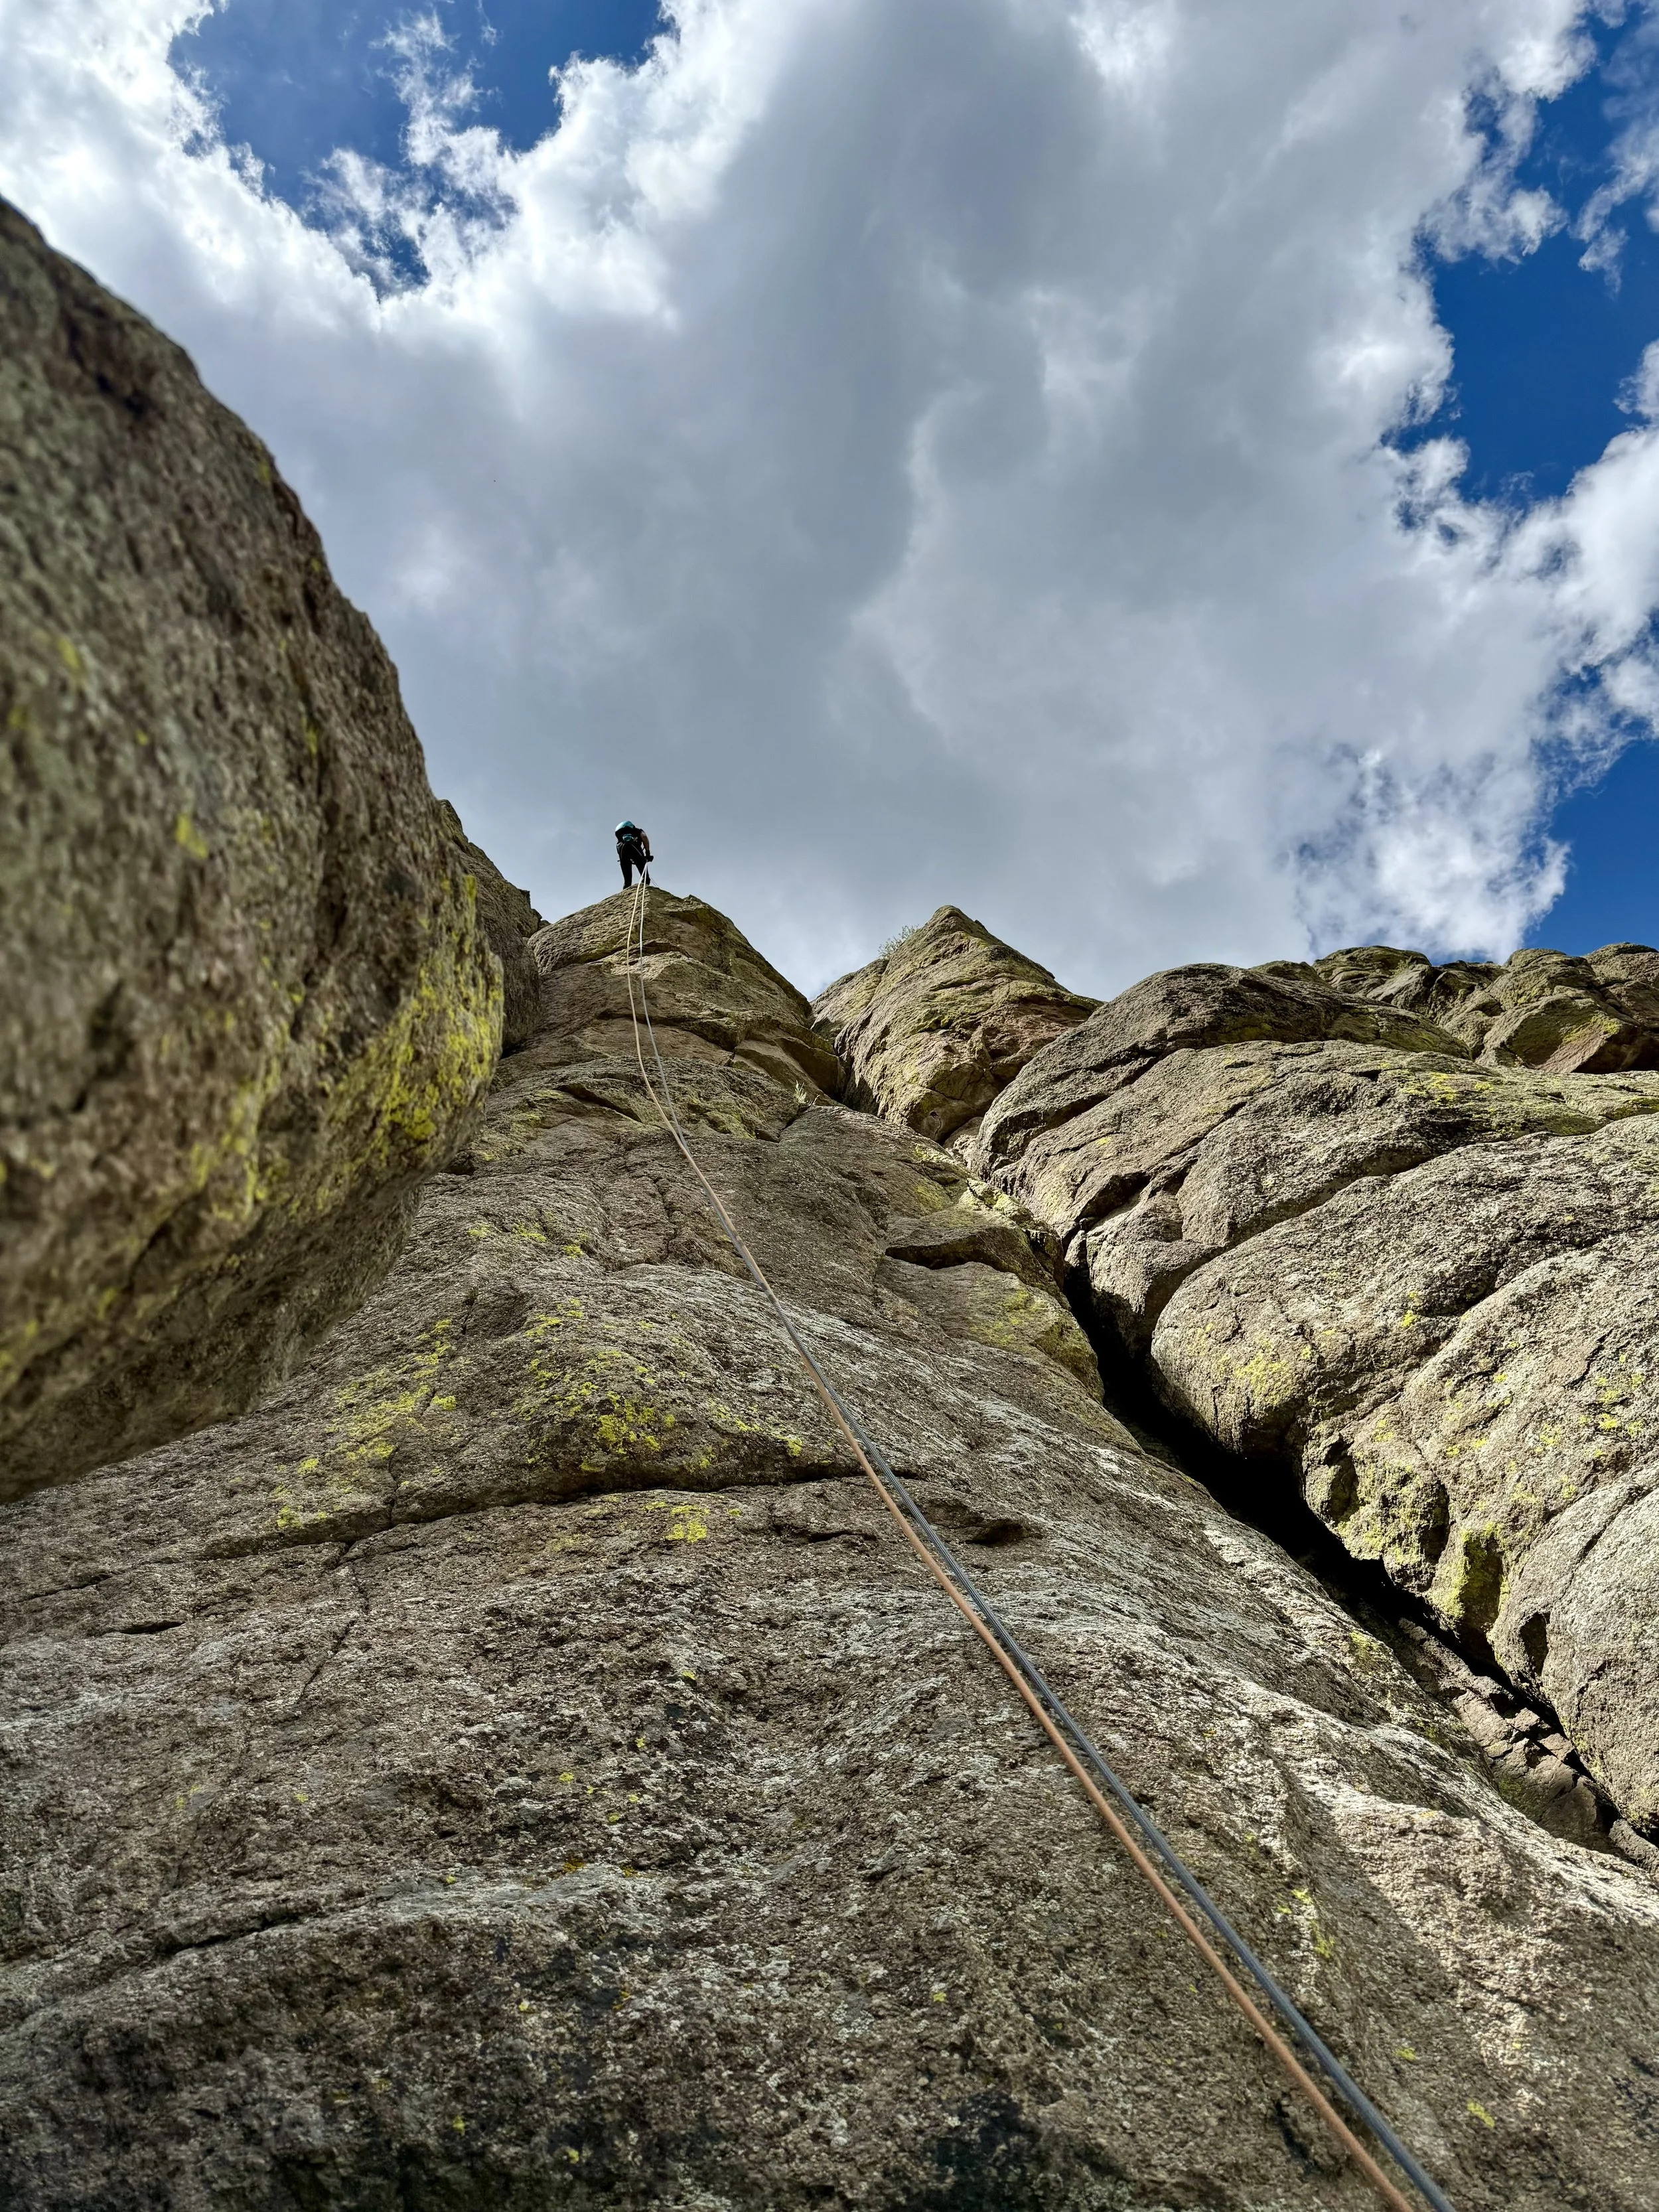
The climb was fairly chill as we ascended the Bowling Alley and traversed left. Pete led the way, setting cams along the route, then belayed Daniel and me from the top of each pitch.
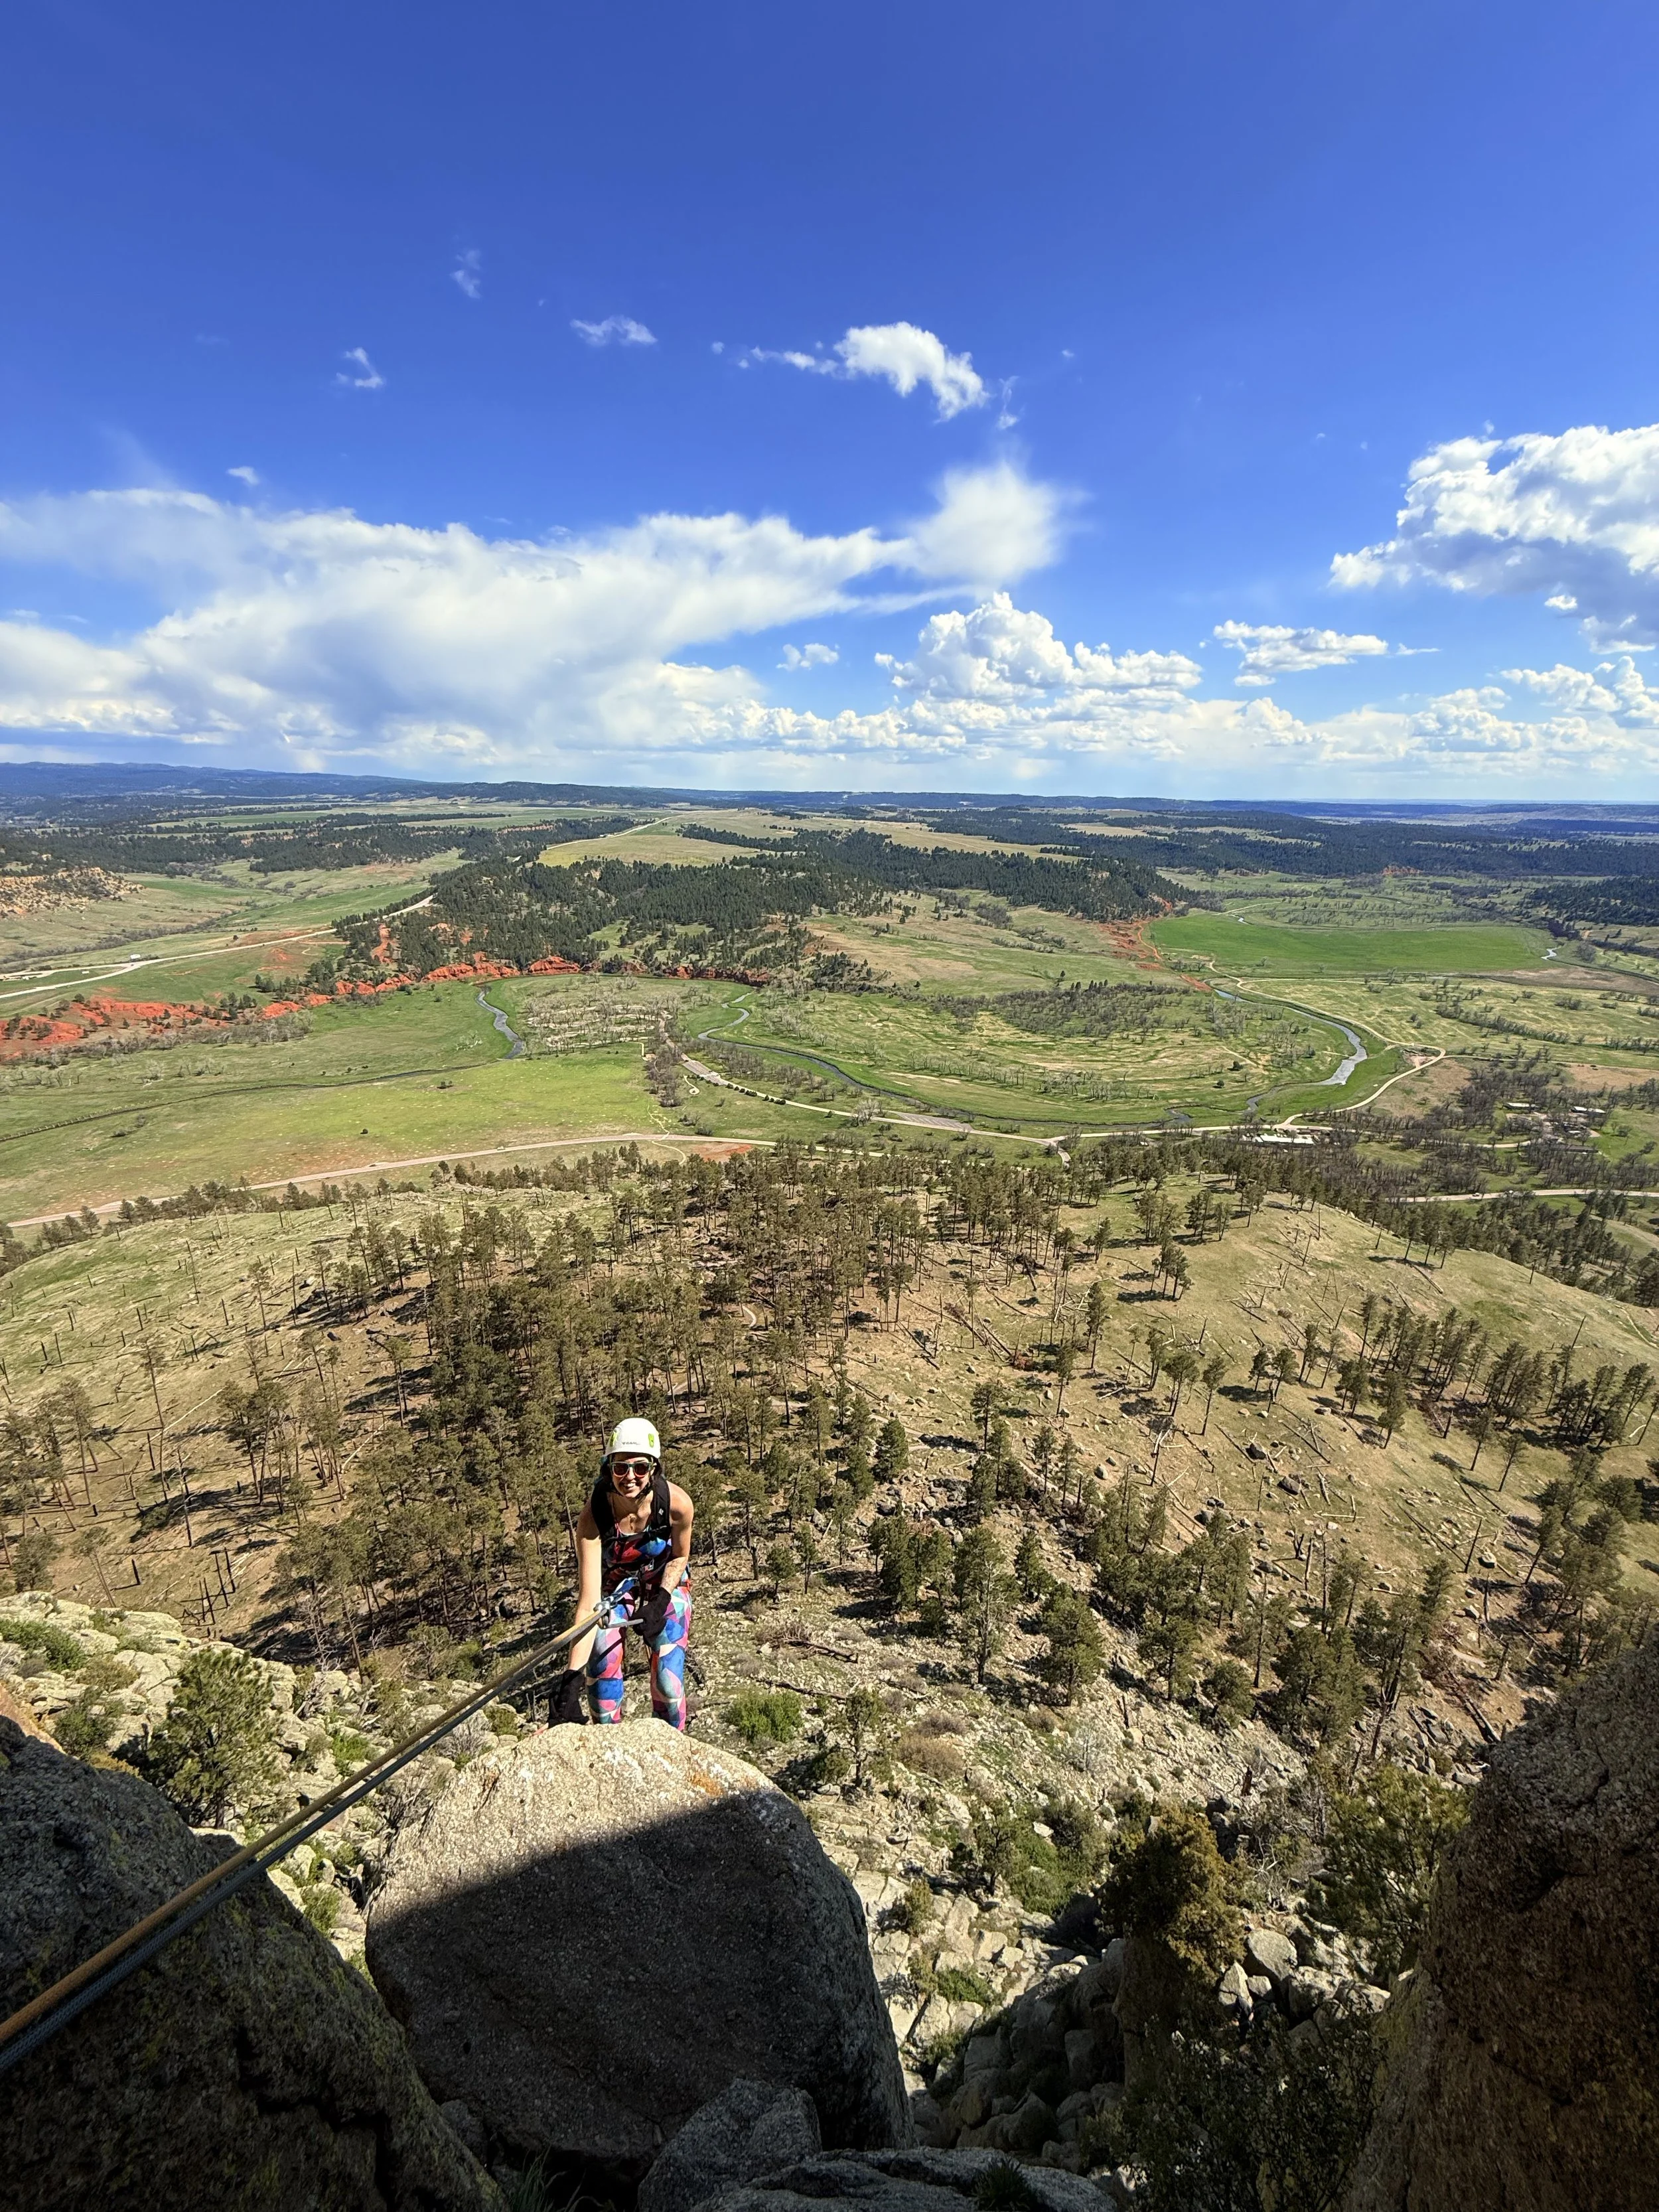
The challenge ramped up with the Leaning Column and the Durrance Crack—both around 70ft pitches. The Leaning Column starts as a crack but turns into a chimney near the top, while the Durrance Crack felt the most exposed and straight up, with a technical finish that made us question our climbing skills. A busload of school kids on the trails below provided quite the entertaining audience, yelling encouragement (and maybe some distractions) as we climbed.
We pushed through the Cussin’ Crack and Flake Crack next. Flake Crack had a patch of aromatic herbs growing along it, but the start was tough. Jenna struggled to clear some nut stoppers Pete had placed (hopefully the next climbers had better luck and gained some gear)! Then came the Chockstone Crack, Jenna’s favorite section—a full chimney that offered some welcome shade and a bit of respite from the sun.
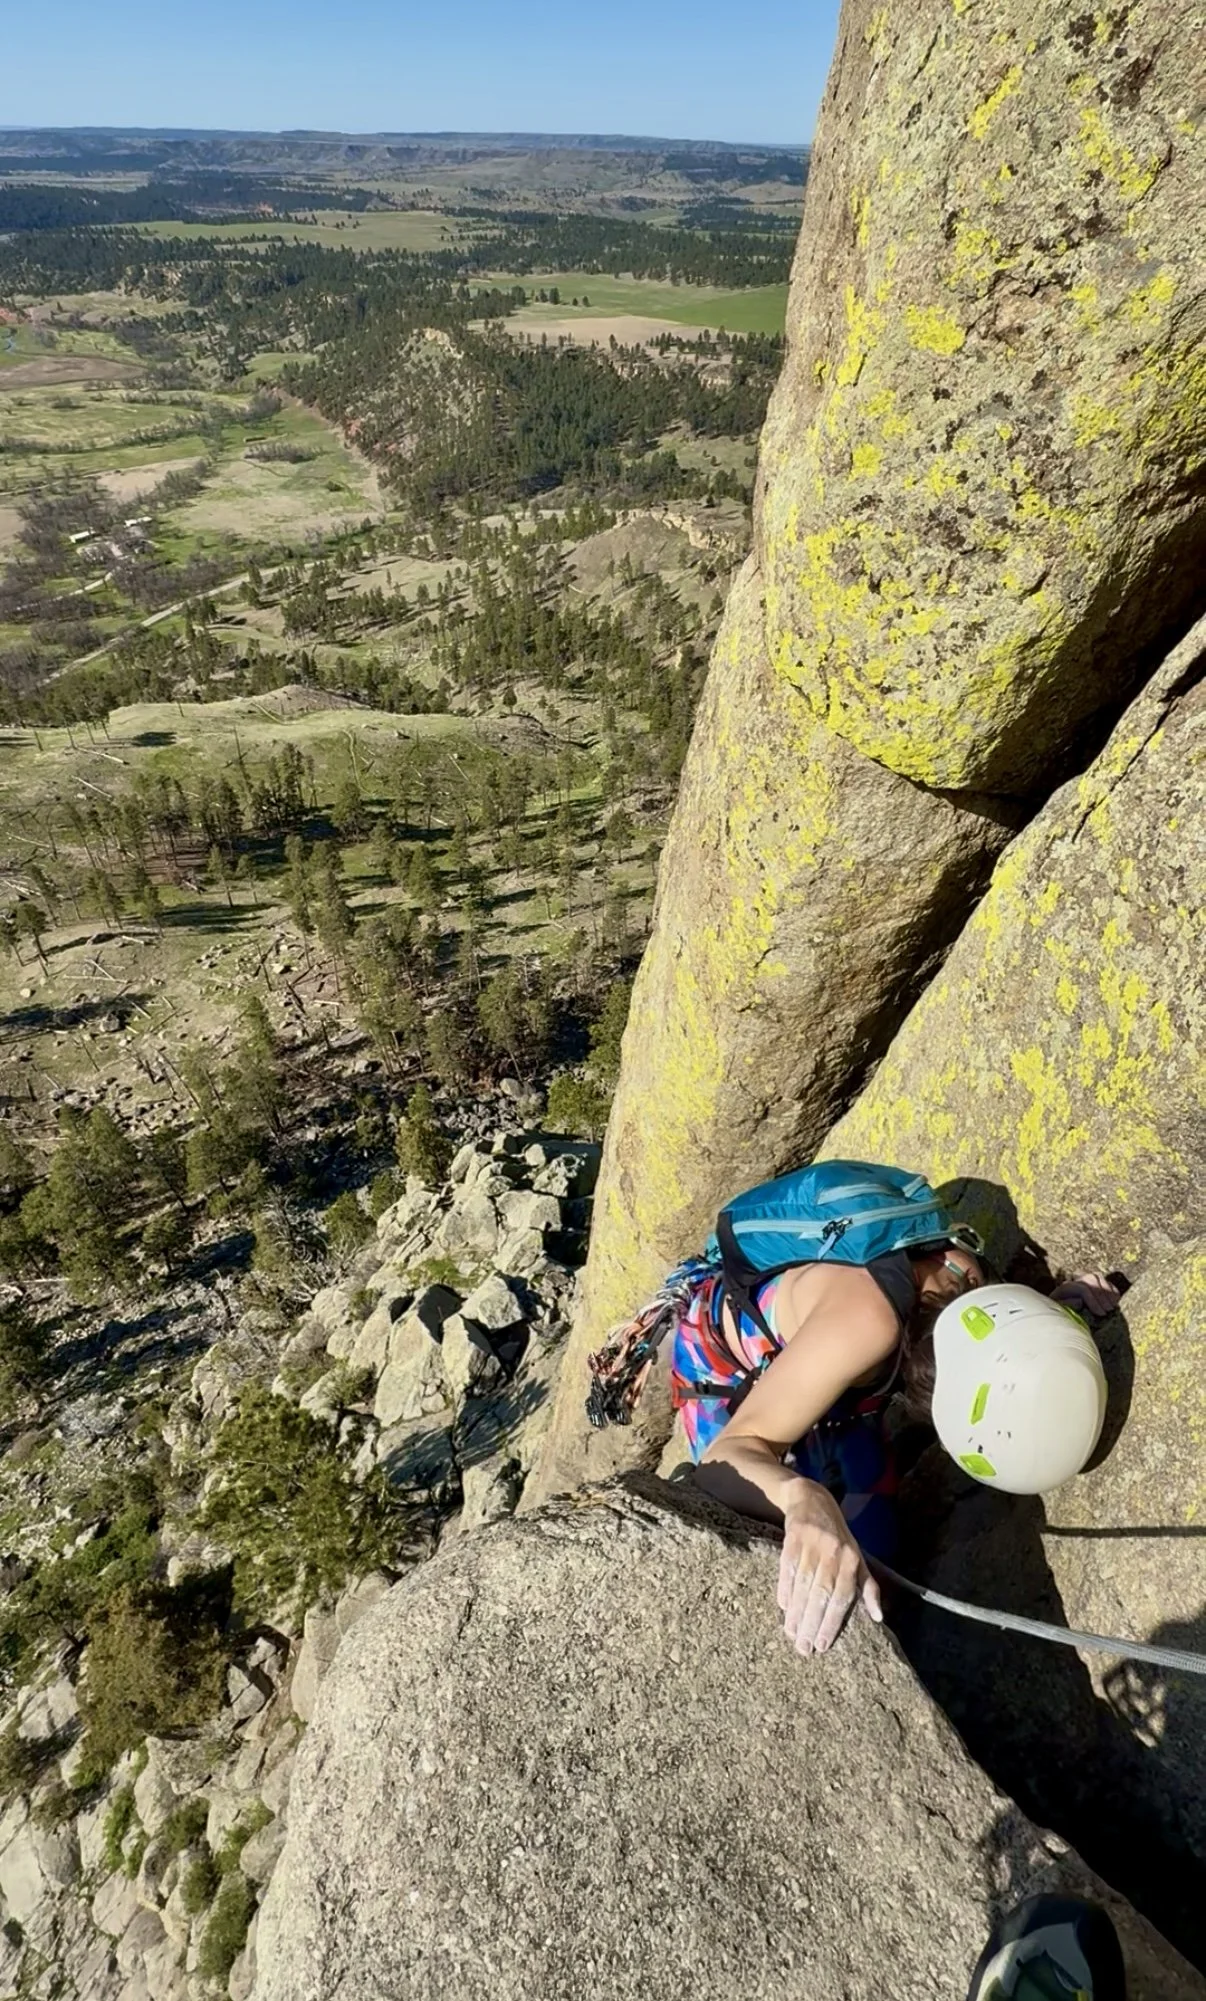


At the top of Chockstone, there are two ways to finish: Bailey Direct (harder) or traverse to the Meadows (easier). We chose the easier Meadows route due to time constraints and looming storm clouds. The traverse involves a “jump traverse,” but Pete rigged a rope so we could lower ourselves down and over safely. It was less risky, but required some upper body strength. We took a short break under a boulder while Pete set up the ropes for the walk along the face over to the Meadows.
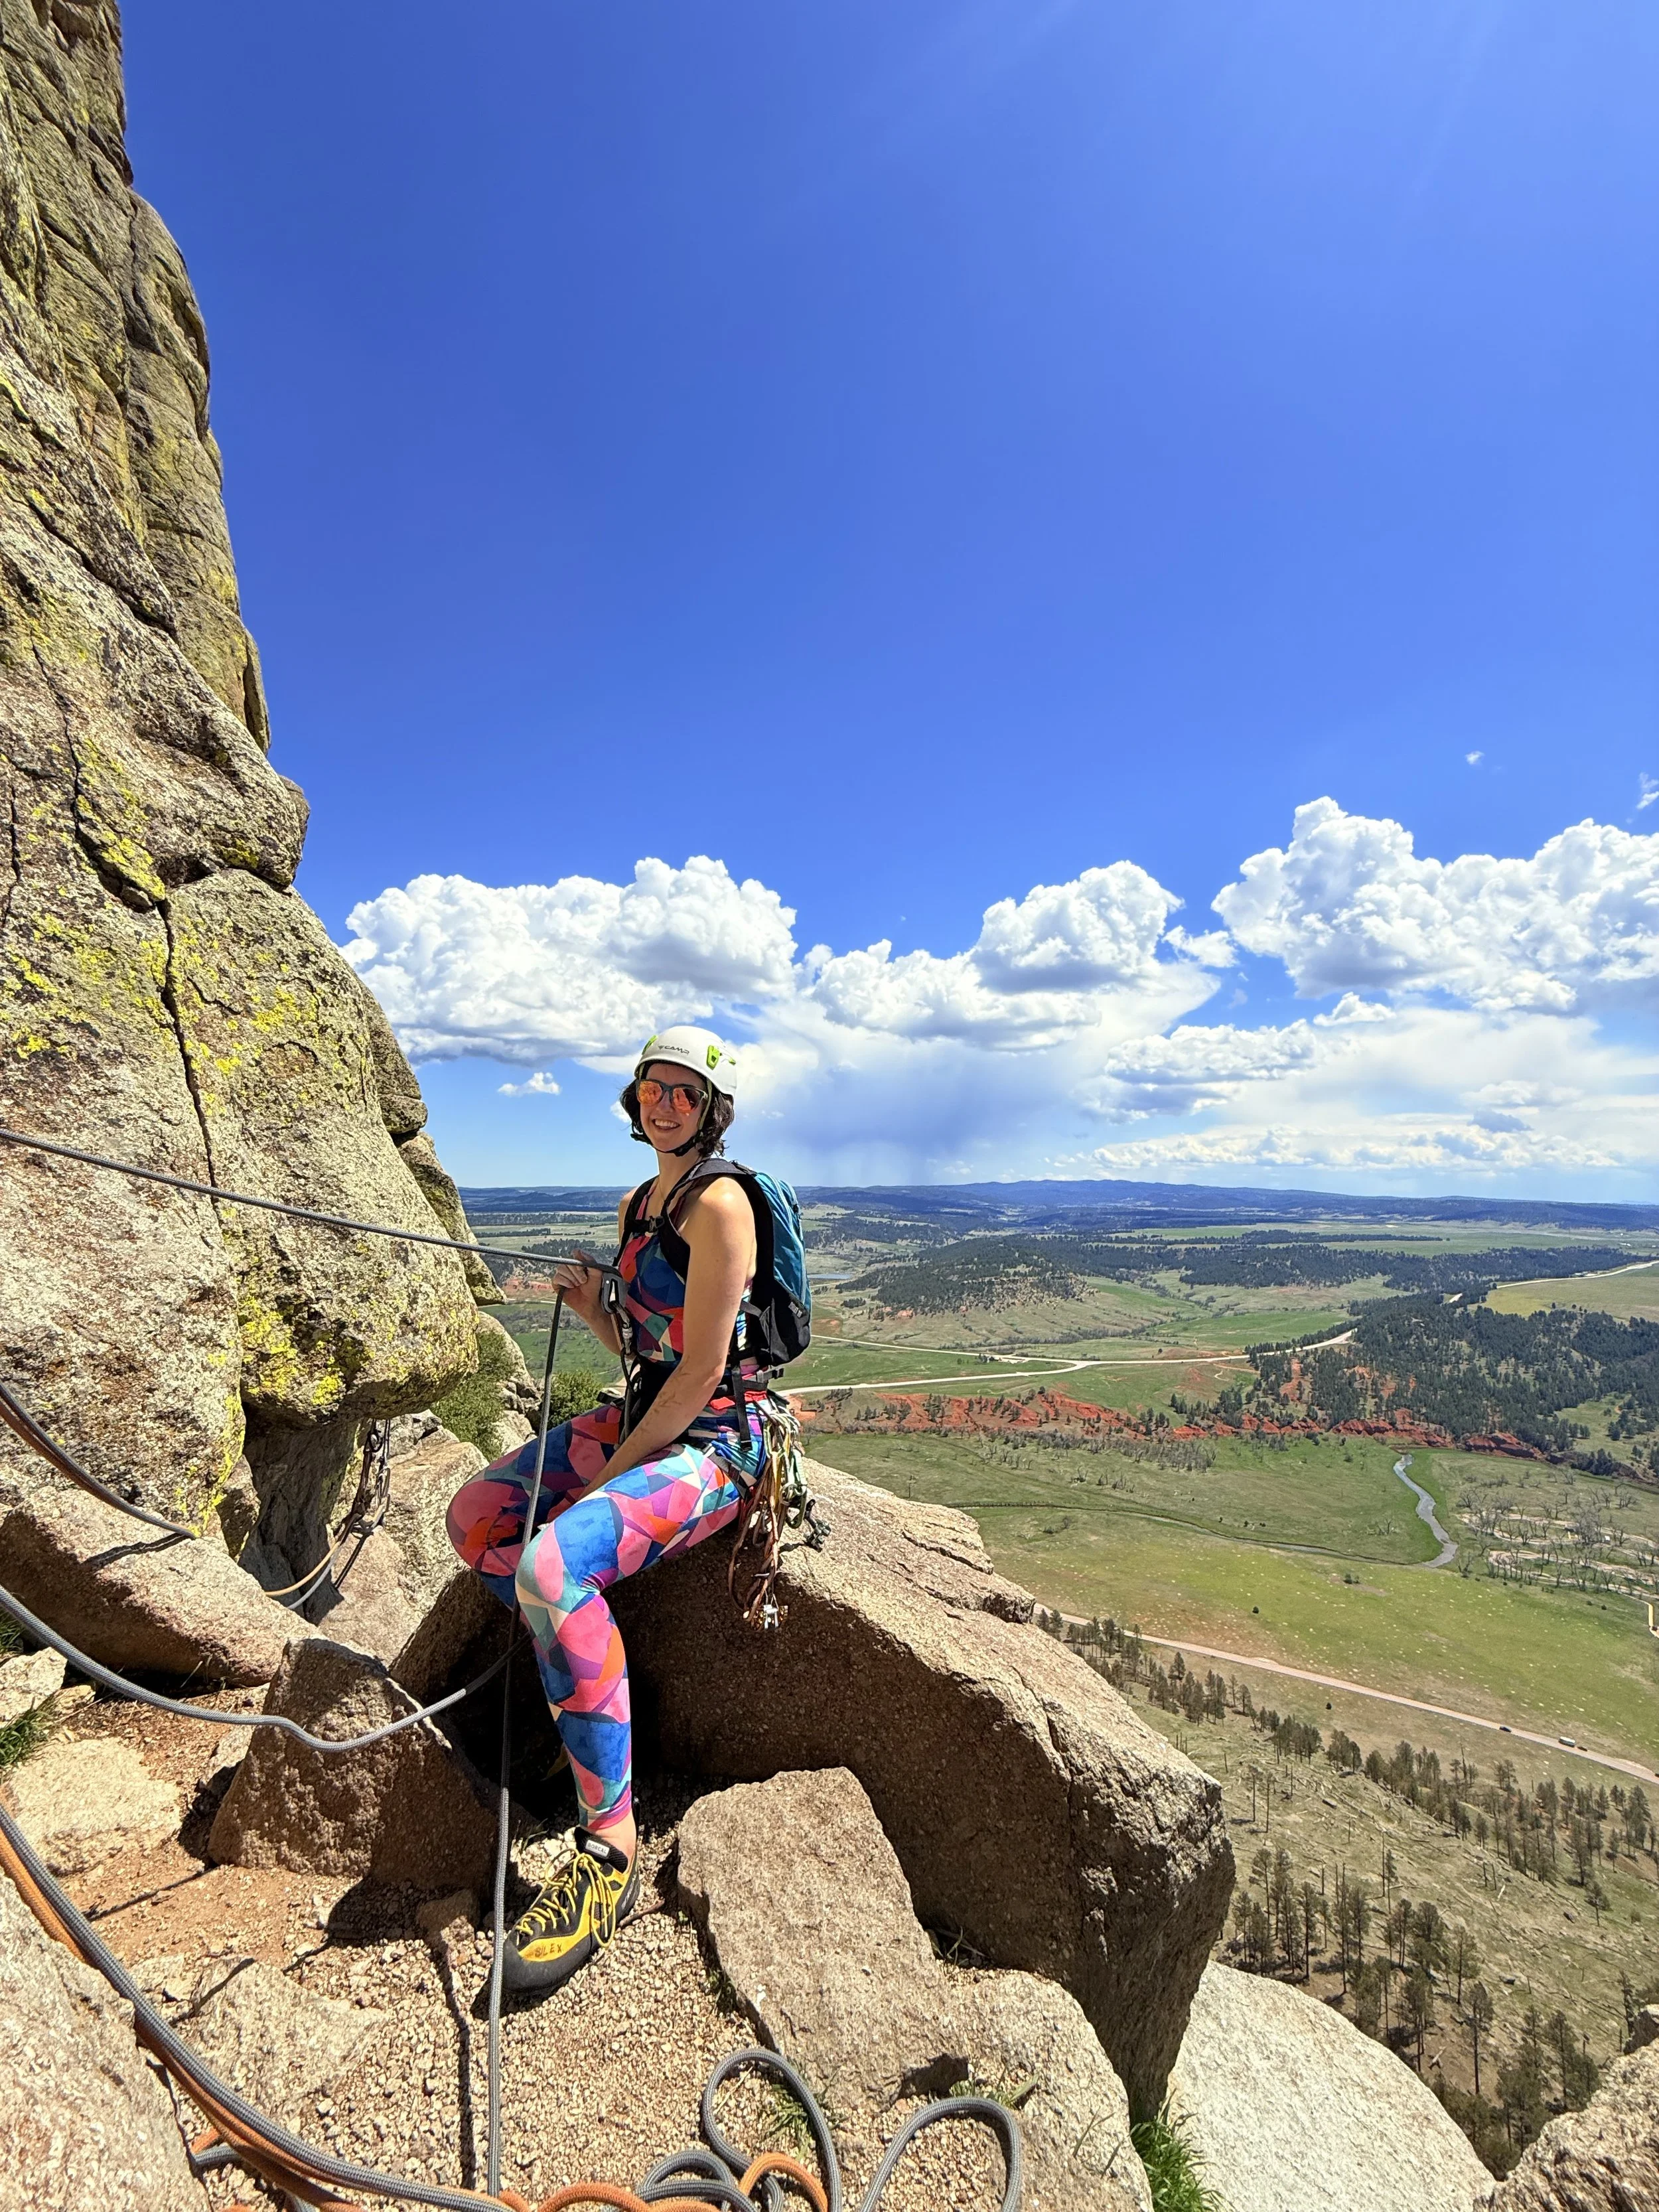
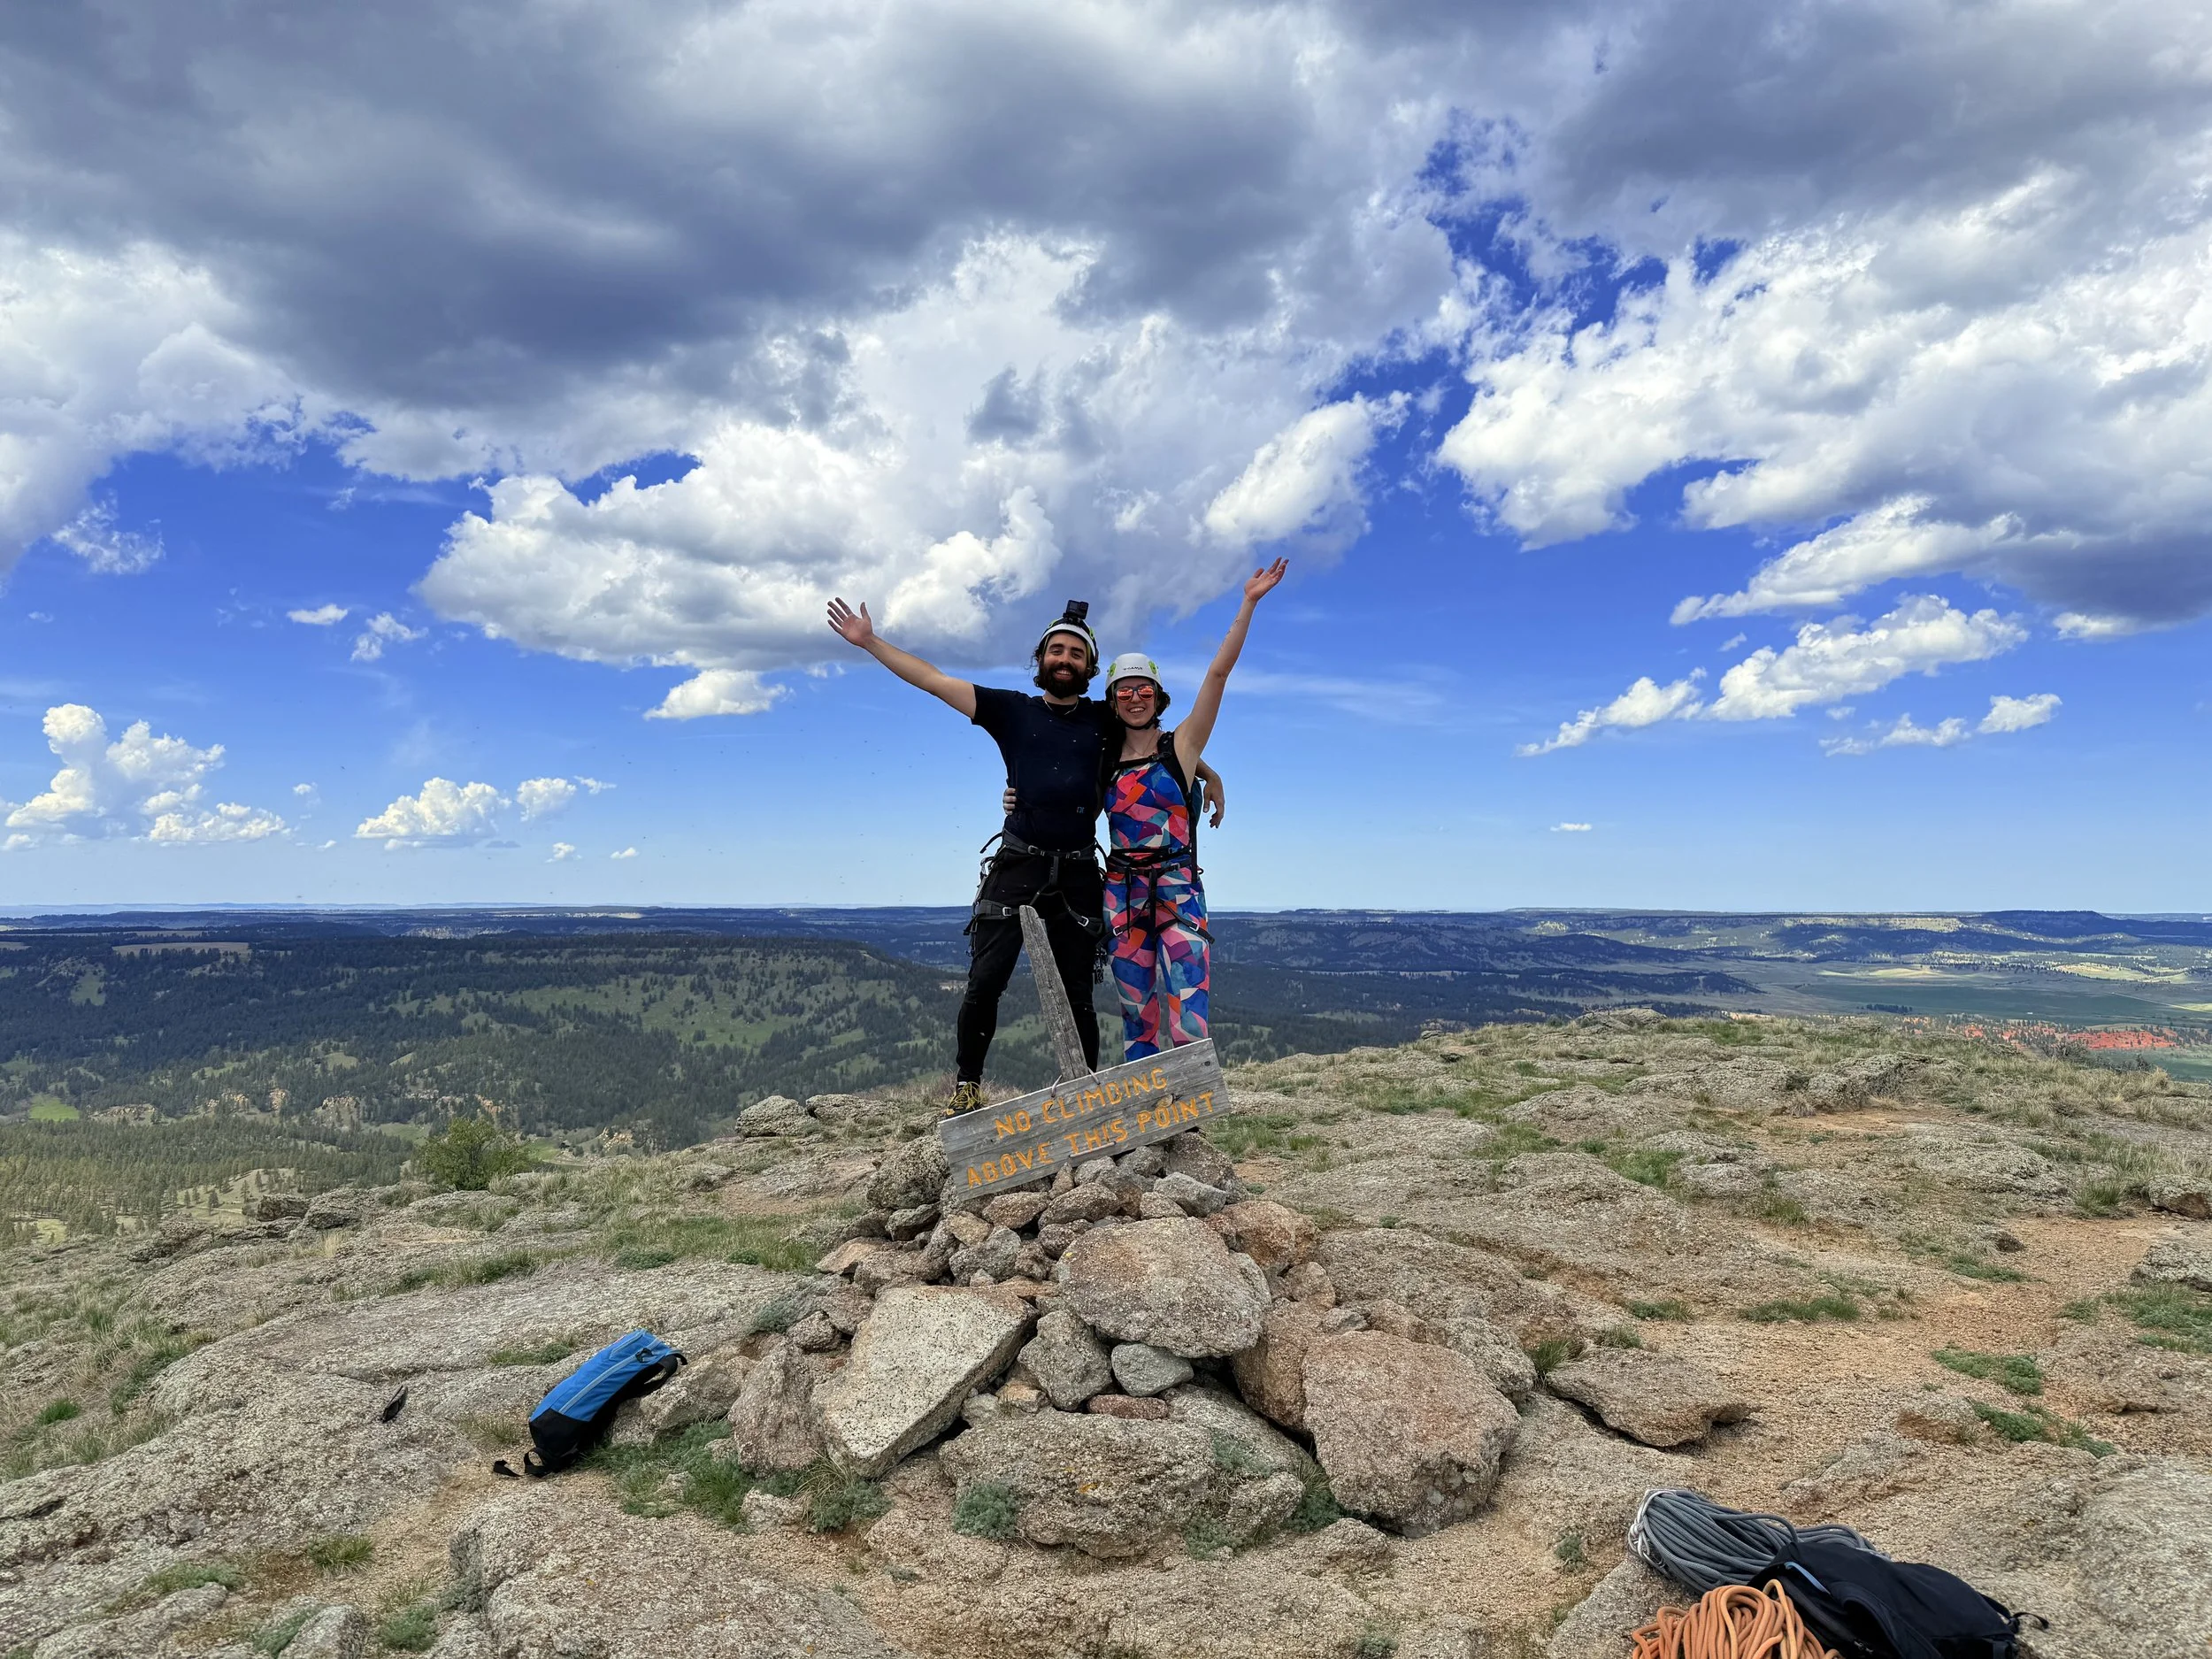
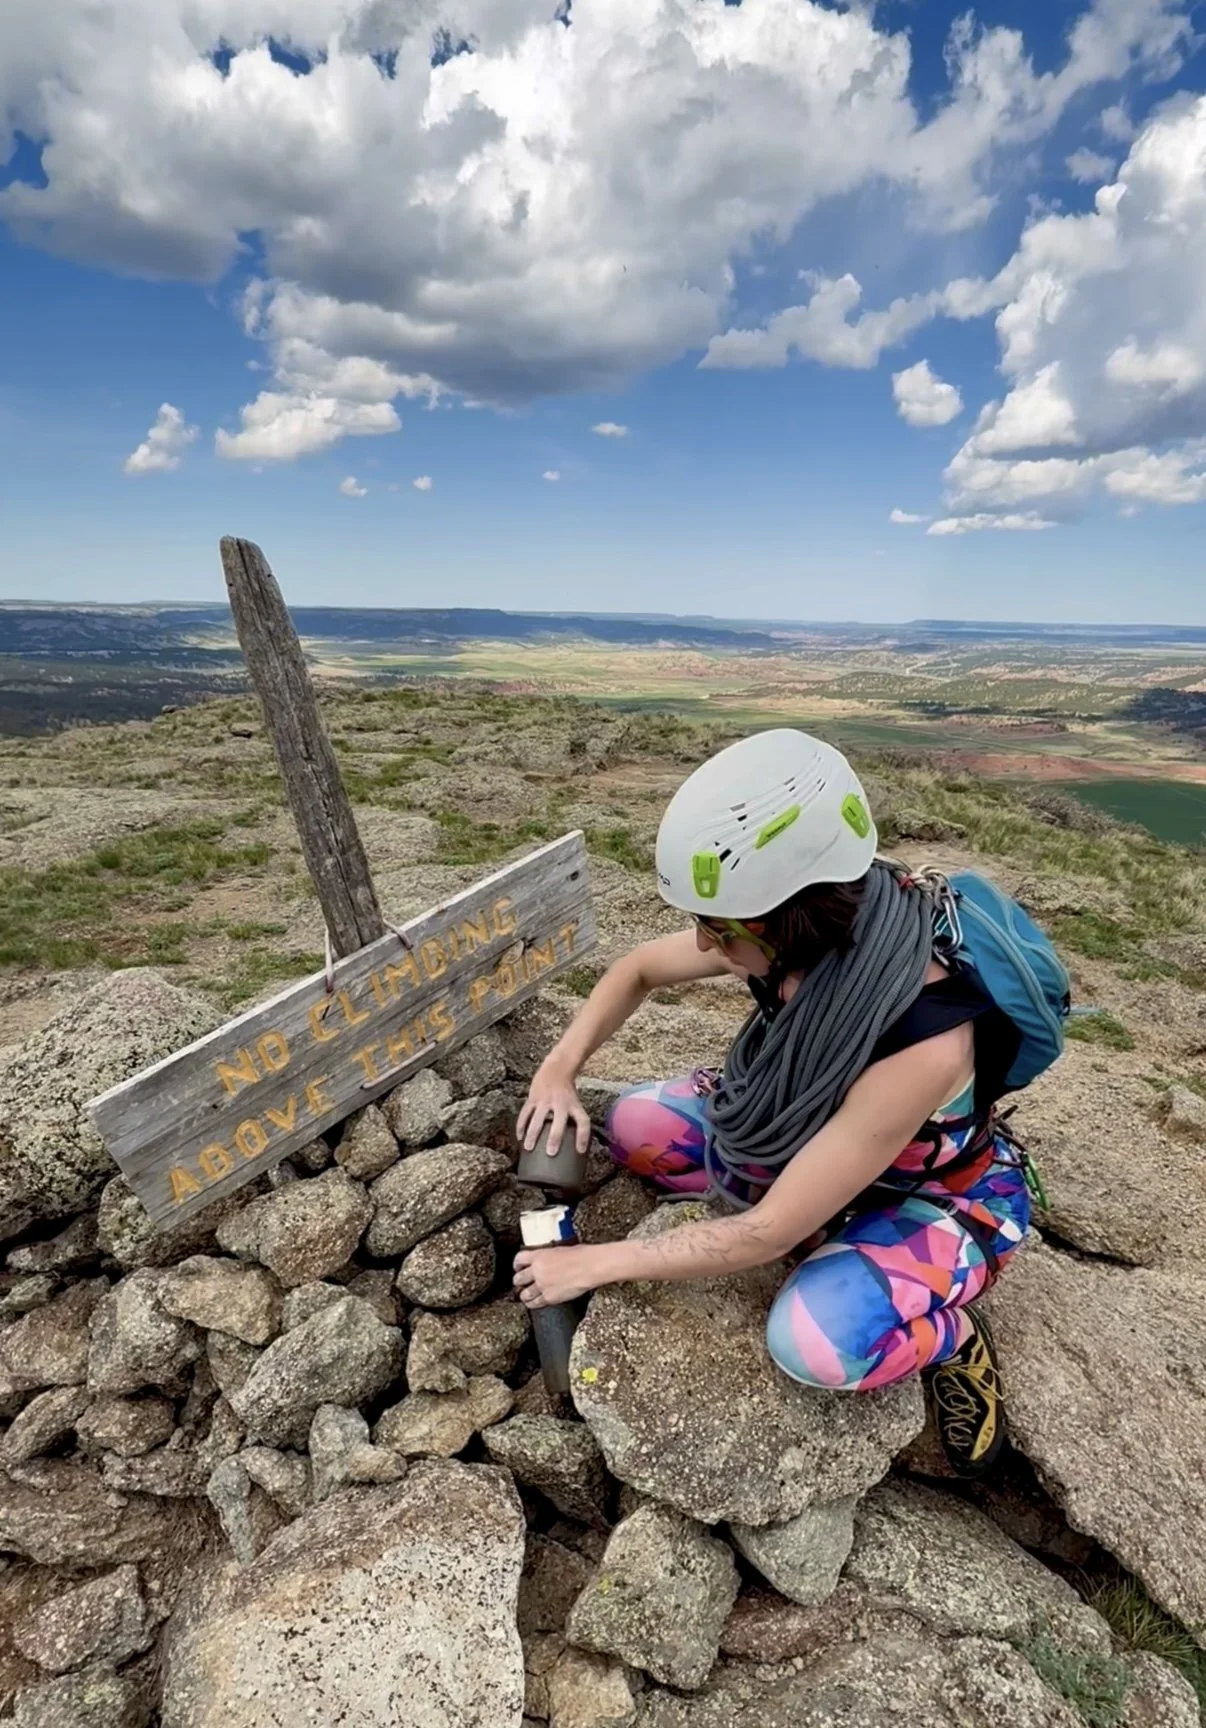
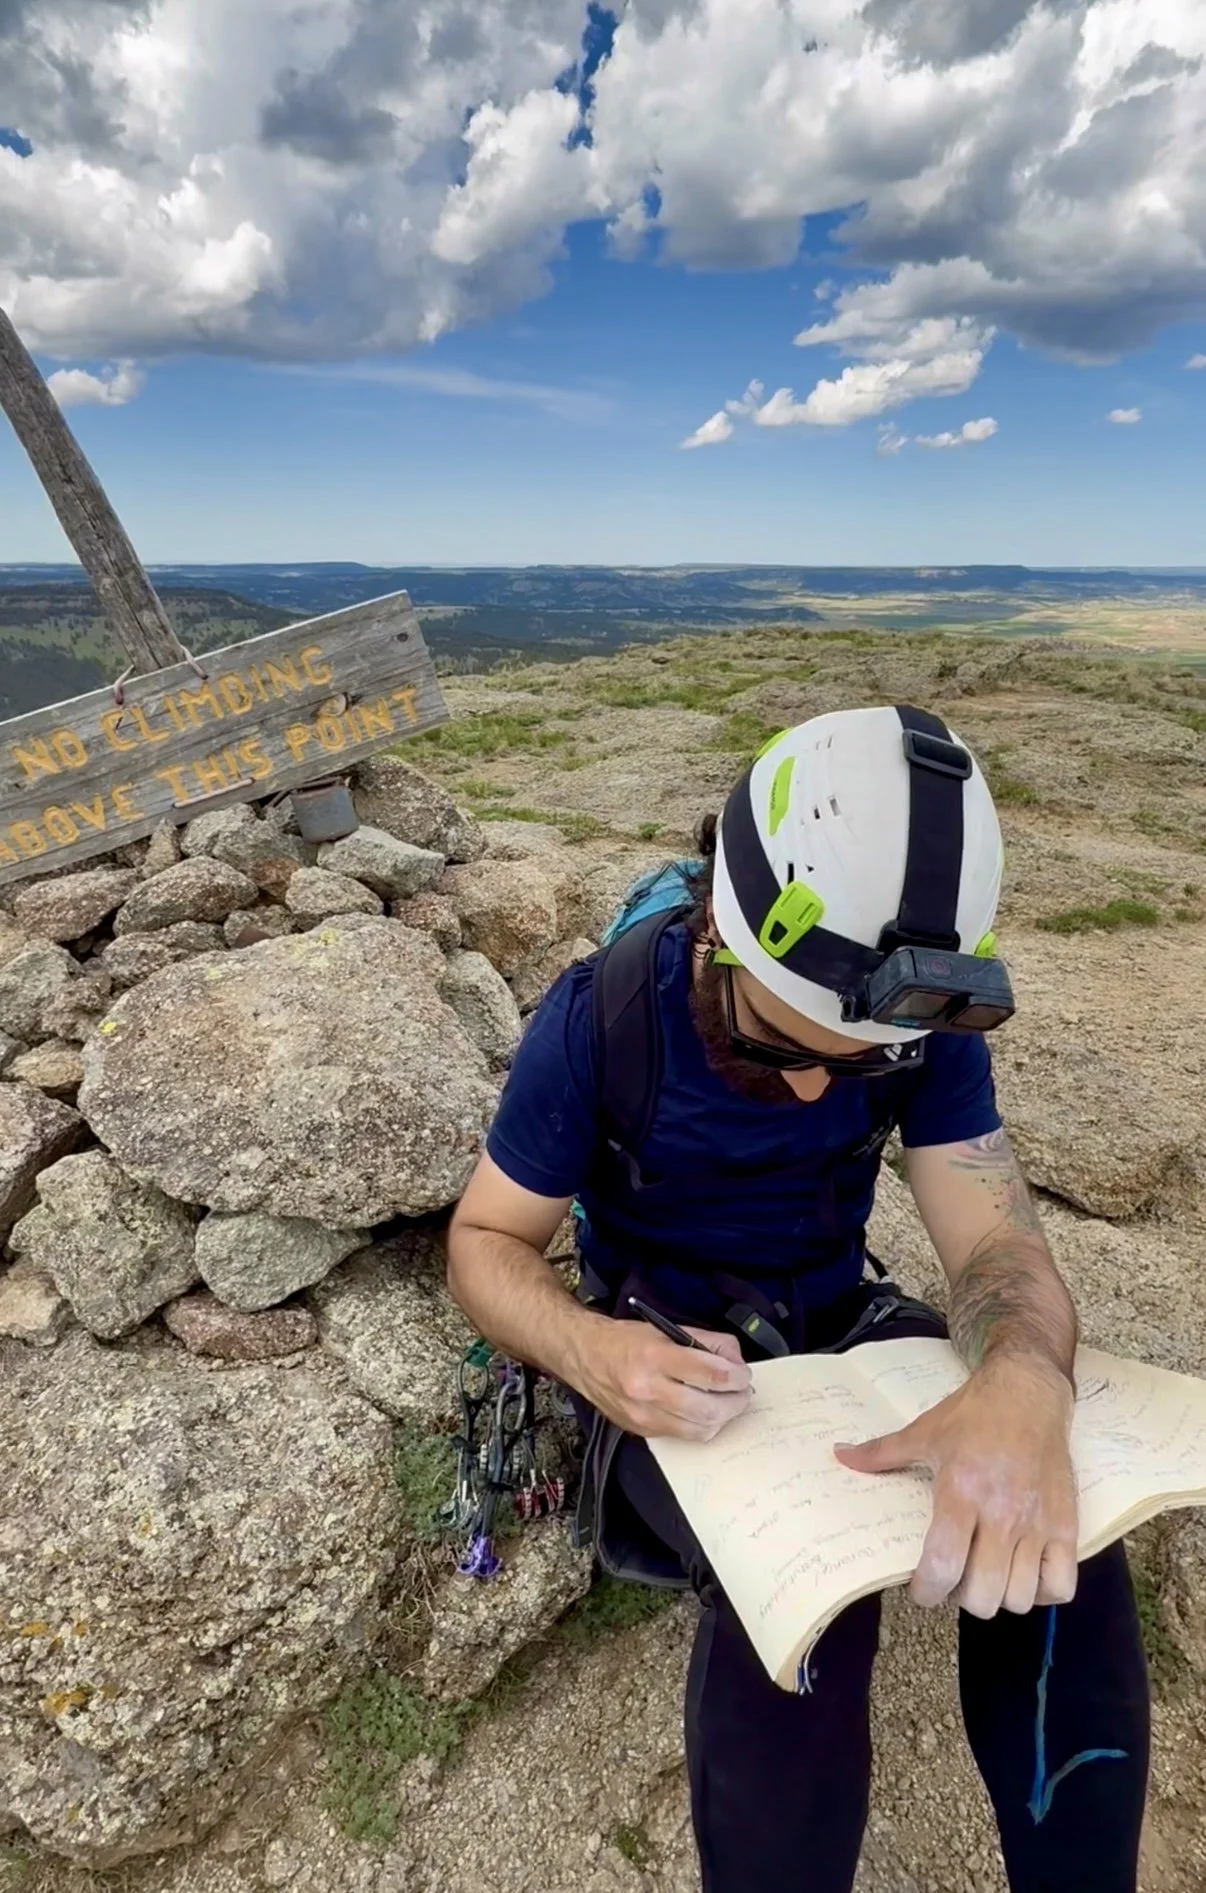
From there, we scrambled the rest of the way up to the summit. The last bit felt more like class 4 rock scrambling, which was a welcome change after six hours in the hot sun. At the top, we signed the summit register and soaked in the 360-degree views. Another climbing duo joined us, buzzing with excitement after ascending the El Cracko Diablo route.


The descent took about an hour (much faster than the climb). A few rappels brought us back to the base. Rappelling off the tips of the pillars was almost scarier than climbing up!
We packed snacks but ended up eating little on the route—hydration was way more critical. Although we brought enough water, next time we’d definitely carry more so we wouldn’t have to worry about rationing it. Also, beware melting snacks…Pete brought a slice of pizza that turned into a gooey mess after his pack was baking in the sun, hah!
We’re so stoked to have completed this classic climb and are eager to get outside to climb more in the future.
Drive back to Denver
After drinking lots (and I mean lots), saying goodbye to Pete, and resting a bit in the parking lot, we swung by the visitor center to pick up a geological summit marker magnet as a keepsake before hitting the road south toward Denver.
The drive was peaceful, rolling through vast pasturelands with distant rainstorms on the horizon. To break up the journey, we stopped overnight at Glendo State Park, camping at Two Moon Campground in site 84. It was a quiet spot, tucked away from the road, with a handy shortcut trail that led directly to the bathrooms. Site 85 nearby also looked great, with easy access to a lake viewpoint.
We would have loved to explore more of Glendo State Park, but arriving later than planned meant we prioritized getting a good night’s rest and an early start back to Denver the next day to return the campervan.